![]() YNSTALLAASJE
YNSTALLAASJE
Accessories - DMX-US1
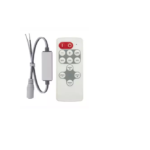
DMX-US1 DMX Controller
- Ynstallearje de junction box yn 'e muorre.
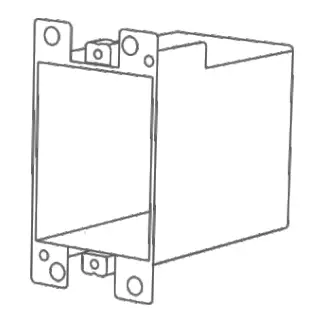
- Brûk in platte schroevendraaier om de basisplaat te wreidzjen lykas werjûn:

- Skroef de basisplaat oan 'e junction box yn' e muorre stevich.

- Ferbine alle komponinten en set de stroomadapter yn 'e junction box. Ferbine DMX GND oan ierde GND.

- Snap it boppeste diel fan it touchpaniel yn 'e basisplaat en snap dan de boaiem op syn plak.

- Ferbine mei macht oanbod.

![]()
© 2022 Q-Tran Inc. Alle rjochten foarbehâlden | 155 Hill St. Milford, CT 06460 | 203-367-8777 | sales@q-tran.com | www.q-tran.com
Spesifikaasje ûnder foarbehâld fan feroaring. Rev-07-28-22
Dokuminten / Resources
 |
TRAN LED DMX-US1 DMX Controller [pdf] Ynstruksjehânlieding DMX-US1 DMX Controller, DMX-US1, DMX Controller |