
Johdanto
This manual provides essential instructions for the proper installation, operation, and maintenance of your Samsung BN07-01044A LCD-Panel. Please read this manual thoroughly before attempting to install or use the product to ensure safe and efficient operation. Keep this manual for future reference.
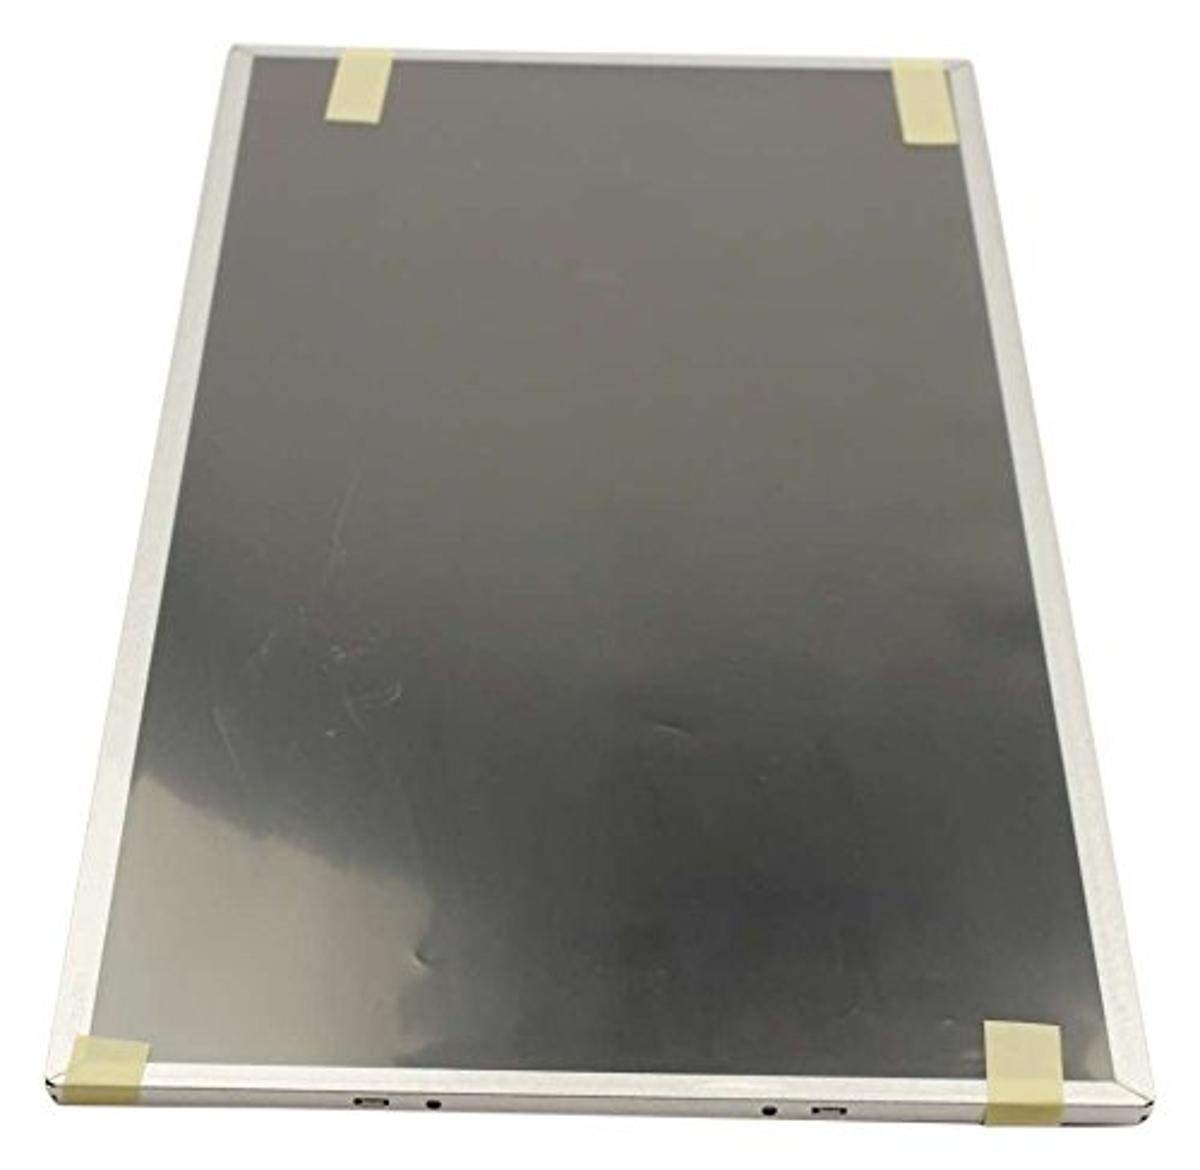
Figure 1: Samsung BN07-01044A LCD-Panel. This image displays the Samsung BN07-01044A LCD-Panel, showing its general form factor and connectors.
Turvallisuustiedot
Noudata aina seuraavia turvaohjeita tuotteen vahingoittumisen ja itsesi loukkaantumisen välttämiseksi:
- Disconnect power from the device before installation or removal of the LCD panel.
- Handle the LCD panel with care. Avoid touching the screen surface directly.
- Wear anti-static gloves to prevent electrostatic discharge (ESD) damage.
- Varmista, että kaikki liitännät ovat kunnolla kiinni ennen virran palauttamista.
- Do not expose the panel to moisture or extreme temperatures.
- Jos olet epävarma jostakin vaiheesta, ota yhteyttä pätevään teknikkoon.
Pakkauksen sisältö
Varmista, että paketti sisältää seuraavat kohteet:
- 1 x Samsung BN07-01044A LCD-Panel
- (Additional components, if any, will be listed on the product packaging.)
Asennus ja asennus
This LCD panel is an OEM authorized replacement part. Installation typically involves replacing an existing panel within a compatible Samsung device. The following steps are general guidelines; refer to your specific device's service manual for detailed instructions.
- Valmistelu: Power off the device completely and disconnect it from all power sources. Remove the battery if applicable.
- purkaminen: Carefully disassemble the device to access the existing LCD panel. This may involve removing bezels, hinges, and screws.
- Irrota vanha paneeli: Gently disconnect the video cable (e.g., LVDS or eDP) and any backlight cables from the old panel. Note their orientation.
- Vanhan paneelin poistaminen: Remove the old LCD panel from its housing.
- Asenna uusi paneeli: Position the new Samsung BN07-01044A LCD-Panel into the housing. Ensure it fits securely.
- Kytke kaapelit: Reconnect the video cable and backlight cables to the new panel. Ensure connections are firm and correctly oriented.
- Kokoaminen: Carefully reassemble the device, ensuring no cables are pinched and all screws are tightened appropriately.
- Alkuperäinen testi: Before fully closing the device, connect power and briefly test the display to ensure it functions correctly.
Huomautus: Professional installation is recommended for this component to avoid damage to the panel or the host device.
LCD-paneelin käyttö
Once installed, the Samsung BN07-01044A LCD-Panel operates as the primary display for your compatible device. Its functionality is managed by the device's operating system and graphics hardware.
- Virta päälle: Turn on your device as usual. The LCD panel should display the boot sequence and operating system interface.
- Näyttöasetukset: Adjust display settings (e.g., resolution, brightness, contrast) through your device's operating system display preferences. Ensure the native resolution of the panel is selected for optimal clarity.
- Näytönohjaimet: Ensure your device has the latest graphics drivers installed for proper display performance.
Huolto ja hoito
Proper care will extend the lifespan and maintain the performance of your LCD panel.
- Näytön puhdistaminen: Käytä pehmeää, nukkaamatonta liinaa, joka on suunniteltu erityisesti elektroniikkalaitteille. Pyyhi kevyestiampen the cloth with water or a screen-cleaning solution (avoid ammonia-based cleaners). Gently wipe the screen in one direction.
- Vältä painetta: Do not press firmly on the screen, as this can damage the LCD matrix.
- Ympäristöolosuhteet: Keep the device and panel away from direct sunlight, excessive heat, cold, or humidity.
- Pöly: Regularly dust the screen and surrounding areas with a soft brush or compressed air.
Vianetsintä
If you encounter issues with your LCD panel, refer to the following common problems and solutions:
| Ongelma | Mahdollinen syy | Ratkaisu |
|---|---|---|
| Ei näyttöä/musta ruutu | Loose video cable, incorrect installation, faulty panel. |
|
| Välkkyvä tai vääristynyt kuva | Loose cable, incompatible drivers, panel defect. |
|
| Incorrect colors or brightness | Display settings, graphics driver issues. |
|
If these steps do not resolve the issue, contact Samsung customer support or a qualified service technician.
Tekniset tiedot
| Ominaisuus | Yksityiskohta |
|---|---|
| Valmistaja | Samsung |
| Osanumero | BN07-01044A |
| Tuotteen mallinumero | BN07-01044A |
| Tuotteen mitat | 21 x 15 x 3 tuumaa |
| Tuotteen paino | 5.71 kiloa |
| Tuote Paketin määrä | 1 |
| Mukana olevat komponentit | appliance-replacement-parts |
| ASIN | B01GSLDALU |
| Päivämäärä ensimmäinen saatavilla | 8. kesäkuuta 2016 |
Takuu ja tuki
As an OEM authorized part, this Samsung BN07-01044A LCD-Panel is typically covered by the warranty terms provided by Samsung for their replacement parts. Please refer to the official Samsung website or contact Samsung customer service for detailed warranty information specific to replacement components.
Teknistä tukea tai huoltoa varten käy virallisella sivustolla Samsungin tuki websivusto tai ota yhteyttä suoraan heidän asiakaspalveluunsa.