DICKSON DWE2 Data Logger

Important Information
This Quick-start Guide presents an overview of the Dickson DWE data logger, with setup and connection instructions to get your device up and running on Ethernet or Wi-Fi. You can then register the device in Dickson One to view data online, configure alarms, and much more.
What’s In The Box
Hardware
- DWE with replaceable sensor connected (your sensor may differ from this image)

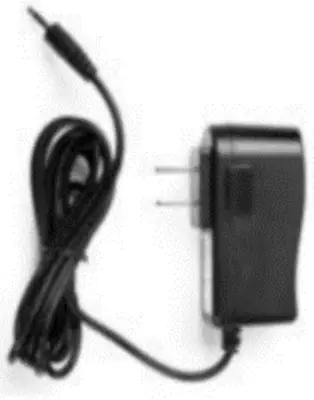
- AC power adapter
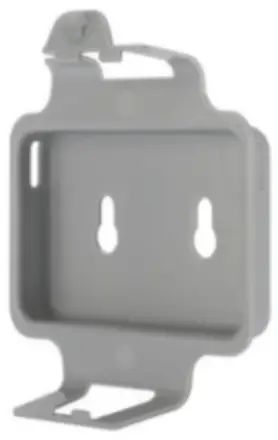
- Wall mount plates with screws
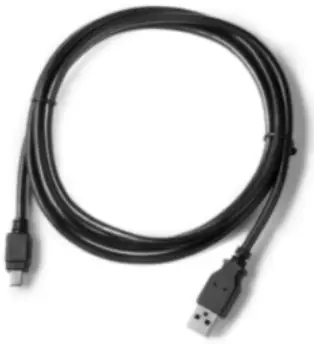
Cables - USB Cable (1 per order and may not be included in the box)
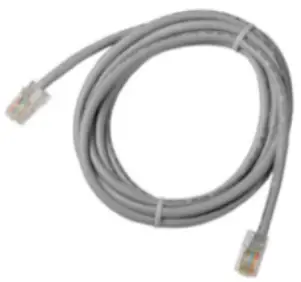
- Ethernet cable
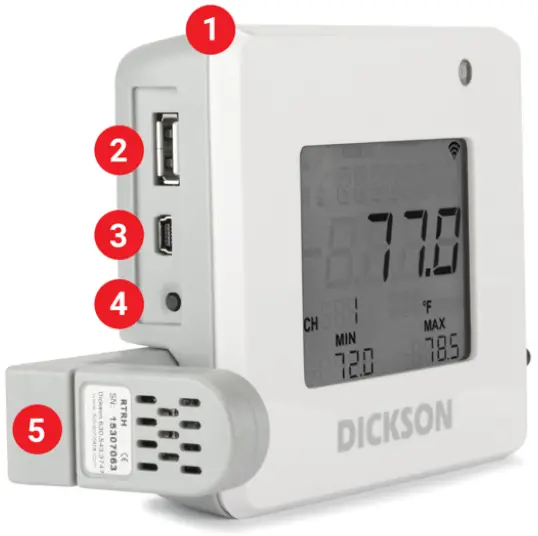
Data Logger Features
- Power button
- USB Port for flash drives
- Mini USB for connecting to computer
- Reset min/max button & transmit
- Replaceable sensor in sensor port
- Text area for registration and error codes
- Current reading
- Channel and variable
- Min/Max for displayed channel
- Ethernet port
- AC adapter port

Setup
- Plug the sensor into the sensor port on the data logger and press firmly until it clicks.
- Plug the AC adapter power cable into the port on the data logger and the AC adapter into a standard power outlet (international plug adapters are available).
- Press and hold the power button for 3 seconds until the device powers on, then release. The LED will flash green, then white. Sensor readings will begin to display, cycling through the different channels if more than one environmental condition is being monitored.
Note: “Error 202” will appear on the data logger screen. This message indicates that the device is not connected to the network. Follow the instructions below to connect to a network and register the device in Dickson One.
Connecting DWE Via Ethernet
- After following steps 1-3 above, with the data logger powered on, plug one end of the Ethernet cable into the data logger and the other into an active Ethernet jack.
- Once the logger is connected to the network, a 6-digit code will appear on the logger’s screen that can be used to register the device in Dickson One.
Connecting DWE Via Wi-Fi
Note: When you connect the DWE data logger to Wi-Fi, it will only use Wi-Fi and not Ethernet, even if the device is still connected via an Ethernet cable.
- In your Dickson One account, select Support è Network Configuration App, or open the
following URL: https://www.dicksonone.com/network-configuration-app - Download and install the Wi-Fi configuration tool for your operating system (MacOS or Windows), then open the application.
- Connect the USB cable to the USB port on the data logger and connect the other end to an open port on your computer. Make sure the data logger is powered on.
- Click on Wi-Fi and select your network after the device switches to Wi-Fi mode.

- Click on Next, then enter the appropriate Wi-Fi settings and password.
- Click on Next to connect to the network and confirm the connection with Dickson One.

- You can now register your DWE logger to your Dickson One account using the 6-digit registration code displayed on the loggers screen or click Configure Another Instrument if you need to configure more data loggers.
Customer Support
Dickson North America
Addison, IL – USA
+1 630-543-3747
dicksondata.com/contact
Dickson Europe
Montpellier – France
+33 499 13 67 30
contact@dicksondata.fr
Dickson Asia-Pacific
Petaling Jaya – Malaysia
+603 749 40758
contact@dicksondata.my
©2025 Dickson. All rights reserved. Dickson, the Dickson logo, Dickson One, and DWE2 are the exclusive property of Dickson. All other brands mentioned are the property of their respective owners. This is a noncontractual document. Product photos and features may vary.
DWE2 Data Logger Quick Start Guide (Dickson One)

Documents / Resources
 |
DICKSON DWE2 Data Logger [pdf] User Guide DWE2, DWE2 Data Logger, DWE2, Data Logger, Logger |


