
1. Introduction
The BKVTOP Wireless GPS Bike Computer (Model TOP-350B-BL) is designed to provide essential cycling data in a compact and user-friendly format. This device utilizes built-in GPS to track and display various metrics such as speed, distance, time, altitude, and gradient, eliminating the need for external wheel sensors. Its features include a 2.4-inch LCD screen with automatic green backlight, auto start/stop functionality, and IPX7 waterproofing, making it suitable for diverse cycling conditions. This manual will guide you through the installation, operation, and maintenance of your bike computer.

Image 1.1: Overview of BKVTOP GPS Bike Computer 350 features.
2. What's in the Box
Before you begin, please ensure all components are present in the package:
- Bike Computer (Main Unit)
- Charging Cable (USB-C)
- Out Front Extended Mount
- Hexagon Socket Screw
- Hexagon Wrench
- Sponge (Protective Pad)
Video 2.1: This video demonstrates the unboxing and contents of the BKVTOP Wireless GPS Bike Computer package.
3. Setup
3.1 Mounting the Bike Computer
The BKVTOP Wireless GPS Bike Computer comes with an out-front mount for secure attachment to your bicycle handlebars. Follow these steps for installation:
- Identify a suitable position on your handlebar for the out-front mount.
- Place the protective sponge pad between the mount and your handlebar to prevent scratches and ensure a snug fit.
- Secure the mount using the provided hexagon socket screw and hexagon wrench. Ensure it is tightened firmly but do not overtighten.
- Align the bike computer with the mount and twist it clockwise until it locks securely into place.

Image 3.1: Illustration comparing the complex installation of a wired bike computer with the simple installation of the wireless GPS bike computer.
Video 3.2: This video provides a step-by-step guide on how to install the bike computer mount on your bicycle handlebars.
3.2 Initial Power On and GPS Acquisition
After mounting, power on your device and allow it to acquire a GPS signal. For best results, perform initial GPS acquisition in an open outdoor area with a clear view of the sky.
- Press and hold the power button (left button) for two seconds to turn on the device.
- The device will automatically begin searching for satellite signals. This process may take up to 30 seconds.
- Once connected, the GPS icon on the screen will stabilize, and the time will synchronize based on your preset time zone.
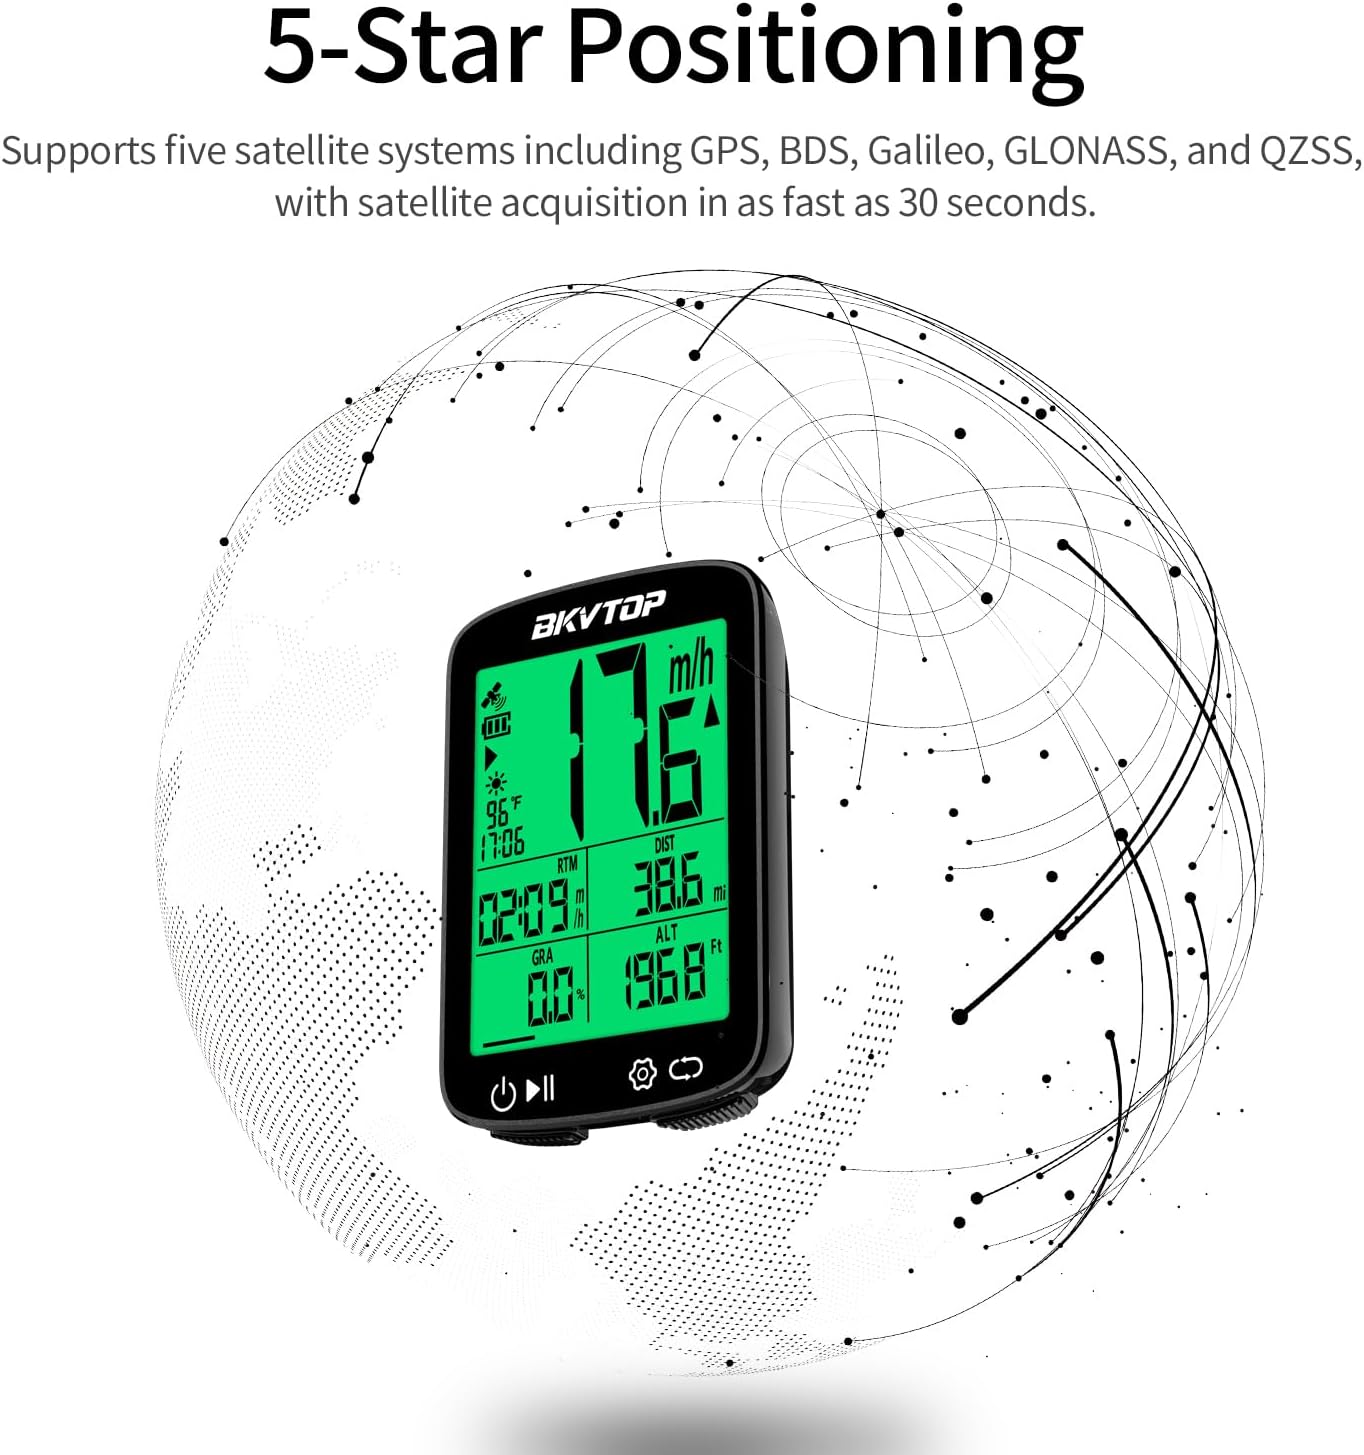
Image 3.3: Explanation of the 5-Star Positioning system for quick satellite acquisition.

Image 3.4: Visual representation of the global 5-satellite positioning system.
Video 3.5: This video demonstrates the GPS bike computer in action, highlighting its precision and data tracking capabilities during a ride.
4. Operating Instructions
4.1 Basic Functions
- Power On/Off: Press and hold the left button (power icon) for two seconds.
- Page Navigation: Click the right button (loop icon) to cycle through different data display pages.
- Start/Pause Recording: Press the left button (play/pause icon) to start or pause ride recording.

Image 4.1: Explanation of the device's button functions for power and navigation.
4.2 Data Display
The bike computer supports the display of 15 types of data, including:
- Current Speed (MPH/KMH)
- Average Speed
- Maximum Speed
- Ride Time
- Ride Distance
- Total Distance (Odometer)
- Current Altitude
- Accumulated Ascent
- Current Gradient
- Maximum Gradient
- Temperature
- Clock
- Backlight Status
- Battery Level
- GPS Signal Strength

Image 4.2: Visual representation of the 15 data types displayed on the bike computer screen.
4.3 Settings (Units, Time Zone, Time Format)
To access and adjust settings:
- Long press the right button (gear icon) to enter the settings page.
- Click the right button to navigate through different setting options (e.g., Imperial/Metric Unit Settings, Time Zone Settings, 12/24 Hour Format).
- Press the left button to change the current setting for the selected option.
- Long press the right button again to exit the settings menu.

Image 4.3: Examples of unit, time zone, and time format settings.
4.4 Auto Backlight and Auto Start/Stop
- Auto Backlight: The device automatically activates its green backlight between 6:00 PM and 9:00 AM to enhance visibility in low-light conditions or during night rides.
- Auto Start/Stop: The computer automatically starts recording when movement is detected and pauses when you stop, simplifying ride recording without manual intervention.

Image 4.4: Demonstration of auto backlight and time synchronization features.
Video 4.5: This video compares the BKVTOP GPS Bike Computer with a traditional wired speedometer, highlighting the advantages of GPS tracking.
5. Maintenance
5.1 Charging the Device
The bike computer is equipped with a rechargeable lithium-ion battery, offering up to 28 hours of runtime. Use the provided USB-C cable to charge the device. Connect the USB-C end to the computer and the other end to a standard USB power source (e.g., computer USB port, wall adapter).
5.2 Water Resistance (IPX7)
The device features an IPX7 waterproof rating, meaning it can withstand immersion in water up to 1 meter for 30 minutes. This protects it from rain and splashes during cycling. However, it is not recommended for prolonged underwater use.

Image 5.1: The IPX7 rating ensures the device is protected against water splashes and rain.
5.3 Cleaning
To clean the device, wipe it with a soft, damp cloth. Avoid using harsh chemicals or abrasive cleaners, as these may damage the screen or casing.
6. Troubleshooting
- No GPS Signal: Ensure you are in an open outdoor area with a clear view of the sky. Avoid areas with tall buildings or dense tree cover. Allow up to 30 seconds for initial acquisition.
- Inaccurate Speed/Distance: Verify that the device has a stable GPS signal. If the issue persists, try resetting the device (refer to the manufacturer's website for specific reset instructions if not covered here).
- Battery Drains Quickly: Ensure the device is fully charged before each ride. Extreme temperatures can affect battery performance. If battery life significantly degrades, contact customer support.
- Screen Not Responding: Try restarting the device by holding the power button. If the screen remains unresponsive, ensure the device is charged.
- Incorrect Time: The time synchronizes automatically with GPS. Ensure a stable GPS signal. Check your time zone settings in the device menu.
7. Specifications
| Feature | Specification |
|---|---|
| Brand | BKVTOP |
| Model Number | TOP-350B-BL |
| Product Dimensions (L x W x H) | 1.77" x 2.76" x 0.63" (45mm x 70mm x 16mm) |
| Weight | 49g / 1.72oz |
| Screen Size | 2.4 inches / 60.96mm |
| Battery Life | Up to 28 hours |
| Battery Type | Lithium Ion |
| International Protection Rating | IPX7 |
| Mounting Type | Out-Front Mount |
| GPS Support | Built-in GPS, BDS, Galileo, GLONASS, QZSS |

Image 7.1: Detailed product dimensions and weight.

Image 7.2: Visual representation of the device's lightweight design.
8. Warranty and Support
8.1 Warranty Information
This BKVTOP Wireless GPS Bike Computer comes with a 1-year warranty from the date of purchase. The warranty covers manufacturing defects and malfunctions under normal use. It does not cover damage caused by misuse, accidents, unauthorized modifications, or normal wear and tear.
8.2 Customer Support
For technical assistance, warranty claims, or any questions regarding your BKVTOP Wireless GPS Bike Computer, please contact BKVTOP customer support through the retailer's platform or the official BKVTOP website. Please have your model number (TOP-350B-BL) and proof of purchase ready when contacting support.