
1. Product Overview
The Tilswall Shark 600 is an ultra-light HVLP (High Volume Low Pressure) electric paint sprayer designed for various painting projects. It features adjustable spray patterns, flow control, and interchangeable nozzles for versatile application.
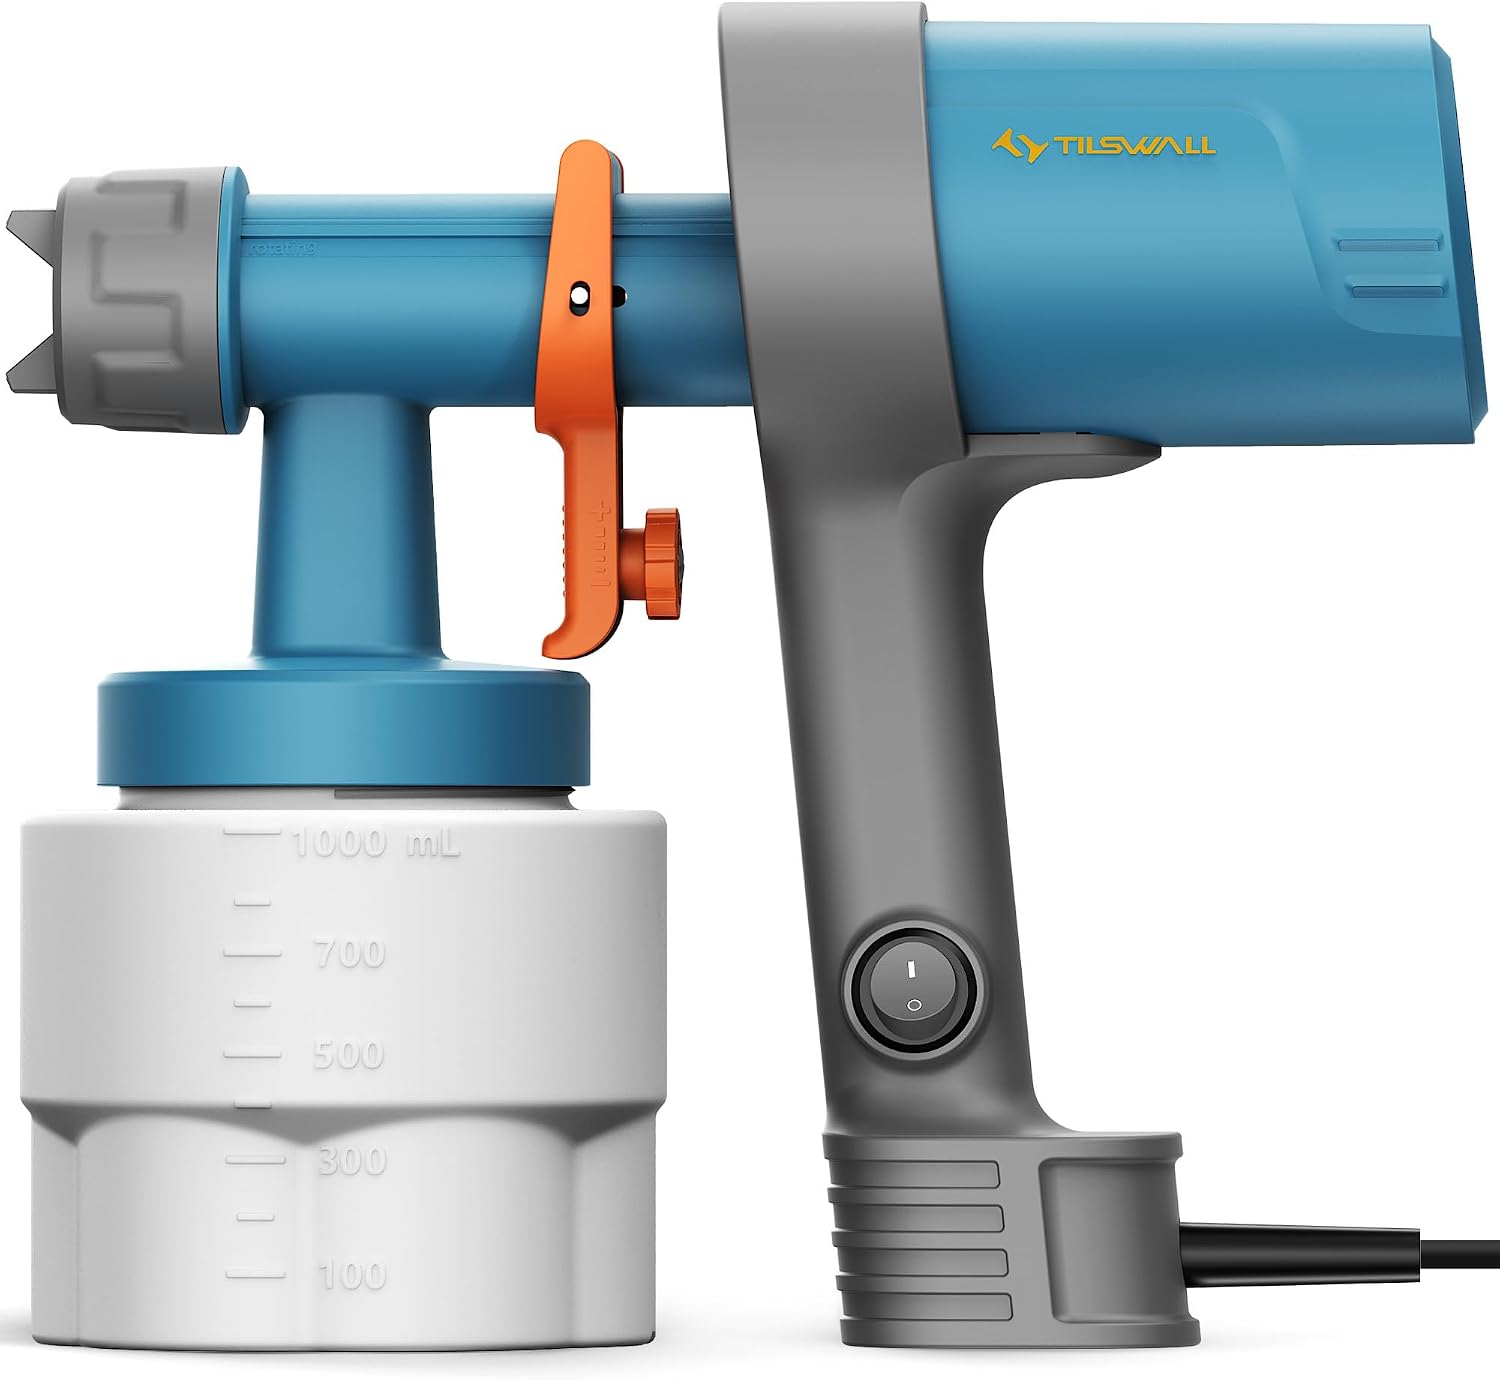
Image: Tilswall Shark 600 HVLP Electric Paint Sprayer, showing its compact design.
2. Setup and Preparation
2.1 Unboxing and Initial Inspection
Upon receiving your Tilswall Shark 600 paint sprayer, carefully remove all components from the packaging. Inspect for any signs of damage. Ensure all parts listed in the packing list are present.
2.2 Assembly
The Tilswall Shark 600 comes fully assembled. No complicated installation or tools are required for initial setup. Simply ensure the paint container is securely attached to the sprayer body.

Image: User holding the Tilswall Shark 600 paint sprayer, illustrating its ready-to-use design.
2.3 Paint Preparation and Dilution
For optimal performance, paint must be thinned to the correct viscosity. Use the included viscosity cup to measure the flow-out time. Refer to the table below for general guidelines. Always filter the paint to remove clumps before spraying.

Image: Visual guide for paint dilution steps and viscosity standards.
| Paint Type | Viscosity (Flow-out time) |
|---|---|
| Solvent-based Primer | 20-40 seconds |
| Solvent-based Paint | 15-40 seconds |
| Water-based Primer | 25-40 seconds |
| Water-based Paint | 20-35 seconds |
| Emulsion Paint | 30-40 seconds |
| Automotive Primer | 20-35 seconds |
| Wood Preservatives / Oil / Steam Towers / Insecticide / Disinfectants | No Dilution Required |
DO NOT OVER-DILUTE.
Important: Always consult your paint manufacturer's instructions for specific thinning recommendations. Using water for oil-based or solvent-based paints will cause improper mixing and spraying issues.
2.4 Filling the Paint Container
After thinning and filtering, carefully pour the prepared paint into the 1000 ml container. Securely reattach the container to the sprayer body.
2.5 Adjusting the Suction Tube
The suction tube can be adjusted to ensure maximum paint pickup depending on the spraying angle. For downward spraying, orient the tube towards the front. For upward spraying, orient it towards the rear.

Image: Diagram showing how to adjust the suction tube for different spraying angles.
3. Operating Instructions
3.1 Selecting Nozzle and Spray Pattern
The Tilswall Shark 600 includes three interchangeable nozzles (1.3mm, 1.8mm, 2.6mm) and supports three spray patterns: horizontal, vertical, and circular. Choose the appropriate nozzle and pattern for your project.
- 1.3mm Nozzle: Ideal for small projects and fine finishes (20-50 DINs viscosity).
- 1.8mm Nozzle: Suitable for small to medium projects (50-80 DINs viscosity).
- 2.6mm Nozzle: Best for medium projects and broader coverage (80-120 DINs viscosity).

Image: Illustration of the three nozzle sizes and their recommended uses.
To change the spray pattern, rotate the air cap to align the ears with the desired pattern icon (horizontal, vertical, or circular).

Image: Diagram showing how to adjust the spray patterns and flow control knob.
3.2 Adjusting Flow Rate
The paint flow rate can be adjusted using the control knob located on the trigger. Turn the knob clockwise for more flow and counter-clockwise for less flow. Test the spray on a scrap piece of material to achieve the desired output.
3.3 Proper Spraying Technique
- Distance: Hold the spray gun 10-30 cm (4-12 inches) from the surface. Maintain consistent spacing throughout the project.
- Motion & Overlap: Move the gun in smooth, parallel strokes at a steady speed (approximately 30-60 cm/second). Overlap each pass by about 50% to ensure even coverage and prevent streaks.
- Orientation: Always keep the gun perpendicular to the surface. Avoid tilting or arcing to maintain a uniform finish.
3.4 Official Product Videos
Tilswall Shark 600 Paint Sprayer User Guide
Video: A detailed user guide demonstrating the features and operation of the Tilswall Shark 600 Paint Sprayer.
Tilswall Shark 600 Paint Sprayer Overview
Video: An overview of the Tilswall Shark 600 Paint Sprayer, highlighting its ease of use and versatility.
4. Maintenance and Cleaning
Proper cleaning after each use is crucial to prevent clogging and ensure the longevity of your paint sprayer. Clean the sprayer within 15 minutes after each use.
4.1 Cleaning Steps
- Empty Container: Empty any remaining paint from the container.
- Initial Rinse: Fill the container with appropriate cleaning solution (water for water-based paints, thinner for oil/solvent-based paints). Spray the solution through the gun until it runs clear.
- Disassemble & Rinse: Unscrew the retaining nut and remove the air cap and nozzle. Thoroughly brush and rinse these detached parts with the appropriate cleaning solution.
- Clean Container & Tube: Thoroughly brush and rinse the inside and outside of both the paint container and the suction tube.
- Unclog & Clean: Use the nozzle cleaning needle to clear any internal blockages in the nozzle. Flush the gun body and brush away any remaining paint.
- Final Flush: Always perform a final flush with solvent or clean water until the discharge runs completely clear.

Image: Step-by-step visual guide for cleaning the paint sprayer components.
Critical: Take care to avoid any water contact with the main body containing the motor.
4.2 Drying and Storage
After cleaning, allow all parts to air-dry completely in a cool place before reassembly. Store the sprayer in a clean, dry environment away from direct sunlight and extreme temperatures.
5. Troubleshooting
If you encounter issues with your Tilswall Shark 600 paint sprayer, consider the following common solutions:
- Clogging: Most clogging issues are due to improper paint thinning or insufficient cleaning. Ensure paint is thinned to the correct viscosity and filtered. Clean all parts thoroughly immediately after use.
- Uneven Spray/Splattering: This can be caused by incorrect paint viscosity, an improperly adjusted nozzle, or inconsistent spraying technique. Re-check paint dilution, ensure the nozzle is clean and correctly installed, and practice consistent distance and motion.
- No Paint Flow: Check if the suction tube is correctly positioned and free of blockages. Ensure the paint container is securely attached and contains enough paint. Verify the flow control knob is not set to minimum.
If problems persist after following these steps, please refer to the support section for assistance.
6. Specifications
| Feature | Detail |
|---|---|
| Brand | TILSWALL |
| Model Name | US Shark 600 |
| Model Number | US Shark 600 |
| Tank Volume | 1000 ml |
| Color | Blue |
| Material | Plastic |
| Power Source | AC |
| Included Components | Cleaning Kit, Nozzle, Viscosity Cup |
| Item Dimensions (W x H) | 4.6"W x 10"H |
| Recommended Uses | Painting |
7. Warranty and Support
For any questions, issues, or support needs regarding your Tilswall Shark 600 paint sprayer, please contact Tilswall customer service. They are committed to providing prompt assistance and ensuring a satisfactory solution.
Please refer to your product packaging or the official Tilswall website for the most current contact information and warranty details.


