
1. Introduction
This manual provides essential information for the safe and efficient installation, operation, and maintenance of your Generic 14kW Vertical Axis Wind Turbine. This generator is designed to provide reliable power for home off-grid and solar hybrid systems. Please read this manual thoroughly before installation and operation to ensure proper function and safety.
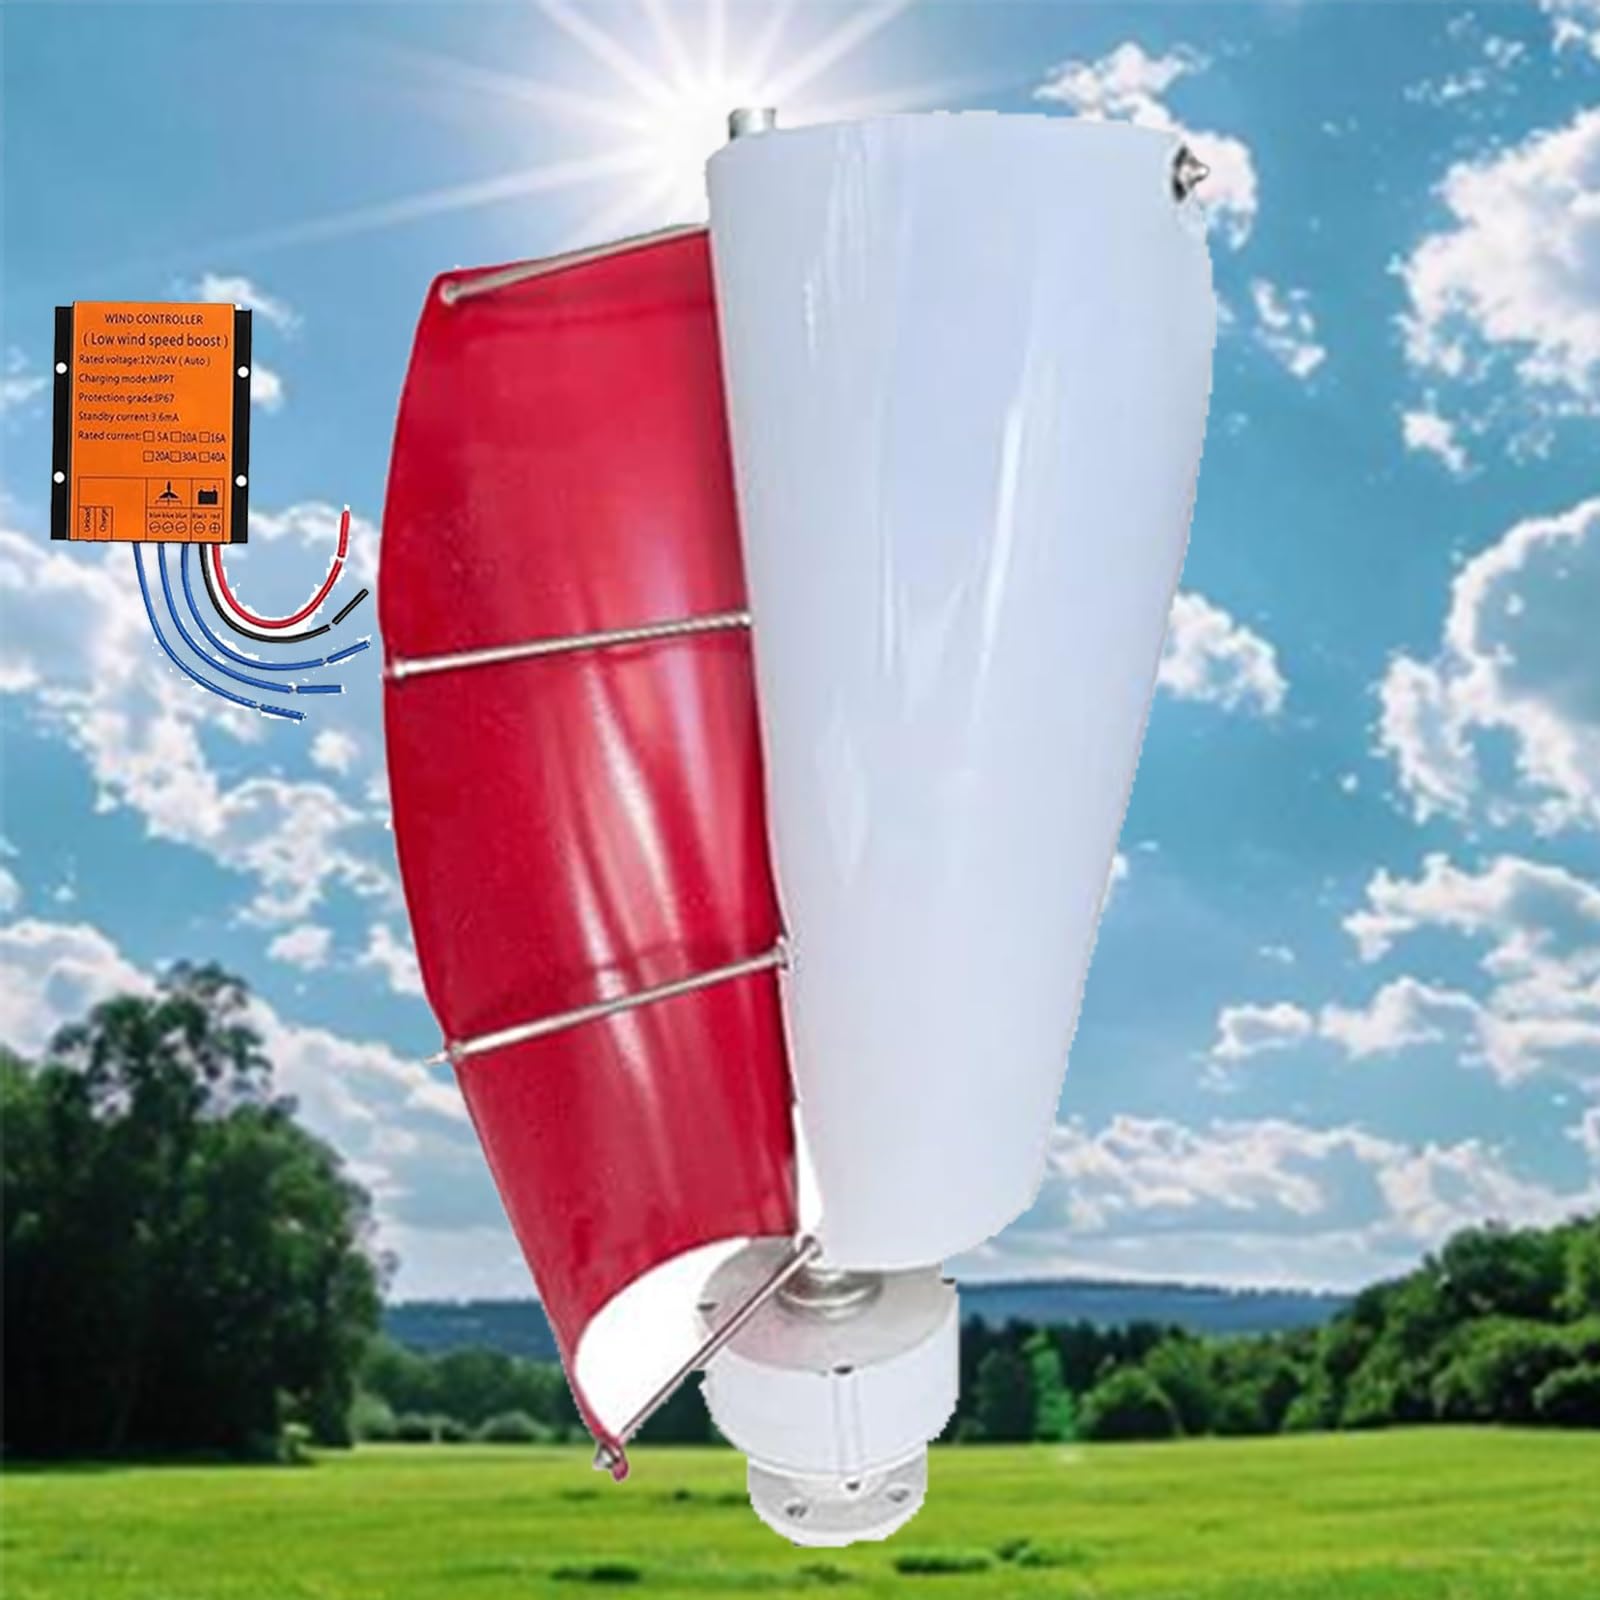
Image 1.1: The 14kW Vertical Axis Wind Turbine, featuring red and white blades.
2. Safety Information
Always observe the following safety precautions to prevent injury or damage to the equipment:
- Electrical Hazard: Installation and wiring must be performed by qualified personnel. Ensure all power sources are disconnected before working on the turbine or controller.
- Rotating Parts: Keep hands, tools, and loose clothing away from the turbine blades during operation.
- High Wind Conditions: The turbine features an automatic braking system for high winds. However, avoid working on the turbine during strong winds or storms.
- Proper Mounting: Ensure the mast and mounting structure are robust enough to support the turbine's weight and withstand wind loads.
- Temperature Range: The unit is designed for -40°C to 80°C. Operating outside this range may affect performance and durability.
3. Product Overview and Components
The 14kW Vertical Axis Wind Turbine is a robust power generation unit designed for efficiency and durability. Key components include:
- Rotor Blades: Two injection-molded aluminum alloy blades for smooth operation and low noise.
- Generator: Pure copper winding motor with a permanent magnet three-phase AC generator.
- Controller: Intelligent microprocessor-based wind and solar controller for stable power output and battery charging.
- Mounting Flange: Standard DN25 flange for secure installation.

Image 3.1: The wind turbine is available in various blade colors, including Teal, Green, Red, Sky Blue, and White.
4. Technical Specifications
Refer to the following table for detailed technical specifications of the wind turbine and controller:
| Feature | Specification |
|---|---|
| Model Name | Wind Energy Generator |
| Composition | Stainless Steel, Aluminum Alloy, Pure Copper |
| Rotor Configuration | 2 Blades |
| Mounting Flange | DN25 Standard |
| Ingress Protection | IP67 Rated |
| Peak Output Power | 14000 Watts (14kW) |
| Supported Voltages | 12V / 24V / 48V DC |
| Cut-in Wind Speed | 1.5 m/s (3.28 ft/s) |
| Nominal Wind Speed | 10 m/s (32.81 ft/s) |
| Rotor Diameter | 0.4 m (1.31 ft) |
| Dimensions (Turbine) | 40 x 71 cm (15.75 x 27.95 in) |
| Operating Temperature | -40°C to 80°C (-40°F to 176°F) |
| Net Weight | 7.1 kg (15.65 lbs) |
| Control Method | Automatic Yaw Positioning |
| Mast Compatibility | ø56-62mm (2.22-2.44in) |
| Noise Level | Under 52 dB |
| Item Model Number | XC-WWV6KY-Red-24V |
| ASIN | B0HBC1M6YB |

Image 4.1: Detailed product information including dimensions (40cm x 71cm) and controller specifications.
5. Setup and Installation
Proper installation is crucial for the performance and longevity of your wind turbine. It is recommended that installation be performed by individuals with electrical and mechanical experience.
5.1 System Overview
The wind turbine is designed to integrate into a hybrid power system, often alongside solar panels, to charge a battery bank. Ensure all components (wind turbine, solar panels, controller, battery) operate at identical voltage levels (12V, 24V, or 48V DC).

Image 5.1: Diagram illustrating the connection of the wind turbine, solar panels, controller, battery, and inverter in an off-grid hybrid system.
5.2 Mounting the Turbine
- Choose Location: Select a location with unobstructed wind flow, away from buildings, trees, and other obstacles.
- Prepare Mast: Ensure the mast is securely anchored and compatible with the turbine's ø56-62mm diameter.
- Attach Flange: Secure the turbine's DN25 standard mounting flange to the top of the mast using appropriate hardware.
- Route Wiring: Carefully route the turbine's output wires down through the mast to the controller location.

Image 5.2: Close-up of the turbine's base, showing the DN25 mounting flange and the wiring exit point.
5.3 Electrical Connections
- Controller Placement: Install the wind controller in a dry, protected area, close to the battery bank.
- Battery Connection: Connect the battery to the controller first, ensuring correct polarity.
- Turbine Connection: Connect the wind turbine output wires to the designated terminals on the controller.
- Solar Panel Connection (Optional): If using solar panels, connect them to the appropriate terminals on the hybrid controller.
- Load Connection: Connect your DC loads or inverter to the controller's load terminals or directly to the battery bank, as per your system design.

Image 5.3: Examples of the wind turbine installed on a street light pole and a residential rooftop, demonstrating typical mounting scenarios.
6. Operating Instructions
Once properly installed and connected, the wind turbine operates largely automatically:
- Automatic Power Generation: The turbine begins generating power when wind speeds reach the cut-in speed of 1.5 m/s (3.28 ft/s).
- Controller Management: The intelligent controller manages the power output, converting the AC power from the turbine to DC for battery charging and system use. It also features MPPT (Maximum Power Point Tracking) for optimal energy capture.
- Automatic Braking: An advanced safety mechanism, the intelligent braking system, activates at high wind speeds (up to 147.63 ft/s) to protect the unit from damage during extreme weather.
- Low Noise Operation: The aerodynamic blade design and special stator contribute to a low noise level, typically under 52 dB.
7. Maintenance
Regular maintenance ensures optimal performance and extends the lifespan of your wind turbine:
- Visual Inspection (Monthly): Check for any visible damage to the blades, mast, or wiring. Ensure all connections are secure.
- Cleaning (As Needed): Clean the blades and turbine body to remove dirt, dust, or debris that may affect aerodynamic efficiency. Use a soft cloth and mild detergent if necessary.
- Controller Check (Quarterly): Verify that the controller's indicators are functioning correctly and that the battery is charging as expected.
- Structural Integrity (Annually): Inspect the mast and mounting hardware for corrosion, looseness, or fatigue. Tighten any loose bolts.
Always disconnect power before performing any maintenance on the electrical components.
8. Troubleshooting
If you encounter issues with your wind turbine, refer to the following common problems and solutions:
| Problem | Possible Cause | Solution |
|---|---|---|
| No power output | Low wind speed, loose connections, controller fault, battery issue. | Check wind speed. Inspect all wiring connections. Verify controller status indicators. Check battery voltage. |
| Turbine not rotating | Insufficient wind, mechanical obstruction, internal fault. | Ensure adequate wind. Check for debris or ice on blades. Contact support if no obvious cause. |
| Excessive noise/vibration | Loose blades, unbalanced rotor, worn bearings, loose mounting. | Inspect blades for damage or looseness. Check mounting bolts. Contact support for internal issues. |
| Controller error light | Overcharge, over-discharge, short circuit, over-current. | Refer to controller manual for specific error codes. Check battery and load connections. |
For issues not covered here, or if problems persist, please contact the manufacturer or your supplier for assistance.
9. Warranty and Support
For warranty information, technical support, or replacement parts, please refer to the documentation provided at the time of purchase or contact your seller directly. Ensure you have your product model number (XC-WWV6KY) and ASIN (B0HBC1M6YB) available when seeking support.