
Introduction
This manual provides detailed instructions for the assembly, operation, maintenance, and troubleshooting of your SEDETA Farmhouse L-Shaped Electric Standing Desk. Please read this manual thoroughly before assembly and use to ensure proper function and safety. Keep this manual for future reference.
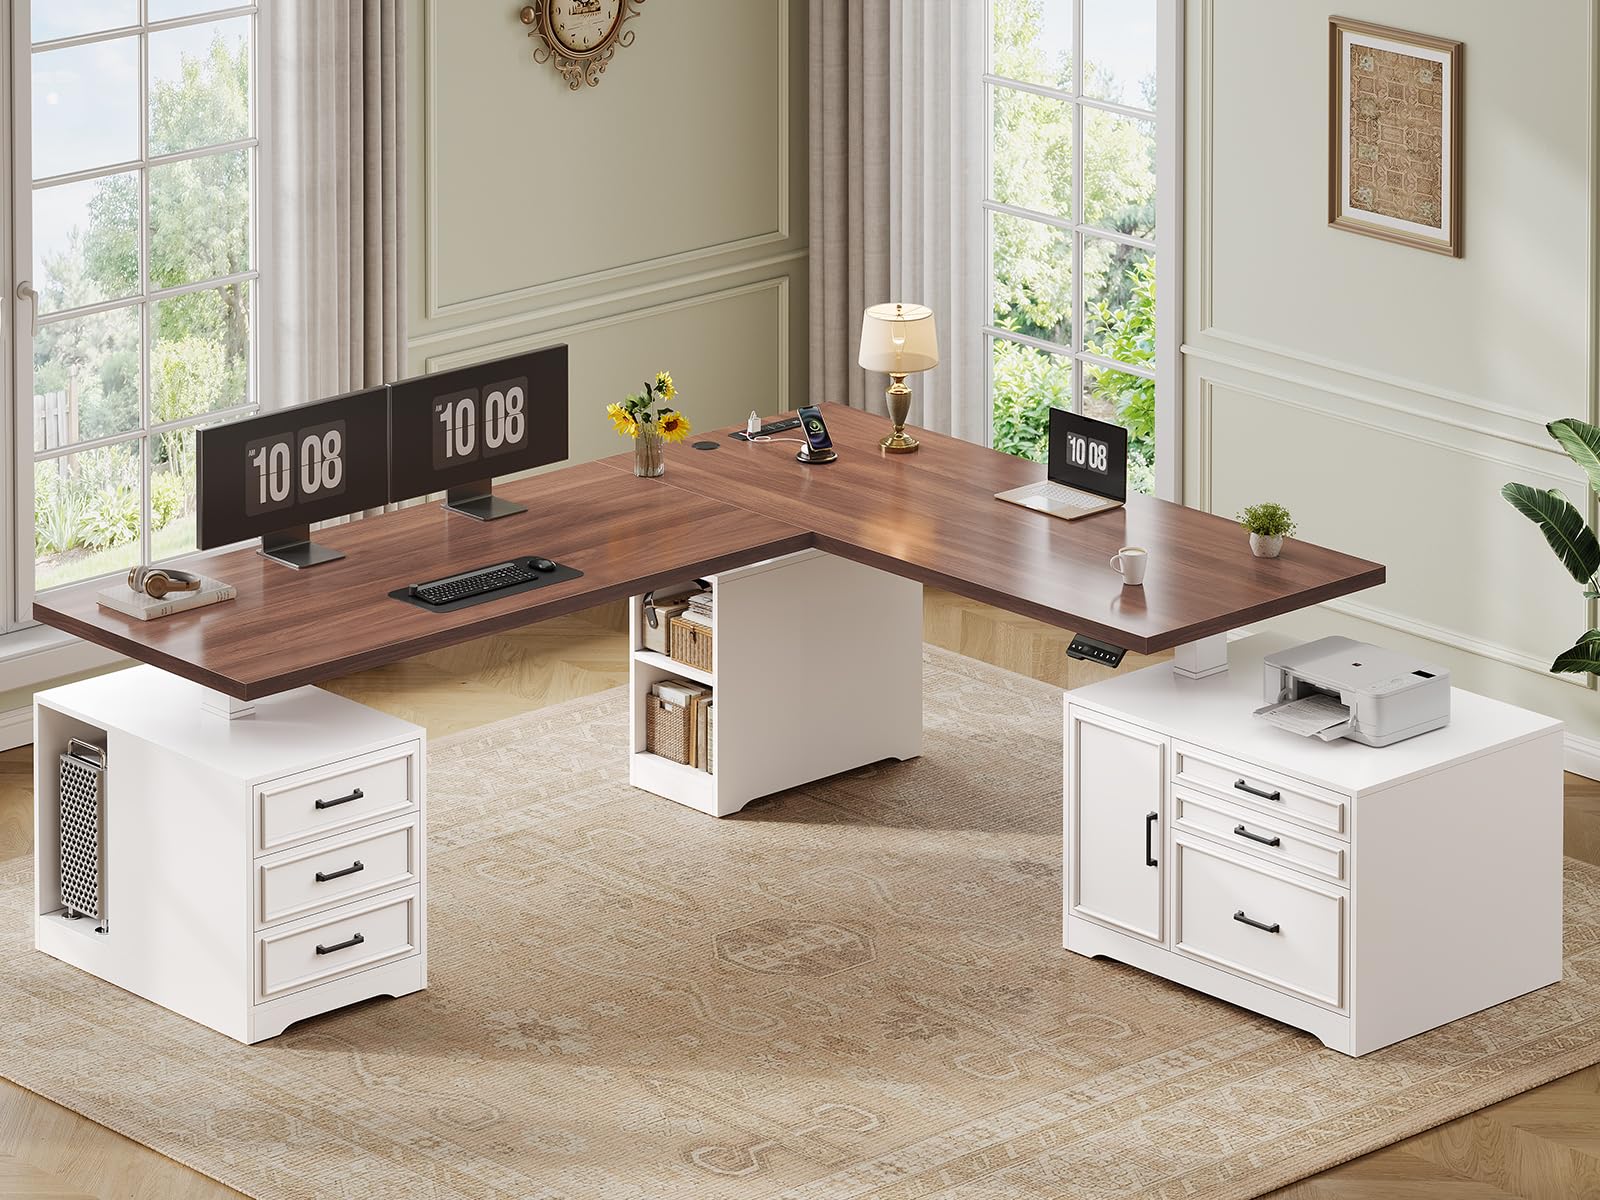
Image: The SEDETA Farmhouse L-Shaped Electric Standing Desk in White Brown, showcasing its overall design and spacious worktop.
Safety Information
- Ensure all components are present and undamaged before assembly. Do not use if any parts are missing or broken.
- Keep children and pets away from the desk during operation, especially when adjusting height.
- Do not overload the desk. The maximum weight capacity is 400 lbs.
- Ensure the power cord is not pinched or damaged. Use the integrated safety switch to cut power when not in use or during maintenance.
- Only use the desk on a level surface.
- Avoid placing liquids directly on the desk surface near electrical components.
Package Contents
Verify that all parts are included in your package. The desk ships in two boxes, which may arrive separately.
- L-shaped desktop panels
- Electric lifting columns (dual motors)
- Control panel and power adapter
- File cabinet with drawers
- Additional storage drawers and open shelf components
- Built-in power outlet strip (4 AC outlets, 2 USB ports)
- Assembly hardware (screws, bolts, tools)
- User Manual

Image: Detailed dimensions of the L-shaped desk and its integrated storage units, including drawer sizes.
Setup and Assembly
Assembly requires two people. Follow the numbered steps provided in the separate assembly guide included in your package. Ensure all connections are secure before powering on the desk.
- Unpack Components: Carefully remove all parts from the packaging. Lay them out on a clean, soft surface to prevent scratches.
- Assemble Base Frames: Attach the lifting columns to the desk feet and crossbars according to the assembly guide.
- Install Desktop Panels: Secure the L-shaped desktop panels to the assembled base frames. Ensure proper alignment.
- Assemble Storage Units: Construct the file cabinet and additional drawer units. Integrate them with the desk structure as shown in the diagrams.
- Install Power Outlet: Mount the built-in power outlet strip into the designated slot on the desktop. Connect its power cord.
- Connect Control Panel: Attach the control panel to the underside of the desk and connect it to the motor system.
- Cable Management: Use provided cable ties or clips to organize and secure all power and control cables.
- Initial Power-Up: Plug the desk into a grounded electrical outlet. Perform an initial reset if instructed by the assembly guide (usually holding the 'RST' button).

Image: An exploded view or diagram showing the main components of the L-shaped standing desk, indicating how different parts like the desktop, storage units, and lifting columns fit together.
Operating Instructions
Height Adjustment
Your electric standing desk allows for smooth height adjustments between 28.3 inches and 47 inches. The control panel features a digital display and programmable presets.

Image: Close-up of the desk's control panel, showing up/down arrows, digital height display, preset buttons (1, 2, 3), and a reset button (RST).
- Adjusting Height: Use the Up and Down arrows on the control panel to precisely adjust the desk to your desired height. The LED display will show the current height.
- Setting Presets:
- Adjust the desk to your preferred sitting or standing height.
- Press one of the preset buttons (1, 2, or 3) for approximately 3 seconds until the display flashes or beeps. This saves the current height to that preset.
- To recall a saved height, simply press the corresponding preset button once. The desk will automatically move to the saved position.
- Reset Function (RST): If the desk encounters an error or does not respond, press and hold the RST button for several seconds until the desk moves to its lowest position and resets.
Using the Built-in Power Outlet
The desk includes a convenient power hub with 4 AC outlets and 2 USB ports.

Image: A close-up view of the integrated power strip on the desk surface, showing 4 AC outlets, 2 USB ports, and a master on/off switch.
- Connecting Devices: Plug your electronic devices into the available AC outlets or USB ports.
- Safety Switch: Use the master on/off switch on the power strip to easily cut power to all connected devices when not in use, enhancing safety and saving energy.
Utilizing Storage Features
The desk is designed with extensive storage options to keep your workspace organized.

Image: An overhead view of the desk highlighting various storage zones, including drawers, an open shelf, and a cabinet, with numbers indicating specific areas.
- File Drawer: The large bottom drawer in the file cabinet is designed to accommodate letter, A4, and legal-size hanging files.
- Utility Drawers: Five additional drawers provide space for office supplies, gadgets, and personal items.
- Open Shelf: An open shelf is available for books, binders, or decorative items.
- Closed Cabinet: A cabinet offers concealed storage for larger items or supplies.

Image: Detailed view of the file drawer, demonstrating its capacity for various file sizes (A4, Letter, Legal) and general storage.
Maintenance
- Cleaning: Wipe the desk surface with a soft, damp cloth. Avoid harsh chemicals or abrasive cleaners that may damage the finish.
- Electrical Components: Ensure all electrical connections are dry and free from dust. Do not spray cleaning solutions directly onto the control panel or power outlets.
- Moving the Desk: If you need to move the desk, ensure it is in its lowest position and unplugged. Lift the desk rather than dragging it to prevent damage to the frame or floor.
- Regular Checks: Periodically check all screws and bolts to ensure they remain tight.
Troubleshooting
| Problem | Possible Cause | Solution |
|---|---|---|
| Desk does not move. | Power cord unplugged; safety switch off; motor error. | Check power connection. Ensure the power strip's safety switch is ON. Press and hold the RST button to reset the system. |
| Desk moves unevenly or makes unusual noise. | Overload; loose connections; obstruction. | Reduce weight on the desk. Check all assembly screws. Ensure no objects are obstructing the lifting columns. Perform a reset. |
| Control panel display shows an error code. | System malfunction. | Refer to the specific error code in the full assembly manual (if provided) or perform a system reset using the RST button. If the issue persists, contact customer support. |
| Power outlets not working. | Safety switch off; desk unplugged; circuit breaker tripped. | Ensure the power strip's safety switch is ON. Check the main power connection to the wall outlet. Check your home's circuit breaker. |

Image: Graphic illustrating the quiet operation of the SEDETA desk (under 30dB) compared to normal voice and engine sound levels.
Specifications
| Brand | SEDETA |
| Model Number | 5945_1 |
| Desk Design | L-Shape Electric Standing Desk |
| Product Dimensions (D x W x H) | 55"D x 76.8"W x 28.3"H |
| Adjustable Height Range | 28.3 inches to 47 inches |
| Color | White Brown |
| Material | Engineered Wood (Top), Metal (Frame) |
| Maximum Weight Capacity | 400 lbs |
| Number of Drawers | 6 (1 file drawer, 5 utility drawers) |
| Number of Cabinets | 1 |
| Power Outlets | 4 AC Outlets (120V/12A), 2 USB Ports (5V/2A) |
| Noise Level | Under 30 dB |
| Item Weight | 206 pounds |
Warranty and Support
SEDETA products are manufactured to high-quality standards. For specific warranty details, please refer to the warranty card included with your product or visit the official SEDETA website. If you encounter any issues or require assistance with your desk, please contact SEDETA customer support.
For customer support, please refer to the contact information provided in your purchase documentation or on the SEDETA brand store page on Amazon.
