
Introduction
Thank you for purchasing the Merax Queen Size Upholstered Daybed with Trundle. This manual provides essential information for the safe and correct assembly, operation, and maintenance of your new daybed. Please read all instructions carefully before beginning assembly and retain this manual for future reference.
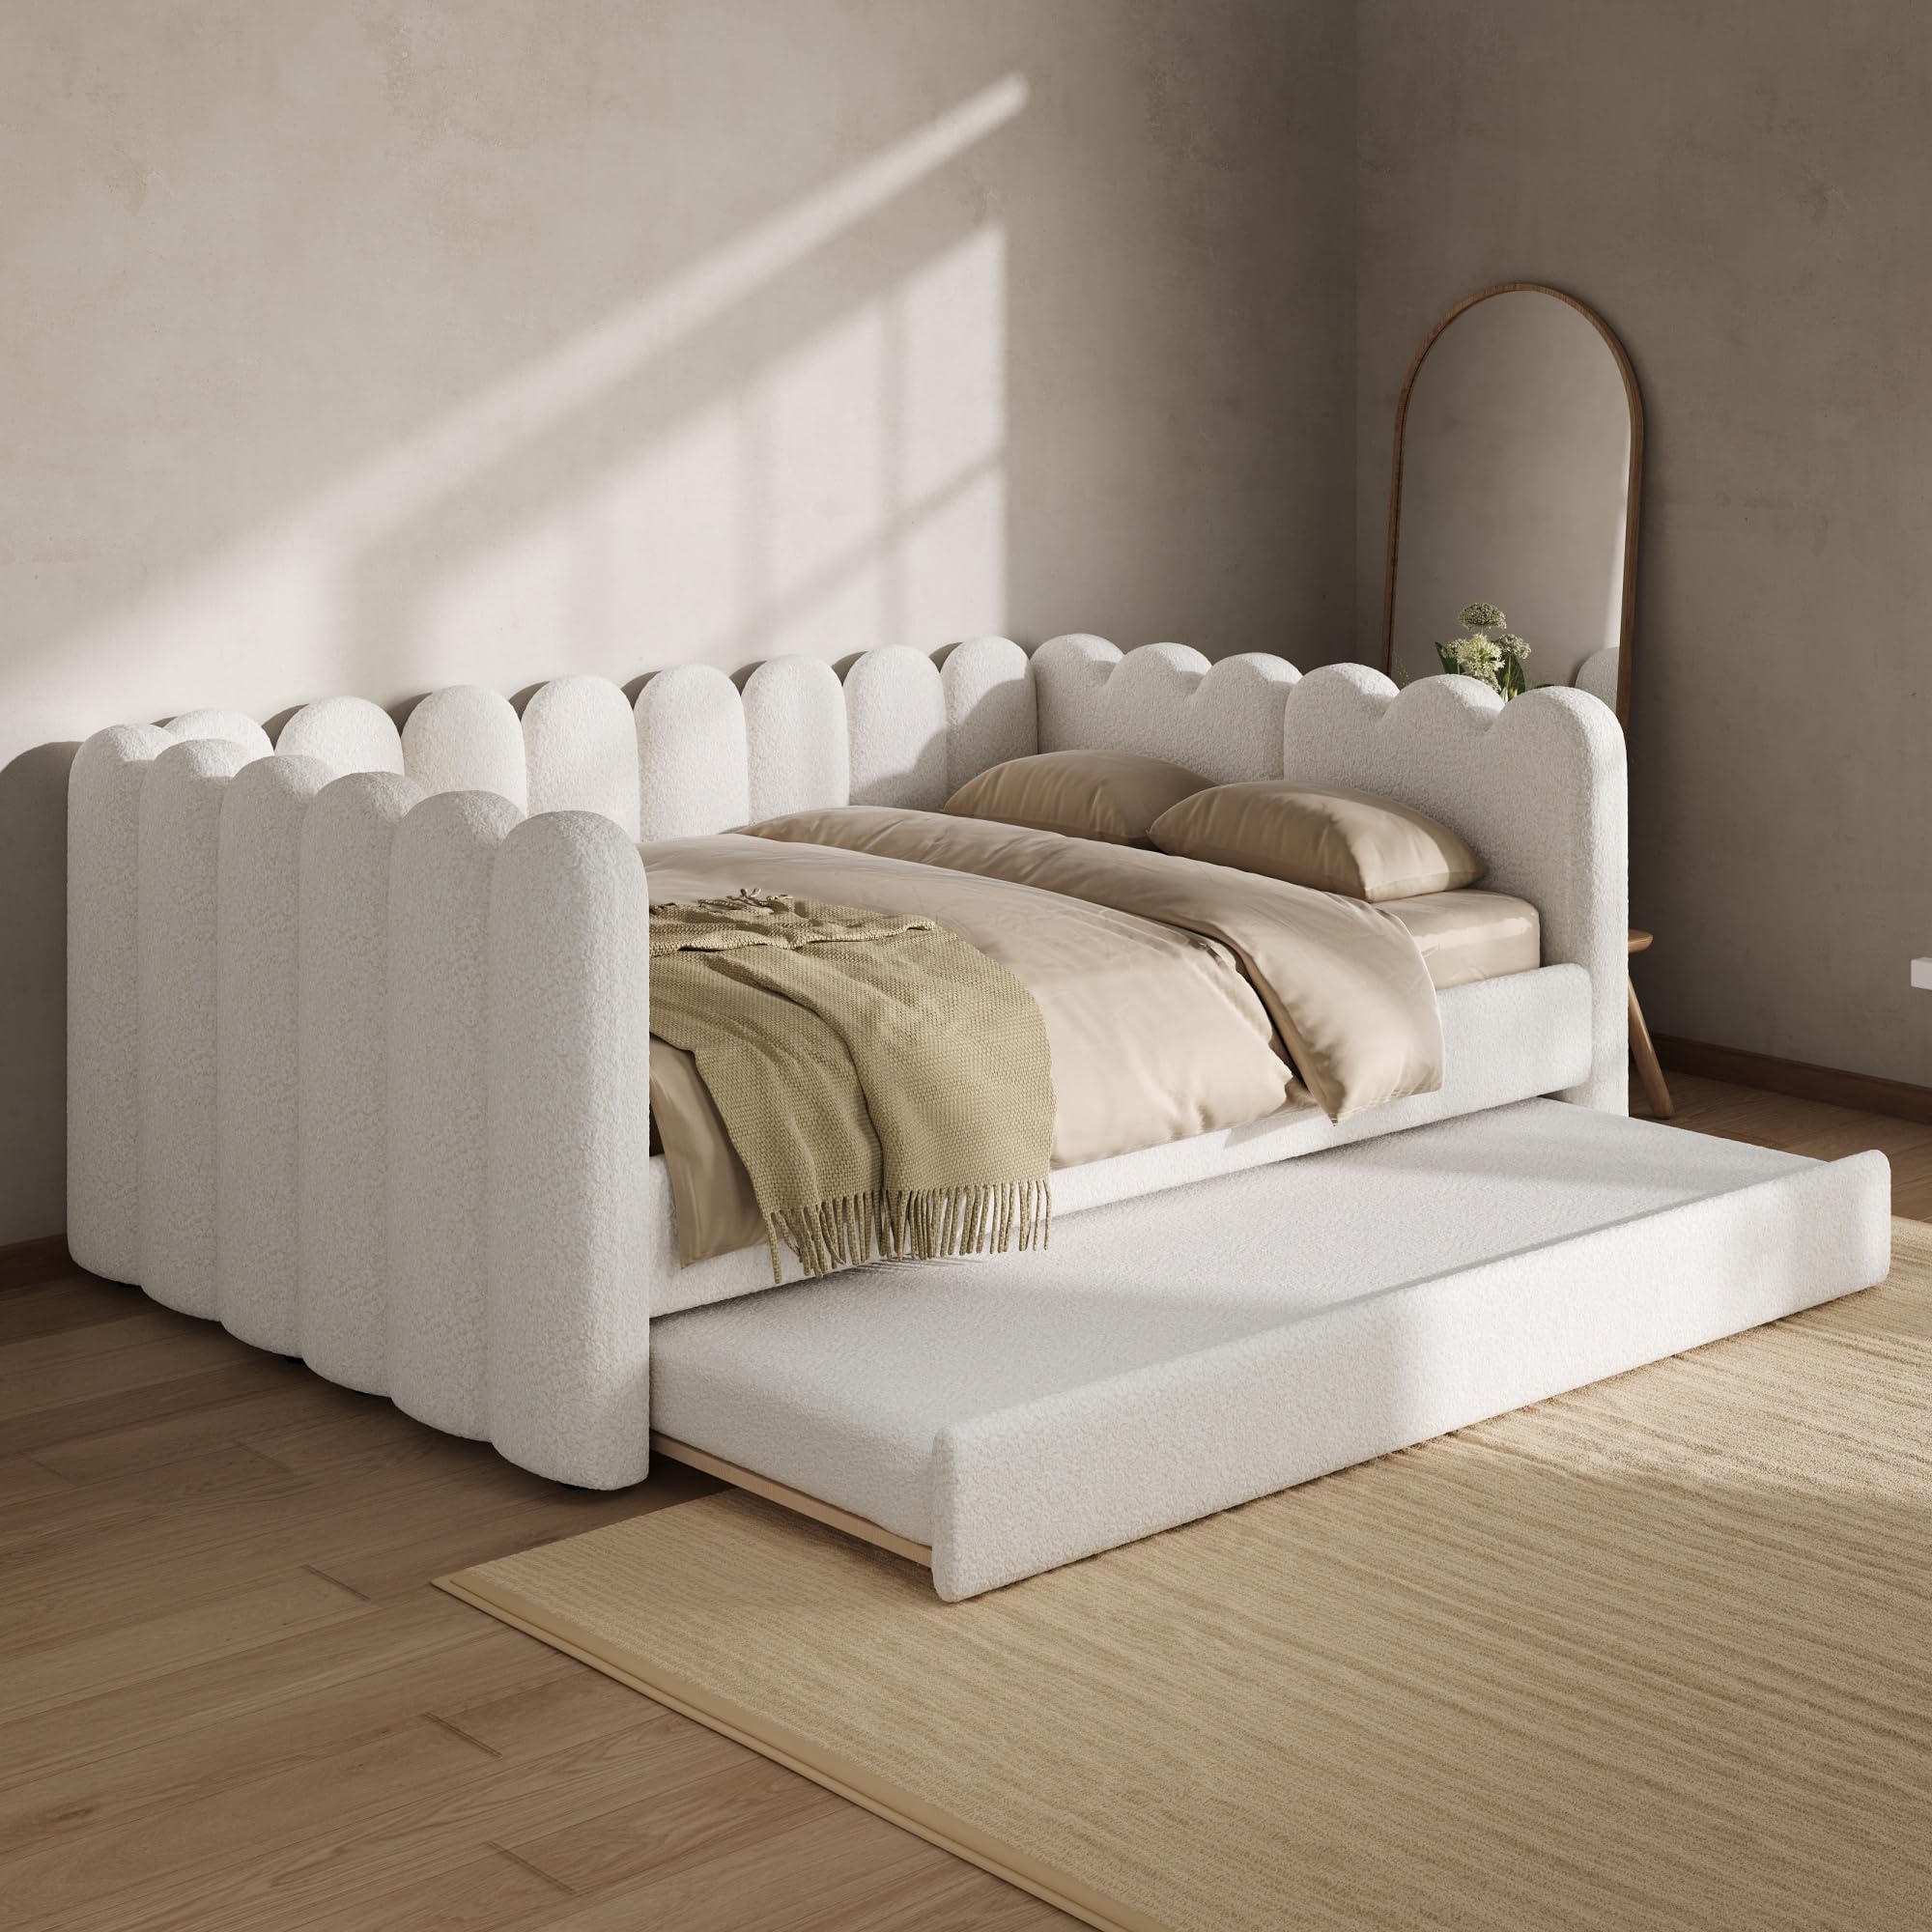
Image: Merax Queen Size Upholstered Daybed with Trundle in white.
Safety Information
- Ensure all parts are present and undamaged before assembly. Do not use damaged parts.
- Assemble on a soft, clean surface to prevent scratches.
- Two people are recommended for assembly.
- Do not overtighten screws during assembly.
- Regularly check all connections to ensure they remain tight.
- Do not exceed the maximum weight capacity of 600 lbs for the daybed.
- Keep small parts away from children during assembly.
Package Contents
Your Merax Daybed with Trundle is shipped in multiple packages. Please ensure you have received all packages and their contents before starting assembly.
- Daybed Frame Components (Headboard, Footboard, Side Rails)
- Trundle Bed Frame Components
- Wood Slats for Daybed and Trundle
- Hardware Pack (Screws, bolts, washers, Allen wrench)
- Instruction Manual
Setup and Assembly
Follow these steps to assemble your daybed. It is recommended to have two people for assembly.
- Unpack and Identify Parts: Carefully unpack all components and lay them out on a clean, soft surface. Refer to the parts list in your included manual to identify each piece and ensure nothing is missing.
- Assemble the Main Daybed Frame:
- Attach the side rails to the headboard and footboard using the provided hardware. Do not fully tighten bolts until the frame is stable.
- Ensure all connections are secure and the frame is square before tightening all bolts.

Image: Front view of the Merax Daybed frame without mattress.
- Install Daybed Slats:
- Place the wood slats across the daybed frame.
- Secure the slats to the side rails using the designated screws or connectors. Ensure even spacing for optimal mattress support.

Image: Close-up view of the sturdy wood slats.
- Assemble the Trundle Frame:
- Assemble the trundle frame components according to the instructions, attaching the wheels or casters.
- Install the trundle slats in the same manner as the main daybed slats.

Image: The pull-out trundle bed frame with its wood slats.
- Insert Trundle: Slide the assembled trundle bed under the main daybed frame.

Image: The Merax Daybed with the trundle fully extended, showing both sleeping surfaces.
Operating Instructions
Using the Daybed
The main daybed functions as a comfortable sofa during the day and a bed at night. Simply place your queen-size mattress directly onto the slats. No box spring is required.

Image: The Merax Daybed arranged as a sofa with bedding and pillows.
Using the Trundle
The trundle bed provides an additional sleeping surface for guests. To use:
- Gently pull the trundle frame out from under the main daybed. The casters allow for smooth movement.
- Ensure the trundle is fully extended and stable before placing a mattress or allowing someone to sleep on it.
- To store, simply push the trundle back under the daybed until it is fully recessed.

Image: The Merax Daybed with the trundle partially pulled out, demonstrating its functionality.
Maintenance
- Cleaning Upholstery: For general cleaning, vacuum the upholstered fabric regularly with a soft brush attachment to remove dust and debris. For spills, blot immediately with a clean, dry cloth. For stubborn stains, consult a professional upholstery cleaner or use a mild fabric cleaner suitable for the material, testing on an inconspicuous area first.
- Cleaning Wood Components: Wipe wood surfaces with a soft, damp cloth. Avoid harsh chemicals or abrasive cleaners.
- Hardware Check: Periodically check all bolts and screws to ensure they are tight. Retighten as necessary to maintain stability and prevent squeaking.
- Avoid Direct Sunlight: Prolonged exposure to direct sunlight can cause upholstery fabric to fade.
- Avoid Excessive Moisture: Keep the daybed in a dry environment to prevent damage to wood and upholstery.
Troubleshooting
| Problem | Possible Cause | Solution |
|---|---|---|
| Daybed feels unstable or wobbly. | Loose hardware connections. | Check and tighten all bolts and screws on the main frame. |
| Squeaking noises. | Loose connections or friction between parts. | Tighten all hardware. If squeaking persists, apply a small amount of lubricant (e.g., silicone spray) to contact points between slats and frame. |
| Trundle does not slide smoothly. | Obstruction under the bed or dirty/damaged casters. | Clear any obstructions. Clean casters and ensure they are free of debris. Check if casters are properly installed and undamaged. |
| Missing parts or damaged components upon arrival. | Manufacturing defect or shipping damage. | Do not proceed with assembly. Contact Merax customer support immediately for replacement parts. |
Specifications
| Feature | Detail |
|---|---|
| Model | B0H6ZGDBQ6 |
| Size | Queen |
| Overall Dimensions (L x W x H) | 88.1" x 62.5" x 33.6" |
| Material | Pine Wood, MDF, Upholstered Fabric |
| Color | White |
| Weight Capacity (Daybed) | 600 lbs |
| Mattress Compatibility | Queen (Daybed), Twin (Trundle - standard size, not explicitly listed for this model) |
| Assembly Required | Yes |
| Included Components | Pull Out Trundle, Wood Slats |

Image: Dimensional diagram of the Merax Queen Size Upholstered Daybed with Trundle.
Warranty and Support
Merax products are designed for quality and durability. For any questions regarding assembly, missing parts, or product defects, please contact Merax customer support. Please have your model number (B0H6ZGDBQ6) and purchase information ready when contacting support.
For warranty details, please refer to the specific warranty information provided with your purchase or visit the official Merax website. Keep your proof of purchase for warranty claims.
Merax Official Store: Visit Merax Store on Amazon

