
Mod-8TP-641
Generic Drive Belt Instruction Manual
Model: Mod-8TP-641 | Brand: Generic
Introduction
This manual provides comprehensive instructions for the installation, operation, maintenance, and troubleshooting of your new Generic drive belt. Please read this manual thoroughly before attempting any installation or maintenance to ensure safe and correct usage. This drive belt is designed as a replacement part for various Weed Eater models, ensuring reliable power transfer for your equipment.
Safety Information
Always prioritize safety when working with machinery. Failure to follow these safety guidelines may result in personal injury or damage to equipment.
- Disconnect Power: Always ensure the equipment's engine is off and the spark plug wire is disconnected (or battery removed for electric models) before beginning any work.
- Wear Protective Gear: Use appropriate personal protective equipment, including gloves and eye protection.
- Secure Equipment: Ensure the equipment is stable and cannot move unexpectedly during maintenance.
- Read Equipment Manual: Refer to your specific Weed Eater equipment's owner's manual for additional safety precautions and detailed disassembly/assembly instructions.
- Inspect Components: Before installation, inspect the new belt for any manufacturing defects.
Setup and Installation
Tools Required
- Wrenches or sockets (sizes may vary by equipment model)
- Screwdrivers (Phillips and flathead)
- Pry bar or similar tool (for tension release, if applicable)
- Gloves
Preparation
- Park the equipment on a flat, level surface.
- Engage the parking brake (if applicable).
- Turn off the engine and remove the ignition key or disconnect the spark plug wire.
- Allow the engine and any hot components to cool down completely.
- Remove any deck covers or guards that obstruct access to the drive belt.
Belt Replacement Procedure
- Locate the Old Belt: Identify the path of the existing drive belt around the pulleys. It may be helpful to take a photo for reference.
- Release Tension: Depending on your equipment model, you may need to release tension from an idler pulley or spring mechanism. Consult your equipment's manual for specific instructions.
- Remove Old Belt: Carefully unroute and remove the old belt from all pulleys. Inspect the old belt for wear patterns, which can indicate issues with pulleys or alignment.
- Inspect Pulleys: Check all pulleys for wear, damage, or excessive play. Replace any worn or damaged pulleys to ensure proper belt function and longevity.
- Install New Belt: Route the new Generic drive belt (Model Mod-8TP-641) around the pulleys, following the exact path of the old belt. Ensure the belt is seated correctly in all pulley grooves.
- Apply Tension: Re-engage the tensioning mechanism. Verify that the belt has proper tension – it should be snug but not overly tight.
- Reassemble: Reinstall any deck covers or guards that were removed.
- Test: Before full operation, slowly engage the drive system to ensure the belt tracks correctly and there are no unusual noises or movements.
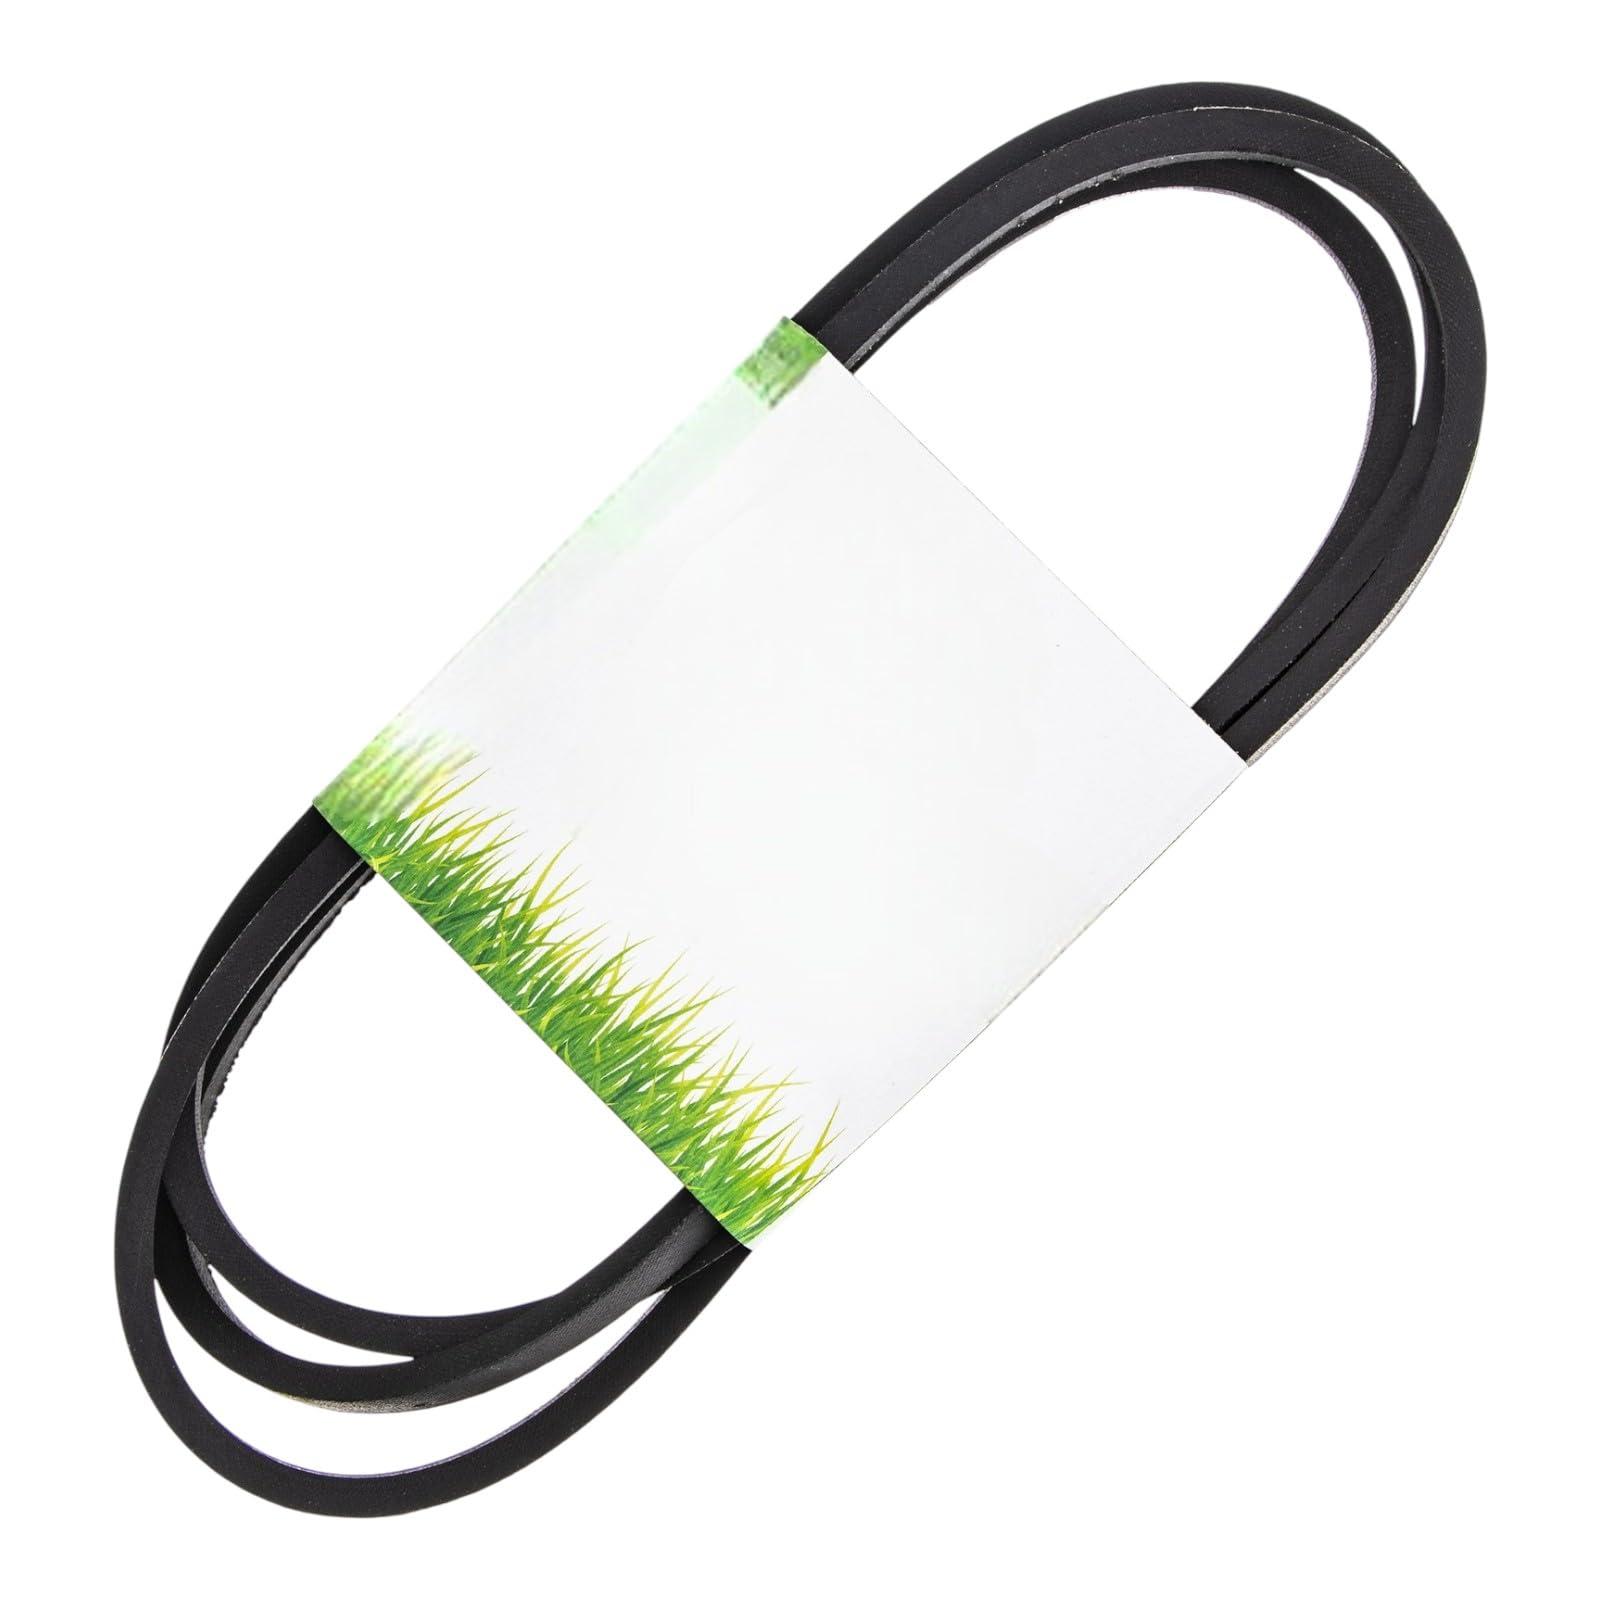
Image: The Generic drive belt, designed for compatibility with various Weed Eater models. This image shows the typical appearance of the replacement belt.
Operation
After installation, ensure the belt is properly tensioned and seated on all pulleys. During initial operation, listen for any unusual noises or signs of slipping. If the belt slips or makes excessive noise, re-check the installation and tension. Always operate your equipment according to its manufacturer's guidelines.
Maintenance
Regular maintenance extends the life of your drive belt and ensures optimal performance of your equipment.
- Regular Inspection: Periodically inspect the belt for signs of wear, cracking, fraying, glazing, or stretching. Replace the belt if any significant wear is observed.
- Keep Clean: Keep the belt and pulleys free from dirt, debris, oil, and grease. Contaminants can cause the belt to slip or wear prematurely.
- Check Tension: Ensure the belt maintains proper tension as specified by your equipment's manufacturer. Incorrect tension can lead to premature wear or inefficient power transfer.
- Storage: If storing equipment for an extended period, consider releasing belt tension to prevent permanent stretching or deformation.
Troubleshooting
| Problem | Possible Cause | Solution |
|---|---|---|
| Belt slipping | Incorrect tension, worn belt, glazed pulleys, oil/grease on belt | Adjust tension, replace belt, clean pulleys, degrease belt/pulleys |
| Excessive noise (squealing, grinding) | Misaligned pulleys, worn bearings, incorrect belt type, debris | Check pulley alignment, inspect bearings, ensure correct belt, clean debris |
| Belt breaks prematurely | Over-tensioning, worn pulleys, foreign object, incorrect belt type | Check tension, inspect pulleys for sharp edges, remove obstructions, verify belt compatibility |
| Equipment not engaging | Broken belt, dislodged belt, engagement mechanism failure | Inspect belt path, replace broken belt, check engagement lever/cable |
Specifications
- Model Number: Mod-8TP-641
- Belt Width: 1/2 inch (0.5")
- Belt Length: 95 1/2 inches (95.5")
- Compatible Equipment Brand: Weed Eater (and others requiring specified dimensions/OEM part numbers)
- Key Compatible Weed Eater Models: WET1742STA, WET2242STB, HD13538, WE12538G, WET1742B, WET1642A, WET1338A, WET12538A, and many other models requiring the specified belt dimensions.
- Replaces OEM Part Numbers: 130801, 138255, 532138255, 160855, 21547082, 532130801, 532160855, 577203116, 24102, 21547026, 583271401 (and others)
Warranty and Support
This product is a replacement part. For specific warranty information, please refer to the terms and conditions provided by your retailer at the time of purchase. For technical support or further assistance, please contact the seller or refer to your original equipment manufacturer's documentation for detailed service procedures.
Ask a question about this manual
Ask about setup, troubleshooting, compatibility, parts, safety, or missing instructions. Manuals+ will review the question and use this page’s manual context to help answer it.