
1. Introduction
This manual provides instructions for the installation, operation, and maintenance of the KLORVA Pool Alarm, Model KL01. This device is designed to detect water entry into residential pools, providing an audible alert to enhance pool safety. It is suitable for both inground and above-ground pools up to 20x40 feet.
2. Safety Information
- The KLORVA Pool Alarm is a supplementary safety device and does not replace the need for constant adult supervision of children and pets near the pool.
- Ensure all pool safety barriers, such as fences and gates, are in place and functioning correctly.
- Familiarize yourself with local pool safety regulations and ensure compliance.
- Test the alarm regularly to confirm proper operation.
- Keep the home unit plugged into a power outlet indoors where the alarm can be clearly heard.
3. Package Contents
Verify that all components are present in the package:
- 1 x Pool Unit (Floating Alarm)
- 1 x Home Unit (Indoor Receiver)
- 1 x 9V Alkaline Battery (for Pool Unit)
- Mounting Accessories (screws, wall anchors, suction cup, rope)
- User Manual
4. Setup
4.1. Pool Unit Battery Installation
- Carefully open the pool unit to access the battery compartment.
- Insert the included 9V alkaline battery, ensuring correct polarity.
- Securely close the battery compartment to maintain waterproofing.

Figure 1: Battery installation for the pool unit and connection of the home unit.
4.2. Home Unit Placement
Plug the home unit into a standard indoor electrical outlet. The home unit will automatically connect wirelessly with the pool unit. Place it in a location where the 85dB+ alarm can be clearly heard from all necessary areas of the home.
4.3. Pool Unit Placement
Place the pool unit in the water, ensuring it floats freely. For optimal performance and to minimize false alarms, position the unit away from pool return jets, skimmers, and areas with strong water flow. Use the provided rope and suction cup or anchor to secure the unit to the pool side if desired.

Figure 2: Recommended placement for pool unit, covering pools up to 20x40 feet.
4.4. Adjusting Sensitivity
The pool unit features adjustable sensitivity to adapt to different pool sizes, water conditions, and environments. Rotate the sensor on the underside of the pool unit:
- Clockwise: Increases sensitivity (Max Security), detecting smaller disturbances.
- Counter-clockwise: Decreases sensitivity (Fewer False Alarms), reducing triggers from minor surface movement like wind or rain.
Test the alarm after adjustment to ensure it responds appropriately to water entry while minimizing false alerts. The default sensitivity setting is suitable for most users.

Figure 3: Sensitivity adjustment dial on the pool unit.
5. Operating Instructions
5.1. Alarm Activation
Once the pool unit is in the water with a fresh battery and the home unit is plugged in, the system is active. Any significant water disturbance will trigger an 85dB+ alarm from both the pool unit and the home unit.

Figure 4: The alarm sounds at 85dB+ from both units upon water entry.
5.2. Swimming Mode
To temporarily pause alerts during pool use, activate Swimming Mode. This prevents unnecessary alarms while the pool is occupied. Refer to the pool unit's controls for specific instructions on engaging and disengaging Swimming Mode.

Figure 5: Activating Swimming Mode to pause alerts during pool use.
6. Maintenance
6.1. Battery Replacement
The pool unit features a low battery alert. When the battery is low, the pool unit will emit a short 'di' beep every 30 seconds, and the top red indicator will flash 5 times. Replace the 9V battery promptly to ensure continuous protection. Battery life varies based on usage and pool conditions.

Figure 6: Low battery alert reminder.
6.2. Cleaning
Periodically clean the pool unit with a soft cloth and fresh water to remove any pool chemicals or debris that may accumulate. Do not use abrasive cleaners.
6.3. Storage
During the off-season or when the pool is not in use for extended periods, remove the pool unit from the water, clean it, remove the battery, and store it in a dry, cool place away from direct sunlight.
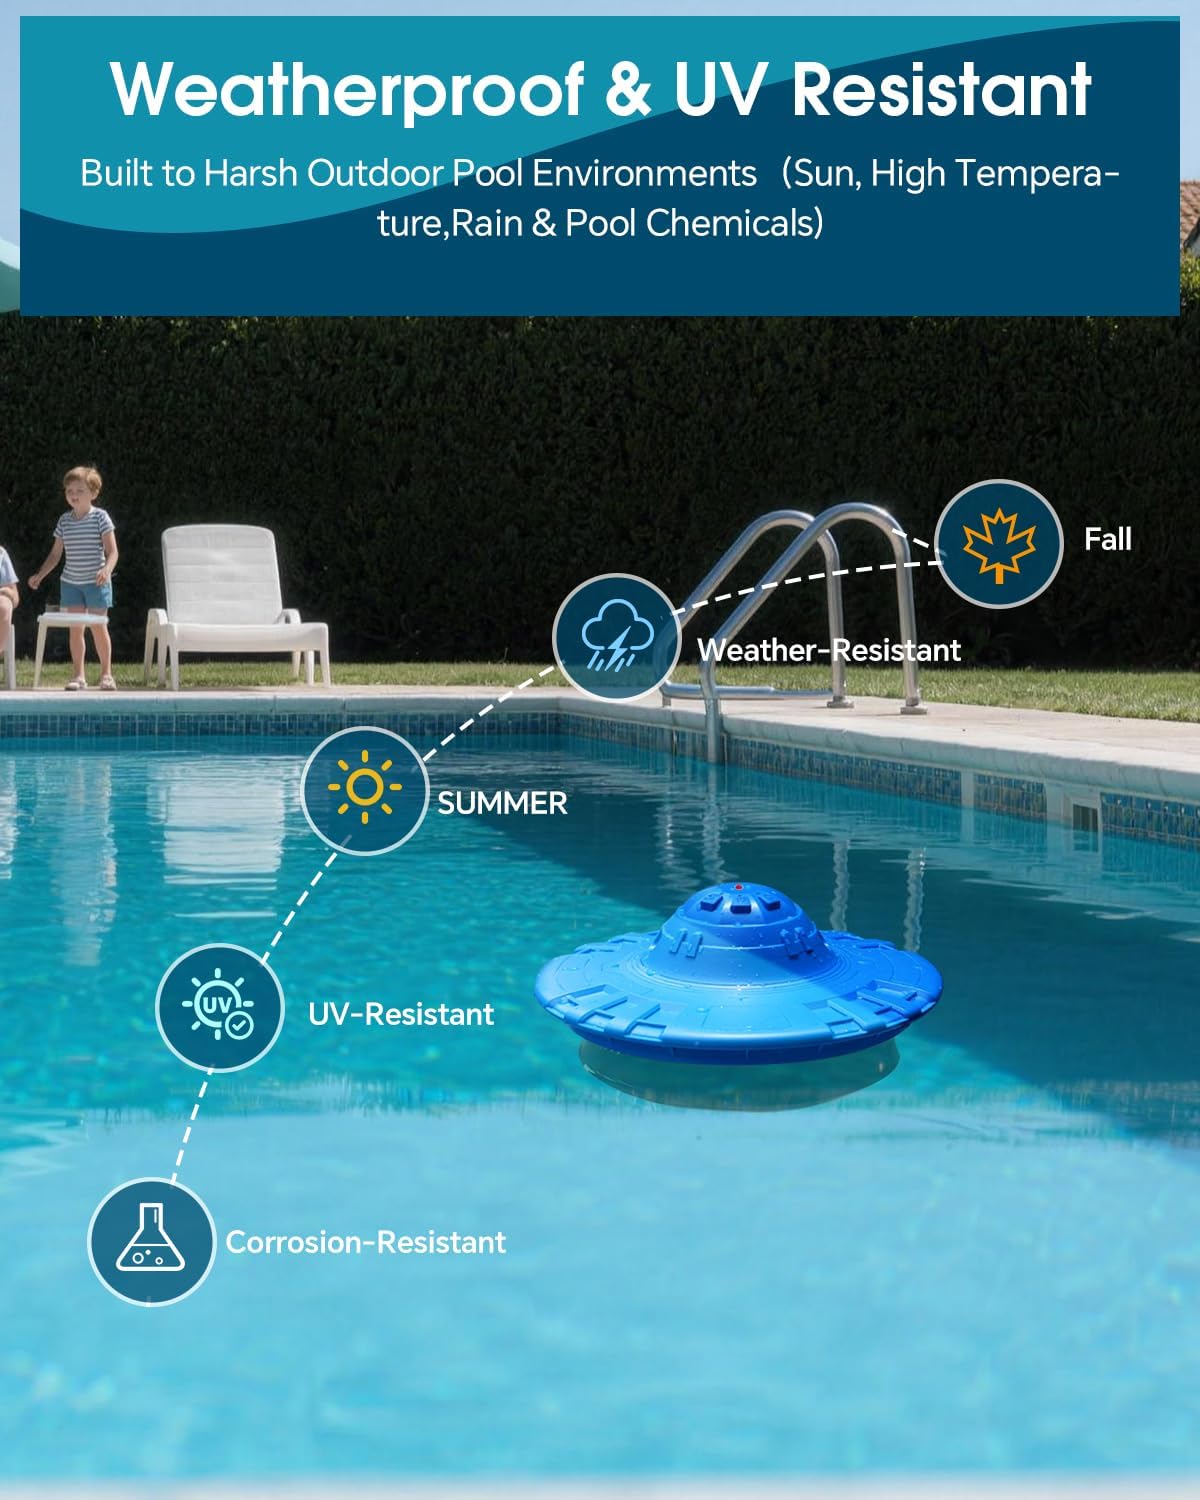
Figure 7: The alarm is built for outdoor durability, resisting UV, water, and corrosion.
7. Troubleshooting
7.1. False Alarms
- Sensitivity Adjustment: Decrease the sensitivity by rotating the sensor counter-clockwise.
- Placement: Ensure the pool unit is not placed near pool return jets, skimmers, or areas with strong currents that could cause constant surface disturbance.
- Environmental Factors: Minor surface movement from wind or heavy rain can sometimes trigger the alarm. Adjusting sensitivity can help mitigate this.

Figure 8: Tips for optimizing alarm placement and settings to avoid false alarms.
7.2. No Alarm Sound
- Battery Check: Ensure the 9V battery in the pool unit is correctly installed and not depleted. Replace if necessary.
- Home Unit Power: Verify the home unit is securely plugged into a working electrical outlet.
- Range: Ensure the pool unit and home unit are within effective wireless range.
- Obstructions: Check for any physical obstructions between the pool unit and home unit that might interfere with the wireless signal.
8. Specifications
| Model Number | KL01 |
| Brand | KLORVA |
| Color | Blue & Grey |
| Product Dimensions | 9.64"L x 6.49"W x 10.23"H |
| Item Weight | 2.8 pounds |
| Battery Type | 1 x 9V Alkaline Battery (included) |
| Audible Noise | 85 dB+ |
| Maximum Range (Alarm) | 10 feet (audible from) |
| Sensor Technology | Surface Wave Detection |
| Coverage Area | Up to 20 x 40 ft pools |
| Features | Adjustable Sensitivity, Weatherproof, UV Resistant, Corrosion Resistant, Low Battery Indicator, Swimming Mode |
9. Warranty and Support
For warranty information or technical support, please refer to the contact details provided with your purchase documentation or visit the official KLORVA website. Keep your purchase receipt as proof of purchase.