
1. Introduction
This manual provides essential instructions for the safe and efficient operation, maintenance, and troubleshooting of your OSTBA 30-Cup Commercial Coffee Urn. Designed for convenience and durability, this 5.2L stainless steel percolator is suitable for various settings, including home, office, catering, and events. Please read this manual thoroughly before first use and retain it for future reference.
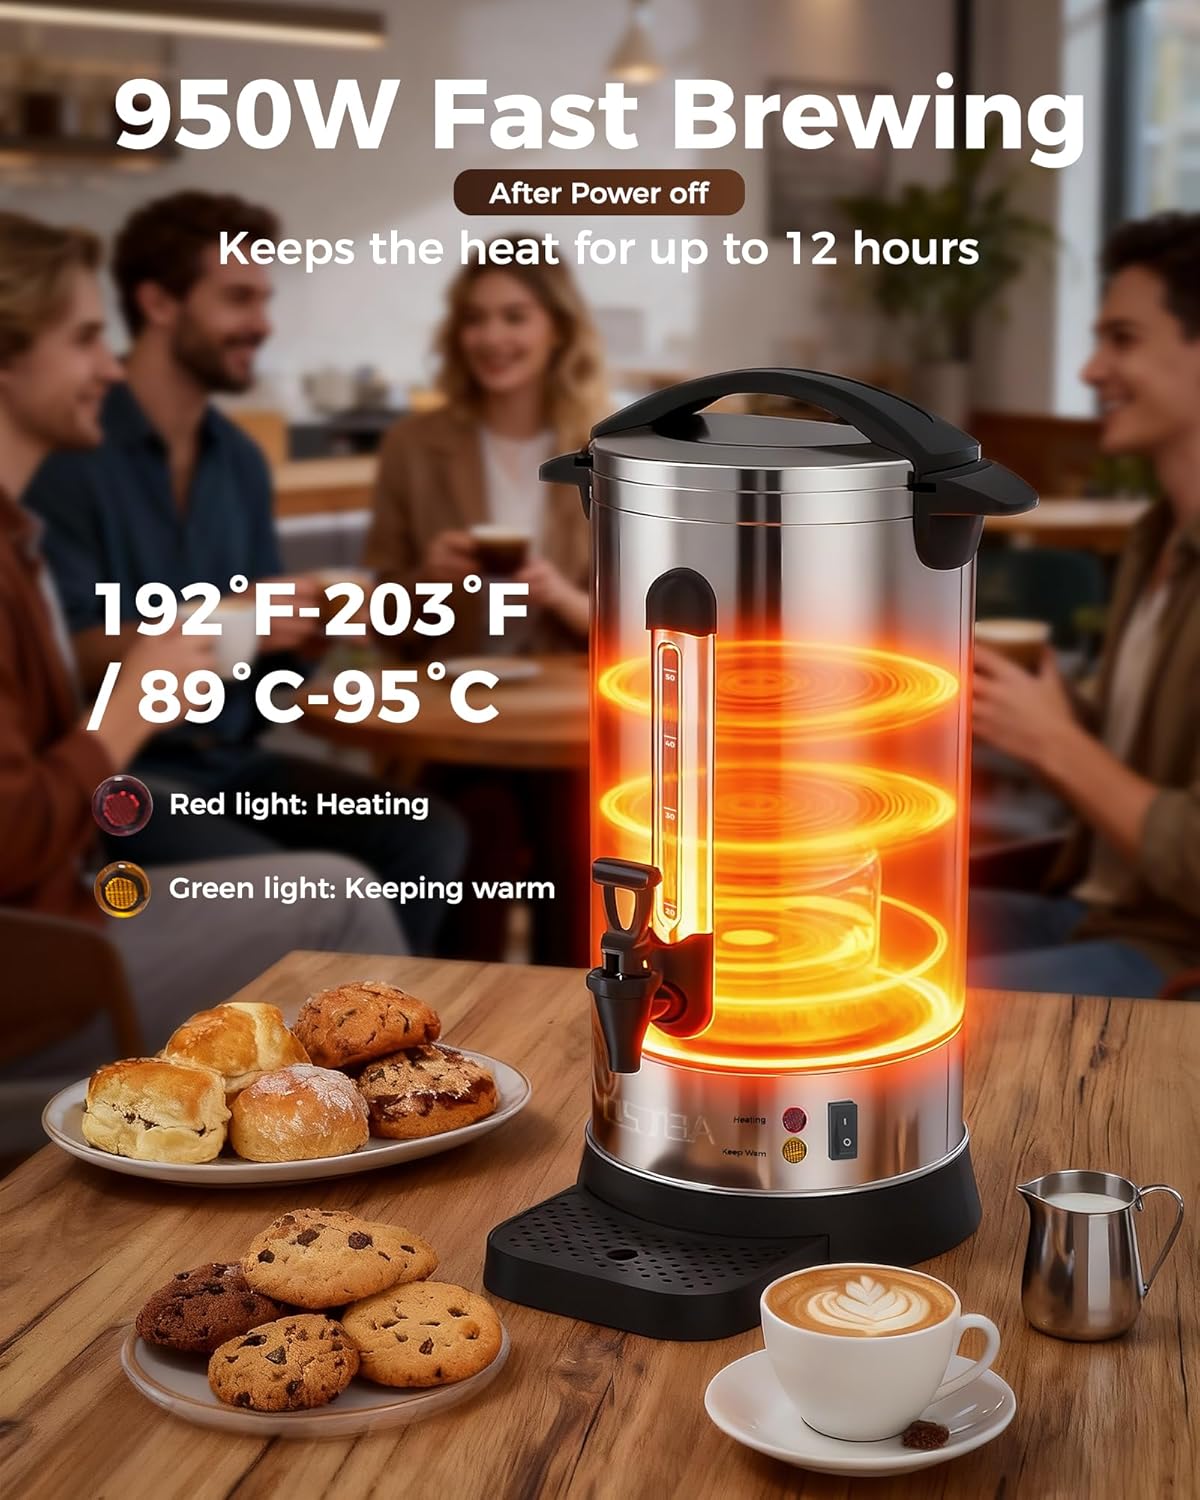
Image 1.1: The OSTBA 30-Cup Commercial Coffee Urn in use.
2. Important Safety Instructions
When using electrical appliances, basic safety precautions should always be followed to reduce the risk of fire, electric shock, and injury to persons. Read all instructions before using this appliance.
- Do not touch hot surfaces. Use handles or knobs.
- To protect against electrical hazards, do not immerse cord, plugs, or the appliance in water or other liquid.
- Close supervision is necessary when any appliance is used by or near children.
- Unplug from outlet when not in use and before cleaning. Allow to cool before putting on or taking off parts, and before cleaning the appliance.
- Do not operate any appliance with a damaged cord or plug, or after the appliance malfunctions or has been damaged in any manner. Contact customer service for examination, repair, or adjustment.
- The use of accessory attachments not recommended by the appliance manufacturer may result in fire, electric shock, or injury to persons.
- Do not use outdoors.
- Do not let cord hang over edge of table or counter, or touch hot surfaces.
- Do not place on or near a hot gas or electric burner, or in a heated oven.
- Always attach plug to appliance first, then plug cord into the wall outlet. To disconnect, turn any control to "off," then remove plug from wall outlet.
- Do not use appliance for other than intended use.
- This appliance is equipped with overheat protection. If the unit stops heating, press the reset lever located on the bottom of the unit to restart.
- Ensure the twist-lock lid is securely fastened during operation to prevent spills.
3. Product Components
Familiarize yourself with the parts of your coffee urn before assembly and operation.
- Main Urn Body (304 stainless steel inner tank, 430 stainless steel outer shell)
- Removable Filter Basket (stainless steel)
- Stem for Basket
- Twist-Lock Lid Cover
- Dispensing Faucet
- Removable Drip Tray
- Water Level Gauge
- Cool-Touch Handles

Image 3.1: Included accessories and their names.

Image 3.2: Double-wall stainless steel construction for insulation.
4. Setup
4.1 Unpacking and Initial Cleaning
- Carefully remove all packaging materials and inspect the urn for any damage.
- Wash the removable filter basket, stem, and lid in warm, soapy water. Rinse thoroughly and dry.
- Wipe the interior and exterior of the urn body with a damp cloth. Do not immerse the urn body in water.
4.2 Assembly
- Place the stem into the center hole at the bottom of the urn.
- Position the removable filter basket over the stem, ensuring it sits securely.
- Place the urn on a stable, flat, heat-resistant surface near a power outlet.
- Ensure the drip tray is in place under the dispensing faucet.
Video 4.1: Demonstrates the assembly of the coffee urn components, including the stem and filter basket.
5. Operating Instructions
5.1 Brewing Coffee
- Fill with Water: Pour cold water into the urn, observing the water level gauge. Do not exceed the maximum water level of 5.2L.
- Add Coffee Grounds: For optimal flavor, use coarse-ground coffee. Place the desired amount of coffee grounds into the removable filter basket. No paper filters are needed.
- Secure Lid: Place the twist-lock lid cover onto the urn and rotate to secure it firmly.
- Plug In: Plug the power cord into a standard electrical outlet. The red indicator light will illuminate, indicating the urn is heating.
- Brewing Process: The 950W heating system will begin brewing. A full 30-cup brew typically takes approximately 40 minutes.
- Keep Warm: Once brewing is complete, the urn automatically switches to Keep Warm mode, and the green indicator light will illuminate. The coffee will be maintained at an ideal serving temperature (192°F-203°F / 89°C-95°C) for up to 12 hours.
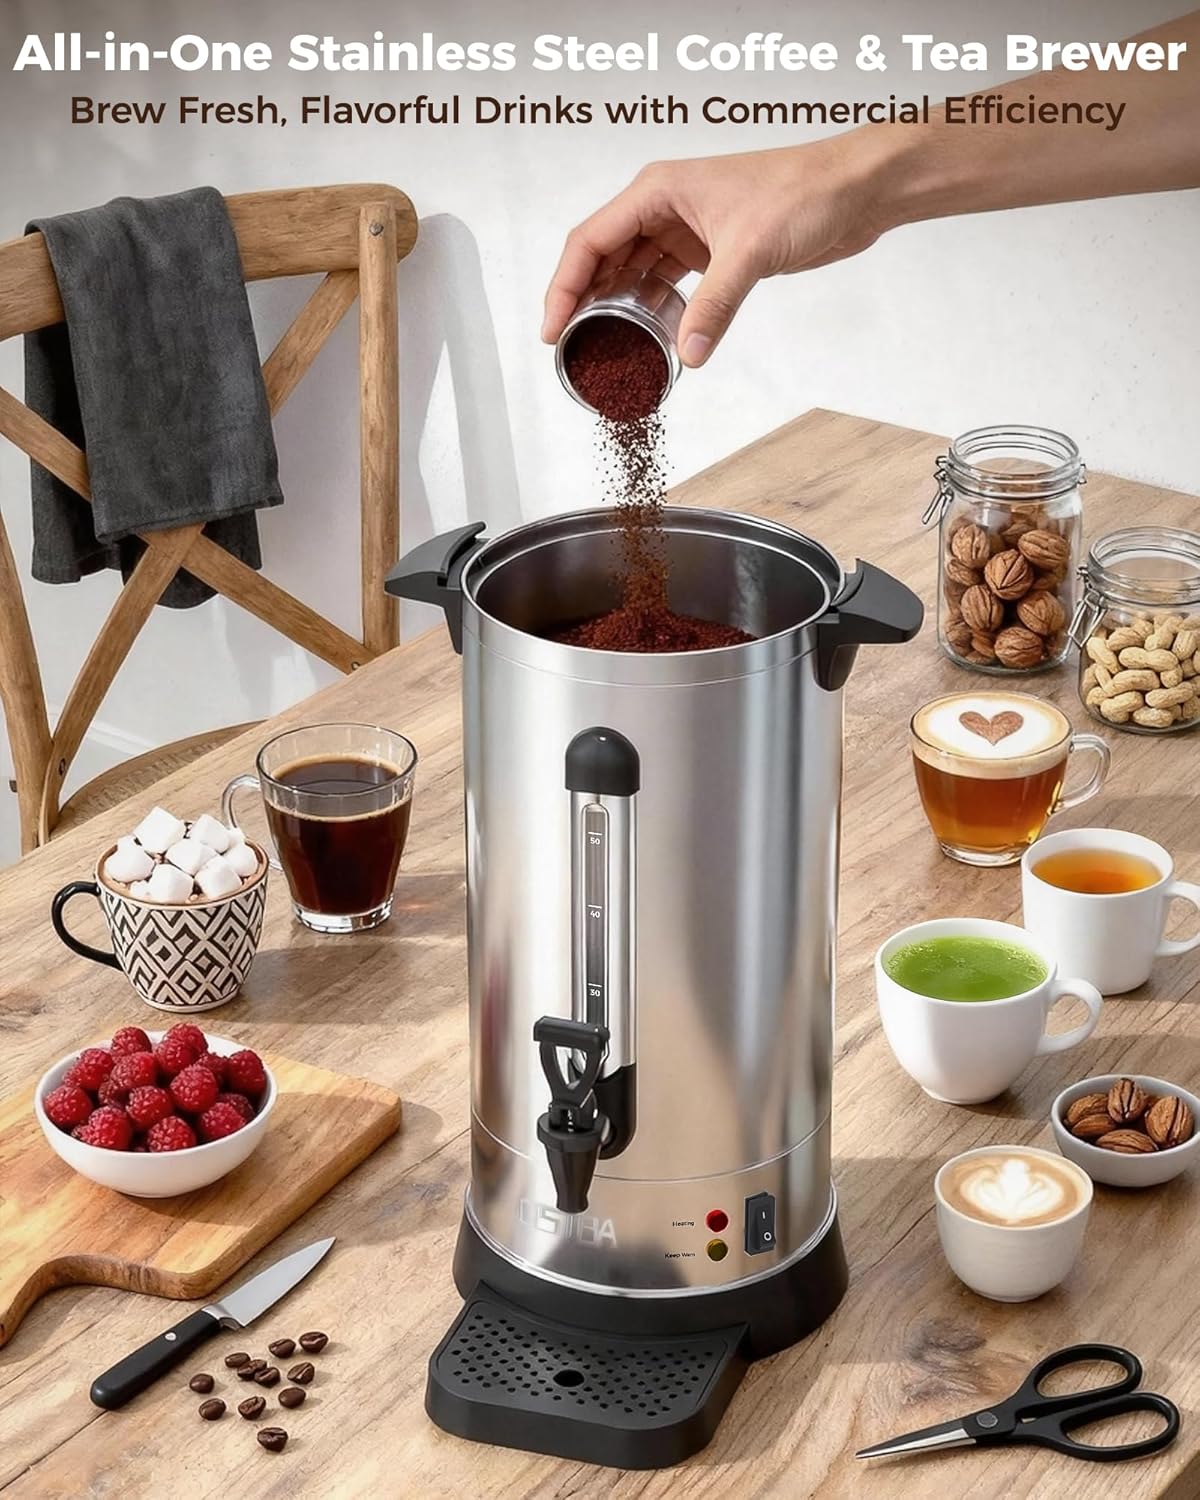
Image 5.1: Adding coffee grounds to the filter basket.

Image 5.2: Indicator lights for heating and keeping warm functions.
Video 5.3: Demonstrates the percolator brewing process for rich coffee flavor.
5.2 Dispensing Coffee
To dispense coffee, simply press the lever on the dispensing faucet. Release the lever to stop the flow. Ensure a cup is placed on the drip tray to catch any drips.

Image 5.4: Dispensing coffee from the urn.
6. Maintenance and Cleaning
Regular cleaning ensures optimal performance and extends the lifespan of your coffee urn.
6.1 Daily Cleaning
- Unplug the urn and allow it to cool completely before cleaning.
- Remove the lid, filter basket, and stem. Discard used coffee grounds.
- Wash the filter basket, stem, lid, and drip tray in warm, soapy water. Rinse thoroughly and dry.
- Wipe the interior of the urn with a damp cloth to remove any coffee residue.
- Wipe the exterior of the urn with a damp cloth. Do not use abrasive cleaners or scouring pads.
6.2 Descaling (Periodic Cleaning)
Mineral deposits can build up over time, affecting performance. Descale your urn periodically, depending on water hardness and frequency of use.
- Fill the urn with a solution of equal parts white vinegar and water (e.g., 2.5L vinegar and 2.5L water).
- Place the stem and filter basket inside the urn (without coffee grounds).
- Secure the lid and plug in the urn. Allow it to complete a full brewing cycle.
- After the cycle, unplug the urn and let the solution sit for 30 minutes.
- Empty the urn and rinse thoroughly with clean water several times to remove any vinegar odor or taste.

Image 6.1: Cleaning the filter basket and drip tray.
7. Troubleshooting
If you encounter issues with your coffee urn, refer to the following common problems and solutions:
| Problem | Possible Cause | Solution |
|---|---|---|
| Urn does not heat or brew. | Not plugged in; power outage; overheat protection activated. | Ensure unit is plugged in. Check power outlet. Press the reset lever on the bottom of the unit. |
| Coffee is weak. | Insufficient coffee grounds; fine-ground coffee used; water level too high. | Increase amount of coarse-ground coffee. Ensure water level is appropriate for desired strength. |
| Coffee tastes bitter. | Too many coffee grounds; coffee brewed too long; residue buildup. | Reduce coffee grounds. Ensure unit is cleaned regularly. |
| Leaking from faucet. | Faucet not properly closed; seal worn. | Ensure faucet lever is fully released. If problem persists, contact customer support. |
| Slow brewing. | Mineral buildup (scaling). | Perform descaling procedure as described in Section 6.2. |
8. Specifications
- Model Name: Commercial Coffee Urn
- Model Number: ZJ-68-A
- Brand: OSTBA
- Capacity: 30 cups (5.2L water capacity, 7.5L max capacity)
- Power: 950W
- Material: 304 stainless steel inner tank, 430 stainless steel outer shell
- Product Dimensions: 12.44"D x 12.44"W x 16.93"H (31.6cm D x 31.6cm W x 43cm H)
- Special Features: Ergonomic Handle, Double-Wall Insulation, Removable Drip Tray, Stainless Steel Filter
- Coffee Input Type: Ground
- Color: Silver
9. Warranty and Support
Specific warranty details are not provided in this manual. For information regarding warranty coverage, returns, or technical support, please refer to the product packaging, your purchase receipt, or contact OSTBA customer service directly through their official website or the retailer where the product was purchased.
Contact Information: Please visit the official OSTBA website for the most up-to-date support contact details.