
1. Introduction
Thank you for choosing the Dripex 90cm LED Mirror Vanity Table. This manual provides essential information for the safe assembly, operation, and maintenance of your new vanity table. Please read these instructions carefully before beginning assembly and retain them for future reference.
2. Safety Information
- Assembly: Always assemble the product on a soft, clean surface to prevent scratches. It is recommended that two adults assemble this vanity table.
- Stability: Secure the vanity table to the wall using the provided anti-tip straps to prevent accidental tipping, especially in households with children or pets.
- Electrical Safety: Ensure all electrical connections (LED mirror, RGB lighting, power outlet) are handled according to local electrical codes. Do not overload the integrated power outlet. Disconnect power before cleaning or maintenance.
- Weight Capacity: Do not place excessively heavy items on the tabletop or shelves.
- Glass Components: Handle glass vitrine panels and mirror with care to avoid breakage and injury.
3. Package Contents
Your Dripex vanity table is shipped in two separate packages. Please ensure all parts are present before beginning assembly. Refer to the parts list provided in the packaging for detailed component identification.
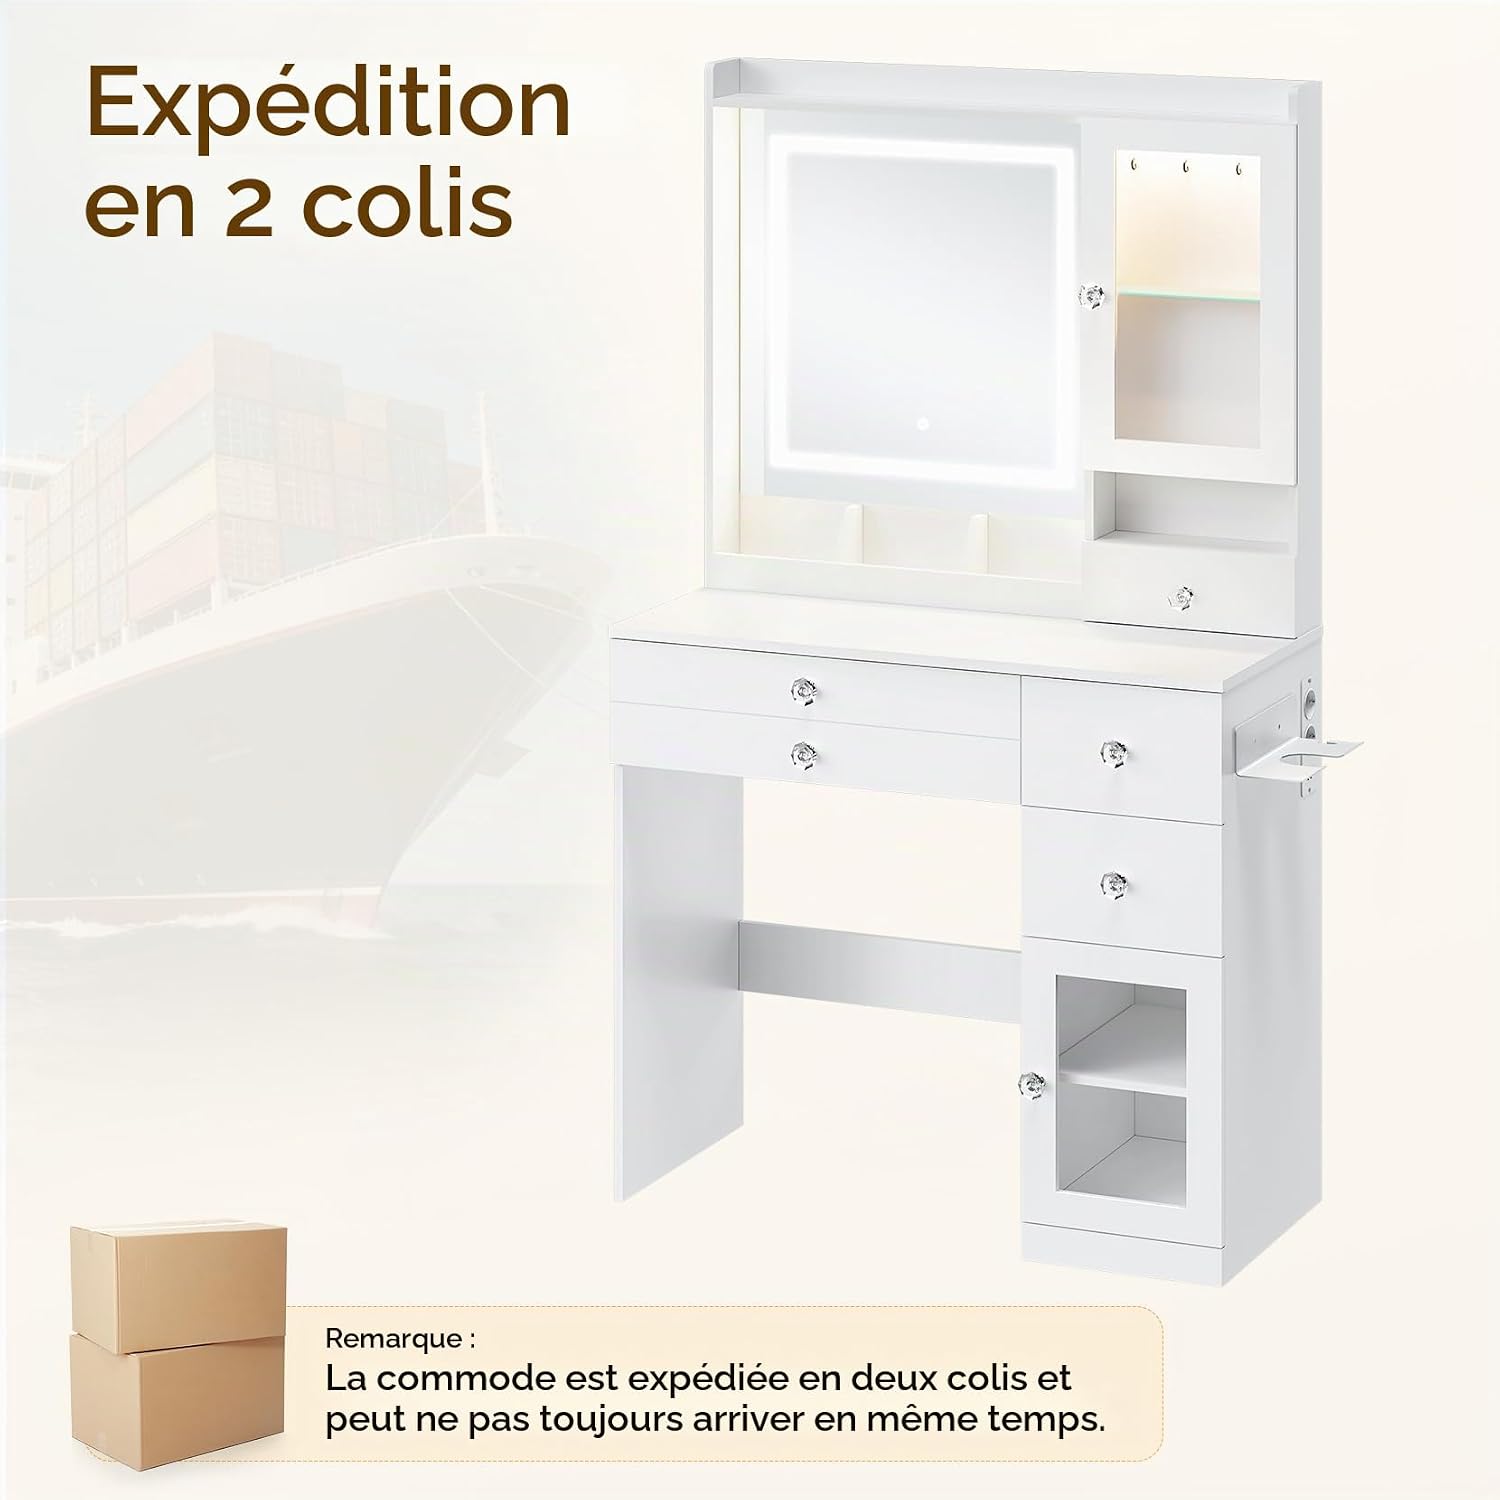
Figure 3.1: The vanity table ships in two packages, which may arrive at different times.
Key components include:
- Vanity Tabletop and Base Panels
- LED Mirror Unit
- RGB Display Vitrine Units
- 4 Drawers with Crystal Knobs
- Integrated Power Outlet and Hairdryer Holder
- Assembly Hardware (screws, dowels, cam locks, anti-tip straps)
- Power Adapter for LED Mirror and RGB Lighting
4. Assembly Instructions
Follow the step-by-step instructions provided in your package. All parts are clearly labeled, and all necessary hardware is included. Assembly typically requires approximately 1-2 hours with two people.
- Unpack and Identify Parts: Carefully remove all components from the packaging. Lay them out on a soft, clean surface. Verify all parts against the included parts list.
- Assemble the Base Structure: Connect the side panels and support beams using the provided hardware. Ensure all connections are secure.
- Attach the Tabletop: Secure the main tabletop to the assembled base.
- Install Drawers: Assemble the drawer boxes and install the drawer slides. Insert the drawers into their respective compartments. Attach the crystal knobs.
- Mount the Mirror Unit: Carefully attach the LED mirror unit to the tabletop. Connect the power cable for the mirror.
- Install RGB Vitrines: Attach the transparent vitrine units to the sides of the mirror. Connect the RGB lighting cables.
- Secure Hairdryer Holder and Power Outlet: Mount the hairdryer holder and ensure the integrated power outlet is correctly positioned and connected.
- Install Anti-Tip Straps: For safety, attach the anti-tip straps to the back of the vanity table and secure them to a wall stud.
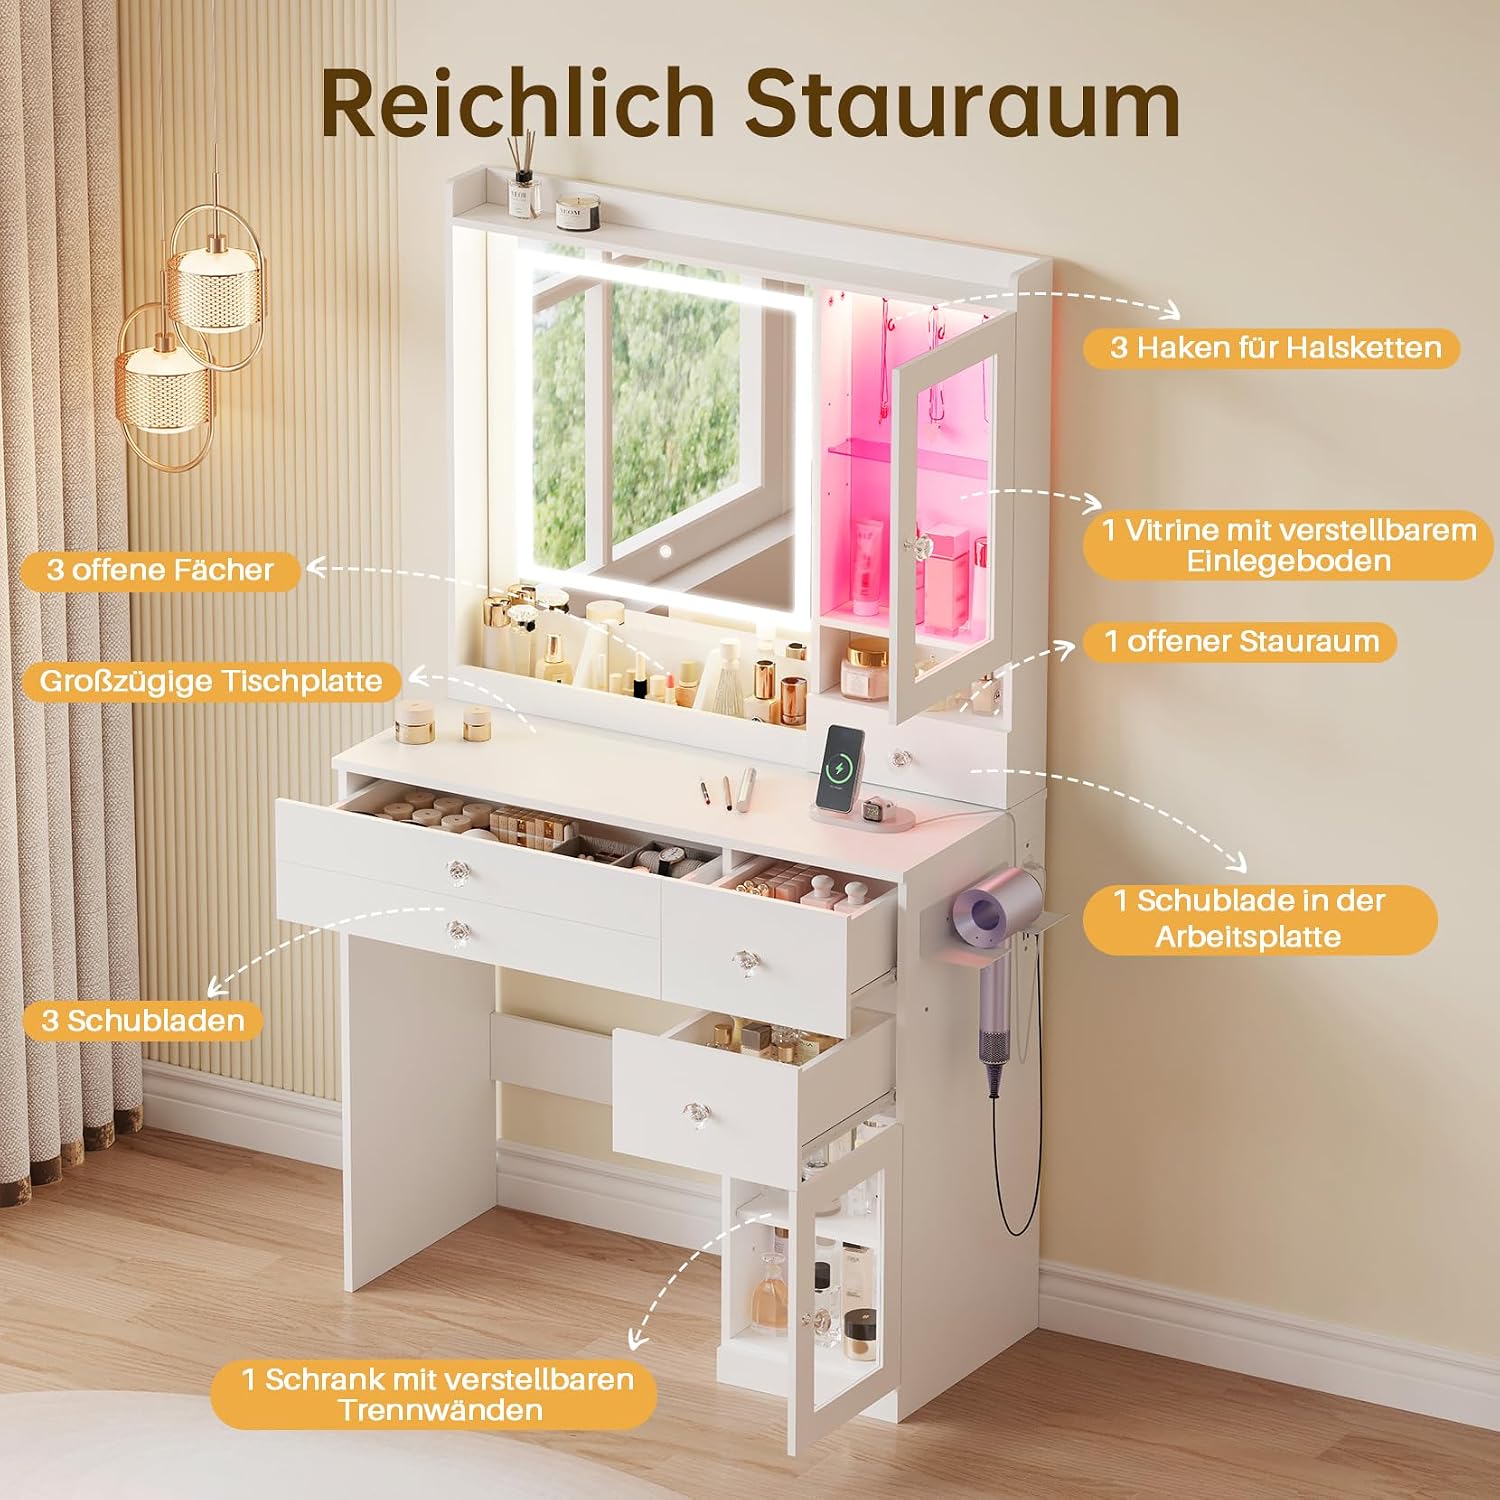
Figure 4.1: Overview of the vanity table's storage features and components.

Figure 4.2: Details of accessory features including necklace hooks, hairdryer holder, adjustable shelving, and anti-tip straps for safety.
5. Operating Instructions
5.1 LED Mirror Operation
The high-definition LED mirror features adjustable lighting for optimal makeup application and grooming.
- Power On/Off: Touch the sensor on the mirror surface to turn the LED light on or off.
- Change Color Mode: Short press the touch sensor to cycle through 3 color temperature modes: warm light, natural light, and cold daylight.
- Adjust Brightness: Long press the touch sensor to adjust the brightness level within the selected color mode. Release when the desired brightness is reached.

Figure 5.1: LED mirror touch control for 3 color modes and adjustable brightness.
5.2 RGB Vitrine Lighting
The transparent vitrines feature integrated RGB lighting with over 60,000 colors and various lighting modes.
- Control Methods: The RGB lighting can be controlled via a mobile application (Bluetooth) or a manual switch.
- Mobile App Control: Download the dedicated mobile application (scan the QR code provided in the packaging or search in your app store) to access full control over colors, modes, and music synchronization.
- Manual Switch: Use the inline manual switch to cycle through basic color and mode options.

Figure 5.2: Control options for RGB lighting, including Bluetooth app and manual switch.
5.3 Integrated Charging Station
The vanity table includes a built-in charging station for convenience.
- AC Outlets: Two 220-250V AC outlets are provided for plugging in hairdryers, curling irons, or other beauty appliances.
- USB Ports: Two 5V/2A USB ports are available for charging mobile phones, tablets, or other USB-powered devices.
- Power Cord: The charging station is powered by a 1.5m power cord. Ensure it is plugged into a suitable wall outlet.

Figure 5.3: The integrated charging station features AC outlets and USB ports for various devices.
6. Maintenance
- Cleaning: Wipe the surfaces with a dry, soft cloth. For stubborn marks, use a slightly damp cloth with a mild, non-abrasive cleaner, then dry immediately. Avoid harsh chemicals.
- Mirror Cleaning: Use a glass cleaner specifically designed for mirrors. Spray onto a cloth, not directly onto the mirror, to prevent liquid from seeping into the edges.
- Dusting: Regularly dust all surfaces, especially the vitrines and mirror, to maintain clarity and appearance.
- Hardware Check: Periodically check all screws and connections to ensure they remain tight. Retighten if necessary.
7. Troubleshooting
| Problem | Possible Cause | Solution |
|---|---|---|
| LED mirror light does not turn on. | Power cable disconnected; faulty power adapter; touch sensor malfunction. | Check if the power cable is securely plugged in. Ensure the wall outlet has power. Contact customer support if the issue persists. |
| RGB lighting not working or unresponsive. | RGB cable disconnected; app not connected; manual switch off. | Verify RGB cables are properly connected. Ensure Bluetooth is enabled on your device and the app is correctly paired. Check the manual switch position. |
| Integrated power outlets/USB ports not working. | Main power cord disconnected; circuit breaker tripped. | Ensure the vanity table's main power cord is securely plugged into a live wall outlet. Check your household's circuit breaker. |
| Drawers are stiff or do not slide smoothly. | Improper installation of drawer slides; obstruction. | Recheck drawer slide installation according to assembly instructions. Remove any obstructions from the drawer tracks. |
8. Specifications
| Feature | Detail |
|---|---|
| Brand | Dripex |
| Model Number | A1SZT181 |
| Color | White |
| Dimensions (D x W x H) | 30P x 90l x 156H cm (approx. 30 x 90 x 156 cm) |
| Material | Glass, Wood Composite |
| Number of Drawers | 4 |
| Item Weight | 42 Kilograms |
| LED Mirror Features | 3 Color Modes (Warm, Natural, Cold), Adjustable Brightness, Touch Control |
| RGB Vitrine Features | 60,000+ Colors, Multiple Lighting Modes, App Control (Bluetooth), Manual Switch |
| Integrated Power Outlet | 2 x AC 220-250V outlets, 2 x USB 5V/2A ports |
| Power Cord Length | 1.5 meters |
| Assembly Required | Yes |
| Care Instructions | Wipe with a dry cloth |

Figure 8.1: Dimensional overview of the Dripex 90cm LED Mirror Vanity Table.
9. Warranty and Support
Dripex products are manufactured with quality and durability in mind. For any questions regarding assembly, operation, missing parts, or warranty claims, please contact Dripex customer support through your retailer or the official Dripex website. Please have your model number (A1SZT181) and purchase information ready when contacting support.