
1. Introduction
Thank you for choosing the AMERLIFE 10x12x7 FT Metal Outdoor Storage Shed. This manual provides essential information for the safe assembly, operation, maintenance, and troubleshooting of your new storage shed. Please read it thoroughly before beginning assembly and retain it for future reference.
This spacious 10x12 FT metal shed is designed to provide ample storage for tools, garden equipment, and seasonal items. It features two transparent panels and two side windows for natural lighting, and four vents with wide double doors to ensure optimal airflow and easy access. The shed is constructed from durable metal with a dark gray finish, offering a waterproof solution for your outdoor storage needs.
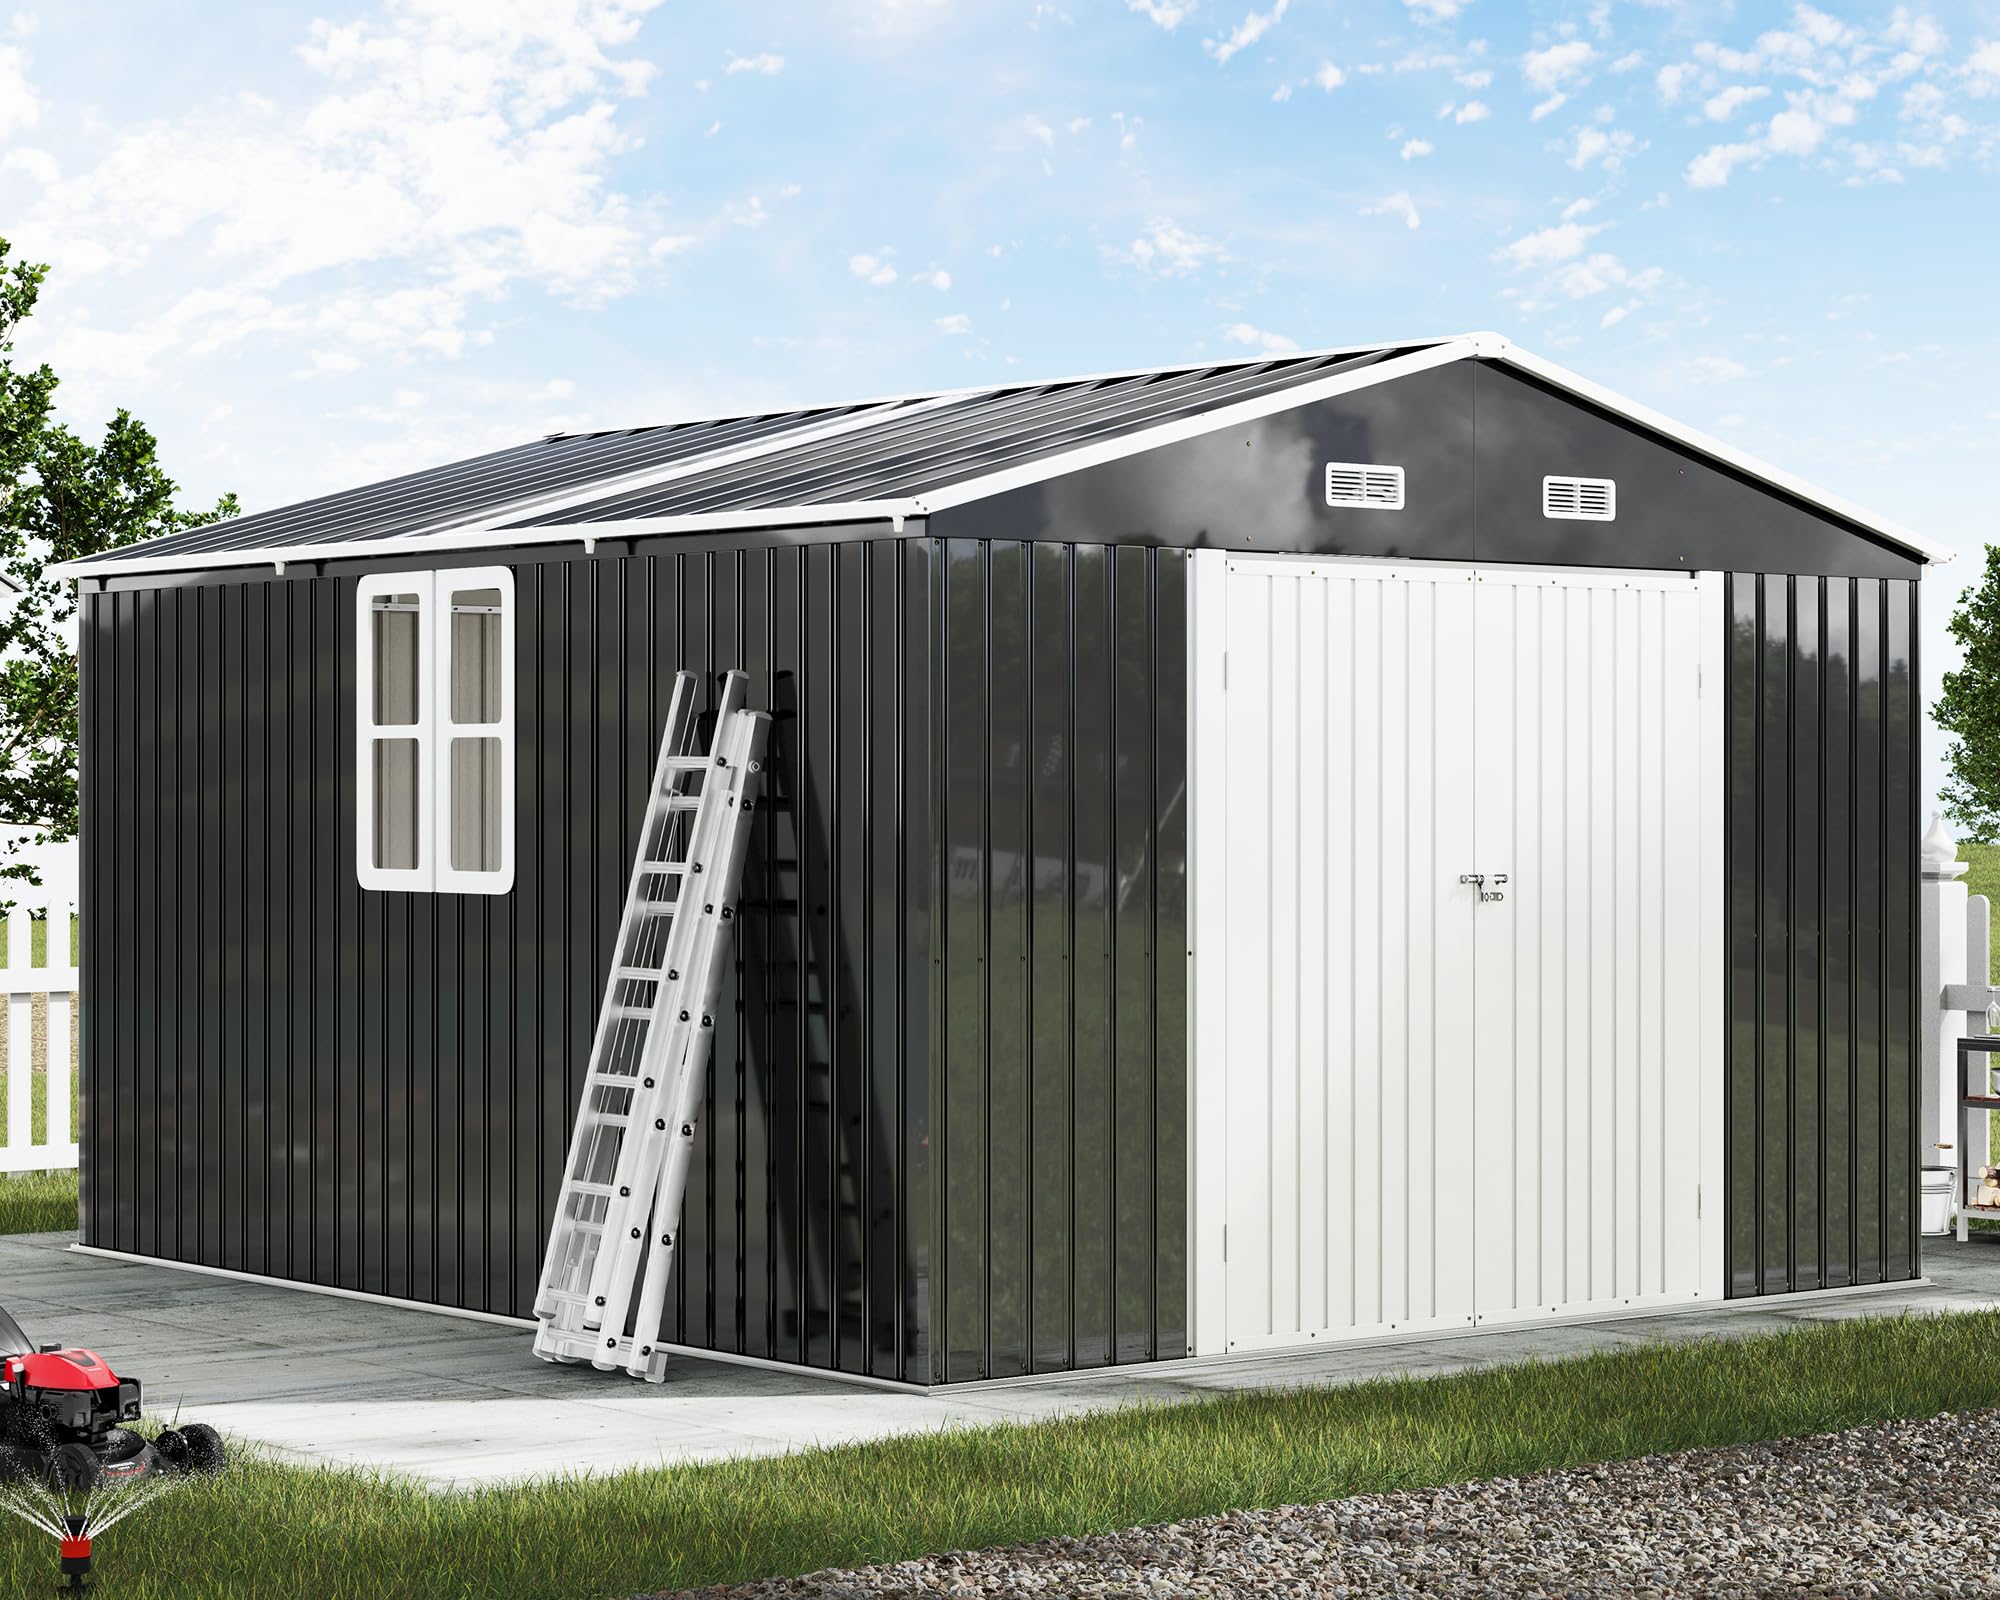
Image 1.1: The AMERLIFE 10x12x7 FT Metal Outdoor Storage Shed.
2. Safety Information
- Read All Instructions: Before assembly, carefully read and understand all instructions and warnings in this manual.
- Foundation: A level and stable foundation measuring approximately 11x13 FT is highly recommended before installing this shed to ensure stability and proper drainage.
- Assembly Team: Assembly typically requires at least 3 people and can take approximately 7 hours, depending on skill level. Attempting to assemble alone may lead to injury or damage to the product.
- Protective Gear: Wear appropriate personal protective equipment, including gloves, to protect against sharp edges of metal panels during assembly.
- Wind and Weather: While the shed is designed to be waterproof, strong winds can cause damage if the shed is not properly anchored to its foundation. Ensure the shed is securely fastened to prevent displacement.
- Children and Pets: Keep children and pets away from the assembly area. Do not allow them to play inside or around the shed unsupervised.
- Ventilation: Ensure proper ventilation when storing items that may emit fumes.
- Weight Capacity: Do not exceed the maximum weight capacity of 299 pounds for internal storage or shelving.
3. Package Contents
Your AMERLIFE storage shed is shipped in multiple packages (typically 3) which may arrive at different times. Please verify all components against the parts list (usually included in the box) before beginning assembly. If any parts are missing or damaged, contact customer support immediately.
Typical components include:
- Metal wall panels
- Roof panels (including transparent panels)
- Frame components (beams, supports, connectors)
- Double doors and associated hardware
- Window frames and panels
- Vents
- Fasteners (screws, nuts, washers)
- Assembly instructions

Image 3.1: Product dimensions and note on multiple packages.
4. Setup and Assembly
Careful attention to detail during assembly will ensure the longevity and stability of your shed. It is crucial to follow the provided step-by-step instructions precisely.
4.1 Pre-Assembly Steps
- Site Preparation: Choose a level area for your shed. Construct a stable foundation (e.g., concrete slab, treated wood frame) measuring approximately 11x13 FT.
- Unpack and Inspect: Unpack all boxes and lay out components. Compare them with the parts list to ensure everything is present and undamaged.
- Tools Required: Gather necessary tools, which typically include a screwdriver, wrench, measuring tape, level, and possibly a drill for minor adjustments.
4.2 Assembly Process
Refer to the detailed assembly manual included in your package for specific diagrams and instructions. General steps are outlined below:
- Base Frame Assembly: Assemble the base frame on your prepared foundation. Ensure it is square and level.
- Wall Panel Installation: Attach the wall panels to the base frame. It is critical to have multiple people assist, as walls may require support to prevent blowing over until bracing is installed. Do not fully tighten all screws until all panels in a section are loosely in place.
- Roof Frame Assembly: Construct the roof frame, including the reinforced roof beams.
- Roof Panel Installation: Install the roof panels, including the transparent panels, ensuring proper overlap and secure fastening to maintain waterproofing.
- Door and Window Installation: Install the double doors, ensuring they open and close smoothly. Install the side windows and vents.
- Final Tightening: Once all components are in place and aligned, systematically tighten all fasteners.
- Anchoring: Securely anchor the shed to your foundation using appropriate hardware (not always included, may need to be purchased separately).

Image 4.1: Shed exterior with open doors, showing interior space during or after assembly.

Image 4.2: Details of the large hinged double doors, breathable vents, pad-lockable door, and internal door lock.
5. Operating the Shed
Your AMERLIFE storage shed is designed for practical and secure outdoor storage.
- Access: The wide double doors provide easy access for moving large items such as lawnmowers, bicycles, or carts in and out.
- Lighting: The two transparent roof panels and two side windows allow abundant natural light into the shed, reducing the need for artificial lighting during the day.
- Ventilation: The four integrated vents promote airflow, helping to prevent dampness and condensation inside the shed.
- Security: The doors are designed to be lockable (padlock not included) for added security of your stored items.
- Organization: Utilize the spacious interior to organize your tools and equipment. Consider adding shelving or pegboards for efficient storage.

Image 5.1: Interior view demonstrating ample storage space for various items.
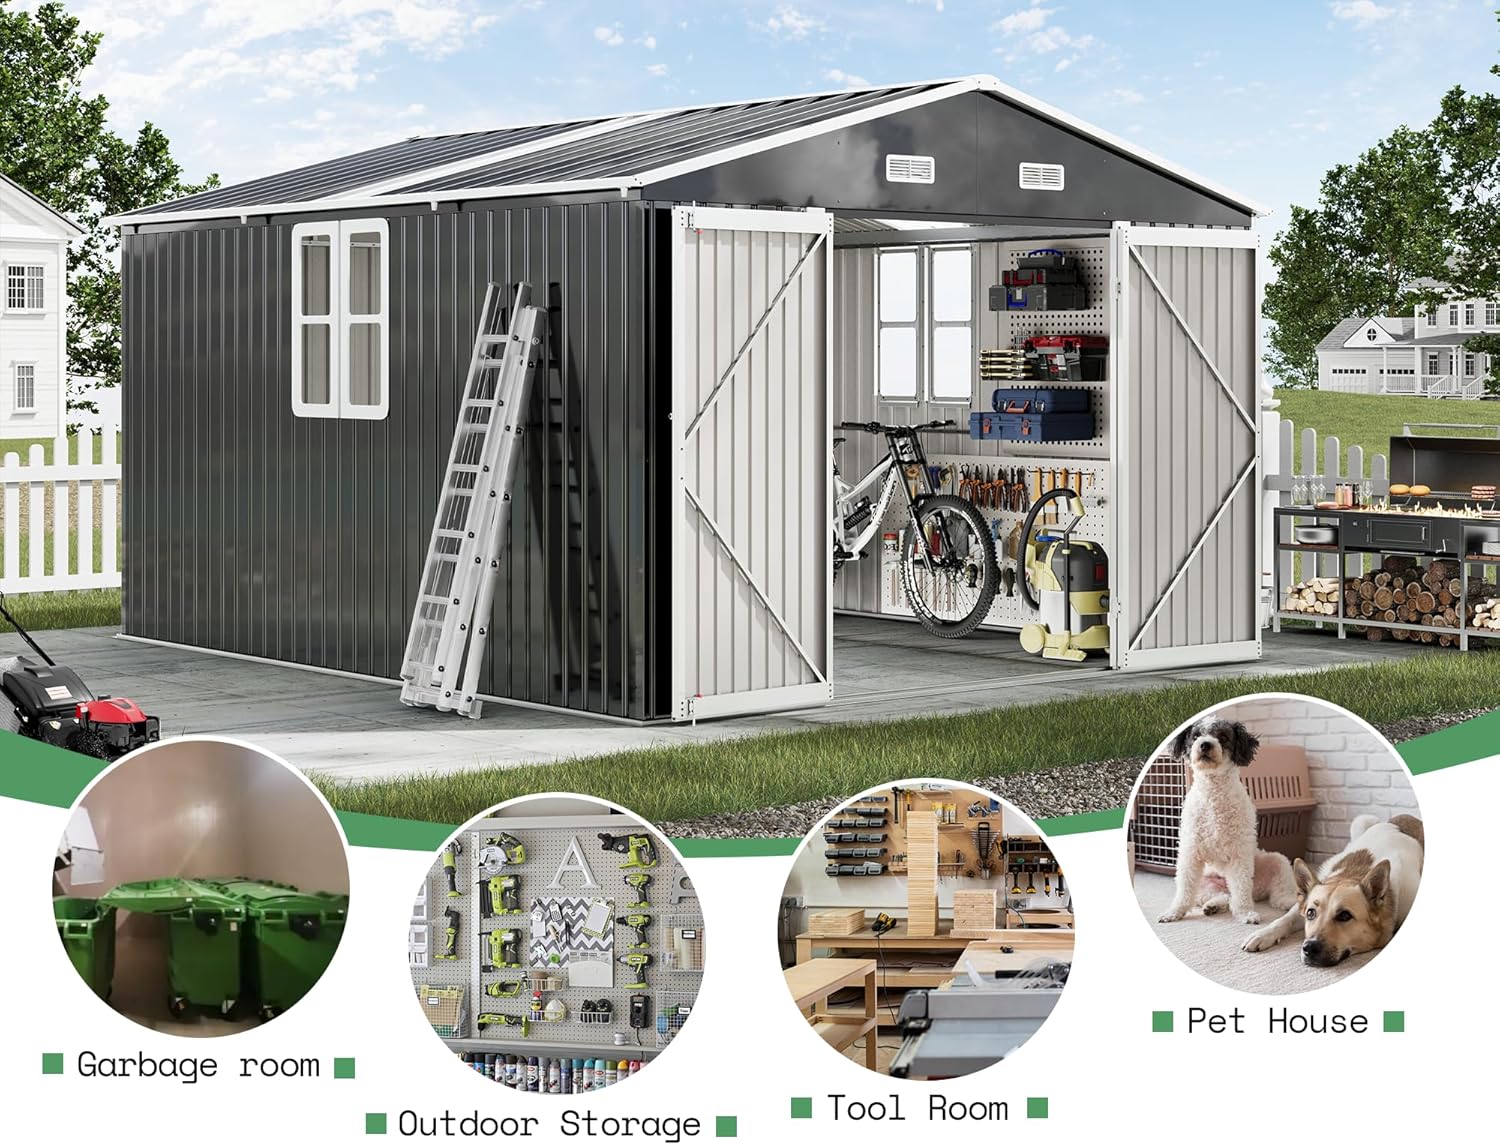
Image 5.2: Examples of shed usage for outdoor storage, tool room, or pet house.
6. Maintenance
Regular maintenance will help prolong the life of your AMERLIFE storage shed.
- Cleaning: Clean the exterior of the shed periodically with mild soap and water. Avoid abrasive cleaners or harsh chemicals that could damage the metal finish.
- Inspect for Damage: Regularly inspect the shed for any signs of damage, such as dents, warped panels, or loose fasteners. Address any issues promptly to prevent further deterioration.
- Check for Leaks: Although designed to be waterproof, inspect the interior after heavy rain for any leaks. Pay attention to seams, screw points, and around windows/doors. Apply silicone sealant if necessary.
- Door and Hinge Maintenance: Lubricate door hinges and locking mechanisms annually to ensure smooth operation and prevent sticking.
- Foundation Check: Periodically check the shed's anchoring to its foundation, especially after strong winds, to ensure it remains secure.

Image 6.1: Details of the sloped roof design with self-contained drainage holes, galvanized metal steel construction, and washers for waterproofing.
7. Troubleshooting
This section addresses common issues you might encounter with your storage shed.
- Shed Leaks Water:
- Cause: Improper panel overlap, loose screws, missing washers, or an uneven foundation.
- Solution: Inspect all panel overlaps and ensure screws are tight with washers in place. Apply exterior-grade silicone sealant to any gaps or problematic seams. Verify the foundation is level and allows for proper water runoff.
- Difficulty Aligning Panels/Holes:
- Cause: Panels were tightened prematurely, or minor manufacturing variations.
- Solution: Loosely assemble all components before fully tightening any screws. This allows for minor adjustments. In rare cases, slight re-drilling of holes or minor panel adjustments may be necessary.
- Doors Sticking or Not Closing Properly:
- Cause: Uneven foundation, misaligned door frame, or stiff hinges.
- Solution: Check the shed's base for levelness. Adjust door frame screws if possible. Lubricate hinges with a suitable lubricant.
- Shed Unstable in Wind:
- Cause: Insufficient anchoring to the foundation.
- Solution: Ensure the shed is securely anchored to a solid foundation. Consider additional anchoring points or internal bracing if located in an area prone to high winds.
8. Specifications
| Feature | Detail |
|---|---|
| Brand | AMERLIFE |
| Model Number | YSS017 |
| Material | Metal (Galvanized Steel) |
| Color | Dark Gray |
| Product Dimensions (D x W x H) | 144"D x 120"W x 84"H (10x12x7 FT) |
| Item Weight | 289 pounds |
| Floor Area | 120 square feet |
| Door Width | 60 inches |
| Door Height | 67.2 inches |
| Water Resistance Level | Waterproof |
| Maximum Weight Capacity | 299 pounds |
| Manufacturer | Happy Tao |
9. Warranty and Support
AMERLIFE is committed to providing quality products. For any warranty claims or support needs, please refer to the following information:
- Returns: This product typically comes with a 30-day easy return policy. Please check your purchase details for specific terms and conditions.
- Missing or Damaged Parts: If you find any parts missing or damaged upon delivery, or encounter any issues during assembly or use, please contact the seller or manufacturer directly for support.
- Contact Information: Refer to your purchase documentation or the AMERLIFE brand store on the retailer's website for the most current customer support contact details.


