
Introduction
This manual provides essential information for the safe and effective operation, maintenance, and troubleshooting of your VEVOR 8-1/4 inch Compound Miter Saw. Please read and understand all instructions before using the tool.
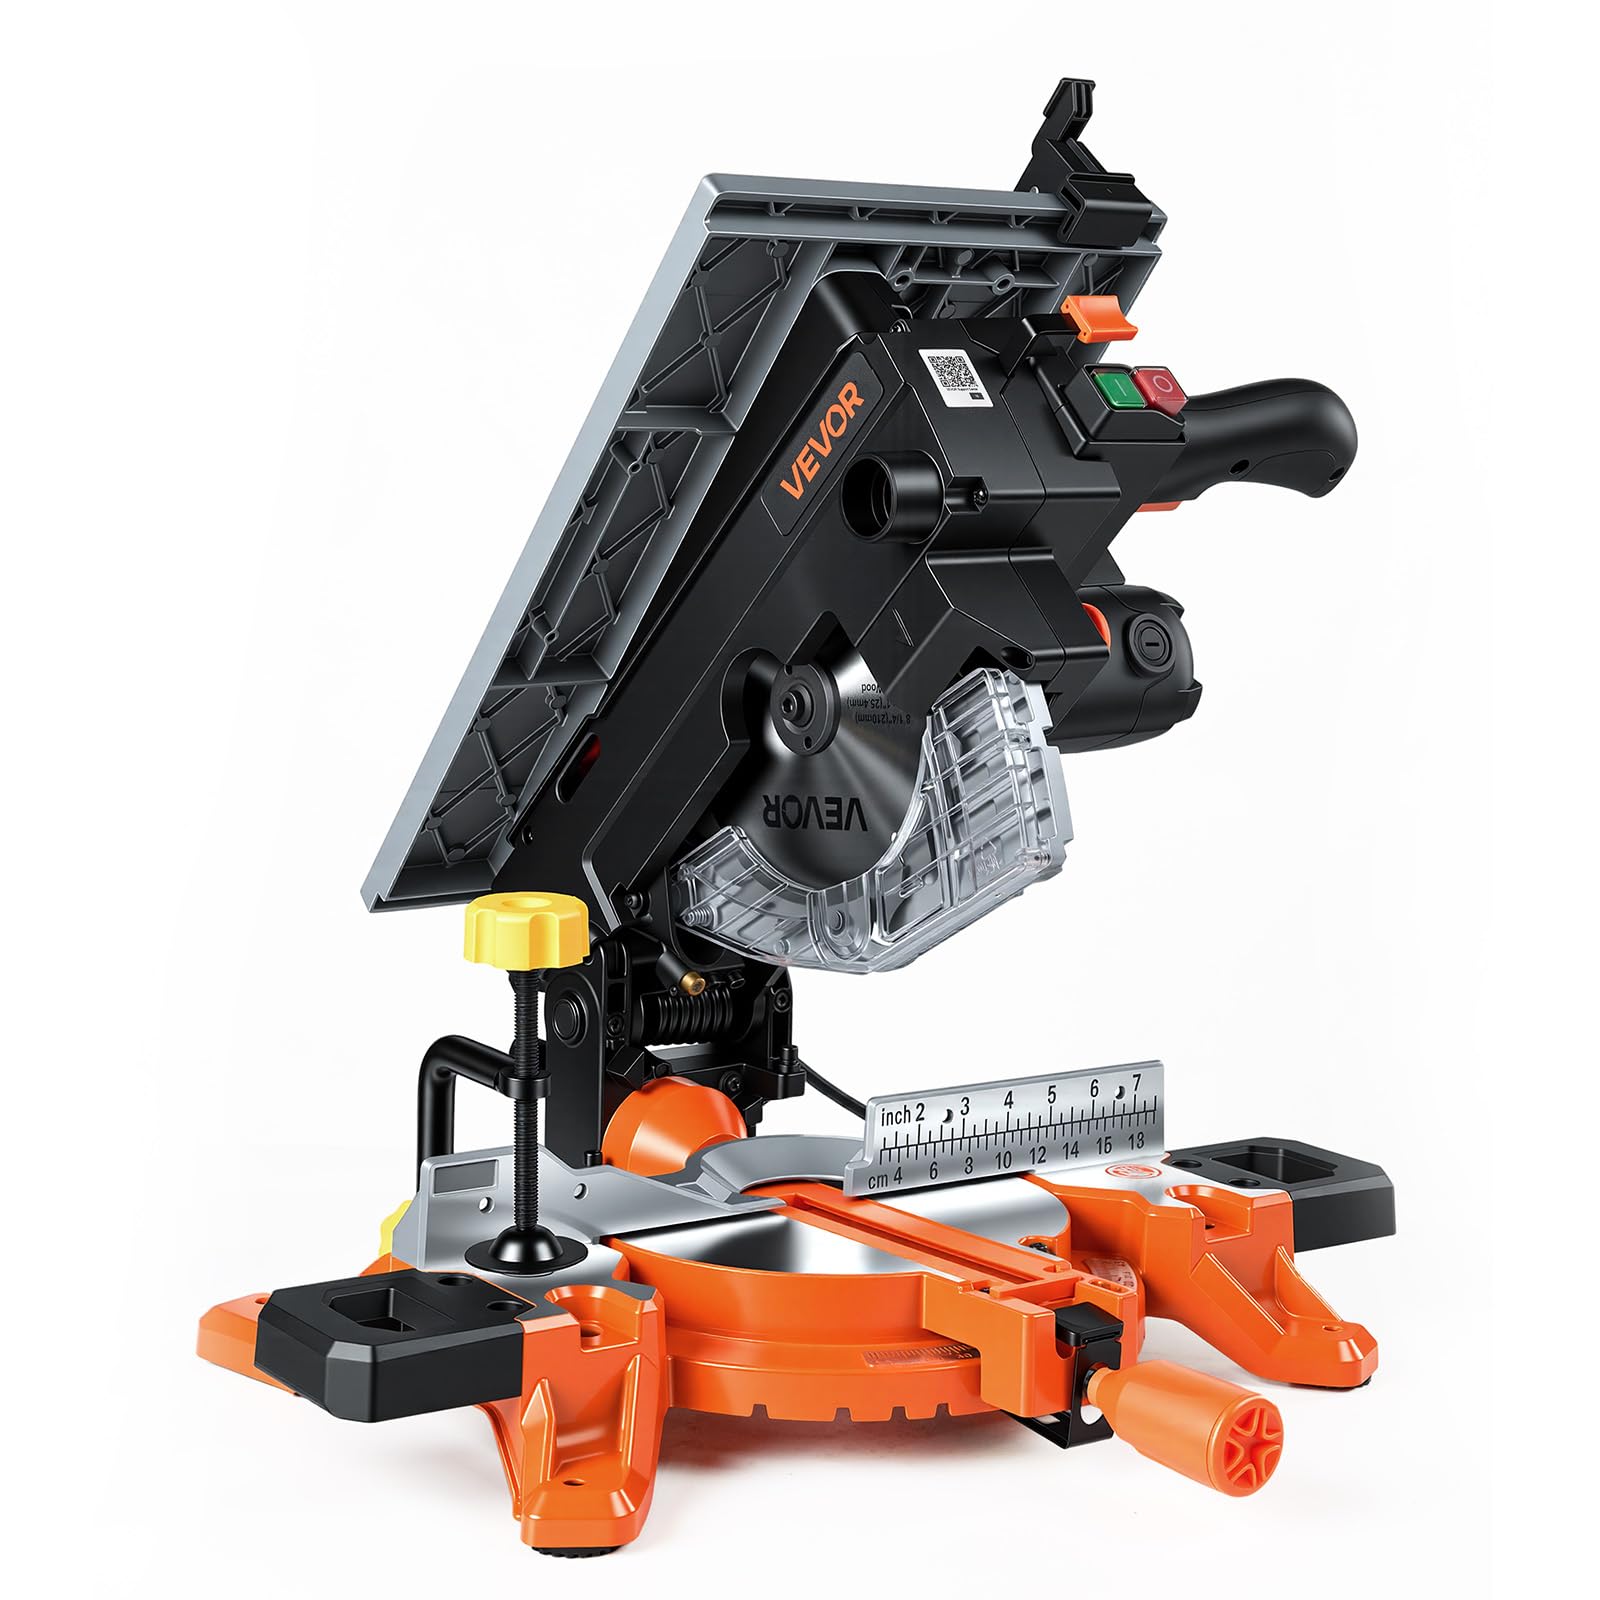
Figure 1: VEVOR 8-1/4 inch Compound Miter Saw, Model J1D-AC2001-210.
Safety Information
WARNING: Read all safety warnings, instructions, illustrations, and specifications provided with this power tool. Failure to follow all instructions listed below may result in electric shock, fire, and/or serious injury.
- Always wear eye protection, hearing protection, and a dust mask.
- Keep hands away from the cutting area and the blade.
- Ensure the workpiece is securely clamped before cutting.
- Do not operate the saw in damp or wet conditions.
- Disconnect power before making adjustments or changing accessories.
- Keep guards in place and in working order.
- Use only blades recommended for this saw and the material being cut.
Setup
Unpacking and Initial Inspection
Carefully remove all components from the packaging. Inspect the saw for any damage that may have occurred during shipping. Ensure all parts listed in the packing list are present. If any parts are missing or damaged, contact VEVOR customer service.
Assembly
The VEVOR Compound Miter Saw is designed for quick setup. Attach any necessary accessories such as the dust bag or material supports as per the diagrams provided in the original packaging. Ensure all fasteners are tightened securely.
Understanding the 2-in-1 Design
This tool functions as both a miter saw and a table saw. The conversion between modes is achieved by adjusting the saw head. Refer to the diagram below for visual guidance.

Figure 2: The VEVOR saw operating in Table Saw mode (top) and Miter Saw mode (bottom).
Operating Instructions
Powering On/Off
Connect the saw to a 120V AC power outlet. To start the saw, press the green ON button. To stop, press the red OFF button. Always ensure the saw is off and the blade has come to a complete stop before leaving the machine unattended.
Precision Laser Alignment
The saw features a built-in laser guide to indicate the cutting line. Activate the laser before making a cut to ensure accurate alignment with your mark on the workpiece.
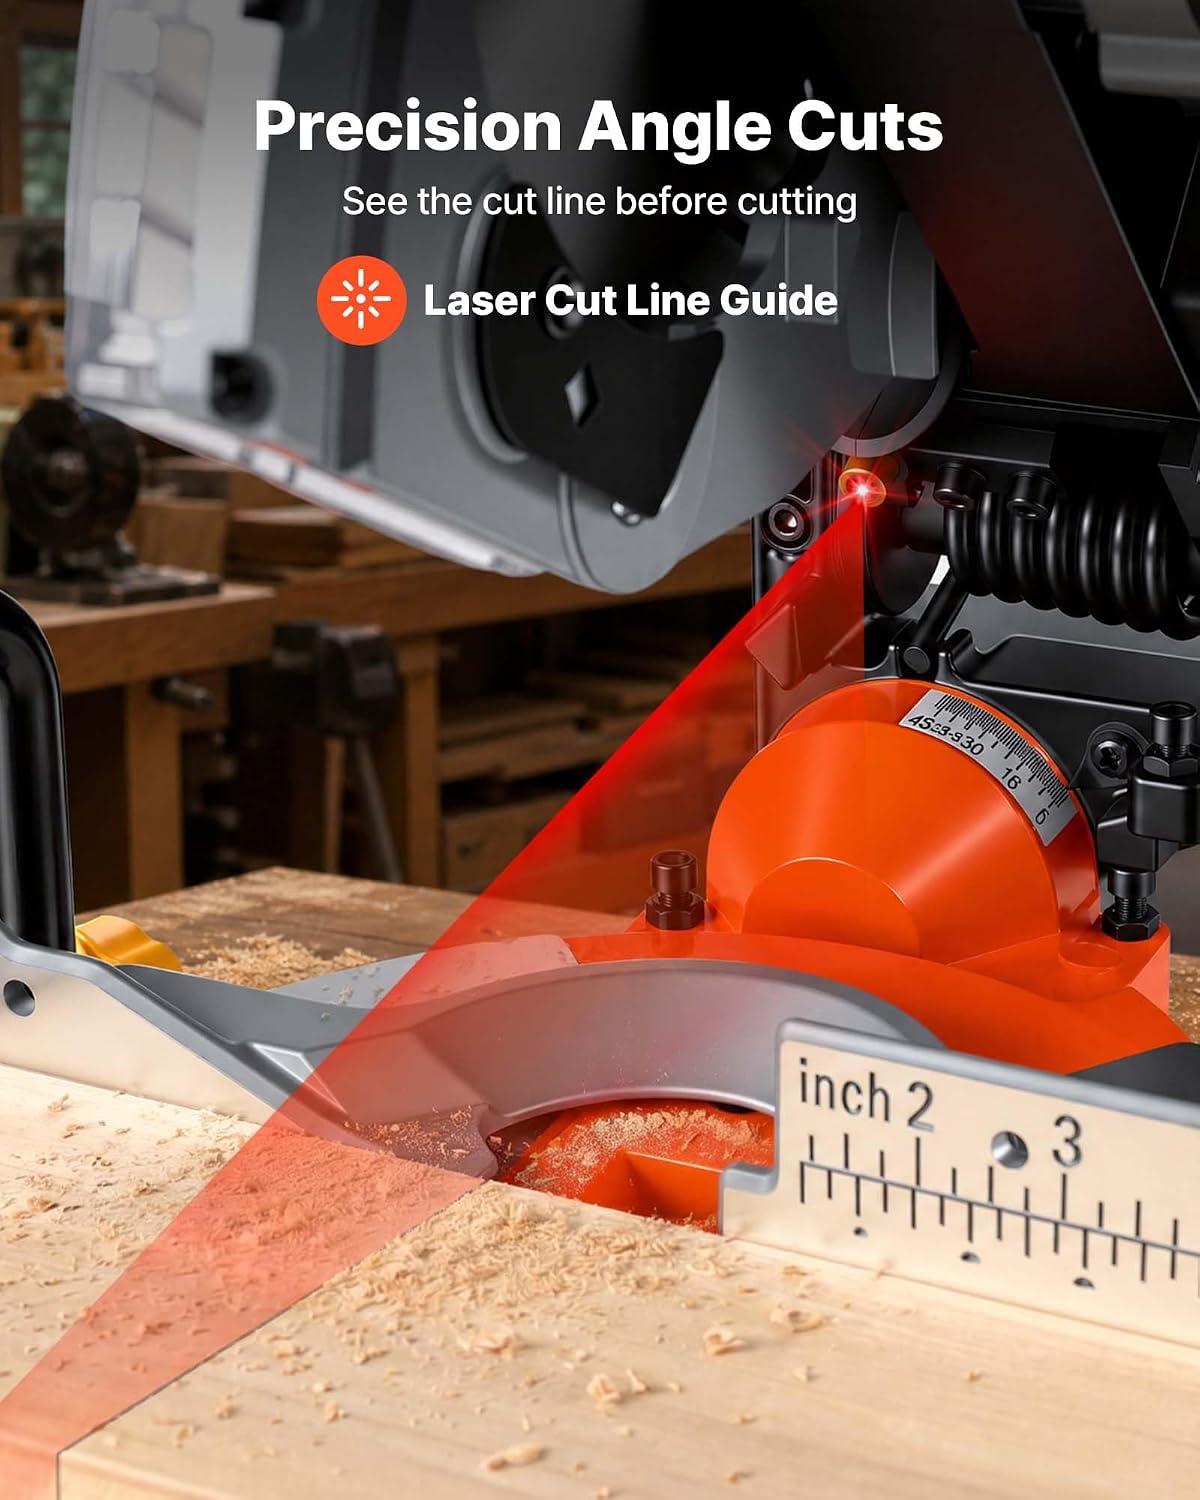
Figure 3: The laser guide projects a line onto the workpiece for precise cutting.
Adjusting Miter and Bevel Angles
The saw allows for precise adjustment of miter and bevel angles up to ±45°. Use the quick-lock miter system for fast adjustments and secure locking. The 0.1° precision scale ensures accurate settings for various cuts.
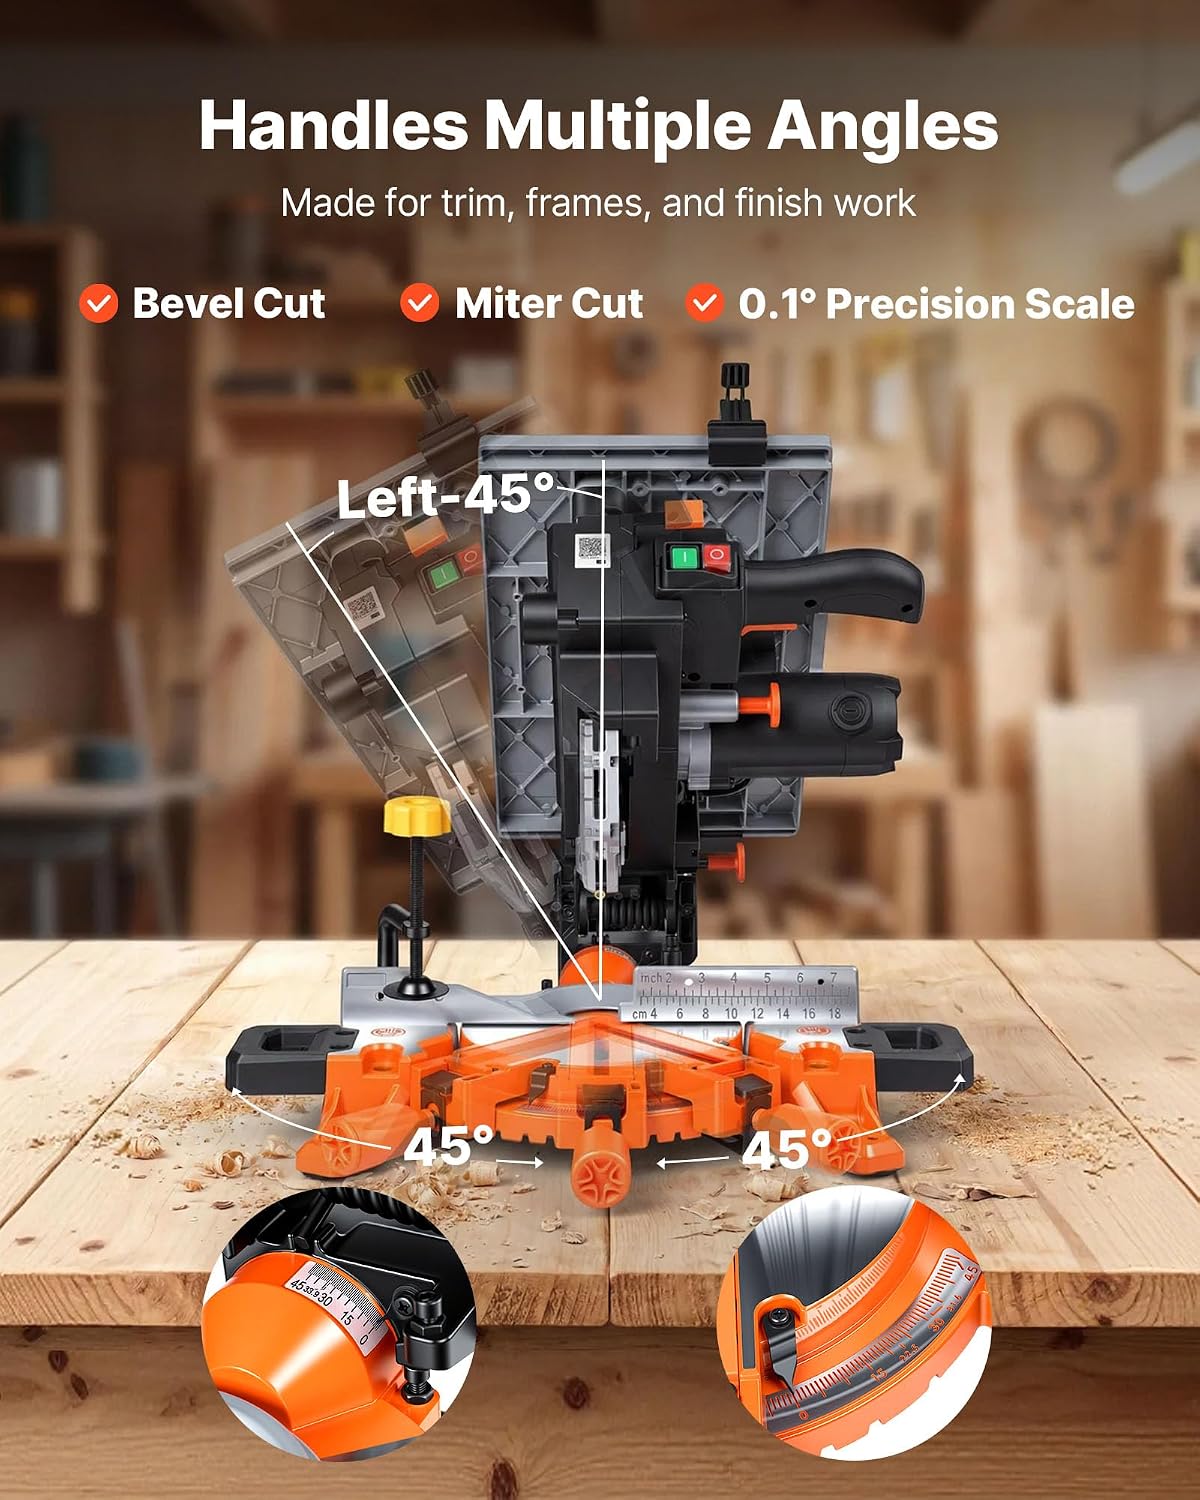
Figure 4: The saw's capability to handle multiple angles for bevel and miter cuts.
Cutting Capacity and Materials
This saw has a maximum cutting capacity of 2.17 x 4.72 inches (55 x 120 mm) and operates at a no-load speed of 4800 RPM. It is suitable for cutting various materials including wood, composites, plastics, and even nail-embedded wood. Always select the appropriate blade for the material being cut.

Figure 5: The saw's deep cutting capability for various materials.
Safety Features
The saw is equipped with a protective splash guard to minimize contact with the blade during operation. Always ensure the splash guard is in place and functioning correctly before use.

Figure 6: The protective splash guard enhances user safety during cutting operations.
Maintenance
Cleaning
Regularly clean the saw to remove sawdust and debris. Use a vacuum cleaner or compressed air to clear dust from the motor vents and cutting area. The included dust bag should be emptied frequently to maintain efficient dust collection.
Blade Replacement
Always disconnect the saw from the power source before attempting to change the blade. Refer to the detailed instructions in the original manual for specific steps on how to safely replace the blade. Ensure the new blade is compatible with the saw's specifications (8-1/4 inch diameter, 24 teeth recommended for general purpose).
General Care
Inspect the power cord for damage before each use. Check all moving parts for proper alignment and smooth operation. Lubricate moving parts as recommended in the full product manual. Store the saw in a dry, secure location when not in use.
Troubleshooting
| Problem | Possible Cause | Solution |
|---|---|---|
| Saw does not start | No power, faulty switch, tripped circuit breaker. | Check power connection, test outlet, reset circuit breaker. Contact service if switch is faulty. |
| Blade not cutting smoothly | Dull blade, incorrect blade for material, improper feed rate. | Replace or sharpen blade, use appropriate blade, adjust feed rate. |
| Excessive vibration | Loose blade, damaged blade, unstable mounting. | Tighten blade nut, replace damaged blade, secure saw to workbench. |
| Laser guide not visible | Laser dirty, laser malfunction. | Clean laser lens, contact VEVOR support for repair. |
Specifications

Figure 7: Product dimensions and technical specifications.
| Feature | Detail |
|---|---|
| Item Model Number | J1D-AC2001-210 |
| Power Type | Corded Electric |
| Blade Diameter | 8-1/4 in / 209.55 mm |
| Miter Angle | Left Miter (Adjustable up to ±45°) |
| Voltage | AC 120V / 60Hz |
| Rated Power | 1440 W |
| No-Load Power | 720 W |
| No-Load Speed | 4800 RPM |
| Max Cutting Capacity | 2.17 x 4.72 in / 55 x 120 mm |
| Cutting Guide | Laser Guide Line |
| Net Weight | 28.44 lb / 12.9 kg |
| Product Dimensions (L x W x H) | 21.89"L x 20.39"W x 12.64"H / 556 x 518 x 321 mm |
| Blade Material | ADC12 |
| Number of Teeth | 24 |
| Handle Material | PA6-GF30 |
Warranty and Support
VEVOR products are designed for durability and performance. For warranty information, please refer to the warranty card included with your product or visit the official VEVOR website. If you encounter any issues or require technical assistance, please contact VEVOR customer support through their official channels.
You can find additional support and product information on the VEVOR Store on Amazon.


