
1. Introduction
Thank you for choosing the JASIWAY Tall Bathroom Storage Cabinet. This manual provides essential information for the safe assembly, operation, and maintenance of your new cabinet. Please read these instructions carefully before beginning assembly and retain them for future reference.
Product Overview
This versatile storage cabinet features a modern rustic design with rattan panels and metal hardware, suitable for various decor styles including modern, traditional, and farmhouse. It includes two doors and three adjustable shelves, offering customizable storage solutions for multiple rooms.
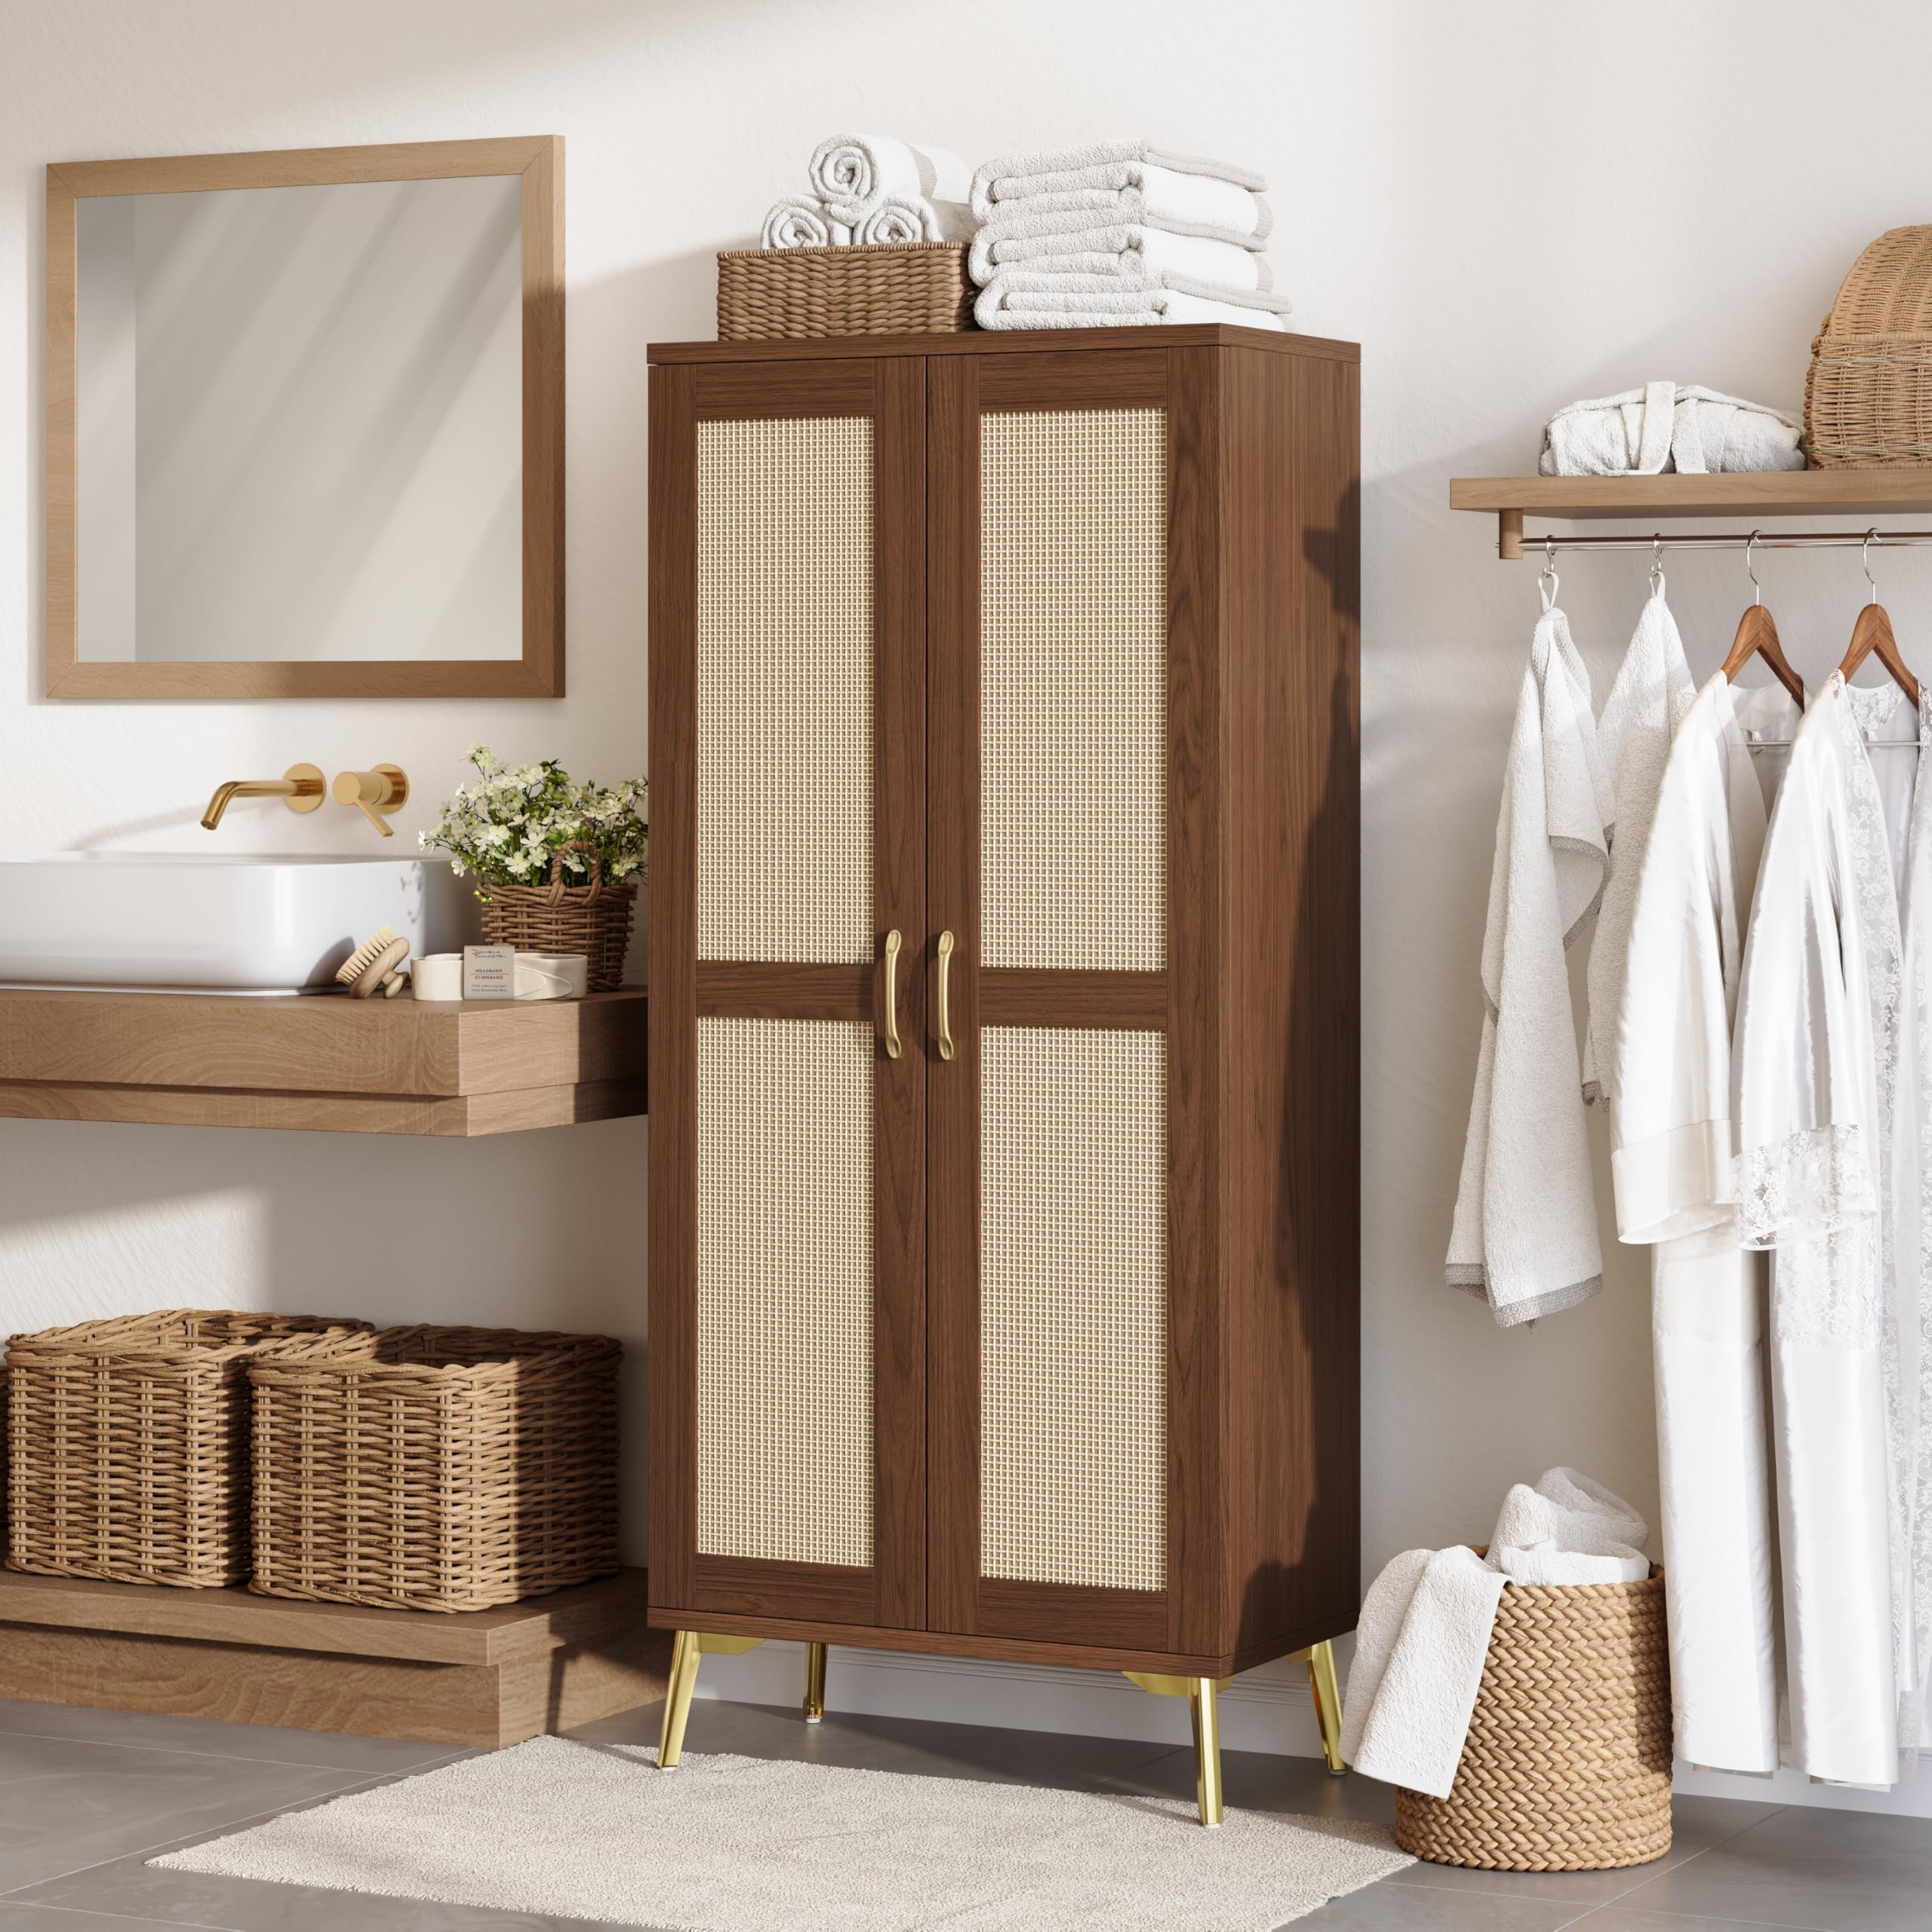
Image 1: The JASIWAY Tall Bathroom Storage Cabinet with its doors closed, showcasing the walnut finish and rattan panels.
Safety Information
To prevent the cabinet from tipping over and ensure family safety, it is crucial to install the anti-tipping device. Always secure the cabinet to a wall as instructed in the assembly section.

Image 2: Illustration demonstrating the importance of the anti-tipping device for cabinet stability and safety.
2. Setup and Assembly
This tall storage cabinet is designed for easy assembly. All parts are labeled, and clear instructions are provided. For any issues during setup, please contact customer support.
Unpacking and Parts Identification
Carefully unpack all components and lay them out on a clean, soft surface to prevent scratches. Verify that all parts listed in the included installation guide are present.

Image 3: All assembly components, including hardware (F, E, G) and main panels (1), along with the instruction manual.
Assembly Steps
- Follow the step-by-step diagrams in the provided installation guide.
- Ensure all screws and fasteners are tightened securely, but do not overtighten.
- Attach the thickened back panel for enhanced stability.

Image 4: Illustration of the thickened back panel providing support and stability to the cabinet structure.
Anti-Tipping Device Installation
After assembling the cabinet, securely attach the anti-tipping device to the wall using appropriate hardware for your wall type. This step is critical for safety, especially in households with children or pets.
3. Operating Instructions
Adjusting Shelves
The cabinet features three adjustable shelves with pre-drilled holes, allowing you to customize the shelf height to accommodate items of various sizes. To adjust, remove the shelf, reposition the shelf pins to the desired height, and then place the shelf back on the pins. For added stability, you can tighten screws to lock the shelves in place.

Image 5: A user demonstrating the adjustment of shelves to customize storage space for various items.

Image 6: Visual guide illustrating the adjustable and removable partitions within the cabinet, highlighting customization options.
Door Alignment
If the cabinet doors are not perfectly aligned, micro-adjustments can be made using the hinges. Refer to the diagram below for specific screw adjustments:
- Vertical Adjustment: Loosen the mounting plate screws to move the door up or down.
- Horizontal Adjustment: Turn the hinge screw left or right for precise side-to-side alignment.
- Depth Adjustment: Loosen the indicated screws, adjust the doors in or out, then securely retighten them.

Image 7: Detailed instructions for adjusting cabinet door hinges to achieve proper alignment.
4. Maintenance
Cleaning
The cabinet is crafted from MDF with a smooth, easy-to-clean surface. Simply wipe the cabinet with a dry, soft cloth to remove dust and light dirt. Avoid using harsh chemicals or abrasive cleaners, which can damage the finish.
General Care
- Periodically check all screws and connections to ensure they remain tight.
- Avoid placing excessively heavy items on shelves to prevent bowing or damage. The maximum weight capacity is 120 pounds for the entire unit.
- Keep the cabinet away from direct sunlight and excessive moisture to preserve its material integrity and finish.
5. Troubleshooting
This section addresses common issues you might encounter with your storage cabinet.
Common Issues and Solutions
| Problem | Possible Cause | Solution |
|---|---|---|
| Cabinet feels unstable or wobbly. | Loose connections; uneven floor; anti-tipping device not installed. | Ensure all screws are tightened. Place shims under legs if floor is uneven. Install the anti-tipping device securely to a wall. |
| Doors do not close properly or are misaligned. | Hinges require adjustment. | Refer to the "Door Alignment" section (Section 3) for detailed adjustment instructions. |
| Unpleasant odor from the cabinet. | New product off-gassing. | Ventilate the room thoroughly. Wipe surfaces with a damp cloth and mild soap, then dry completely. The odor should dissipate over time. |
If you encounter an issue not listed here, or if the suggested solutions do not resolve the problem, please contact JASIWAY customer support for assistance.
6. Specifications
Detailed product specifications for the JASIWAY Tall Bathroom Storage Cabinet, Model SC003-N1-RW.

Image 8: Dimensional drawing of the cabinet, indicating height, width, and depth in inches and centimeters.
| Feature | Detail |
|---|---|
| Brand | JASIWAY |
| Model Number | SC003-N1-RW |
| Color | Walnut |
| Material | Engineered Wood |
| Product Dimensions (D x W x H) | 13.46"D x 23.66"W x 57.48"H |
| Item Weight | 40 pounds |
| Number of Doors | 2 |
| Number of Shelves | 3 (Adjustable) |
| Weight Capacity (Maximum) | 120 pounds |
| Installation Type | Freestanding |
| Special Features | Adjustable Shelf, Anti-Tipping Device, Removable Shelf, Stain Resistant, Water Resistant |
| Included Components | Installation Guide * 1 |
7. Warranty and Support
Warranty Information
Specific warranty details for your JASIWAY product are typically provided with the purchase documentation or can be found on the official JASIWAY website. Please retain your proof of purchase for any warranty claims.
Customer Support
For assembly assistance, missing parts, or any other inquiries regarding your JASIWAY Tall Bathroom Storage Cabinet, please contact our customer support team. We aim to respond within 24 hours.
Contact information can usually be found on the packaging, in the included installation guide, or on the JASIWAY brand store page: Visit the JASIWAY Store