
IRONCK I-TG1012-A
IRONCK 10x12 FT Outdoor Storage Shed with Clear Window
Model: I-TG1012-A
1. Introduction
This manual provides essential information for the assembly, operation, and maintenance of your IRONCK 10x12 FT Outdoor Storage Shed. Please read these instructions carefully before beginning assembly and retain them for future reference. Proper assembly and care will ensure the longevity and optimal performance of your storage shed.
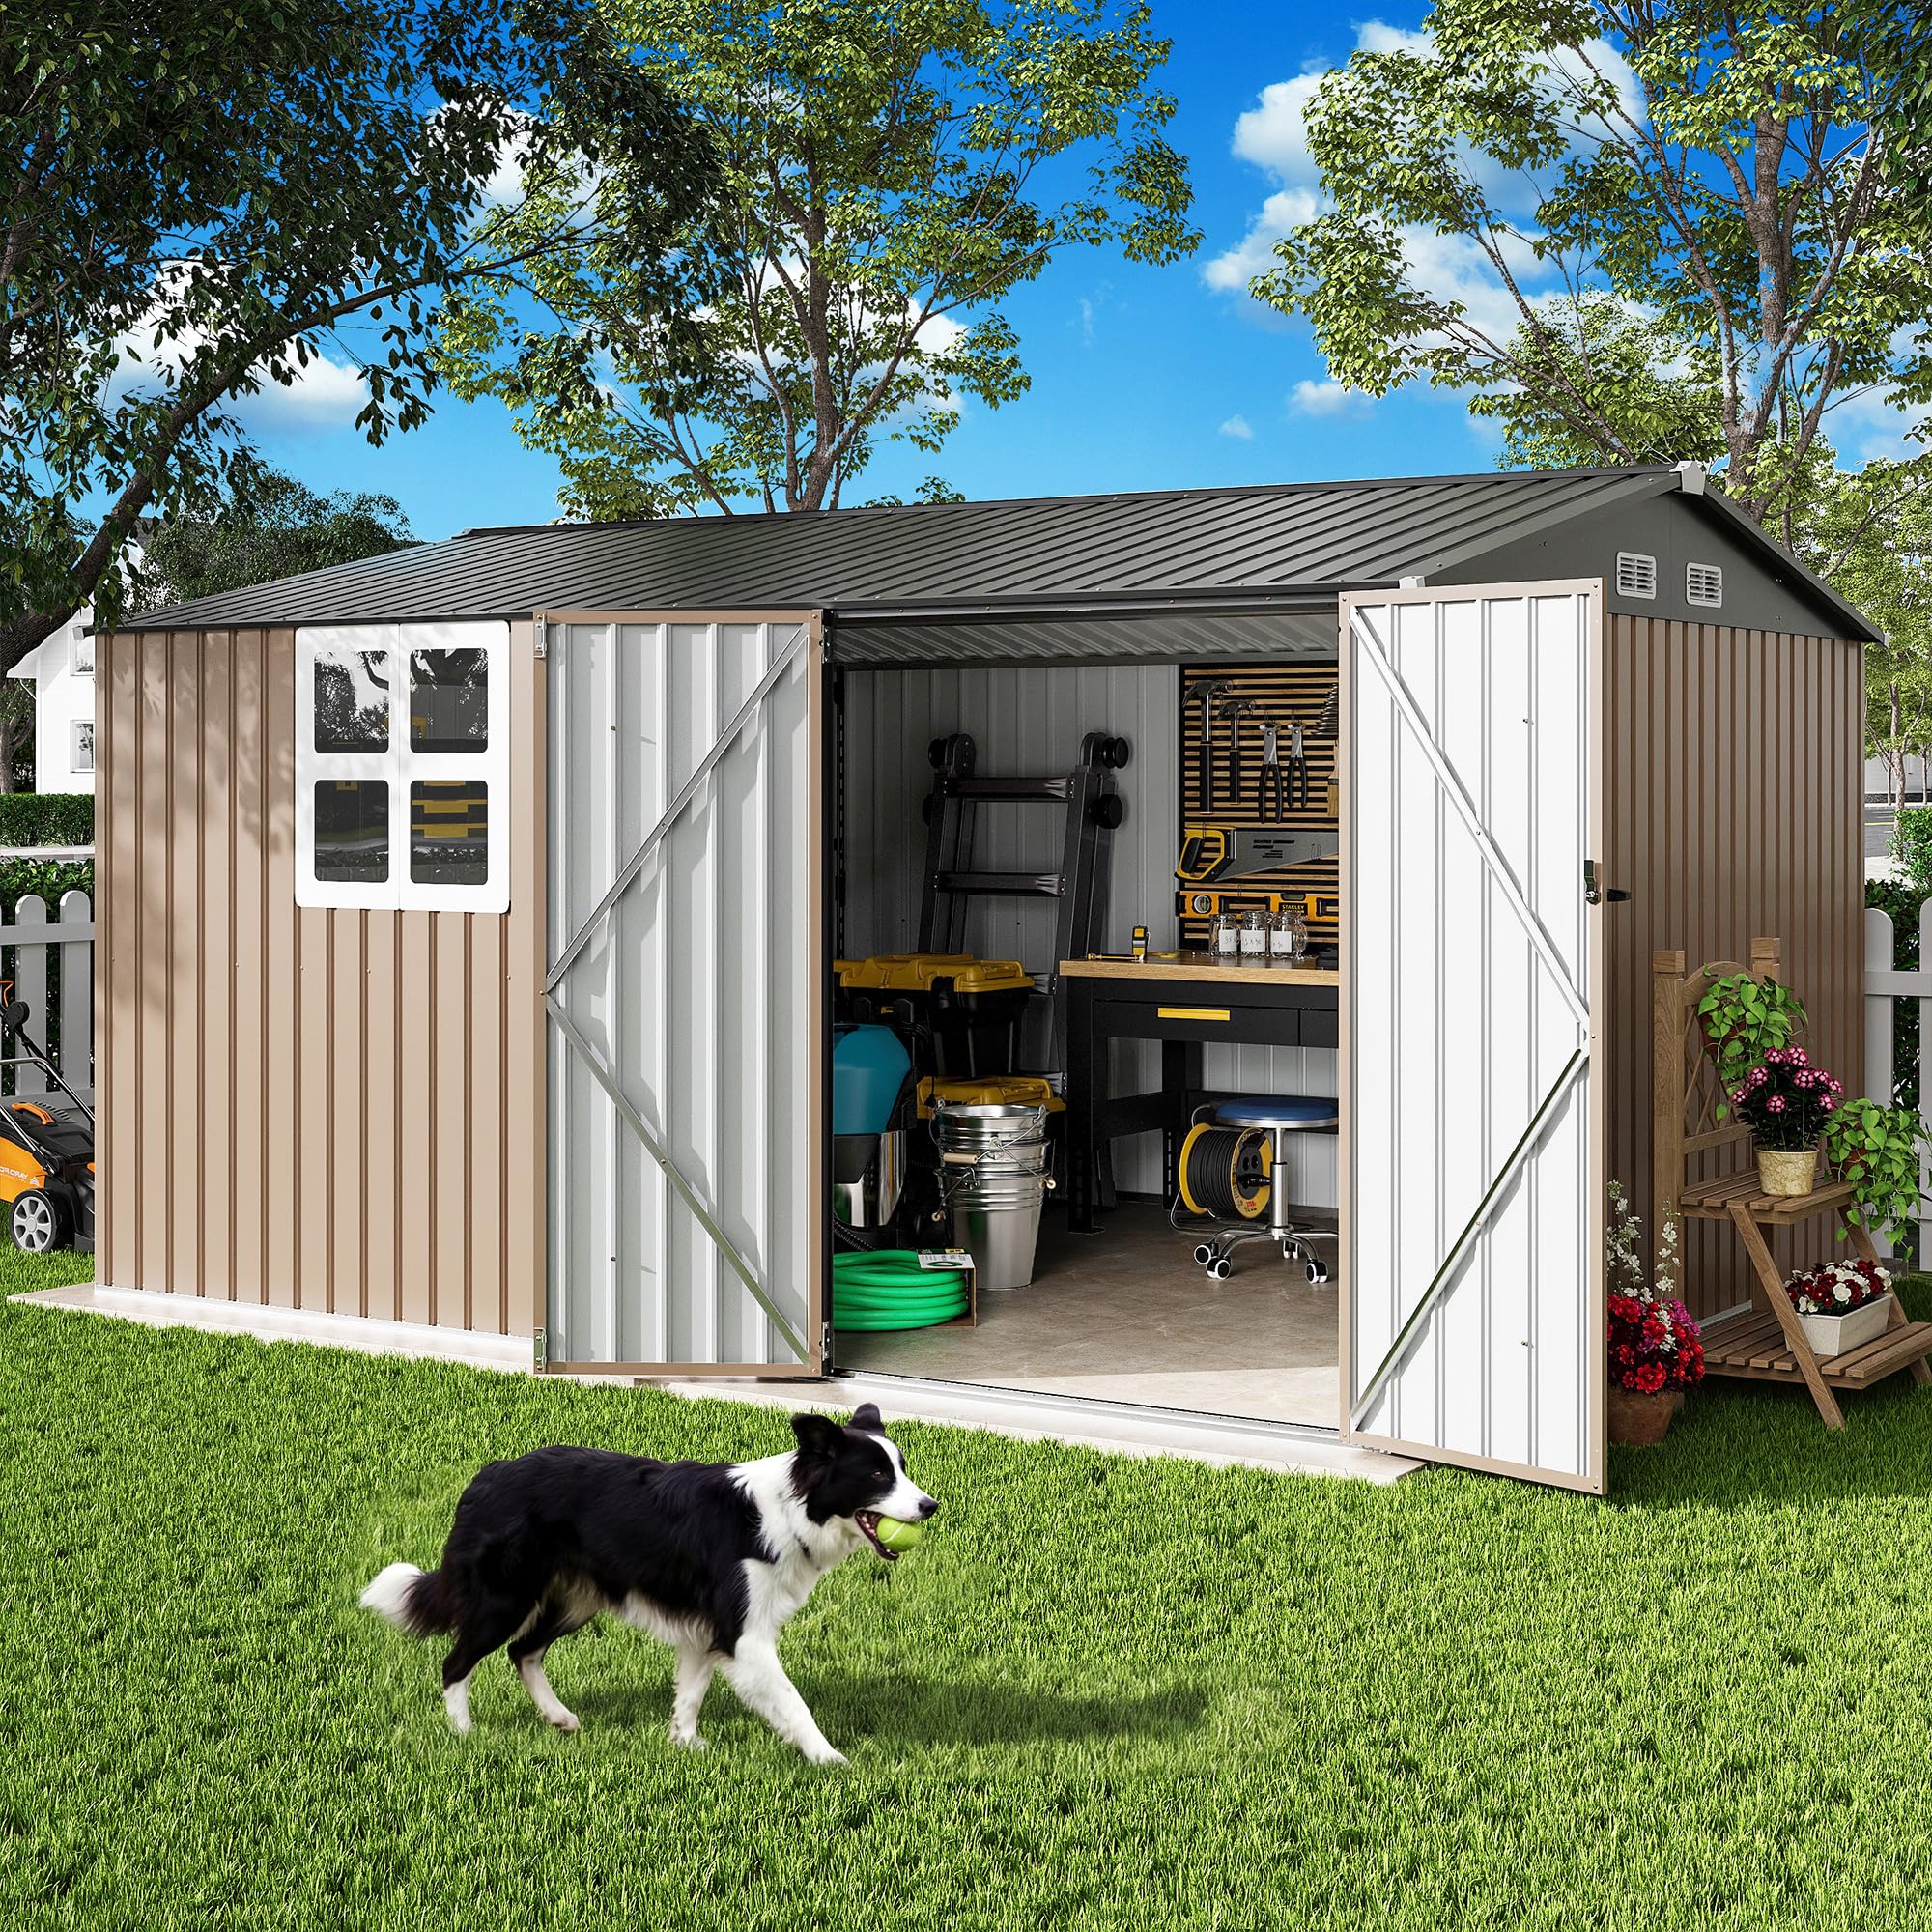
Image: The IRONCK 10x12 FT Outdoor Storage Shed, brown with a clear window, positioned beside a swimming pool. The double doors are open, revealing stored pool equipment like a life buoy and cleaning tools. This illustrates the shed's versatile outdoor storage capabilities.
2. Safety Information
- Site Preparation: Choose a level, solid surface for installation. Ensure the ground is stable and well-drained.
- Two-Person Assembly: Assembly requires at least two adults for safety and ease of installation.
- Protective Gear: Wear gloves and eye protection during assembly to prevent injury from sharp edges or falling components.
- Tool Safety: Use appropriate tools and ensure they are in good working condition. When using power tools, set the clutch to a low torque setting to prevent stripping screws.
- Anchoring: Securely anchor the shed to the ground to prevent wind damage. Anchoring hardware may not be included and should be purchased separately based on your ground type.
- Ventilation: Ensure the built-in vents are not obstructed to maintain proper airflow and prevent moisture buildup.
- Weight Distribution: Distribute stored items evenly inside the shed. Do not overload shelves or walls.
- Children and Pets: Keep children and pets away from the assembly area. Do not allow them to play inside or around the shed unsupervised.
3. Package Contents
Your IRONCK storage shed is delivered in multiple boxes. All components are pre-drilled and clearly labeled for straightforward assembly. Before starting, unpack all boxes and verify that all parts are present according to the packing list (not provided in this manual, refer to your product packaging).
Typical components include:
- Galvanized steel panels (walls, roof)
- Galvanized steel frame components
- Doors and door hardware (hinges, lock)
- Clear window panels
- Ventilation grilles
- Fasteners (screws, bolts, washers)
4. Setup and Assembly
Assembly of the IRONCK storage shed is designed to be straightforward with pre-drilled and labeled parts. For best results, follow the step-by-step instructions provided in your physical manual and utilize the 3D animated assembly video.
4.1 Important Assembly Tips
- Read Instructions First: Familiarize yourself with all steps before beginning.
- Square the Base: Ensure the base frame is perfectly square and level before attaching wall panels. This is crucial for proper alignment of all subsequent parts.
- Power Tool Use: If using a cordless drill, set the clutch to a very low torque setting. This prevents over-tightening and stripping of screws, especially with metal components.
- Panel Protection: Handle panels carefully to avoid bending or scratching.
4.2 Assembly Video Guide
For a visual, step-by-step guide, please refer to the official 3D assembly video:
Video: A 3D animated assembly guide for the IRONCK 10x12 FT Storage Shed, demonstrating each step of the construction process. This video is provided by the manufacturer to assist with installation.
4.3 Key Structural Features

Image: An interior view of the shed highlighting the heavy-duty crossbeams, which are part of the 500µm galvanized steel frame reinforced structure, providing enhanced stability.
The shed features a robust internal structure with heavy-duty crossbeams made from 500µm galvanized steel, ensuring structural integrity and durability.
5. Operating Instructions
5.1 Doors and Locking Mechanism
The shed is equipped with double hinged doors for easy access, especially for bulky items. To open, turn the handle and pull. To secure, close both doors and use the integrated lock with the provided key. Ensure the doors are fully closed and locked when not in use to protect contents.
5.2 Ventilation System
The shed includes breathable vents located near the roofline. These vents are designed to promote air circulation and reduce moisture buildup inside the shed. Ensure these vents remain unobstructed for optimal performance.
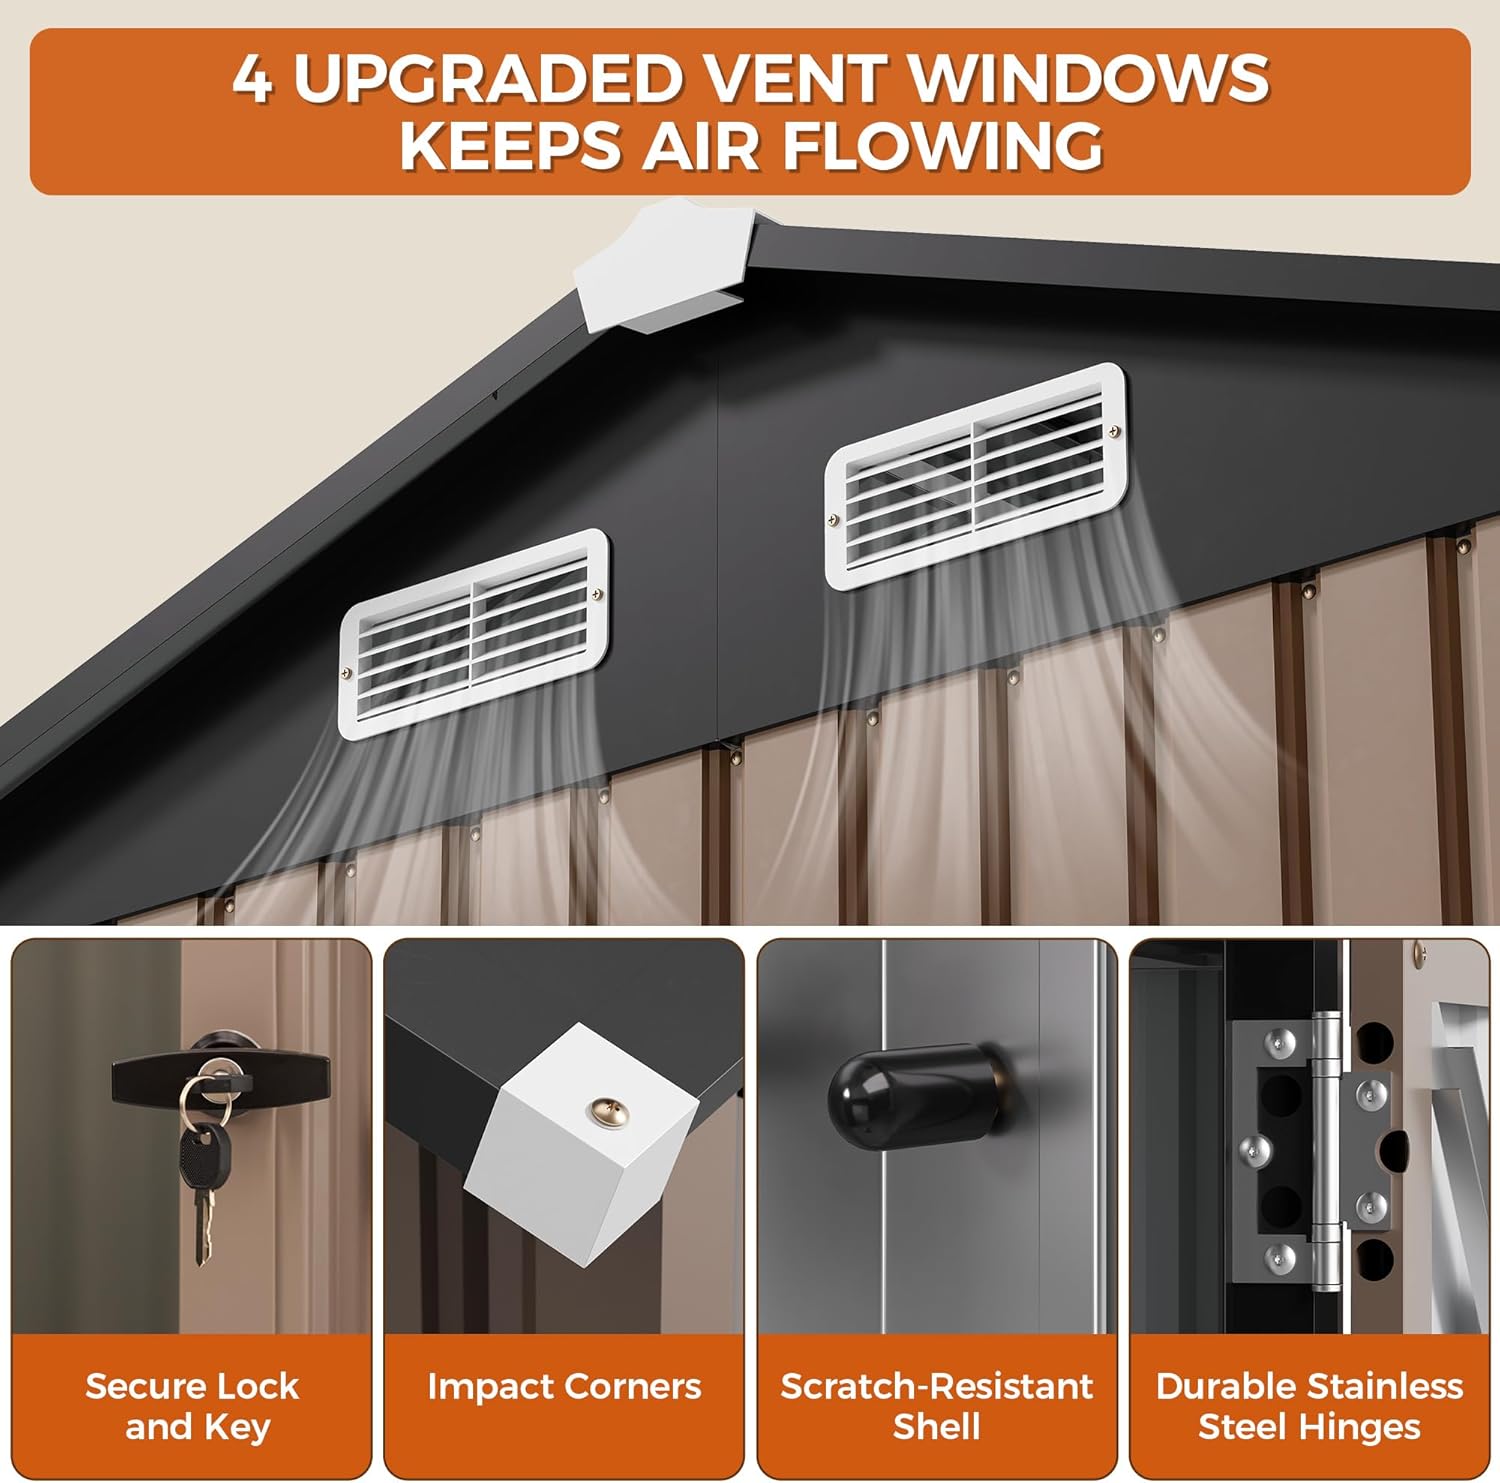
Image: A detailed view showcasing the shed's features: a secure lock and key for the doors, reinforced impact corners, a scratch-resistant exterior shell, and durable stainless steel hinges for long-lasting operation.
6. Maintenance
- Cleaning: Clean the exterior of the shed periodically with mild soap and water. Avoid abrasive cleaners or harsh chemicals that could damage the finish.
- Inspection: Regularly inspect the shed for any signs of damage, loose fasteners, or rust. Tighten any loose screws and address rust spots promptly to prevent further deterioration.
- Ventilation: Ensure the vents are clear of debris (leaves, dirt) to maintain proper airflow.
- Snow Load: While the shed has a high snow load rating, it is advisable to remove excessive snow accumulation from the roof to prevent undue stress on the structure.
- Door Hinges: Lubricate door hinges annually to ensure smooth operation.

Image: A comparison demonstrating the superior quality of IRONCK's upgraded metal and coating, which resists rust and wear over time, contrasted with other metals that show significant corrosion after use.

Image: A composite image showing the shed's resilience against various weather conditions: UV-resistant under sun, weather-resistant during rain, and capable of handling a high snow load (up to 6 inches shown).
7. Troubleshooting
- Parts Not Aligning: If parts do not align correctly during assembly, re-check that the base is perfectly square and level. Disassemble and reassemble affected sections, ensuring all components are oriented correctly as per the manual.
- Stripped Screws: If screws are stripping, reduce the torque setting on your power drill or use a hand screwdriver for finer control. Ensure you are using the correct screw type for each connection.
- Water Leakage: Check all seams and connections for proper sealing. Ensure roof panels overlap correctly. Apply silicone sealant to any gaps if necessary (sealant not included).
- Door Sticking/Misalignment: Verify that the shed is level. Adjust hinges if possible, or check for obstructions in the door track.
8. Specifications
| Feature | Detail |
|---|---|
| Brand | IRONCK |
| Model Number | I-TG1012-A |
| Color | Brown |
| Material | Galvanized Steel |
| Product Dimensions (D x W x H) | 120"D x 144"W x 77"H (10 ft D x 12 ft W x 6.5 ft H) |
| Floor Area | 120 square feet |
| Item Weight | 220.6 pounds |
| Door Width | 47.8 inches |
| Door Height | 63 inches |
| Door Style | Double Hinged Doors |
| Water Resistance Level | Water Resistant |

Image: A detailed diagram illustrating the product dimensions of the IRONCK 10x12 FT Outdoor Storage Shed, including height, width, and depth, as well as door opening measurements.
9. Warranty and Support
9.1 Warranty Information
Specific warranty details for the IRONCK 10x12 FT Outdoor Storage Shed are not provided in this manual. Please refer to the product packaging or contact IRONCK customer service for comprehensive warranty information.
9.2 Customer Support
For further assistance, replacement parts, or inquiries, please visit the official IRONCK store or contact their customer support:
- IRONCK Store: Visit the IRONCK Store on Amazon
Ask a question about this manual
Ask about setup, troubleshooting, compatibility, parts, safety, or missing instructions. Manuals+ will review the question and use this page’s manual context to help answer it.