
Introduction
Thank you for choosing the Pssopp LED Digital Alarm Clock. This manual provides essential information for the safe and efficient use of your new device. Please read these instructions carefully before use and retain them for future reference.
This versatile digital clock offers multiple functions including time display, three alarm settings, adjustable brightness, and displays temperature, date, and day of the week. It is designed for both wall mounting and desktop placement, suitable for various environments such as living rooms, bedrooms, kitchens, bathrooms, and offices.
Safety Information
- Do not expose the device to extreme temperatures, direct sunlight, or high humidity.
- Avoid dropping or subjecting the device to strong impacts.
- Use only the provided USB power cable.
- Do not attempt to disassemble or repair the device yourself. Contact qualified service personnel.
- Keep out of reach of children.
- Ensure proper ventilation when operating.
Package Contents
Please check the package for the following items:
- 1 x Pssopp LED Digital Alarm Clock
- 1 x USB Power Cable
- 2 x Hanging Nails
- 1 x User Manual (this document)

Image: The Pssopp LED Digital Alarm Clock, showing the main unit, USB power cable, and two hanging nails.
Product Overview
The Pssopp LED Digital Alarm Clock is designed for convenience and functionality. Key features include:
- Digital Time Display: Clear LED display for time in 12-hour or 24-hour format.
- Multiple Alarm Functions: Three customizable alarm settings with snooze capability.
- Adjustable Brightness: Features a built-in light sensor for automatic brightness adjustment and manual control.
- USB Powered: Operates via the included USB power cable.
- Memory Function: Requires 2 AAA batteries (not included) to retain time settings during power outages.
- Multi-functional Display: Shows temperature, date, and day of the week.
- Versatile Placement: Can be wall-mounted or placed on a desktop.

Image: The digital alarm clock displaying time, temperature, and day of the week, placed on a table.
Setup
1. Power Connection
- Connect the small end of the provided USB power cable to the power input port on the back of the clock.
- Plug the USB-A end of the cable into a compatible USB power adapter (not included) or a USB port on another device.
- The clock display will light up, indicating it is powered on.
Note: This clock is primarily USB-powered and does not operate solely on batteries for its main functions.
2. Battery Backup (Memory Function)
- Locate the battery compartment on the back of the clock.
- Open the battery compartment cover.
- Insert 2 AAA batteries (not included) according to the polarity markings (+/-).
- Close the battery compartment cover.
The batteries enable the memory function, preserving your time and alarm settings in case of a power outage. The clock will not display time using only these batteries.
3. Mounting and Placement
- Desktop Placement: Place the clock on any flat, stable surface.
- Wall Mounting: Use the two provided hanging nails. Mark two points on the wall corresponding to the keyholes on the back of the clock. Insert the nails into the wall, leaving a small portion protruding, then hang the clock securely.
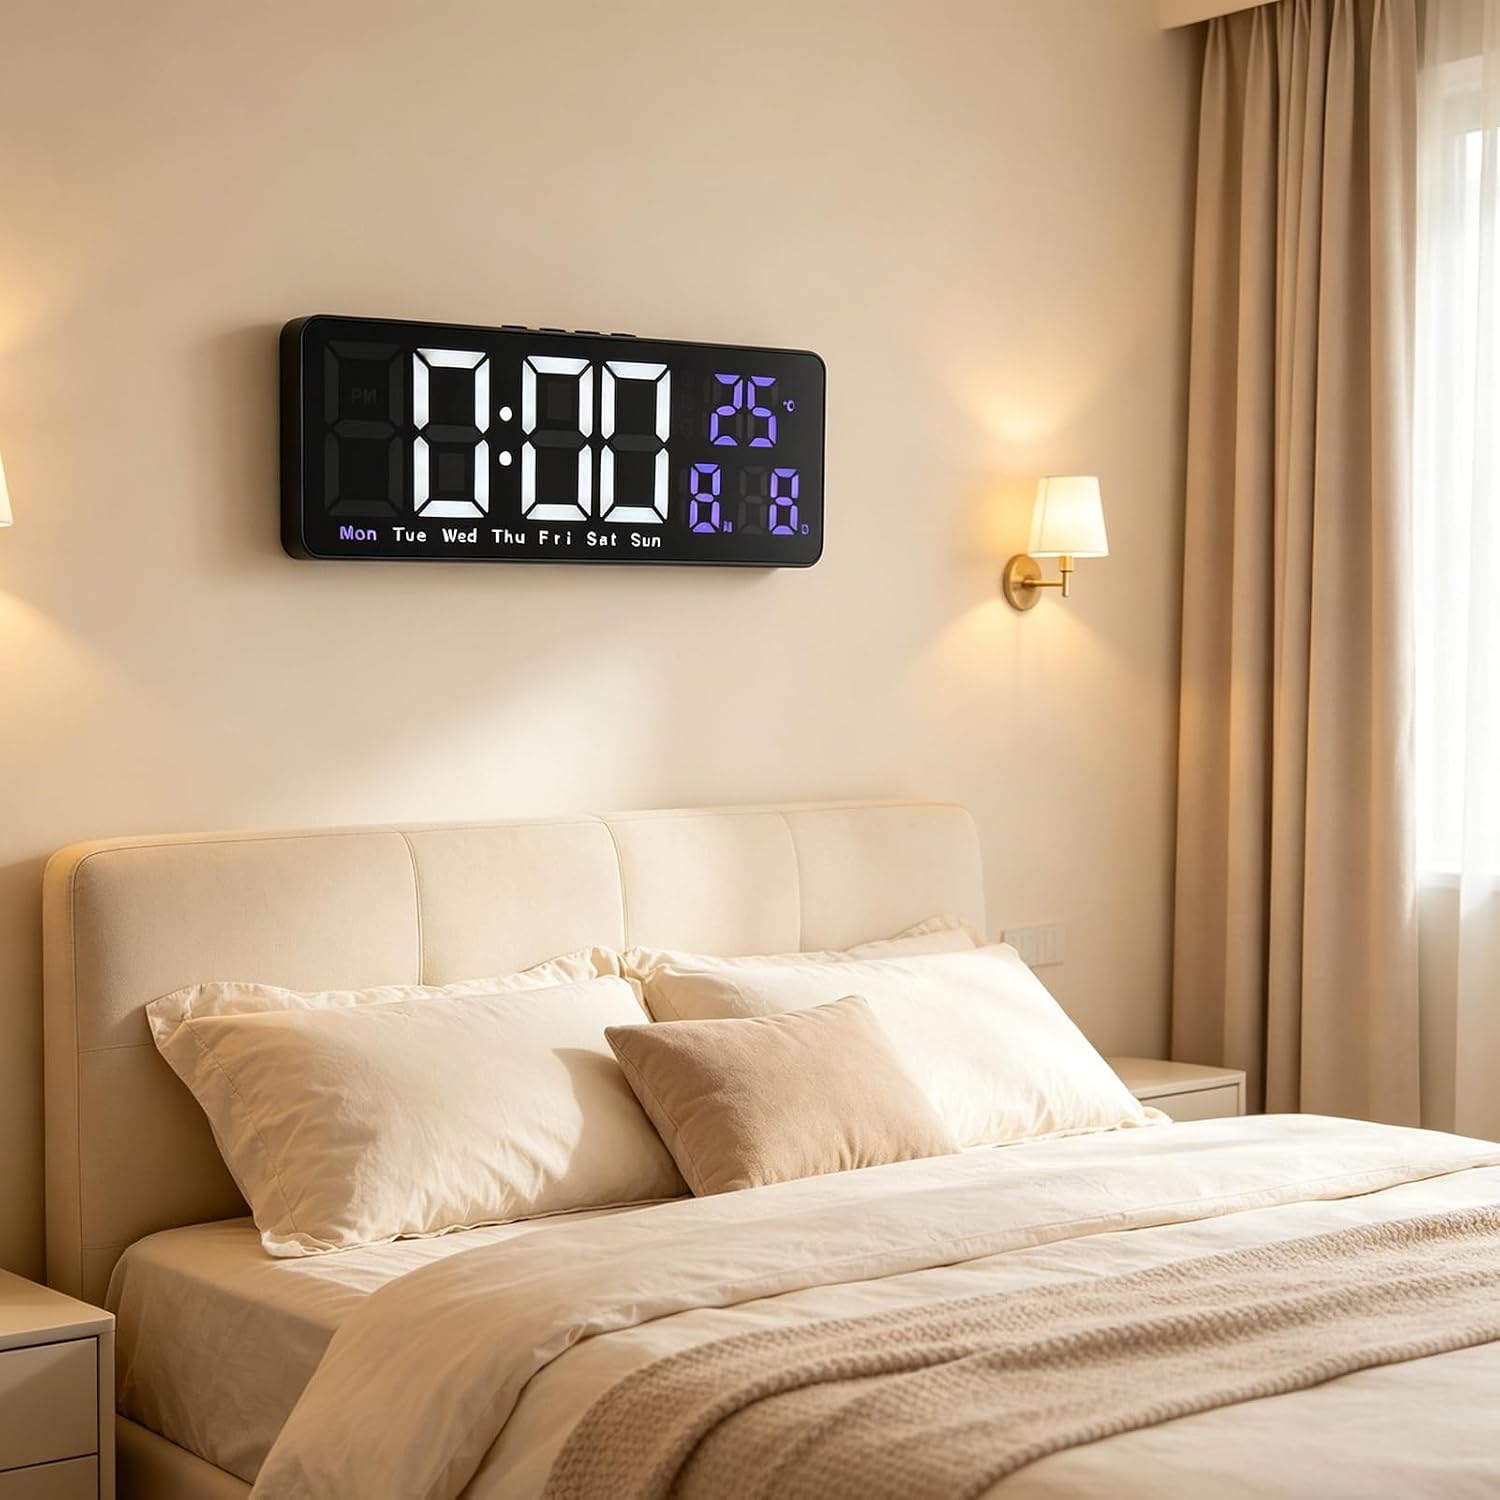
Image: The digital alarm clock wall-mounted in a bedroom, demonstrating its placement versatility.
Operating Instructions
The clock features several buttons on the top or back for control. Common buttons include SET, +, -, and ALARM.

Image: Rear view of the clock, highlighting the control buttons.
1. Setting the Time
- Press and hold the SET button until the hour digits begin to flash.
- Use the + or - buttons to adjust the hour.
- Press SET again to move to the minute setting. The minute digits will flash.
- Use the + or - buttons to adjust the minutes.
- Press SET once more to confirm and exit time setting mode.
2. Setting Alarms (Up to 3 Alarms)
- Press the ALARM button repeatedly to cycle through Alarm 1 (A1), Alarm 2 (A2), and Alarm 3 (A3) settings.
- When the desired alarm (e.g., A1) is displayed, press and hold the ALARM button until the hour digits flash.
- Use the + or - buttons to set the alarm hour.
- Press ALARM again to set the alarm minutes.
- Use the + or - buttons to set the alarm minutes.
- Press ALARM to confirm and activate the alarm. An alarm icon will appear on the display.
- To deactivate an alarm, cycle to the alarm using the ALARM button, then press ALARM again to toggle it off (the alarm icon will disappear).
Snooze Function: When an alarm sounds, press any button (except ALARM) to activate snooze. The alarm will sound again after a short interval (typically 5-10 minutes). To stop the alarm completely, press the ALARM button.
3. Adjusting Brightness
- Automatic Brightness: The clock features a built-in light sensor that automatically adjusts the display brightness based on ambient light conditions.
- Manual Brightness Adjustment: While in normal time display mode, press the + or - buttons to cycle through different brightness levels.
4. Display Modes (Temperature, Date, Week)
The clock automatically cycles through time, temperature, date, and day of the week displays. Some models may allow manual cycling by pressing a specific button (e.g., SET or MODE, if available) in normal display mode.
5. 12/24 Hour Format
To switch between 12-hour and 24-hour time formats, press the SET button once while the time is displayed (not in setting mode). The 'PM' indicator will appear for 12-hour format.
Maintenance
- Cleaning: Wipe the clock surface with a soft, dry cloth. Do not use abrasive cleaners or solvents.
- Battery Replacement: If the memory function becomes unreliable, replace the AAA backup batteries.
- Storage: If storing the clock for an extended period, remove the AAA batteries to prevent leakage.
Troubleshooting
| Problem | Possible Cause | Solution |
|---|---|---|
| Clock display is off. | No power supply. | Ensure the USB power cable is securely connected to both the clock and a working USB power source. |
| Time settings are lost after power outage. | Backup batteries are not installed or are depleted. | Install 2 new AAA batteries in the battery compartment. |
| Alarm does not sound. | Alarm is not activated or volume is too low (if adjustable). | Check if the alarm icon is displayed. Re-set the alarm if necessary. (Note: This model does not specify adjustable alarm volume). |
| Display is too dim or too bright. | Automatic brightness sensor is active or manual setting is incorrect. | Manually adjust brightness using the + or - buttons. Ensure the light sensor is not obstructed. |
Specifications
| Brand | Pssopp |
| Model Number | Pssoppbe271n8woc |
| Product Dimensions | 10L x 4H centimeters (Note: This dimension from product data may refer to a component or packaging, as the visual appearance of the clock suggests larger dimensions.) |
| Power Source | USB Powered (cable included) |
| Backup Battery | 2 x AAA batteries (not included) for memory function |
| Material | ABS |
| Country of Origin | China |
Warranty and Support
For warranty information and customer support, please refer to the documentation provided at the time of purchase or contact your retailer. You may also visit the official Pssopp website for further assistance.