
1. Product Overview
The IBKINXX DLN-12 is an automatic egg incubator designed for hatching various types of poultry eggs, including chicken, duck, goose, and quail. It features precise temperature and humidity control, automatic egg turning, a built-in egg candler, and an external water refill system to optimize hatching conditions.
Key Features:
- Constant Temperature & Humidity Control with LED display.
- Automatic Egg Turner with adjustable turning frequency (60, 120, 180 minutes).
- External Water Refill System for stable humidity without opening the incubator.
- Built-in Egg Candler for monitoring embryo development.
- 360° Transparent View for observation.
- Easy to Disassemble & Clean design.

Image: The IBKINXX DLN-12 incubator featuring its large digital display for temperature and humidity control.
2. Safety Information
- Read all instructions before using the incubator.
- Keep the incubator away from water and direct sunlight.
- Ensure the power supply matches the incubator's requirements.
- Do not operate the incubator with a damaged cord or plug.
- Unplug the incubator before cleaning or performing maintenance.
- Keep children and pets away from the incubator during operation.
- Ensure proper ventilation around the incubator.
3. Package Contents
Verify that all components are present in the package:
- Top Cover
- Base
- Grid
- Egg Frame
- Card Strips
- Tube Assembly
- Water Bottle (x2)
- Adapter (x2)

Image: Exploded view diagram of the incubator components, including water bottles, adapter, egg candler, control panel, top cover, grid, egg tray, and base.
4. Setup Instructions
4.1 Assembly
- Place the Base on a stable, level surface.
- Insert the Egg Frame into the Base.
- Position the Grid over the Egg Frame.
- Attach the Tube Assembly to the designated port on the Base.
- Secure the Top Cover onto the Base, ensuring it aligns correctly.
- Connect the Water Bottles to the Tube Assembly.
- Plug the power adapter into the incubator and then into a power outlet.
4.2 Initial Preparation
- Pre-heating: Before placing eggs, operate the incubator for at least 24 hours to stabilize temperature and humidity.
- Water Filling: Fill the water bottles with distilled water and connect them to the external water refill system. Ensure water levels are maintained throughout incubation.
- Egg Placement: Carefully place fertilized eggs onto the egg frame. Avoid overcrowding.

Image: Visual guide to the easy operation steps: placing fertilized eggs, connecting water bottles, setting incubation conditions, and waiting for hatching.
5. Operating Instructions
5.1 Control Panel Overview
The incubator features an LED display and control buttons for managing incubation parameters. The display shows current temperature, humidity, and incubation days. Buttons allow for setting temperature, hatch days, and egg turning intervals.
- Temperature Indicator: Blinks when heating. Default 100.0°F, adjustable range 68-104°F.
- Humidity Display: Shows current humidity percentage.
- Hatching Day: Displays current incubation day. Default 21 days (customizable).
- Egg-turning Icon: Lights up when eggs are turning. Default interval 120 minutes, adjustable to 60, 120, or 180 minutes.
- Quick Menu Buttons: Use '+' and '-' to adjust settings. Press 'M' for menu options.

Image: The control panel of the IBKINXX incubator, highlighting the temperature indicator, humidity display, hatching day counter, and egg-turning icon.
5.2 Temperature and Humidity Control
The incubator automatically maintains set temperature and humidity levels. Use the control panel to adjust settings as needed for specific egg types. The default temperature is 100.0°F (37.8°C). Humidity is controlled by the external water refill system.
5.3 Automatic Egg Turning
The automatic egg turning system mimics natural incubation by gently rotating eggs. This prevents embryos from sticking to the shell and promotes even development. The turning frequency can be set to 60, 120, or 180 minutes. Stop egg turning three days before the expected hatch date to prepare for lockdown.
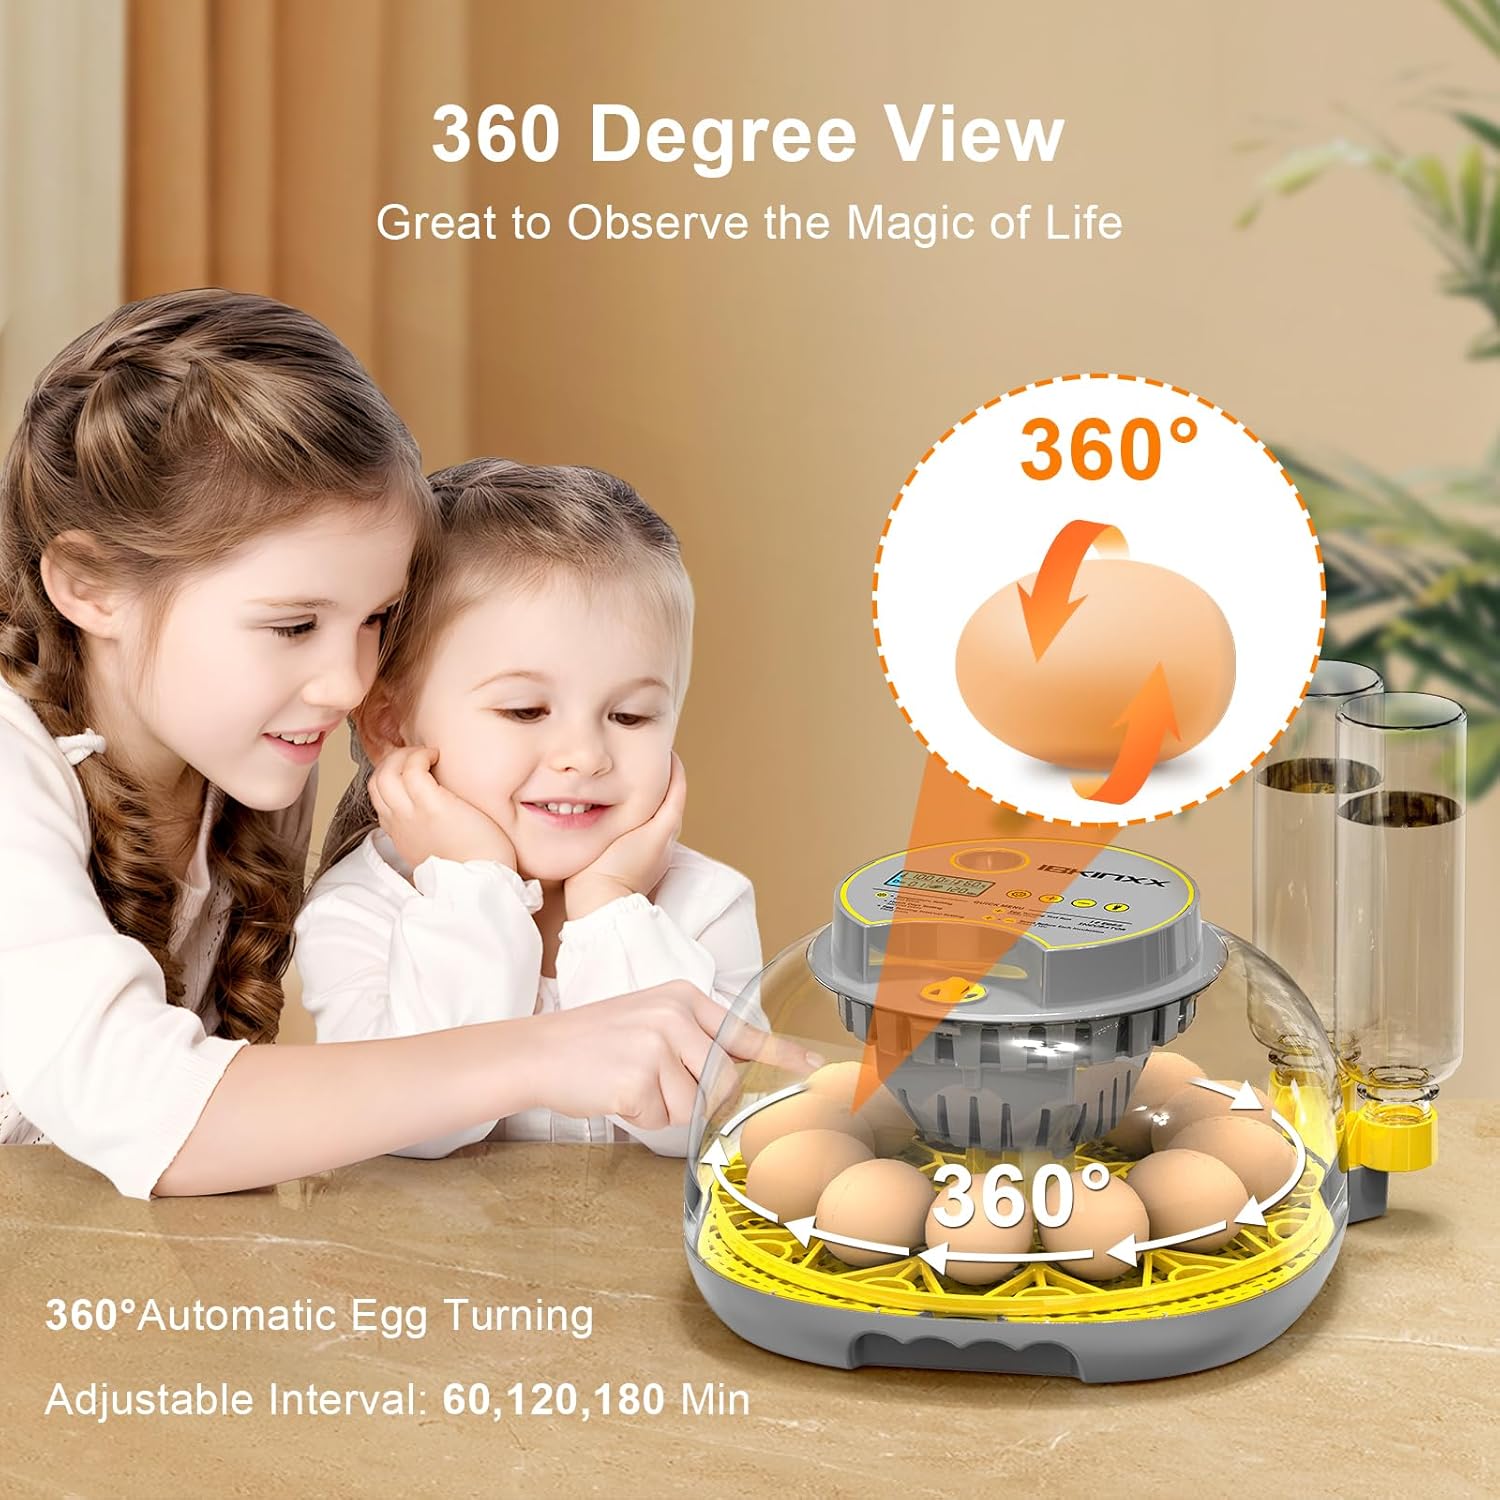
Image: The incubator's 360-degree automatic egg turning mechanism in action, visible through the transparent cover.
5.4 External Water Refill System
The external water refill system allows you to add water to the incubator without opening the lid, which helps maintain stable temperature and humidity. Simply fill the provided water bottles and connect them to the side ports. Monitor the humidity display and refill as necessary.

Image: The external water refill system with two transparent water bottles connected to the incubator, ensuring continuous humidity.
5.5 Built-in Egg Candler
The built-in egg candler allows you to observe the development of embryos inside the eggs without removing them from the incubator. This helps identify infertile eggs or those with arrested development, which can then be removed to prevent contamination.
- Days 5-6: Look for fertilization and remove unfertilized eggs.
- Days 11-12: Inspect embryo development.
- Days 16-17: Look for developed embryos and signs of stillbirth.

Image: The built-in egg candler illuminating an egg to show embryo development stages, with a timeline for observation.
5.6 Incubation Conditions and Time Table
Optimal conditions vary by species. The following table provides general guidelines:
| Species | Temperature | Humidity Range | Incubation Days |
|---|---|---|---|
| Chicken | 100°F (37.8°C) | 50-60% (Days 1-18), 65-75% (Days 19-21) | 21 days |
| Duck | 99.5°F (37.5°C) | 55-65% (Days 1-25), 70-80% (Days 26-28) | 28 days |
| Goose | 99.5°F (37.5°C) | 55-65% (Days 1-28), 70-80% (Days 29-30) | 30 days |
| Quail | 100.5°F (38.1°C) | 45-55% (Days 1-15), 60-70% (Days 16-18) | 18 days |
Note: These are general guidelines. Specific breed requirements may vary. Always research the optimal conditions for the specific eggs you are incubating.

Image: Visual representation of recommended incubation temperature, humidity, and duration for various egg types.
6. Maintenance
6.1 Cleaning Instructions
Regular cleaning is essential for hygiene and successful hatches. The incubator is designed for easy disassembly to facilitate cleaning.
- Unplug the incubator from the power source.
- Carefully remove the Top Cover, Grid, and Egg Frame.
- Rinse the removable parts (Grid, Egg Frame, Base) with clean water. Use a mild disinfectant if desired, ensuring it is safe for poultry and thoroughly rinsed off.
- Wipe the Top Cover and Control Panel gently with a clean, damp cloth. Do not immerse electrical components in water.
- Ensure all parts are completely dry before reassembling and storing or reusing the incubator.
Important: To avoid damage to parts, do not wash in a machine.

Image: The incubator's removable components being cleaned with water and a cloth, highlighting the ease of disassembly for maintenance.
7. Troubleshooting
Refer to the table below for common issues and their potential solutions:
| Problem | Possible Cause | Solution |
|---|---|---|
| Temperature unstable/incorrect | Room temperature fluctuations, sensor error, lid not sealed | Place incubator in a stable environment. Check lid seal. Contact support if sensor suspected. |
| Humidity too low | Water bottles empty, insufficient water surface area, dry environment | Refill water bottles. Ensure water channels are clear. Increase room humidity if possible. |
| Humidity too high | Too much water, high room humidity, insufficient ventilation | Reduce water in channels. Adjust ventilation holes. Decrease room humidity if possible. |
| Eggs not turning | Egg turning function off, motor malfunction, obstruction | Check settings on control panel. Ensure no obstructions. Contact support if motor issue. |
| Poor hatch rate | Incorrect temperature/humidity, infertile eggs, poor egg quality, improper candling | Verify settings against species requirements. Use fresh, fertile eggs. Follow candling guidelines. |
8. Specifications
| Feature | Detail |
|---|---|
| Brand | IBKINXX |
| Model Number | DLN-12 |
| Product Dimensions | 10.4"L x 10.4"W x 6.4"H |
| Material | Acrylonitrile Butadiene Styrene (ABS) |
| Capacity | 12 Eggs (Chicken) |
| Special Features | Automatic, Easy to Clean, Easy to Use, Built-in Egg Candler, External Water Refill |
| Breed Recommendation | Chicken, Duck, Goose, Bird, Quail |
| Item Weight | 1.66 kg |
| Color | Grey |
9. Warranty and Support
9.1 Warranty Information
The IBKINXX DLN-12 12-Egg Incubator comes with a 2-Year Manufacturer Warranty. Please retain your proof of purchase for warranty claims.
9.2 Customer Support
For technical assistance, troubleshooting not covered in this manual, or warranty inquiries, please contact IBKINXX customer support through the retailer's platform or the official brand website. Provide your model number (DLN-12) and purchase date for faster service.