
1. Introduction
The LifeBasis Portable Radon Detector (Model RM-62) provides continuous monitoring of radon gas levels in your environment. Radon is a naturally occurring radioactive gas that can accumulate indoors and poses health risks. This device offers accurate measurements, historical data logging, and customizable alerts to help you maintain a safe indoor environment.
Key features include a high-precision semiconductor sensor, fast initial readings within 6 hours, continuous 24/7 monitoring, and storage of up to 504 days of historical data. The device is rechargeable via Type-C and features a clear TFT color display for easy readability.

Image: The LifeBasis Portable Radon Detector showing real-time radon levels and detection periods.
2. What's in the Box
- LifeBasis Portable Radon Detector (Model RM-62)
- Type-C Charging Cable
- User Manual

Image: The product packaging showing the radon detector, Type-C cable, and user manual.
3. Setup
- Initial Charge: Before first use, fully charge the device using the provided Type-C cable and a compatible USB power adapter (not included). A full charge takes approximately 3.5 hours.
- Power On: Press and hold the power button (usually the central button) until the screen illuminates.
- Initial Reading: The device will begin monitoring immediately. The first radon reading will be displayed after 6 hours, with subsequent updates every 60 minutes.
- Unit Selection: You can switch between pCi/L and Bq/m³ measurement units. Refer to the 'Operating Instructions' section for details on how to change this setting.
4. Operating Instructions
4.1 Basic Operation
- Power Button: Press and hold to power on/off. Short press to confirm selections in menus.
- Left/Right Buttons: Use to navigate menus, scroll through data, or adjust settings.

Image: Illustration of the device's control buttons and their functions.
4.2 Viewing Radon Data
The main screen displays the current radon level, the latest 6-hour average, and an accumulated average value. You can switch between different detection periods (24h, 48h, 72h, 96h, and Peak values) by pressing the left or right buttons.

Image: The display showing various radon detection periods and how to navigate them.
4.3 Changing Measurement Units
The device supports both pCi/L and Bq/m³ units. To change the unit:
- Navigate to the settings menu (refer to the user manual for specific menu navigation).
- Select the 'Unit' option.
- Choose your desired unit (pCi/L or Bq/m³) and confirm.

Image: The device screen showing radon levels in Bq/m³ and pCi/L, illustrating unit selection.
5. Data Management
The LifeBasis Radon Detector automatically saves a data point every 6 hours, storing up to 504 days of history across 10 independent sets. This allows for long-term trend analysis without needing external software.
5.1 Viewing Historical Data
- From the main menu, select 'Data' or 'History'.
- Use the left/right buttons to scroll through the recorded data points. Each record shows the time and the 6-hour value.

Image: Step 1 of viewing historical data, showing a list of recorded radon levels.

Image: Step 2 of viewing historical data, demonstrating navigation through records.
5.2 Deleting Historical Data
To delete data:
- From the 'History' or 'Data' screen, select the 'Delete' option.
- You will be presented with options to delete the current record, delete all records, or delete all but the current record.
- Confirm your selection to proceed with deletion.

Image: Step 3 of deleting historical data, showing the deletion options.
6. Alerts and Notifications
The device provides both visual and audible alerts when radon levels exceed a user-defined threshold. The color-coded bar on the display changes from green (safe) to orange (monitoring) to red (high), accompanied by an audible buzzer.
6.1 Customizing Alert Thresholds
You can adjust the alert boundary to comply with local guidelines:
- Access the settings menu.
- Select the 'Threshold' option.
- Use the left/right buttons to set your desired radon level threshold.
- Confirm the setting with the power button.

Image: The device displaying visual and audible alert indicators.
Video: An official product video demonstrating the LifeBasis Radon Detector's features and operation.
7. Charging and Battery Life
The detector is equipped with a built-in 2000mAh rechargeable battery. It charges via a Type-C port.
- Charging Time: Approximately 3.5 hours for a full charge.
- Battery Runtime: Up to 45 days with the screen off (in Eco mode).

Image: The radon detector being charged via its Type-C port.
8. Placement Guidelines
For accurate radon measurement, consider the following placement guidelines:
- Long-Term Values: Focus on long-term test values rather than short-term values, as long-term values are more accurate and scientific.
- Environment: Recommended for dry and warm places (Room Humidity < 90%).
- Stability: Avoid moving or touching the device during measurement.
- Height: Recommended placement is above 50cm (approximately 20 inches) from the ground, not directly on the floor.
- Interference: Do not place in areas with large electromagnetic interference (such as microwave ovens, refrigerators, or other large electrical appliances).

Image: Guidelines for optimal placement of the radon detector for accurate readings.

Image: Examples of suitable locations for using the radon detector.
9. Specifications
| Feature | Detail |
|---|---|
| Product Dimensions | 4.69 x 2.17 x 0.99 inches |
| Item Weight | 3.84 ounces |
| Model Number | RM-62 |
| Radon Measurement Range | 0.09 to 1,000 pCi/L (3.3–37k Bq/m³) |
| First Reading Display | 6 hours |
| Data Update Frequency | Every 60 minutes |
| Historical Data Storage | Up to 504 days (10 independent sets) |
| Battery Type | Built-in 2000mAh rechargeable battery |
| Charging Port | Type-C |
| Battery Runtime (Screen Off) | Up to 45 days |
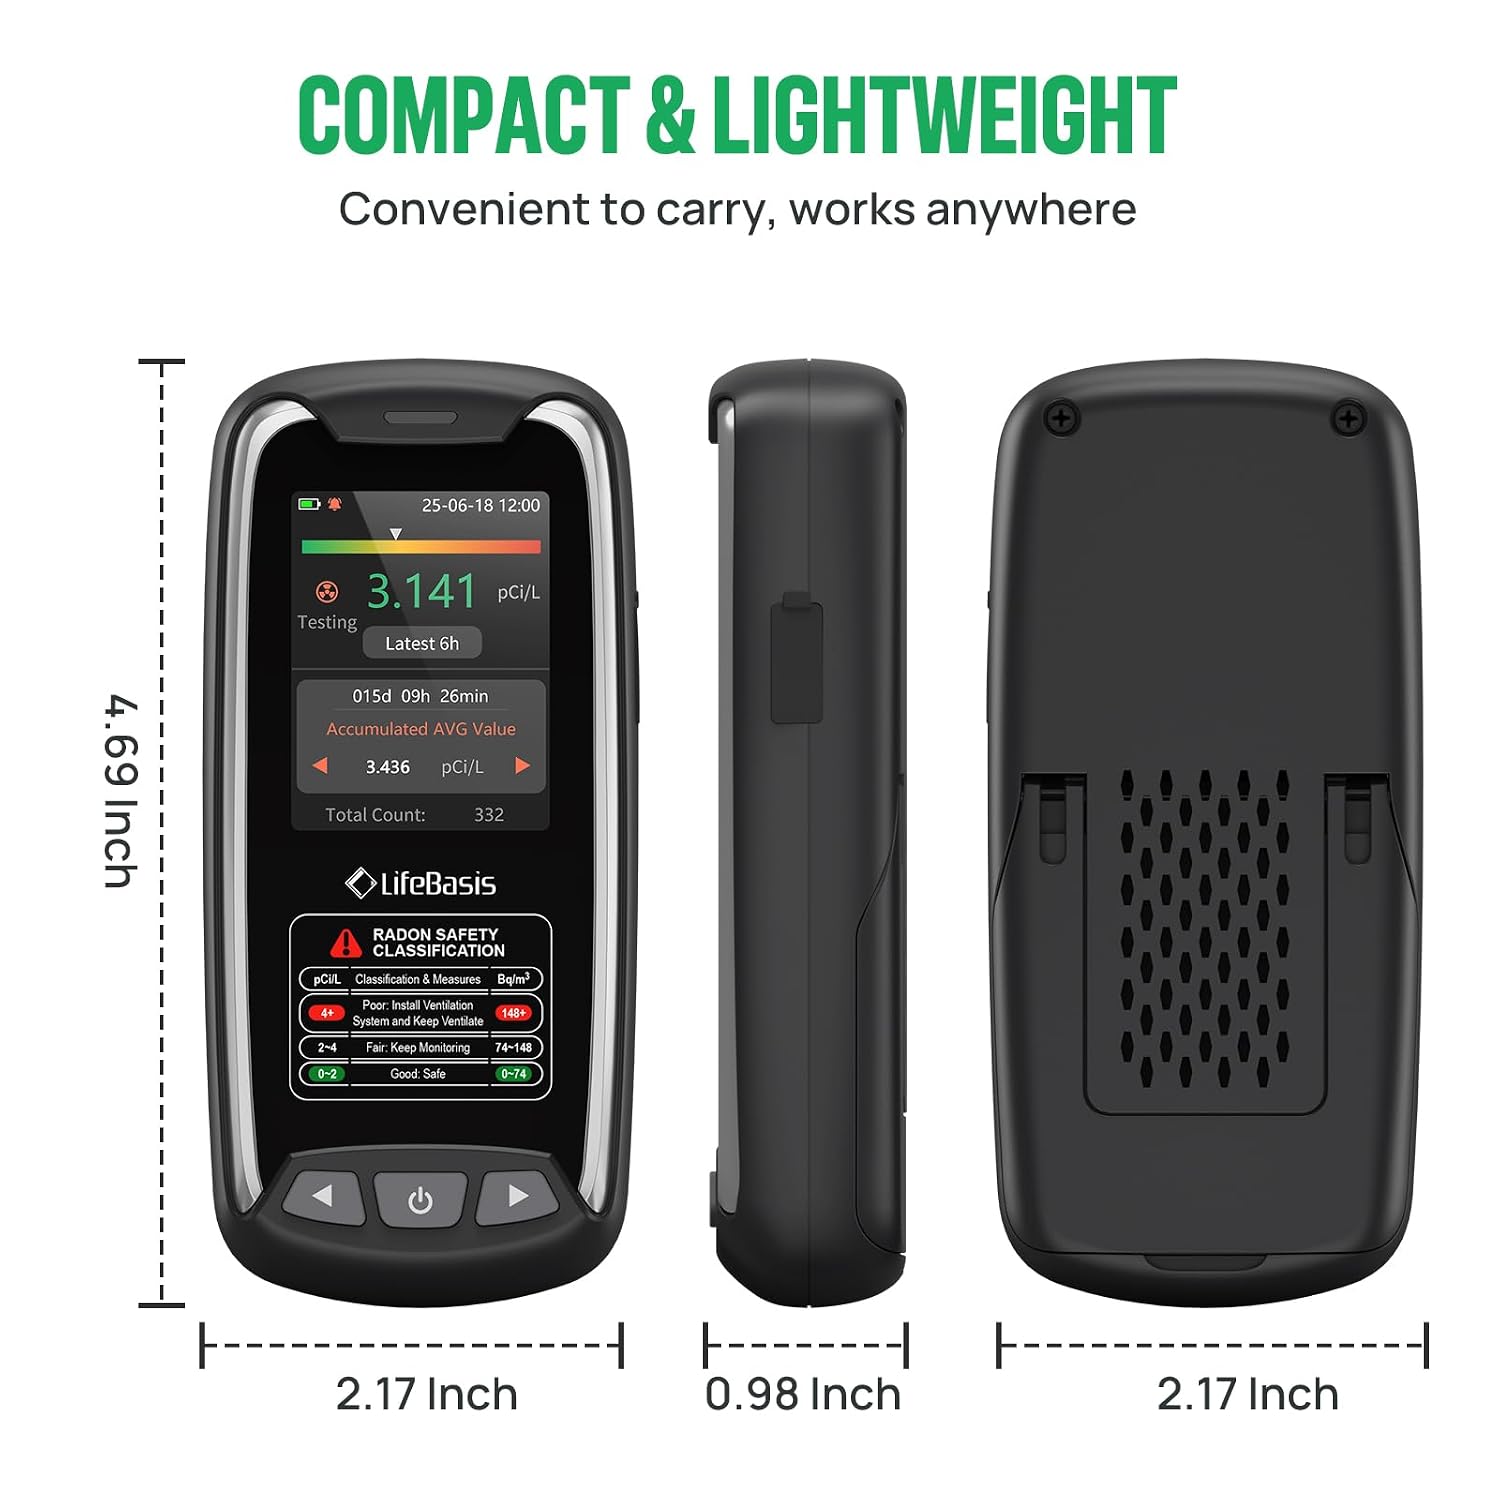
Image: Dimensions of the LifeBasis Portable Radon Detector.
10. Troubleshooting
- Inconsistent High Readings: If the device displays unusually high readings (e.g., 300-900 pCi/L) that seem incorrect, try resetting the device and restarting the measurement. Ensure the device is placed according to the guidelines in Section 8.
- No Display/Device Not Turning On: Ensure the device is fully charged. Connect it to the Type-C charger and allow it to charge for at least 30 minutes before attempting to power it on again.
- No Readings After 6 Hours: Verify the device is powered on and has sufficient battery. If the issue persists, try a soft reset (power off and on).
- Alerts Not Functioning: Check the alert threshold settings in the menu to ensure they are configured correctly and the audible buzzer is enabled if desired.
11. Maintenance
- Cleaning: Wipe the device with a soft, dry cloth. Do not use abrasive cleaners or solvents.
- Storage: Store the device in a cool, dry place when not in use for extended periods.
- Battery Care: For optimal battery life, avoid fully discharging the battery frequently. Charge the device regularly.
12. Warranty and Support
For warranty information, technical support, or service inquiries, please refer to the contact details provided with your purchase documentation or visit the official LifeBasis website. Keep your proof of purchase for warranty claims.
LifeBasis Official Store: Visit the LifeBasis Store on Amazon

