
1. Introduction
This manual provides essential information for the installation, operation, and maintenance of your Asixxsix Electric Bike Controller and SW900 LCD Display Kit. This kit is designed to enhance the performance and user experience of electric bikes and scooters by providing precise motor control and clear data display. Please read this manual thoroughly before use to ensure proper function and safety.
2. Safety Information
- Always disconnect the battery before performing any installation, maintenance, or repair work on the electric bike system.
- Ensure all connections are secure and properly insulated to prevent short circuits and electrical hazards.
- Do not attempt to open or modify the controller or display unit. Unauthorized modifications can void the warranty and pose safety risks.
- Keep the controller and display away from extreme temperatures, direct sunlight, and corrosive substances.
- If you are unsure about any installation step, consult a qualified technician.
3. Package Contents
Verify that all items listed below are included in your package:
- 1 x Electric Bike Controller
- 1 x SW900 LCD Display Panel Meter
- 2 x Instruction Manuals (for Controller and Display)
4. Product Overview
The Asixxsix Electric Bike Controller and SW900 LCD Display Kit provides robust control and clear information for your electric bike or scooter.
4.1 Key Features
- Three Mode Controller: A sine wave 3-mode controller compatible with both Hall and non-Hall brushless motors, featuring a self-learning function for optimal performance.
- Wide Applicability: Suitable for 36V 1000W, 36V 1500W, 48V 1000W, 48V 1500W, 52V 1000W, and 52V 1500W brushless motors.
- Durable Housing: The controller features a thickened aluminum alloy housing, ensuring sturdiness, longevity, and efficient heat dissipation.
- Backlit LCD Display: The SW900 LCD display clearly shows status and data, with a backlight for visibility in dim environments.
- Waterproof Design: The display panel is waterproof and sweatproof, offering safe use with a simple and concise interface for easy reading.
4.2 Product Components

Figure 1: The Asixxsix Electric Bike Controller and SW900 LCD Display Kit, showing both main components.

Figure 2: The SW900 LCD Display mounted on bicycle handlebars, showing its ergonomic placement.

Figure 3: The Asixxsix Electric Bike Controller, highlighting its various wiring connections for different components.

Figure 4: Dimensions of the Asixxsix Electric Bike Controller, showing its length, width, and height.
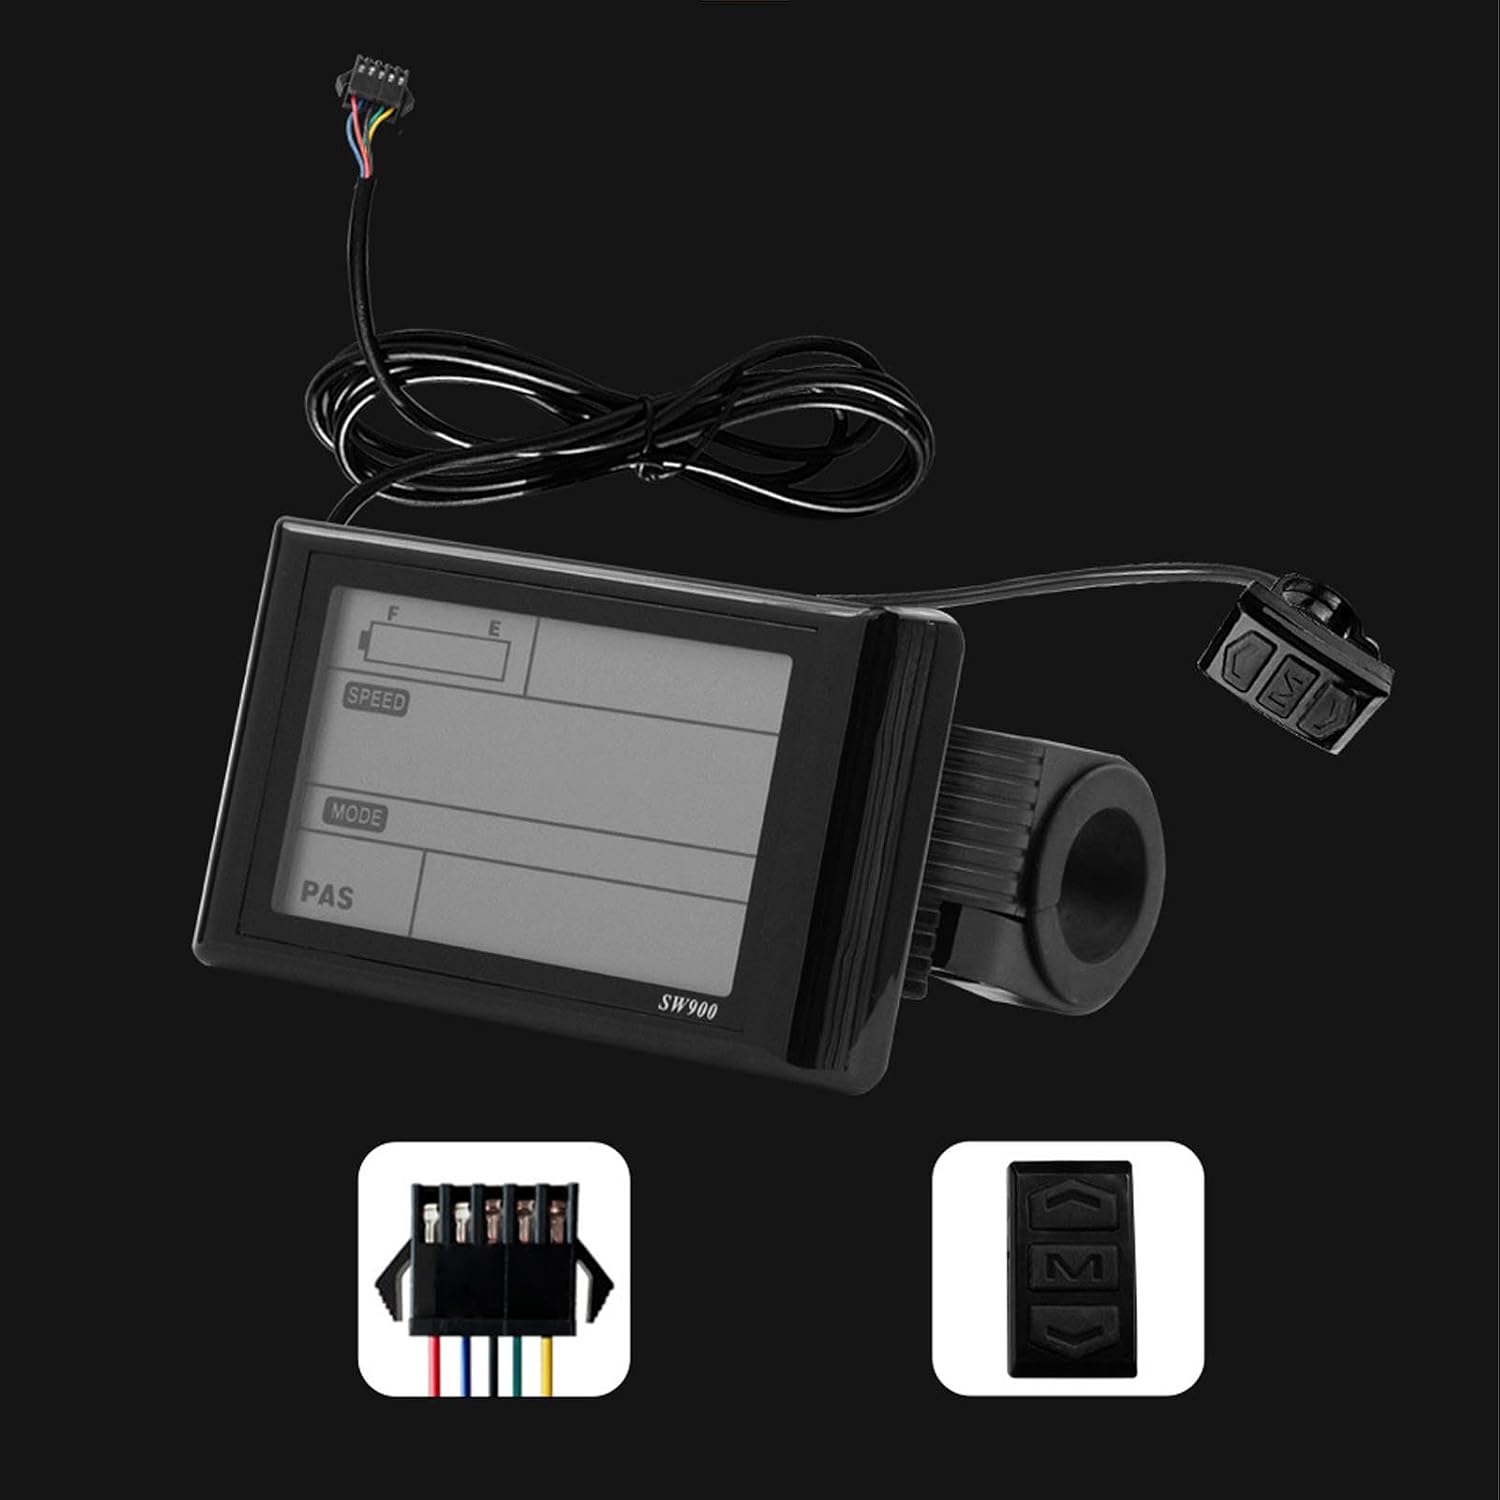
Figure 5: A close-up view of the SW900 LCD Display, showing the digital readouts for speed, odometer, and error codes.
5. Setup and Installation
The installation of the controller and display kit involves connecting various components of your electric bike system. It is recommended to follow the detailed instructions provided in the separate instruction manuals included in the package for specific wiring diagrams and connection procedures.
5.1 General Installation Steps
- Mount the Controller: Securely mount the controller in a protected area on your electric bike, ensuring good ventilation for heat dissipation.
- Mount the Display: Attach the SW900 LCD display to your handlebars in a position that is easily visible and accessible.
- Connect Motor Wires: Connect the motor phase wires (usually thick green, yellow, blue) and Hall sensor wires (if applicable) from the controller to your brushless motor.
- Connect Battery Wires: Connect the main power wires (red for positive, black for negative) from the controller to your electric bike battery.
- Connect Display and Other Components: Connect the display cable to the controller. Also, connect other accessories such as throttle, brake levers, and PAS (Pedal Assist System) sensor to their respective ports on the controller.
- Self-Learning Function: If your controller has a self-learning function, follow the specific instructions in the controller manual to initiate it. This optimizes the controller's performance with your motor.
- Secure All Connections: Double-check all connections to ensure they are tight and properly insulated.
6. Operating Instructions
The SW900 LCD display provides an intuitive interface for controlling your electric bike and monitoring its status.
6.1 Power On/Off
- To power on the system, press and hold the power button on the display for a few seconds.
- To power off, press and hold the power button again until the display turns off.
6.2 Display Functions
The display shows various parameters:
- Speed: Current riding speed (Km/h or Mph).
- ODO (Odometer): Total distance traveled.
- TRIP: Distance traveled during the current ride.
- Battery Level: Indication of remaining battery charge.
- PAS Level: Current pedal assist level (e.g., ECO, STD, PWR).
- Error Codes: Displays specific codes if a system fault is detected.
6.3 Adjusting Settings
Refer to the SW900 LCD Display manual for detailed instructions on how to access and adjust settings such as:
- Speed unit (Km/h / Mph)
- Wheel diameter
- Battery voltage
- Backlight brightness
- PAS levels
7. Maintenance
Regular maintenance ensures the longevity and optimal performance of your controller and display kit.
- Cleaning: Wipe the display and controller with a soft, damp cloth. Avoid using harsh chemicals or abrasive cleaners.
- Connection Checks: Periodically inspect all wiring connections for looseness, corrosion, or damage. Tighten any loose connections.
- Environmental Protection: While the display is waterproof, avoid prolonged exposure to heavy rain or submersion. Protect the controller from moisture and physical impact.
- Software Updates: Check the manufacturer's website for any available firmware updates for the controller or display.
8. Troubleshooting
If you encounter issues, refer to the following common troubleshooting steps:
| Problem | Possible Cause | Solution |
|---|---|---|
| Display does not power on | Loose battery connection, faulty display cable, dead battery | Check battery connection, ensure display cable is securely plugged in, charge battery. |
| Motor not responding | Loose motor connections, throttle issue, error code on display | Check motor phase and Hall sensor connections. Verify throttle function. Check display for error codes and consult the manual for their meaning. |
| Inaccurate speed reading | Incorrect wheel diameter setting | Adjust the wheel diameter setting in the display's menu according to your bike's wheel size. |
| Display shows an error code | System fault (e.g., motor, controller, sensor issue) | Refer to the SW900 display manual for a list of error codes and their corresponding troubleshooting steps. |
If the problem persists after attempting these solutions, contact customer support.
9. Specifications
Key technical specifications for the Asixxsix Electric Bike Controller and SW900 LCD Display Kit:
| Feature | Detail |
|---|---|
| Brand | Asixxsix |
| Model Number | Asixxsixac7jz1qytd |
| Material | Aluminum alloy + ABS |
| Controller Type | Sine wave 3-mode brushless motor controller |
| Compatible Motors | 36V 1000W/1500W, 48V 1000W/1500W, 52V 1000W/1500W brushless motors |
| Display Type | SW900 Backlit LCD Display Panel Meter |
| Water Resistance | Waterproof and sweatproof display panel |
| Parcel Dimensions | 22 x 15 x 12 cm |
| Item Weight | 910 g |
| Country/Region of Origin | China |
10. Warranty and Support
For warranty information and technical support, please refer to the documentation included with your purchase or contact the retailer where the product was acquired. Keep your proof of purchase for warranty claims.