
Introduction
Thank you for choosing the CHKOSDA CH3387 18" Large Digital Wall Clock. This clock features a high-contrast LED display, auto-dimming, and versatile timer functions, making it suitable for various environments such as offices, gyms, classrooms, and warehouses. This manual provides detailed instructions for setup, operation, maintenance, and troubleshooting to ensure optimal performance and longevity of your device.
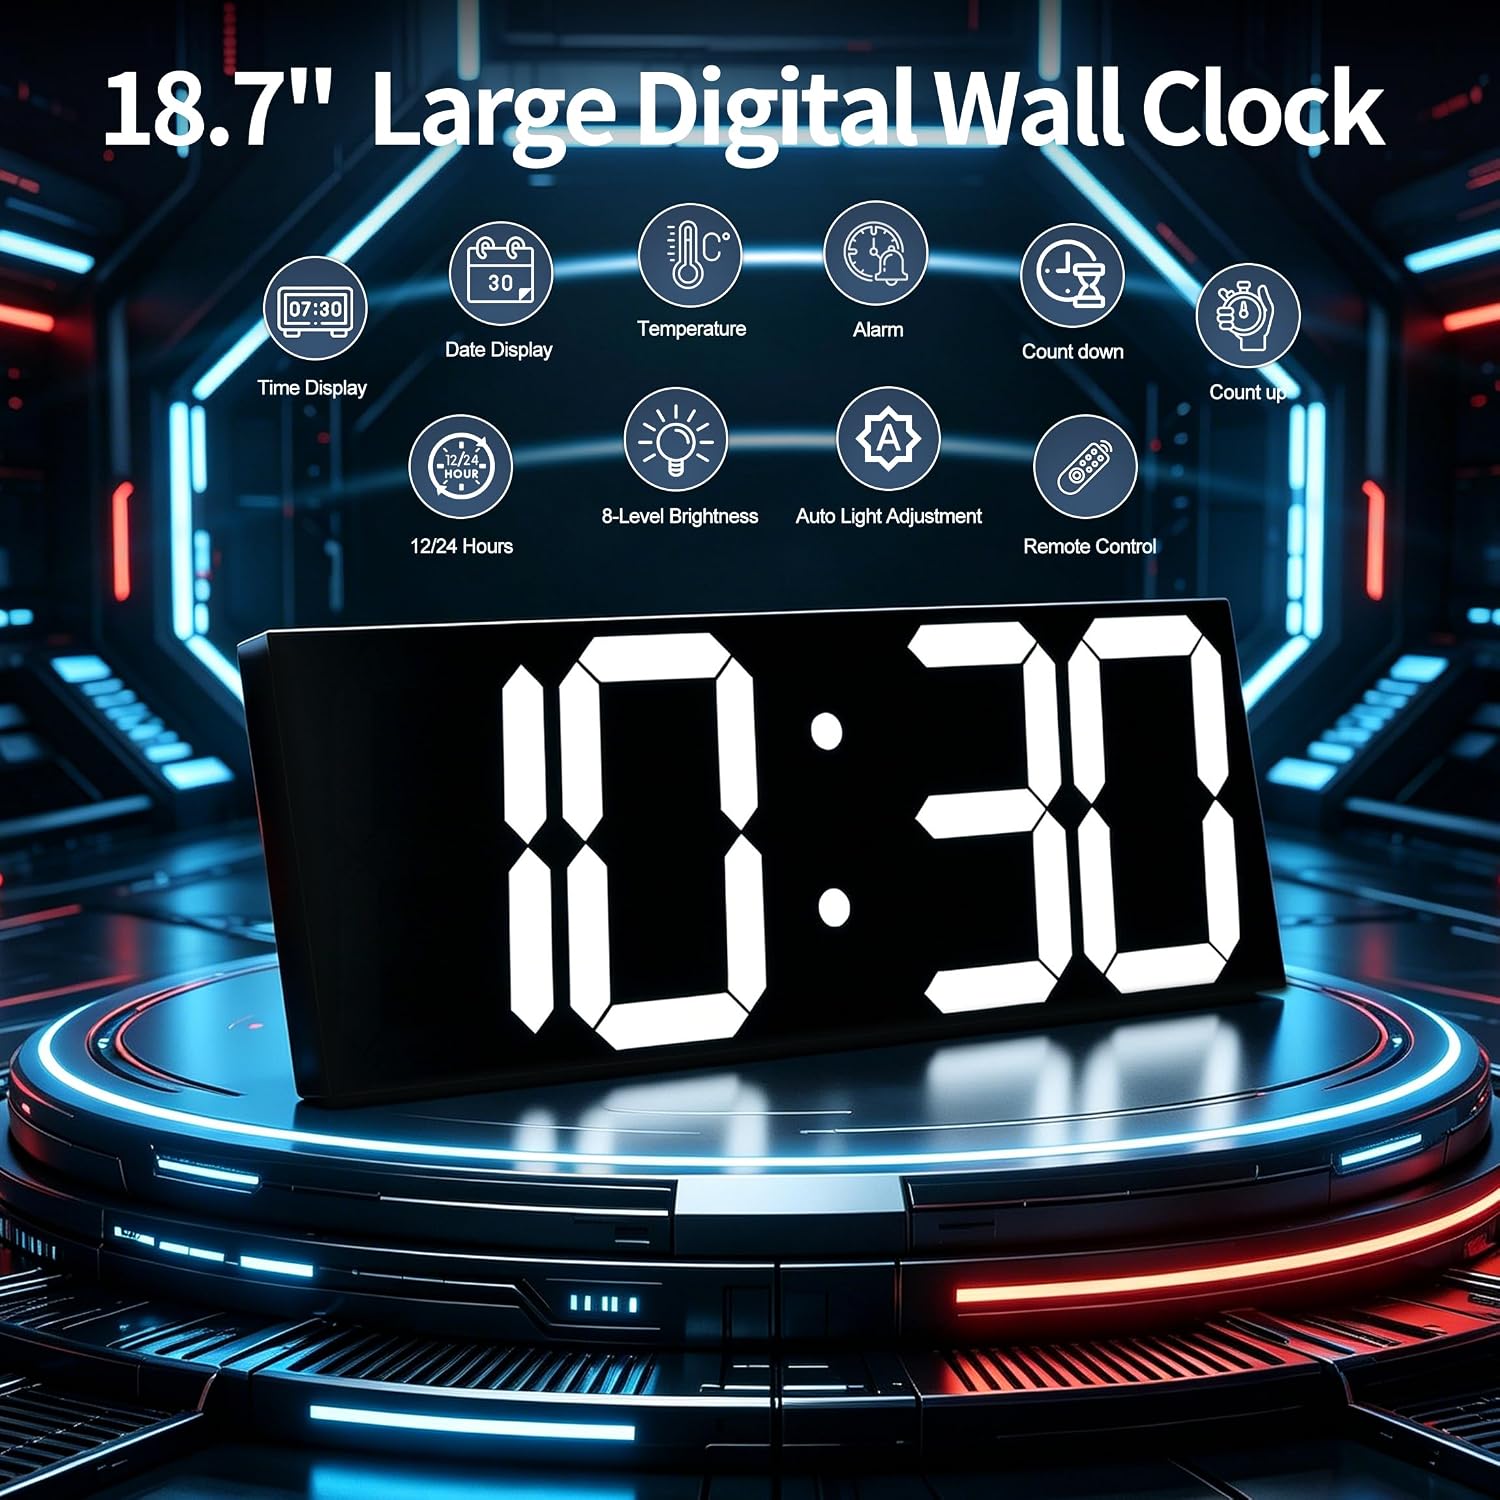
Image: The CHKOSDA 18.7-inch Large Digital Wall Clock displaying 10:30, surrounded by icons representing its features like time display, date, temperature, alarm, countdown, count-up, 12/24 hour format, 8-level brightness, auto light adjustment, and remote control.
Safety Information
- Ensure the power adapter is connected to a suitable power outlet.
- Do not expose the clock to extreme temperatures, direct sunlight, or high humidity.
- Keep the remote control away from children to prevent accidental ingestion of batteries.
- Do not attempt to disassemble or repair the clock yourself. Contact qualified personnel for service.
- Use only the provided power adapter to avoid damage to the device.
Package Contents
Please check the package for the following items:
- CHKOSDA CH3387 Digital Wall Clock
- Remote Control
- USB Power Adapter
- USB Power Cable (10ft)
- User Manual (this document)
- CR2032 Backup Battery (pre-installed or separate)
Product Overview
The CHKOSDA CH3387 features a large LED display for clear visibility, a remote control for easy adjustments, and multiple functions including time, date, temperature, alarm, and timers.

Image: An illustration of the 18.7-inch Oversized Digital Wall Clock showing its dimensions (Length 17.7in, Height 6.2in, Width 0.98in) and key components such as the Power Cord Slot, Keyhole, Support Bracket, CR2032 Backup Battery compartment, USB port, and US Power Adapter.
Key Features:
- 18.7-inch LED Display: Large, clear digits for visibility up to 164 feet (50m).
- Auto Dimming: Automatically adjusts brightness based on ambient light.
- Remote Control: All functions are controlled via the included remote.
- Multi-functional: Displays time, date, temperature, and includes alarm, countdown, and count-up timer functions.
- Dual Installation: Supports both wall mounting and tabletop placement.
Setup
1. Power Connection
- Connect the USB power cable to the clock's power input slot.
- Plug the USB power adapter into a standard electrical outlet. The clock will power on and display the time.

Image: The CHKOSDA 18.7-inch LED digital clock connected to a plug-in power adapter via a 10ft USB cable, with the remote control also shown, illustrating stable power and effortless control.
2. Backup Battery
The clock includes a CR2032 backup battery. This battery preserves time settings during power outages. It does not power the display. Ensure the battery is correctly installed. If the clock loses time after a power interruption, replace the CR2032 battery.
3. Mounting Options
The clock offers two installation methods:
- Wall Mount: Use the keyhole slots on the back of the clock to hang it securely on screws or hooks installed in your wall.
- Tabletop Stand: Utilize the integrated foldable stand on the back for stable placement on any flat surface, such as a desk or shelf.

Image: A detailed view of the back of the CHKOSDA digital clock, highlighting the precision-cut mounting holes for wall installation and the integrated foldable stand for tabletop placement, demonstrating its dual-mode installation capability.
Operating Instructions
All functions of the CHKOSDA CH3387 digital clock are controlled exclusively by the included remote control. Ensure the remote has working batteries and is pointed towards the clock for proper operation.
1. Setting Time and Date
- Press the 'SET' button on the remote. The hour digits will flash.
- Use the 'UP' or 'DOWN' arrows to adjust the hour.
- Press 'SET' again to move to minutes, then adjust with 'UP' or 'DOWN'.
- Continue pressing 'SET' to cycle through year, month, and day settings, adjusting each with 'UP' or 'DOWN'.
- Press 'SET' one last time or wait a few seconds for the settings to save.
2. 12/24 Hour Format
Press the '12/24H' button on the remote to switch between 12-hour and 24-hour time formats.
3. Auto Dimming and Brightness Adjustment
The clock features an auto-dimming function that adjusts display brightness based on ambient light. You can also manually set the brightness level.
- Auto Dimming: Press the 'AUTO' button on the remote to enable or disable automatic brightness adjustment. When enabled, the clock will sense ambient light and adjust its display brightness accordingly.
- Manual Brightness: Use the 'BRIGHTNESS' button or dedicated level buttons (e.g., LV1-LV8) on the remote to cycle through 8 levels of brightness or select a specific level.

Image: The CHKOSDA digital clock displaying 10:38, with a remote control in the foreground. The image illustrates the auto light adjustment feature and the 8-level brightness settings, ranging from LV1 to LV8.
4. Alarm Function
- Press the 'ALARM' button on the remote. The alarm time digits will flash.
- Use 'UP' or 'DOWN' to set the desired alarm hour and minutes.
- Press 'ALARM' again to confirm and activate the alarm. An alarm icon will appear on the display.
- To disable the alarm, press 'ALARM' again until the icon disappears.
5. Countdown/Count-up Timer
The clock supports both countdown and count-up timer functions.

Image: The CHKOSDA digital clock demonstrating its timer capabilities. On the left, a count-up timer shows 00:00, tracking up to 99:59:59. On the right, a countdown timer shows 23:59, with a maximum duration of 999 days 23:59:59.
- Countdown Timer:
- Press the 'COUNTDOWN' button. The display will show '00:00'.
- Use the number buttons on the remote to input the desired countdown time (e.g., for 10 minutes, enter '1000').
- Press 'START/PAUSE' to begin the countdown. Press again to pause.
- Press 'RESET' to clear the timer.
- Count-up Timer:
- Press the 'COUNTUP' button. The display will show '00:00'.
- Press 'START/PAUSE' to begin counting up. Press again to pause.
- Press 'RESET' to clear the timer.
6. Temperature Display
The clock automatically displays the ambient temperature. Press the 'TEMP' button to switch between Celsius and Fahrenheit if applicable, or to cycle through time, date, and temperature display modes.
Maintenance
1. Cleaning
To clean the clock, gently wipe the display and casing with a soft, dry cloth. Do not use abrasive cleaners or solvents, as these may damage the acrylic panel or finish.
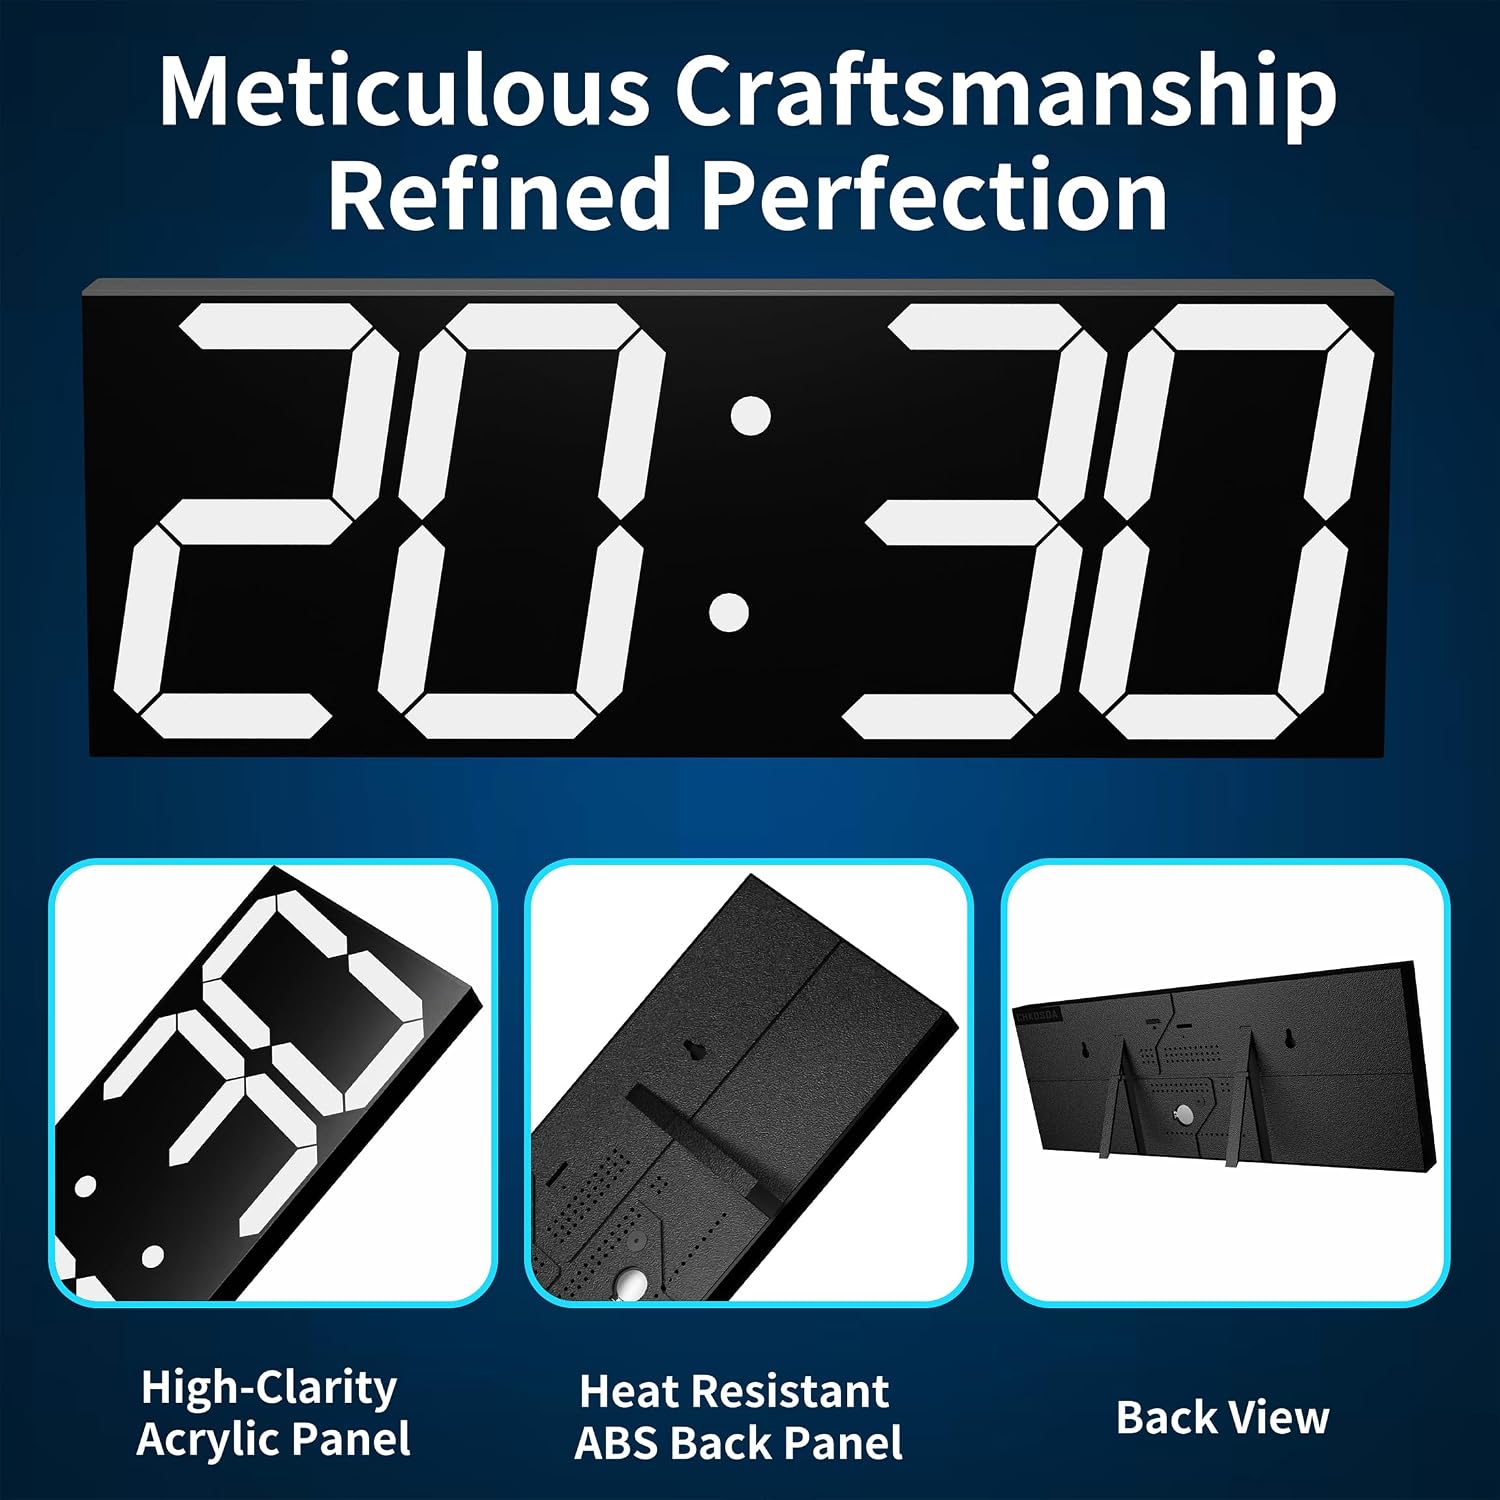
Image: A close-up view highlighting the meticulous craftsmanship of the CHKOSDA digital clock, showing its high-clarity acrylic panel, heat-resistant ABS back panel, and the overall back view of the device.
2. Backup Battery Replacement
If the clock consistently loses time settings after a power interruption, the CR2032 backup battery may need replacement. Locate the battery compartment on the back of the clock, open it, and replace the old battery with a new CR2032 battery, ensuring correct polarity.
Troubleshooting
| Problem | Possible Cause | Solution |
|---|---|---|
| Clock does not power on. | No power supply; faulty adapter/cable. | Ensure power cable is securely connected and adapter is plugged into a working outlet. Try a different outlet. |
| Remote control not working. | Remote batteries are dead; remote not pointed at clock; obstruction. | Replace remote batteries. Point remote directly at the clock. Remove any obstructions between remote and clock. |
| Clock loses time after power outage. | CR2032 backup battery is dead or missing. | Replace the CR2032 backup battery. |
| Display is too dim or too bright. | Auto-dimming enabled/disabled; manual brightness setting. | Press 'AUTO' on the remote to toggle auto-dimming. Use 'BRIGHTNESS' or level buttons to adjust manually. |
| Timer not functioning correctly. | Incorrect input; not started. | Ensure correct time is entered for countdown. Press 'START/PAUSE' to begin. Press 'RESET' to clear and re-enter. |
Specifications
| Feature | Detail |
|---|---|
| Brand | CHKOSDA |
| Model Number | CH3387 |
| Display Type | Digital LED |
| Screen Size | 18 Inches (18.7 inch diagonal) |
| Product Dimensions (W x H) | 45W x 15.7H Centimetres (17.7W x 6.2H Inches) |
| Material | Acrylic (Front), ABS (Back) |
| Power Source | Corded Electric (USB Power Adapter) |
| Special Features | Adjustable Brightness, LED Display, Large Display, Silent Clock, Timer, Auto Dimming |
| Mounting Type | Wall Mount, Tabletop Stand |
| Alarm Clock | Yes |
| Indoor/Outdoor Usage | Indoor |
| Item Weight | 907 g |
Warranty
This CHKOSDA product is covered by a limited warranty against defects in materials and workmanship from the date of purchase. Please retain your proof of purchase for warranty claims. The warranty does not cover damage caused by misuse, accident, unauthorized modification, or normal wear and tear. For specific warranty terms and conditions, please refer to the product packaging or contact customer support.
Support
If you encounter any issues or have questions regarding your CHKOSDA CH3387 Digital Wall Clock that are not addressed in this manual, please contact our customer support team. For the most up-to-date contact information, please refer to the product packaging or the official CHKOSDA website.