
Safety Information
Before assembly and use, please consult your local Homeowners Association (HOA) policies to ensure that the construction of this carport is permitted in your area. Failure to comply with local regulations may result in penalties or required removal.
Always wear appropriate personal protective equipment, such as the provided installation gloves, during assembly. Work with at least two people for safe and efficient installation.
Product Overview
The Patiowell 20x20 FT Metal Carport is designed to provide substantial shelter for vehicles such as cars, trucks, or boats. It can also serve as a spacious gazebo for outdoor gatherings or as a secure storage area. Its robust construction features a fully metal frame with galvanized treatment for rust resistance, heavy-duty ground anchors for secure installation, and a reinforced roof structure for stability.
Key Features:
- Oversized Design: 20x20 FT dimensions provide ample space for two vehicles or large outdoor activities.
- Premium Metal Structure: Fully galvanized metal frame ensures superior rust resistance and durability.
- Reinforced Construction: Triangular roof structure and additional side reinforcement poles enhance stability and wind resistance.
- Heavy-Duty Ground Anchors: Secure installation on various surfaces including dirt, concrete, or sand.
- Effective Water Management: Double tape prevents rainwater penetration, and a sloped roof design facilitates rapid rain and snow runoff.
- Protective Features: Curved design ensures a dry and shaded interior, while rubber-edged trim protects vehicles and users from sharp edges.
Package Contents
The Patiowell 20x20 FT Metal Carport is delivered in 5 packages and includes all necessary hardware and an instruction manual. Installation gloves are also provided for a safe and convenient setup.
Please verify all components are present and undamaged against the parts list in your manual before beginning assembly.
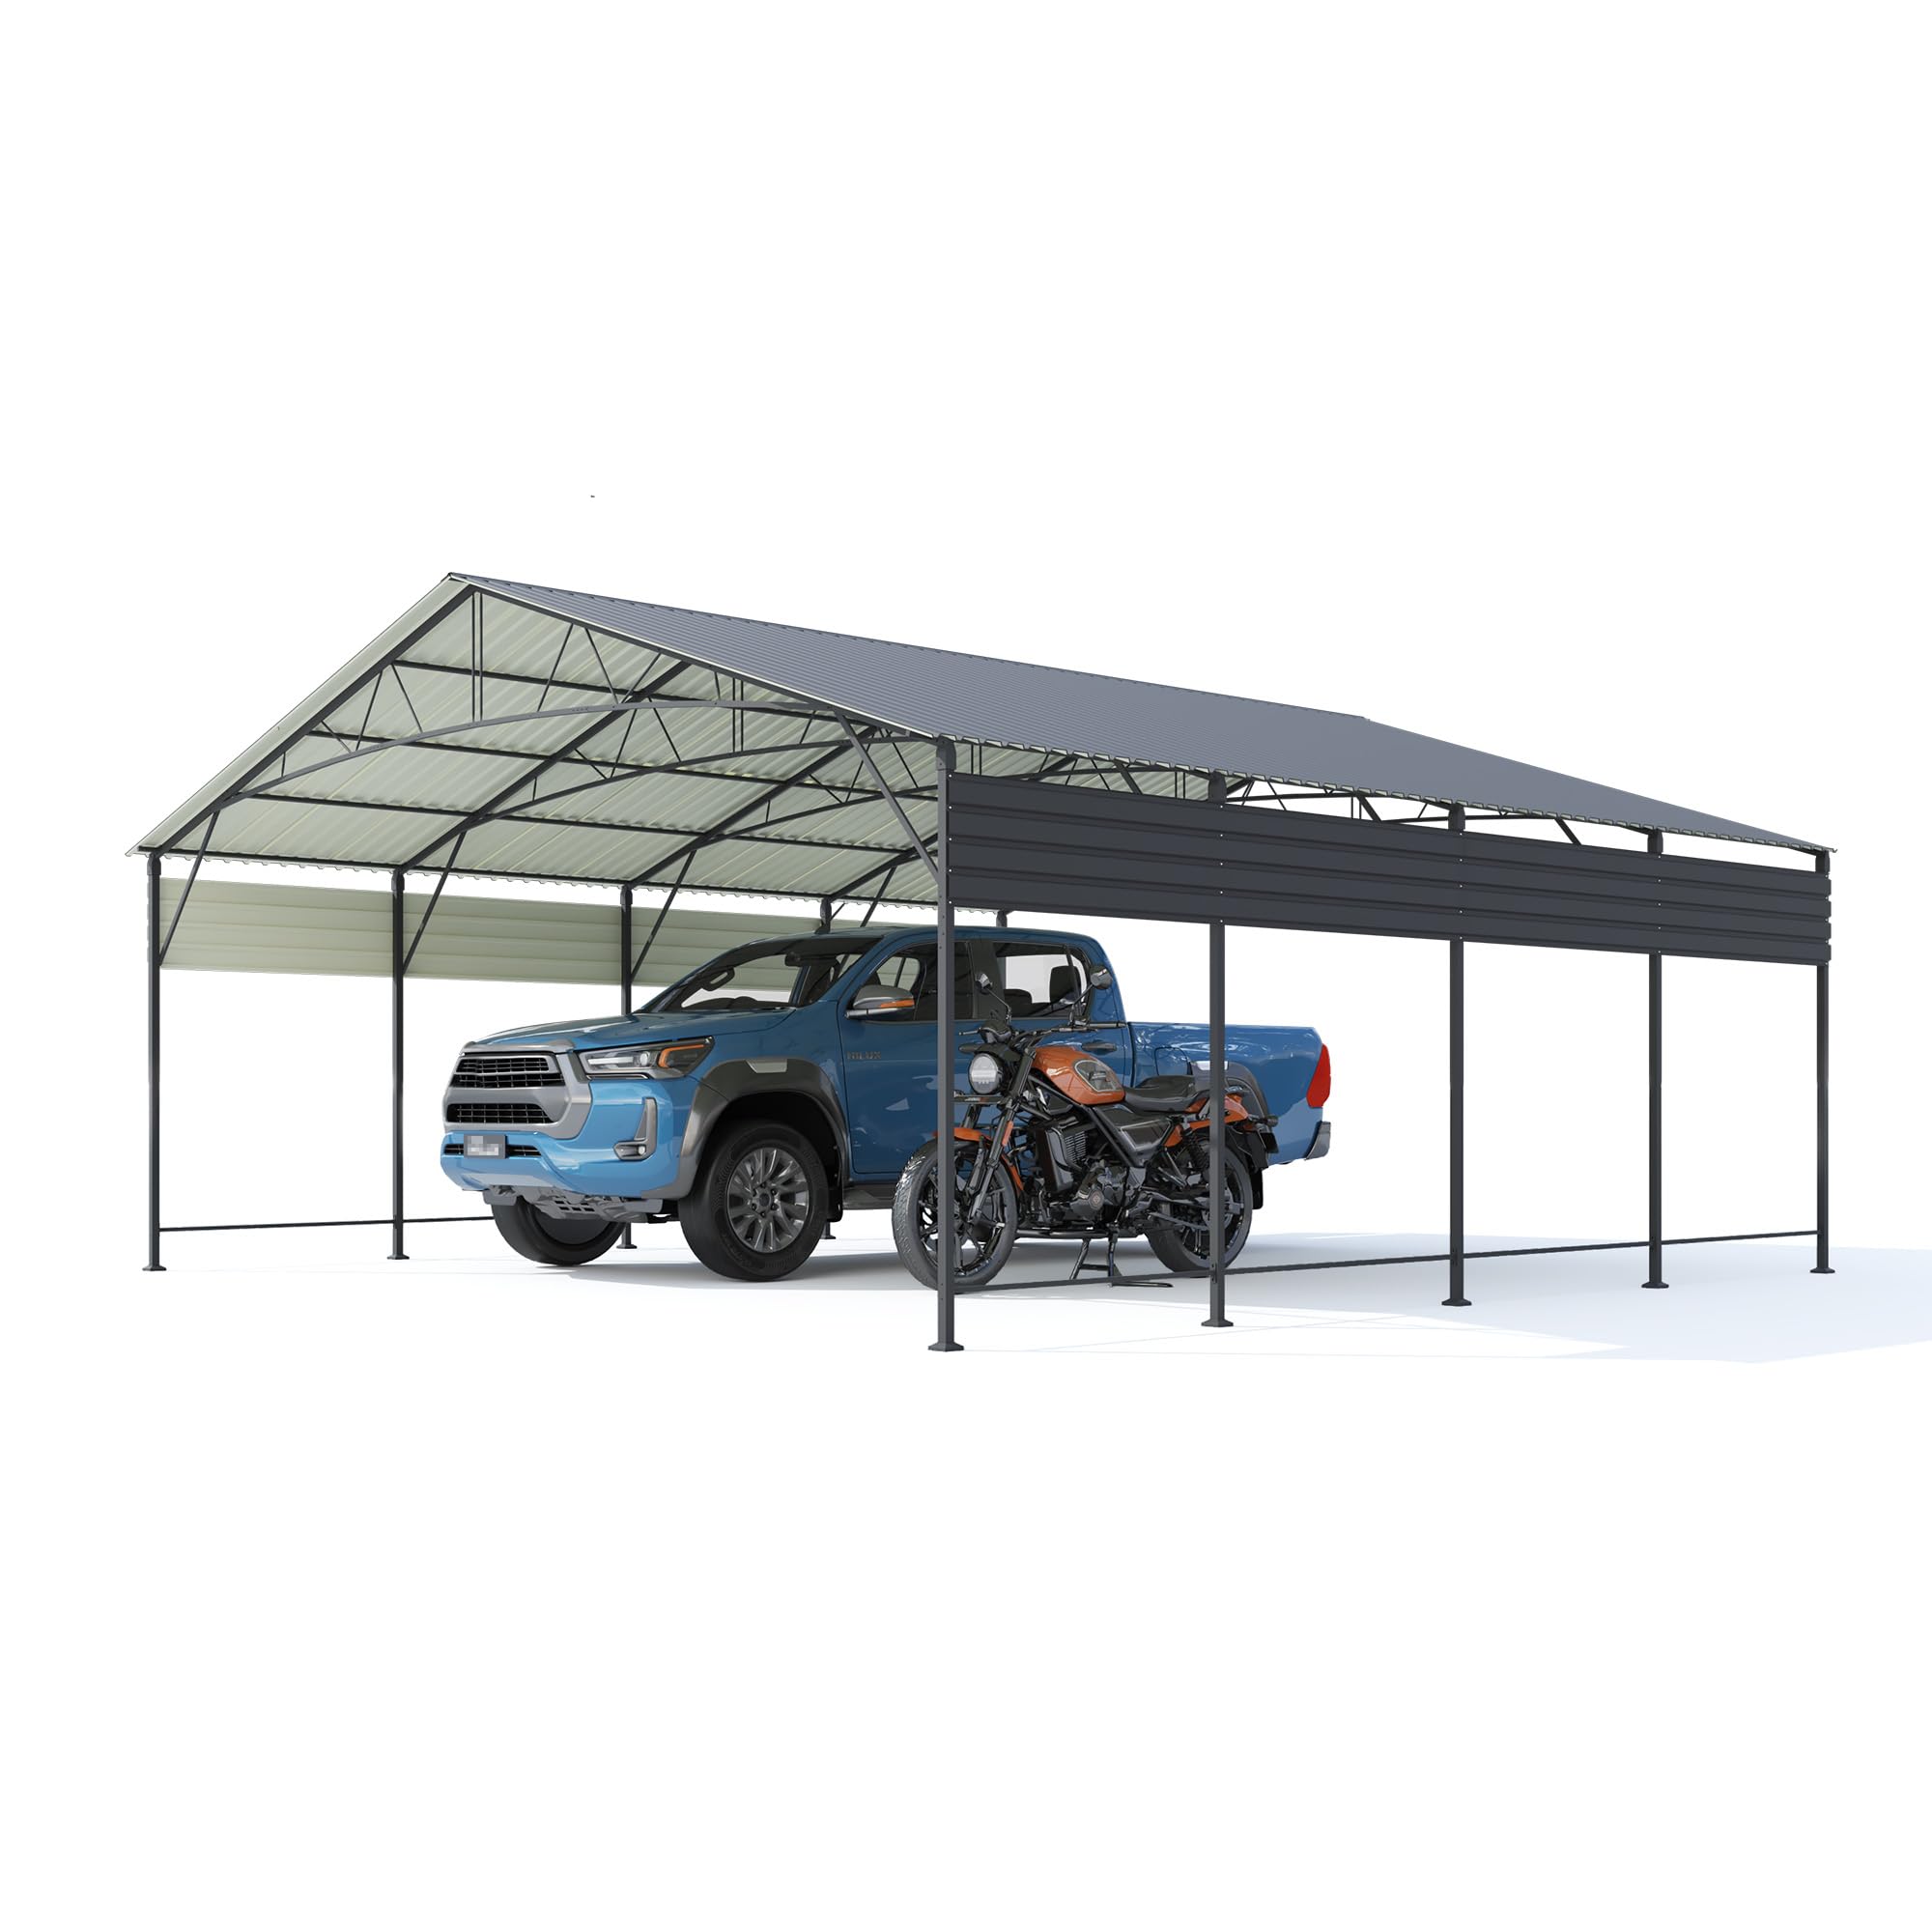
Image Description: This image illustrates the overall dimensions of the carport, which is 20 feet by 20 feet. It also highlights that installation gloves are included and the product ships in 5 separate packages. The main structure of the carport is shown with two cars underneath, indicating its capacity. Key measurements are visible: 231.4 inches (length), 232.2 inches (width), 122 inches (peak height), and 81.4 inches (side height).
Setup and Assembly Instructions
This section provides general guidelines for assembling your Patiowell Metal Carport. Refer to the detailed instruction manual included in your package for step-by-step diagrams and specific hardware identification.
Before You Begin:
- Site Selection: Choose a level, stable surface for installation. Ensure adequate clearance around the carport for assembly and future use.
- Safety First: Wear the provided installation gloves and appropriate safety gear. Work with at least two people for safe and efficient assembly.
- Unpack and Organize: Carefully unpack all 5 packages. Lay out and identify all parts according to the parts list in your manual. Separate hardware into labeled groups.
- Tools Required (Not Included): You may need additional tools such as a wrench, socket set, measuring tape, and a ladder.
General Assembly Steps:
- Assemble the Base Frame: Connect the horizontal and vertical base poles as per the manual's diagrams. Ensure all connections are secure but do not fully tighten bolts until the entire frame is assembled.
- Install Upright Poles: Attach the main upright support poles to the base frame.
- Construct Roof Frame: Assemble the roof trusses and connect them to the upright poles. Pay close attention to the triangular structure for stability.
- Attach Roof Panels: Carefully place and secure the galvanized steel roof panels onto the roof frame. Ensure proper overlap and use the double tape to prevent water penetration.
- Install Side Reinforcement: Attach the additional reinforcement poles to the sides for enhanced strength and durability.
- Secure Ground Anchors: Install the heavy-duty ground anchors. For concrete surfaces, appropriate concrete anchors (not included) may be required. Ensure the carport is firmly anchored to withstand wind and weather.
- Final Tightening: Once the entire structure is assembled and aligned, systematically tighten all bolts and fasteners.
- Apply Rubber-Edged Trim: Install the rubber-edged trim along the edges of the carport to protect vehicles and users.
Operating Instructions
The Patiowell Metal Carport is designed for long-term outdoor use as a shelter for vehicles or an outdoor living space.
Usage Guidelines:
- Vehicle Parking: Park vehicles centrally within the carport to maximize protection from elements.
- Snow Load: While the sloped roof helps with snow runoff, in areas with heavy snowfall, it is advisable to regularly clear accumulated snow from the roof to prevent excessive load.
- Wind Conditions: Ensure the carport is properly anchored at all times. In extreme wind conditions, consider additional temporary bracing if necessary.
- Ventilation: The open design provides natural ventilation.
Maintenance
Regular maintenance will extend the life and appearance of your Patiowell Metal Carport.
Recommended Maintenance:
- Regular Cleaning: Clean the roof and frame periodically with mild soap and water to remove dirt, debris, and prevent buildup. Avoid abrasive cleaners or tools that could damage the galvanized finish.
- Inspect Fasteners: Annually inspect all bolts, screws, and ground anchors for tightness. Re-tighten any loose fasteners.
- Check for Rust: Although galvanized for rust resistance, inspect for any signs of rust, especially at connection points or scratches. Touch up with rust-inhibiting paint if necessary.
- Roof Integrity: Check roof panels for any damage, loose connections, or signs of water leakage. Ensure the double tape seal remains intact.
- Ground Anchors: Verify that ground anchors remain secure and are not corroded or damaged.
Troubleshooting
Common Issues and Solutions:
- Carport is swaying or unstable:
- Ensure all bolts and fasteners are fully tightened.
- Verify that ground anchors are securely installed and appropriate for your surface type.
- Check that the triangular roof structure and side reinforcement poles are correctly assembled.
- Water leakage from the roof:
- Inspect roof panel overlaps and ensure the double tape is properly applied and intact.
- Check for any damage or punctures in the roof panels.
- Ensure the roof slope is sufficient for water runoff.
- Difficulty aligning parts during assembly:
- Do not fully tighten any bolts until the entire section or frame is loosely assembled. This allows for minor adjustments.
- Refer to the detailed diagrams in your instruction manual.
- Ensure you are using the correct parts for each step.
Specifications
| Feature | Detail |
|---|---|
| Model | PS25-1327A-20BK |
| Brand | Patiowell |
| Material | Metal (Galvanized Steel Frame) |
| Color | Black |
| Overall Dimensions (L x W x H) | 231.4'' x 232.2'' x 122'' (approx. 20 FT x 20 FT x 10.17 FT) |
| Recommended Use | Backyard, Garden, Outdoor (Car/Truck/Boat Shelter, Gazebo, Storage) |
| Water Resistance | Water Resistant (Galvanized Steel Roof with Water-Resistant Seams) |
| UV Protection | UV-Resistant |
| Package Quantity | 5 |
| Assembly | Requires assembly, gloves included |
Warranty and Support
For warranty information, technical support, or to order replacement parts, please contact Patiowell customer service. Refer to the contact details provided in your product packaging or visit the official Patiowell website.
Please have your model number (PS25-1327A-20BK) and purchase date available when contacting support to ensure efficient service.

