
1. Safety Information
Please read all safety instructions carefully before operating this appliance. Failure to follow these instructions may result in electric shock, fire, or personal injury.
- Ensure the power supply matches the voltage specified on the unit's rating label.
- Do not operate the unit with a damaged cord or plug. If the cord is damaged, it must be replaced by the manufacturer or a qualified service agent.
- Do not block air inlets or outlets. Maintain at least 20 cm (8 inches) clearance from walls and other objects.
- Do not insert fingers or foreign objects into the air inlets or outlets.
- Always place the unit on a flat, stable surface to prevent tipping.
- Unplug the unit before cleaning or performing any maintenance.
- This appliance is not intended for use by persons (including children) with reduced physical, sensory or mental capabilities, or lack of experience and knowledge, unless they have been given supervision or instruction concerning use of the appliance by a person responsible for their safety.
- Do not use the unit in wet environments such as bathrooms or laundry rooms.
- Do not use chemical solvents (e.g., benzene, alcohol, gasoline) to clean the unit.
2. Product Overview
The SereneLife SLINV12CHPDEU is a portable inverter air conditioner designed to provide efficient climate control for rooms up to approximately 32 m². It offers 4-in-1 functionality: cooling, heating, ventilation, and dehumidification.
Key Features:
- 12,000 BTU (3.52 kW) Cooling/Heating Capacity: Provides rapid and effective temperature adjustment.
- Inverter Technology: Automatically adjusts power for energy efficiency and quieter operation (44-49 dB).
- 4-in-1 Functionality: Cool, Heat, Fan, and Dry (Dehumidify up to 1.3 L/h).
- Smart Control: Manage settings via WiFi APP, remote control, or the Feather-Touch LED panel.
- Auto-Swing Function: Ensures even air distribution throughout the room.
- Portable Design: Equipped with wheels for easy movement between rooms.
- Window Kit Included: Facilitates quick and adaptable installation for single-hose exhaust.
Components Included:
- SereneLife SLINV12CHPDEU Portable Air Conditioner Unit
- Exhaust Hose
- Window Sealing Kit (for single hose installation)
- Remote Control
- Washable Air Filter (pre-installed)
- User Manual
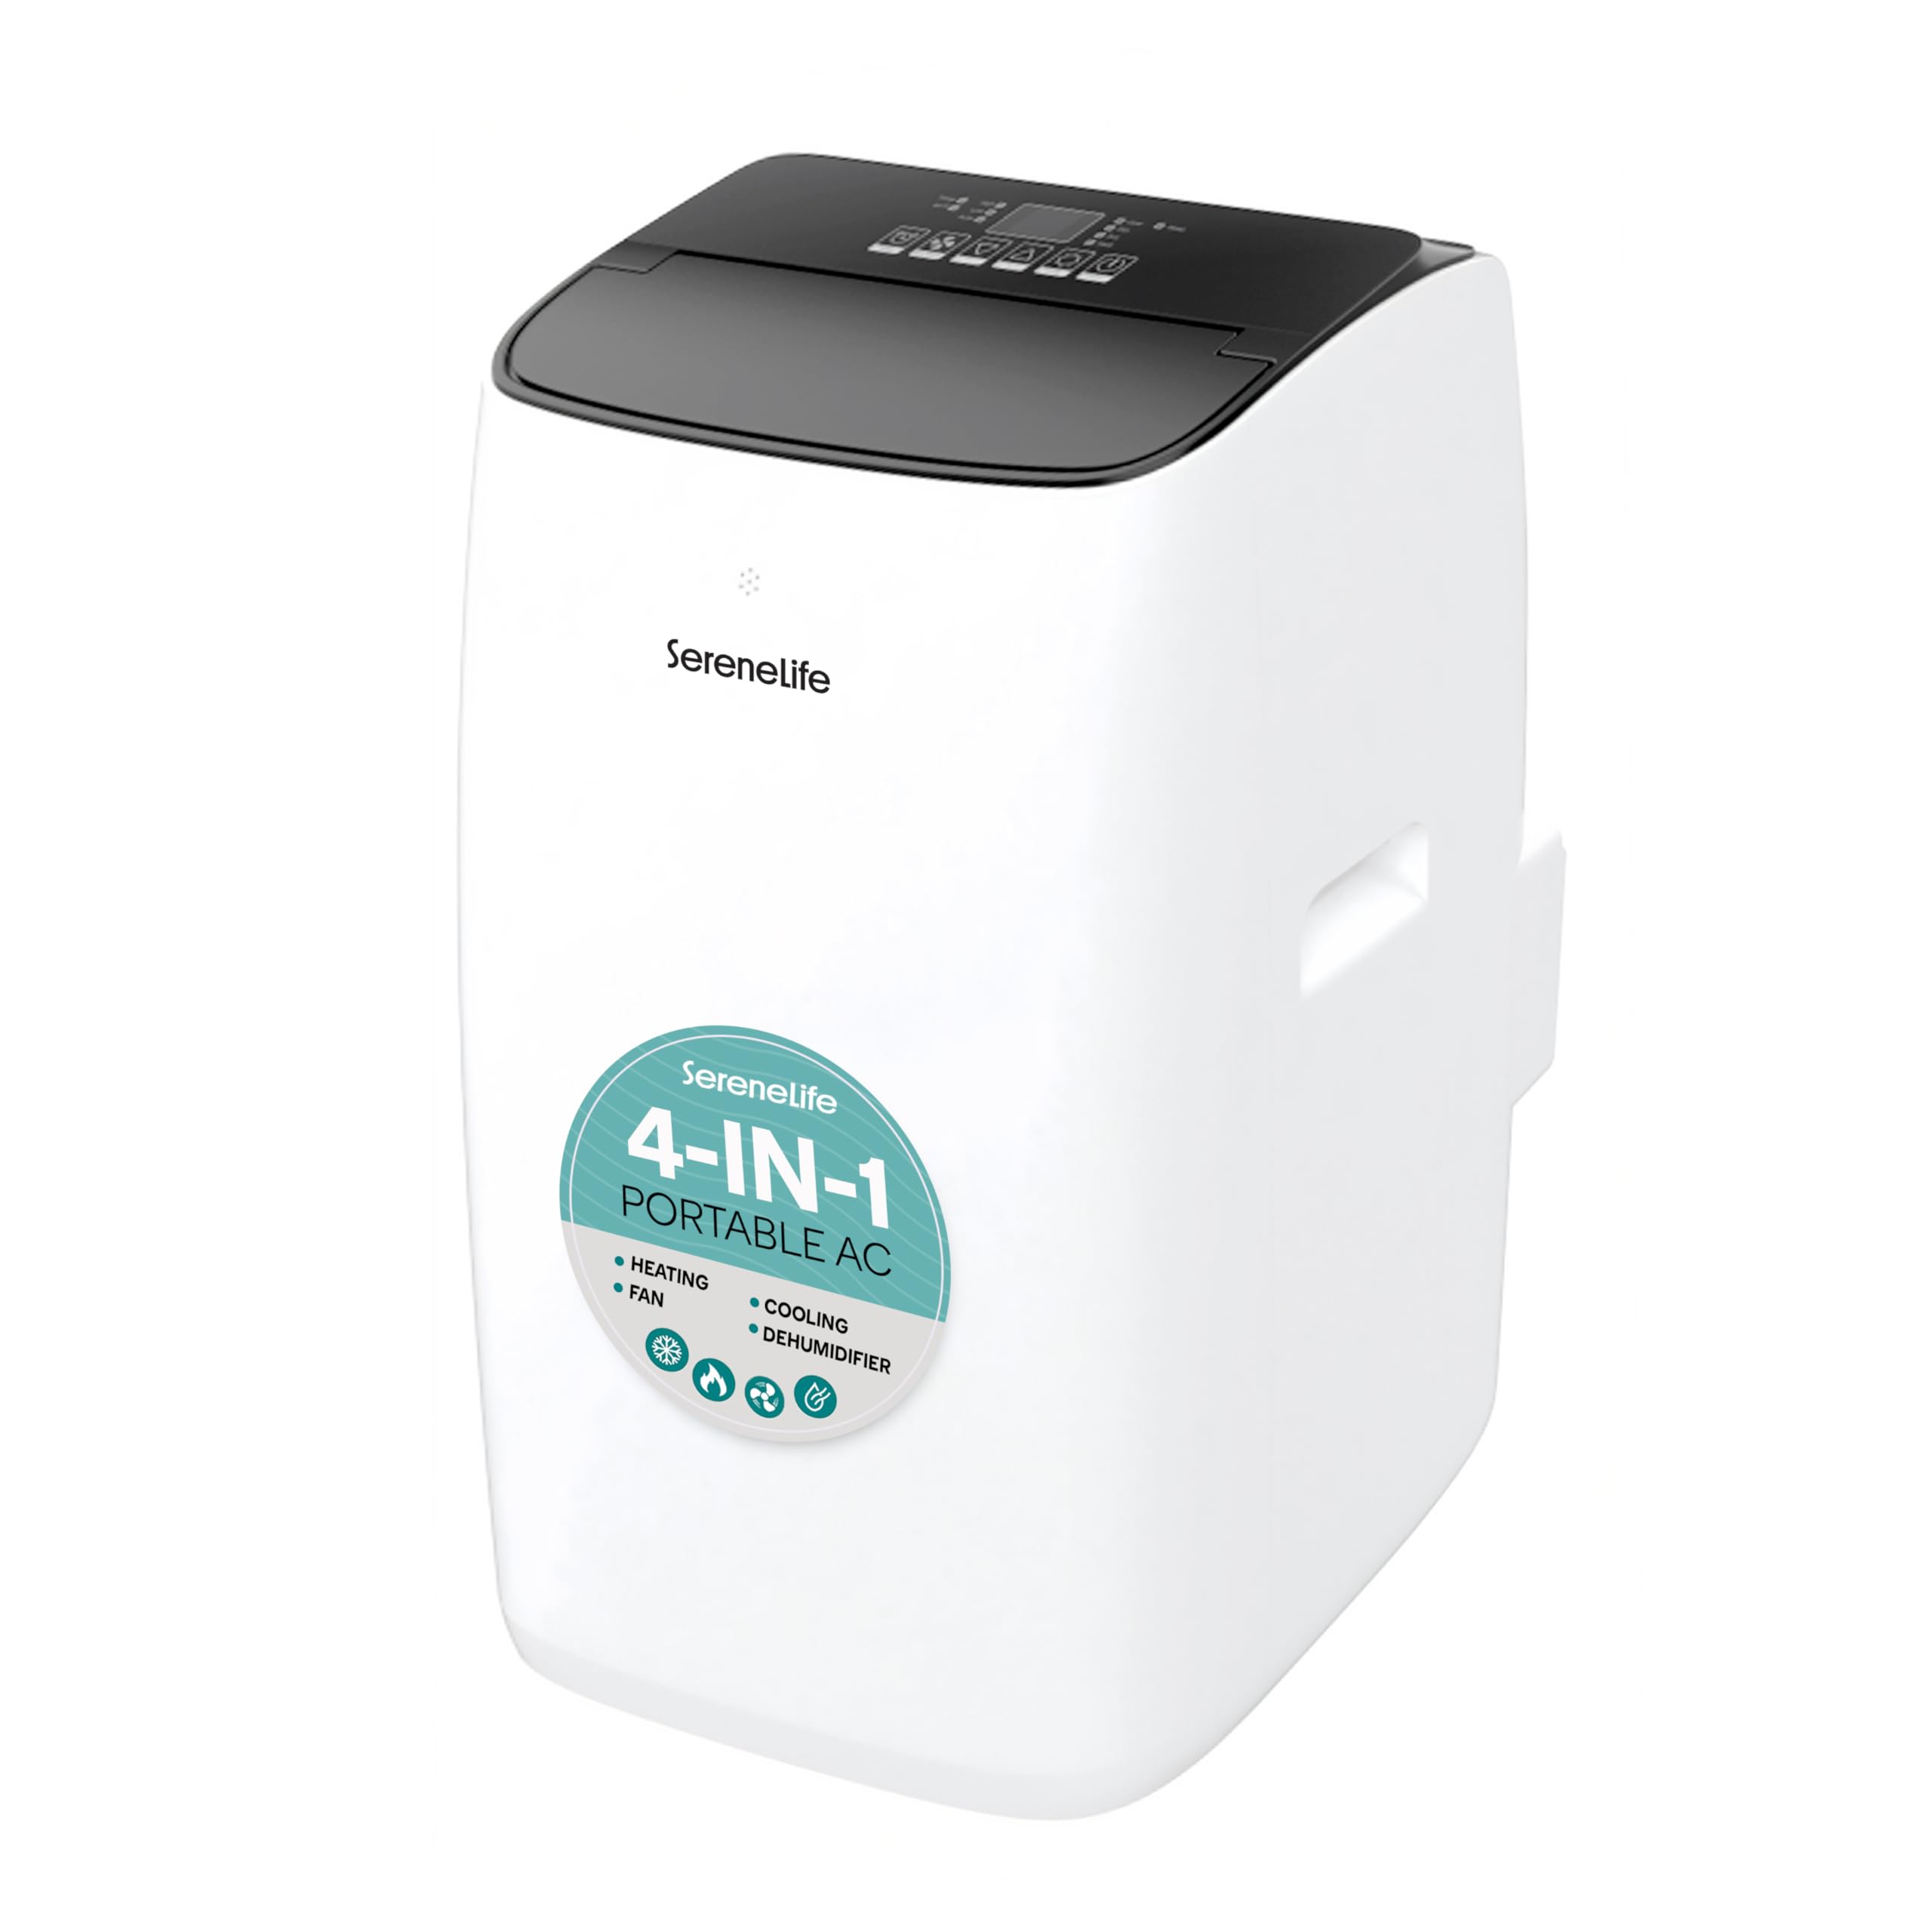
Figure 2.1: SereneLife SLINV12CHPDEU Portable Inverter Air Conditioner. This image shows the front view of the portable air conditioner unit, highlighting its compact and modern design.
3. Setup
3.1 Unpacking and Placement
- Carefully remove the unit from its packaging. Retain the packaging for future storage or transport.
- Place the air conditioner on a firm, level surface in the desired room. The unit is equipped with wheels for easy relocation.
- Ensure there is at least 20 cm (8 inches) of space around the unit for proper airflow. Do not place it near heat sources or in direct sunlight.
3.2 Window Kit Installation (Single Hose System)
This unit operates with a single exhaust hose system to vent hot air outside. Proper installation of the window kit is crucial for efficient operation.
- Attach the Exhaust Hose: Connect one end of the exhaust hose to the air outlet on the back of the unit. Twist or click into place securely.
- Assemble the Window Sealing Kit: The adjustable window slide kit is designed for most vertical and horizontal windows. Adjust the length of the window kit to fit your window opening.
- Install the Window Kit: Place the assembled window kit into the window opening. Close the window firmly against the kit to create a seal.
- Connect Hose to Window Kit: Attach the other end of the exhaust hose to the adapter on the window kit. Ensure a tight seal to prevent hot air from re-entering the room.
- Seal Gaps: Use the provided seals or additional sealing materials to minimize any gaps around the window kit and window frame. This is critical for preventing outside air from entering and reducing cooling efficiency.
3.3 Power Connection
- Plug the power cord into a grounded electrical outlet. Do not use extension cords or multi-plugs.
- Ensure the power outlet is easily accessible.
4. Operating Instructions
The SereneLife SLINV12CHPDEU can be controlled via its Feather-Touch panel, remote control, or a smartphone application.
4.1 Control Panel
The Feather-Touch panel on the top of the unit allows direct control of all functions. Refer to the unit's display for current settings and status indicators.
4.2 Remote Control
The included remote control provides convenient access to all functions from a distance. Ensure there are no obstructions between the remote and the unit's receiver.
4.3 Operating Modes
- Cool Mode: Select this mode for cooling. Adjust the desired temperature using the temperature up/down buttons. The unit will cool the room to the set temperature.
- Heat Mode: Select this mode for heating. Adjust the desired temperature. The unit will provide supplemental heating.
- Fan Mode: In this mode, the unit circulates air without cooling or heating. Adjust fan speed (Low, Medium, High) as desired.
- Dry (Dehumidification) Mode: This mode reduces humidity in the room. The fan speed is typically fixed to low in this mode.
4.4 Additional Functions
- Timer: Set the unit to turn on or off automatically after a specified period (up to 24 hours).
- Sleep Mode: Optimizes operation for quietness and energy saving during sleep. The temperature may gradually increase (in cooling mode) or decrease (in heating mode) over time.
- Auto-Swing: Activates the automatic oscillation of the air vents for wider air distribution.
4.5 WiFi App Control
The unit supports control via a smartphone application. Follow these general steps for setup:
- Download the App: Scan the QR code in the manual or search for the recommended app (e.g., SmartLife) in your smartphone's app store.
- Register/Log In: Create an account or log in to the app.
- Enable WiFi on Unit: Follow the instructions in the unit's specific manual to activate its WiFi pairing mode (usually indicated by a flashing WiFi icon).
- Add Device: In the app, select "Add Device" or the '+' icon. Choose the appropriate device type (e.g., Air Conditioner).
- Pairing: Follow the in-app instructions to connect the unit to your home WiFi network. This may involve selecting your WiFi network and entering the password.
Note: Some users have reported better connectivity using the generic "SmartLife" app and scanning the QR code for device recognition. If the dedicated SereneLife app is unavailable or problematic, try this alternative. Ensure the WiFi indicator on the unit is active during pairing.
5. Maintenance
Regular maintenance ensures optimal performance and extends the lifespan of your air conditioner.
5.1 Cleaning the Air Filter
The unit is equipped with a removable and washable air filter. A dirty filter can reduce efficiency and airflow.
- Power Off and Unplug: Always disconnect the power before cleaning.
- Remove Filter: Locate the air filter (usually at the back or side of the unit) and carefully slide it out.
- Clean Filter: Wash the filter under running water (warm, not hot) or use a vacuum cleaner to remove dust. For heavy dirt, a mild detergent can be used.
- Dry Filter: Allow the filter to air dry completely before re-installing. Do not expose to direct sunlight.
- Re-install Filter: Slide the dry filter back into its position.
Recommendation: Clean the air filter every two weeks, or more frequently if the unit is used often or in dusty environments.
5.2 Draining the Unit
This unit features an auto-evaporation system, which typically eliminates the need for manual draining in most conditions. However, in areas of high humidity, the internal water tank may fill up, and the unit might stop operating to prevent overflow. In such cases, manual draining is required.
- Power Off and Unplug: Disconnect the unit from the power supply.
- Locate Drain Port: Find the drain port at the bottom rear of the unit.
- Place Container: Place a shallow pan or container under the drain port.
- Remove Drain Plug: Carefully remove the rubber drain plug. Water will begin to flow out.
- Replace Plug: Once all water has drained, securely replace the drain plug.
5.3 Storage
If the unit will not be used for an extended period:
- Drain all water from the unit.
- Clean the air filter.
- Run the unit in fan-only mode for a few hours to dry the interior.
- Unplug the power cord and coil it neatly.
- Cover the unit with a plastic bag or cloth to protect it from dust.
- Store the unit in a cool, dry place.
6. Troubleshooting
Before contacting customer support, please refer to the following troubleshooting guide for common issues.
| Problem | Possible Cause | Solution |
|---|---|---|
| Unit does not turn on | No power supply Power cord not plugged in Circuit breaker tripped Internal water tank full (in Dry mode) | Check power outlet Ensure plug is firmly inserted Reset circuit breaker Drain the unit (see Section 5.2) |
| Insufficient cooling/heating | Air filter dirty Room size too large Windows/doors open Exhaust hose not properly installed/sealed Temperature setting too high (Cool) or too low (Heat) | Clean air filter (see Section 5.1) Ensure unit is suitable for room size Close all windows and doors Verify exhaust hose connection and window kit seal Adjust temperature setting |
| Unit is noisy | Normal operating sounds Unit not on a level surface Vibrations from internal components | Some noise is normal (44-49 dB) Ensure unit is on a flat, stable surface If persistent squealing/vibration occurs, contact customer support. |
| WiFi app not connecting | Incorrect pairing process App compatibility issues WiFi signal weak | Ensure unit is in pairing mode Try using the "SmartLife" app as an alternative (see Section 4.5) Ensure strong WiFi signal near the unit |
| Display shows set temperature, not actual room temperature | This is normal operation | The unit's display shows the target temperature you have set, not the current ambient room temperature. |
7. Specifications
| Specification | Value |
|---|---|
| Brand | SereneLife |
| Model Name | SLINV12CHPDEU |
| Model Number | SLINV12CHPDEU |
| Cooling Capacity | 12000 BTU (British Thermal Units) |
| Special Feature | Window kit with single hose |
| Product Dimensions (D x W x H) | 40P x 45l x 75H centimeters |
| Color | White |
| Voltage | 220 Volts |
| Noise Level | 44-49 Decibels (Operating Range) |
| Power Source | Corded Electric |
| Form Factor | Portable |
| Inverter Type | With Inverter |
| Installation Type | Window |
| Outdoor Unit Required | No |
| Air Conditioner Application | Residential |
| Wattage | 902 Watts |
| Item Weight | 21.3 Kilograms |
| Control Method | Application, Touch, Remote Control |
| Included Components | Filter, Product Unit |
| UPC | 842893189888 |
| Energy Efficiency | A+++ |
| Annual Energy Consumption | 675 kilowatt-hours per year |
8. Warranty and Support
8.1 Product Warranty
This SereneLife product is covered by a 30-day warranty from the date of purchase. This warranty covers manufacturing defects and malfunctions under normal use. Please retain your proof of purchase for warranty claims.
8.2 Customer Support
If you encounter any issues not covered in the troubleshooting section or require further assistance, please contact SereneLife customer support. Refer to the contact information provided on the product packaging or the official SereneLife website for the most up-to-date support details.
When contacting support, please have the following information ready:
- Model Number (SLINV12CHPDEU)
- Date of Purchase
- Detailed description of the issue


