
1. Introduction
Thank you for choosing the FOTING Sand Filter Pump. This manual provides essential information for the safe and efficient operation, installation, and maintenance of your pool filter system. Please read this manual thoroughly before installation and use, and keep it for future reference.
2. Safety Instructions
Always observe the following safety precautions to reduce the risk of injury or damage:
- Ensure the power supply matches the specifications on the product label.
- Always disconnect the power before performing any maintenance, cleaning, or when changing the valve position.
- Do not operate the pump if the power cord or plug is damaged.
- Keep children away from the pump and filter system during operation.
- Install the pump on a firm, level surface to prevent tipping.
- Do not run the pump dry. Ensure it is always filled with water during operation.
- This appliance is not intended for use by persons (including children) with reduced physical, sensory or mental capabilities, or lack of experience and knowledge, unless they have been given supervision or instruction concerning use of the appliance by a person responsible for their safety.
3. Package Contents
Verify that all components are present and undamaged:
- FOTING Sand Filter Pump Unit
- 7-Way Valve
- Pressure Gauge
- Hose Adapters (Ø32-38 mm)
- 200g Filter Balls (initial supply)
- Connecting Hoses
- Clamps and Fasteners
- Instruction Manual
4. Product Overview
The FOTING Sand Filter Pump is designed for efficient pool water filtration. It features a powerful pump, a durable filter tank, and a versatile 7-way valve for various operational modes.
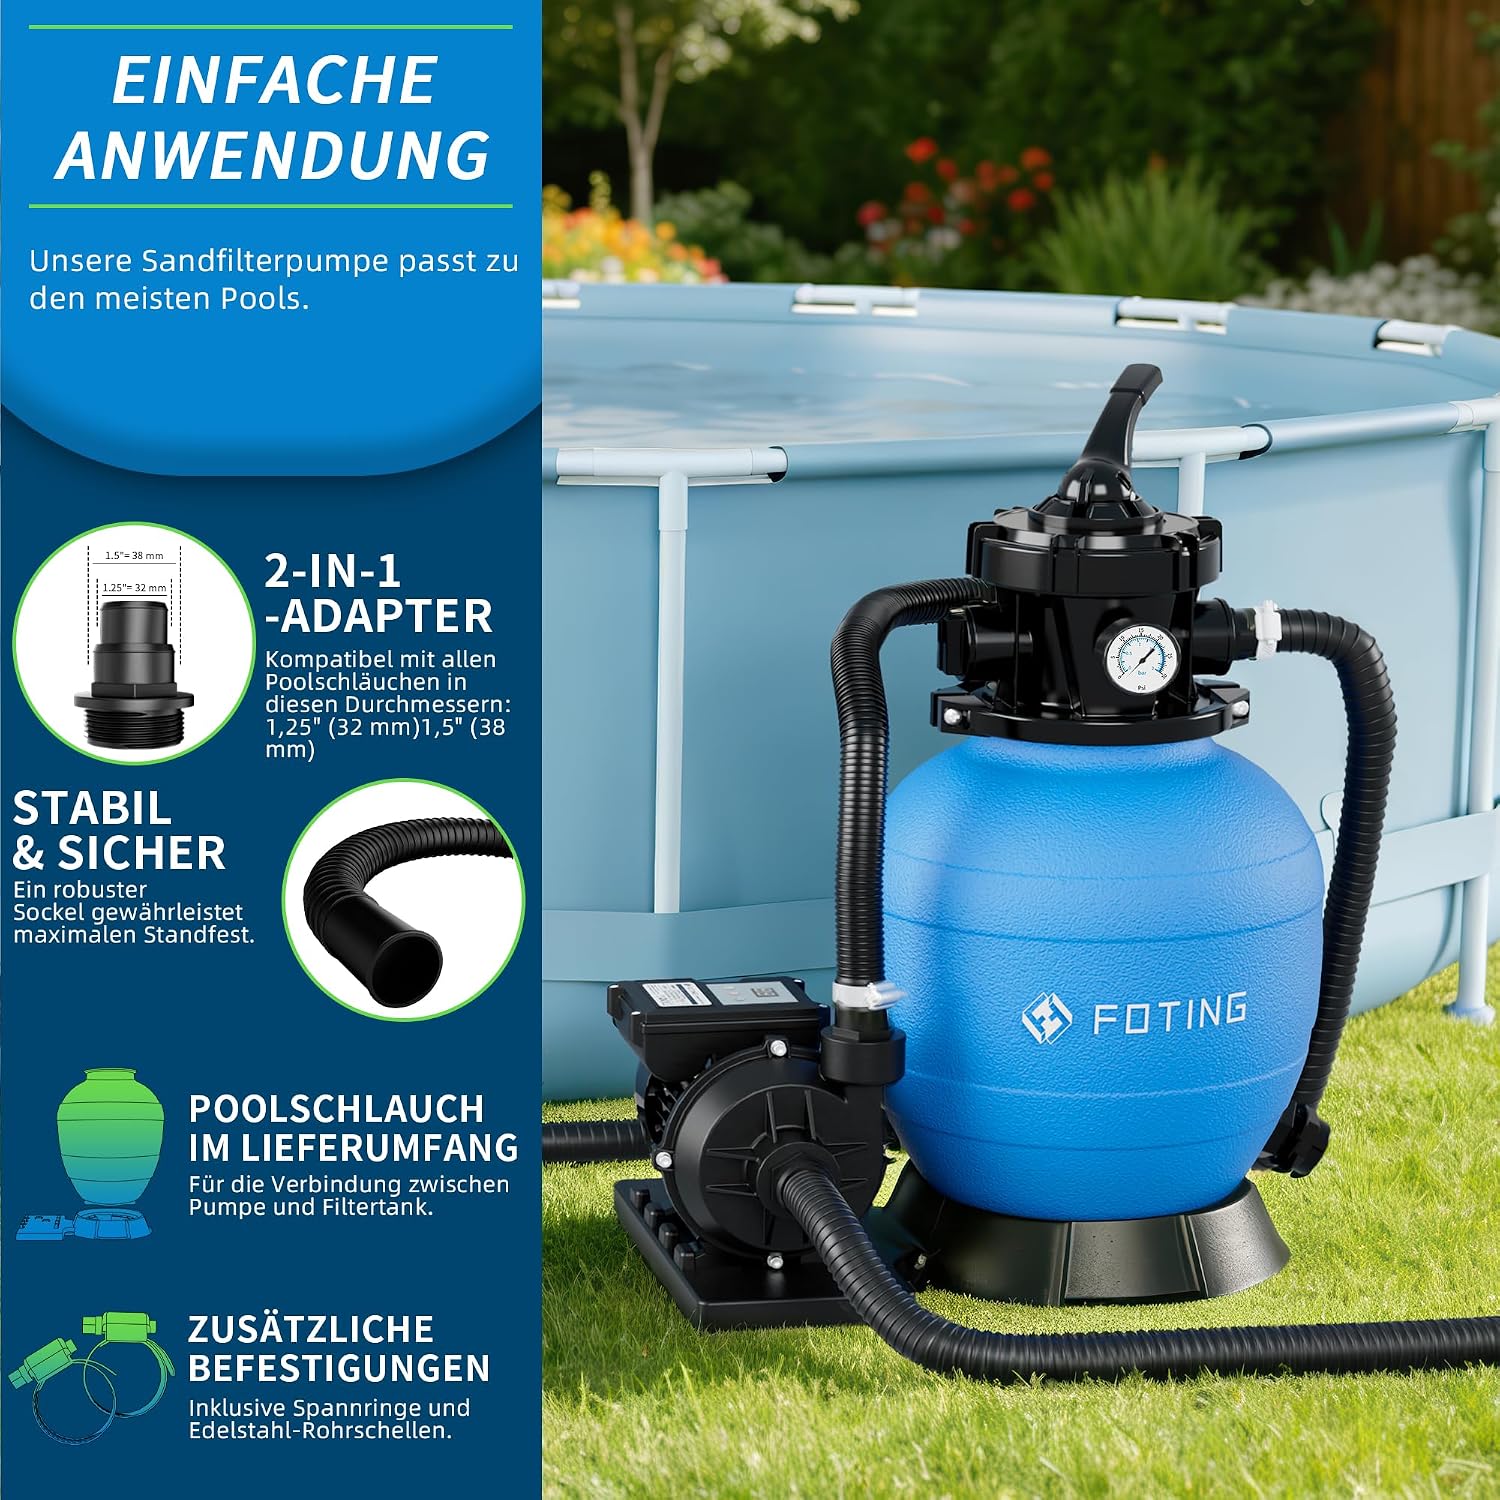
Image 4.1: Overview of the FOTING Sand Filter Pump, showing the pump unit, filter tank, and multi-port valve with pressure gauge.
4.1 Key Components
- Filter Tank: Holds the filter media (sand, filter balls, or filter glass).
- Pump Unit: Circulates water through the filter system.
- 7-Way Valve: Controls the water flow for different operations.
- Pressure Gauge: Indicates the internal pressure of the filter system.
- 24h Timer: Allows for programmable operation cycles.

Image 4.2: The 24-hour intelligent dual-mode timer, offering single cycle and continuous cycle operation modes.
5. Setup and Installation
Follow these steps for proper installation of your sand filter pump:
- Positioning: Place the filter pump on a stable, level surface near the pool. Ensure it is protected from direct sunlight and adverse weather conditions.
- Add Filter Media: Unscrew the top of the filter tank and carefully add the chosen filter media (sand, filter balls, or filter glass). Refer to the specifications for the correct amount. For sand, ensure the standpipe is centered during filling.
- Attach 7-Way Valve: Securely attach the 7-way valve to the top of the filter tank. Ensure all seals are correctly seated to prevent leaks.
- Connect Hoses: Connect the pump to the pool's skimmer/intake and return lines using the provided hoses and adapters (Ø32-38 mm). Ensure all connections are tight with clamps. The pump inlet connects to the pool's dirty water line, and the pump outlet connects to the filter tank inlet. The filter tank outlet connects to the pool's clean water return line.
- Electrical Connection: Connect the pump to a grounded electrical outlet. Ensure the power supply is suitable for the pump's requirements.

Image 5.1: Illustration of the 2-in-1 hose adapters (32mm and 38mm) for easy connection to standard pool hoses.

Image 5.2: Clear connection labels for Pump, Return, and Drain ports on the filter system.
6. Operating Instructions
Before starting the pump, ensure the pool is filled with water and all connections are secure.
6.1 Initial Start-up (Backwash and Rinse)
After adding new filter media or after assembly, it is crucial to backwash and rinse the filter to remove fine particles from the media.
- Ensure the pump is OFF.
- Set the 7-way valve to the BACKWASH position.
- Turn on the pump and run for 2-3 minutes, or until the water from the waste port runs clear.
- Turn off the pump.
- Set the 7-way valve to the RINSE position.
- Turn on the pump and run for 30-60 seconds.
- Turn off the pump.
- Set the 7-way valve to the FILTER position. The system is now ready for normal operation.
6.2 7-Way Valve Functions
The 7-way valve controls the water flow for various operations. Always turn off the pump before changing the valve position.

Image 6.1: Detailed view of the 7-way valve with its various settings and their corresponding functions.
- FILTER: Normal filtration mode. Water flows through the filter media and returns to the pool.
- BACKWASH: Cleans the filter media by reversing water flow, sending dirty water to waste.
- RINSE: Used after backwashing to flush out remaining dirty water from the valve and lines before returning to filter mode.
- WASTE/DRAIN: Bypasses the filter, sending water directly from the pool to waste. Useful for lowering pool water level or vacuuming heavy debris directly to waste.
- CLOSED: Shuts off all flow to the filter and pump. Do not operate the pump in this position.
- RECIRCULATE: Bypasses the filter, circulating water directly back to the pool. Useful for chemical distribution without filtration.
- WINTER: Position for winterizing the filter system, protecting the valve from frost.
6.3 Timer Operation
The integrated 24h timer allows you to automate the filtration process.
- Single Cycle Mode: Programs the pump to run for a specific duration once within a 24-hour period.
- Continuous Cycle Mode: Programs the pump to run repeatedly for set intervals throughout the day.
Refer to the timer's specific controls for setting desired operating times. Ensure the pump is connected to the timer's output.
7. Maintenance
Regular maintenance ensures optimal performance and longevity of your filter pump.
7.1 Backwashing and Rinsing
Monitor the pressure gauge. When the pressure rises 0.2-0.3 bar (3-5 PSI) above the clean filter operating pressure, it indicates that the filter media is dirty and requires backwashing. Follow the steps in Section 6.1.
7.2 Filter Media Replacement
Filter media should be replaced periodically based on usage and water quality. Sand typically lasts 3-5 years, while filter balls may last longer but should be cleaned regularly.

Image 7.1: The filter system is compatible with various filter media including filter sand, filter balls, and filter glass.
7.3 Winterizing
Before freezing temperatures, drain all water from the pump, filter, and hoses. Store the pump and filter in a dry, frost-free location. Set the 7-way valve to the WINTER position.
8. Troubleshooting
If you encounter issues, refer to the following common problems and solutions:
| Problem | Possible Cause | Solution |
|---|---|---|
| Pump not starting | No power; clogged impeller; motor fault | Check power connection/breaker; clear impeller; contact support |
| Low water flow | Clogged skimmer/pump basket; dirty filter media; air leak in suction line | Clean baskets; backwash/rinse filter; check hose connections for leaks |
| Water not clearing | Insufficient filtration time; dirty filter media; incorrect chemical balance | Increase run time; backwash/rinse filter; test and adjust pool chemicals |
| Leaking from connections | Loose clamps; damaged O-rings/gaskets | Tighten clamps; inspect and replace O-rings/gaskets |
9. Specifications
Technical data for the FOTING Sand Filter Pump Model CLP4002:

Image 9.1: Comparison table of FOTING sand filter pump models, highlighting the specifications for the 11,500 L/h model.
| Feature | Specification |
|---|---|
| Model Number | CLP4002 |
| Maximum Flow Rate | 11,500 L/h (11.5 m³/h) |
| Power | 400 W |
| Maximum Head | 10 m |
| Voltage | 220-240V / 50Hz |
| Tank Volume | 10 Liters |
| Recommended Pool Size | Up to 30,000 Liters |
| Filter Media Capacity (Sand) | 13 kg |
| Filter Media Capacity (Filter Balls) | 400 g |
| Included Filter Balls | 200 g |
| Timer | 24h Dual Mode |
| Valve Type | 7-Way Valve |
| Pressure Gauge | Included |
| Hose Adapters | Ø32/38 mm |
| Protection Class | IPX5 |
10. Warranty and Support
FOTING products are manufactured to high-quality standards. For warranty information, please refer to the documentation provided with your purchase or contact your retailer. For technical support or service inquiries, please contact FOTING customer service through the contact information provided on our official website or your purchase platform.