
FLASHFORGE C5
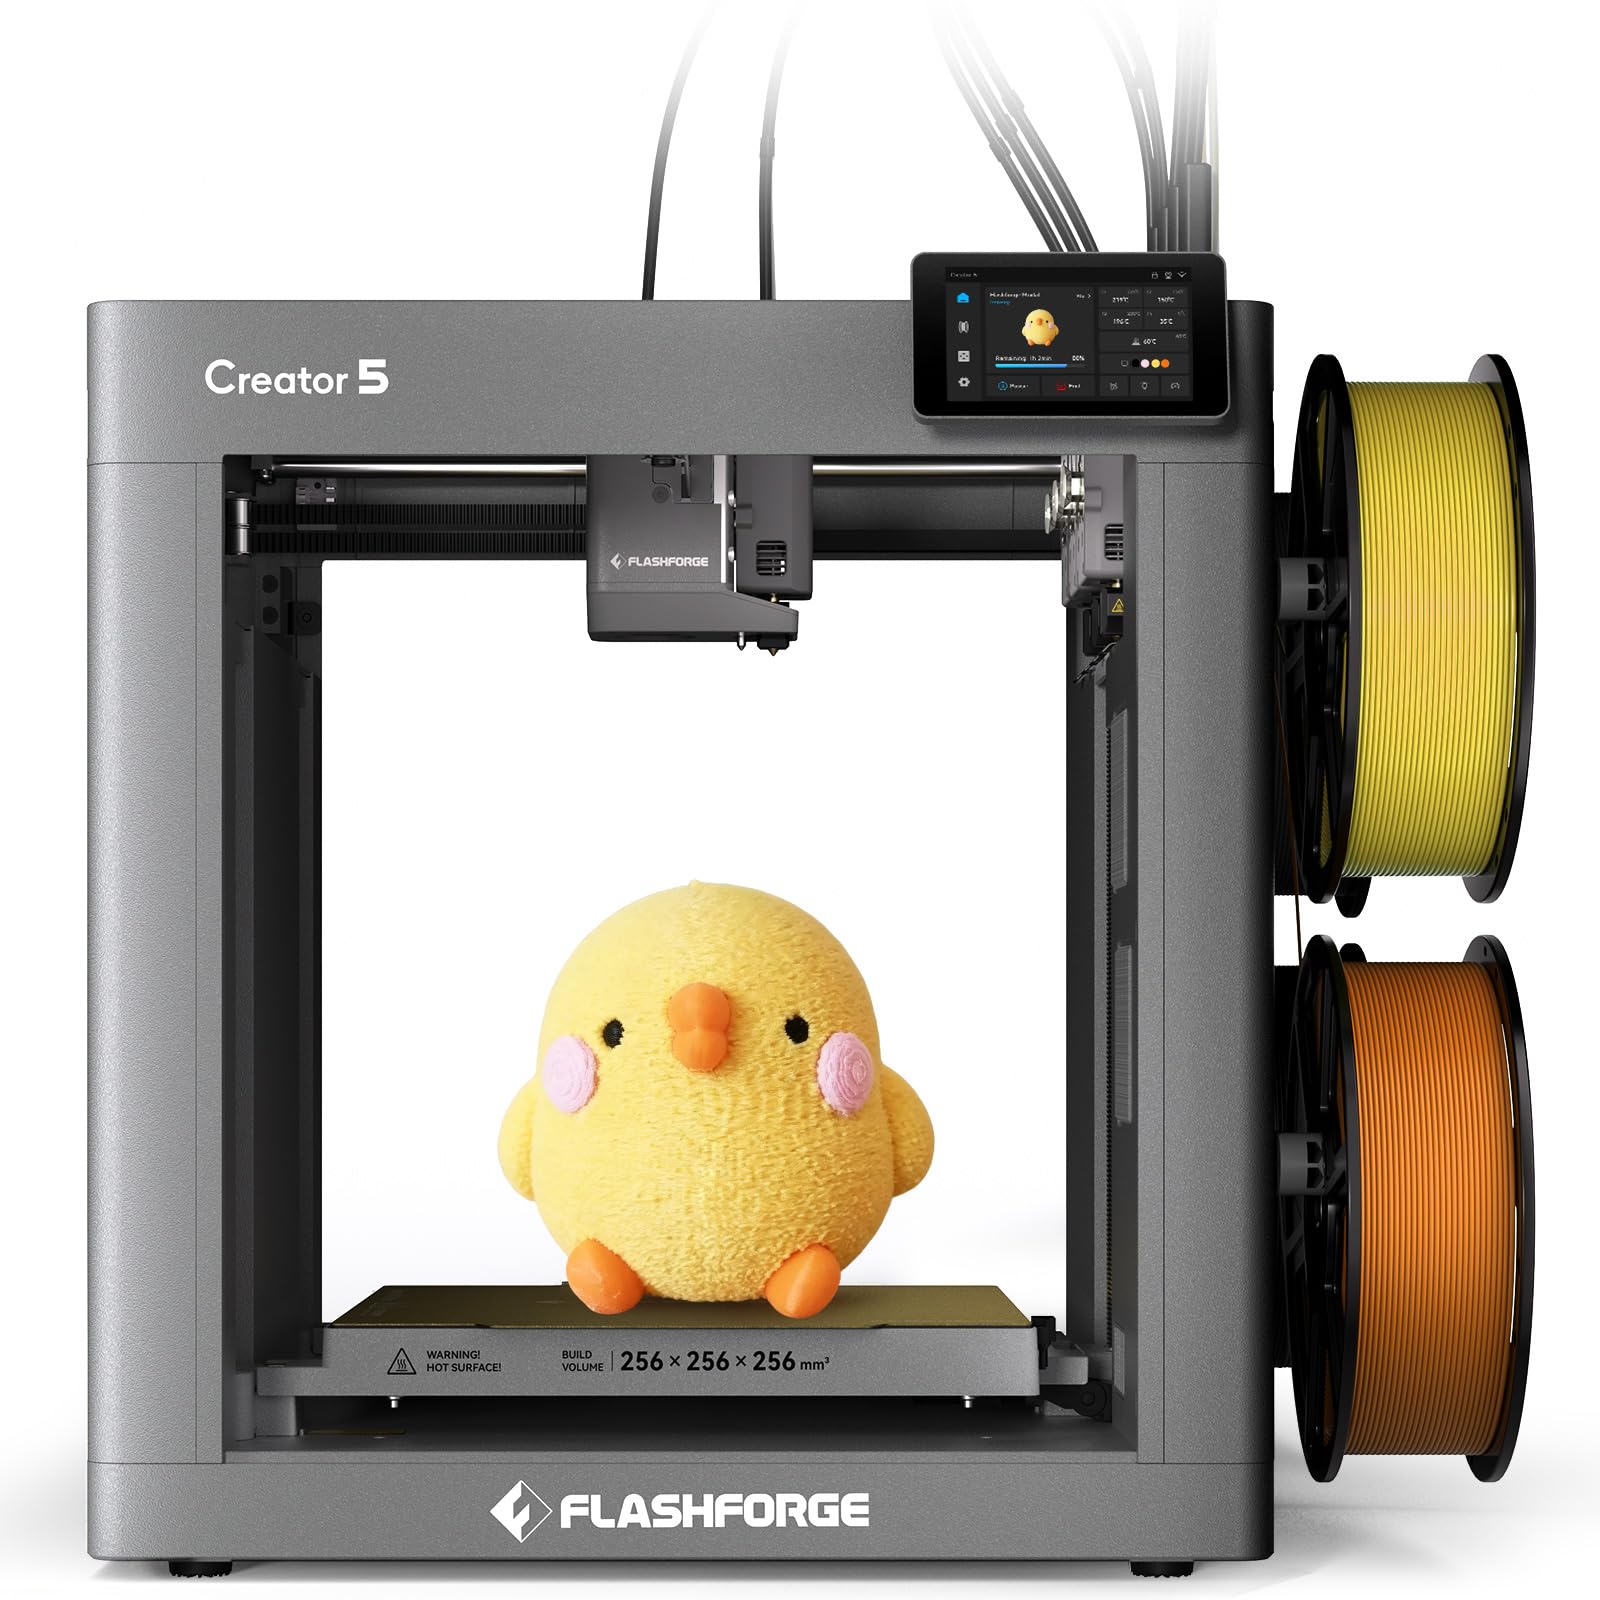
Flashforge Creator 5 3D Printer User Manual
Model: C5
1. Introduction
The Flashforge Creator 5 is an advanced 3D printer designed for multi-color and multi-material printing, offering high speed and efficiency. This manual provides essential information for setting up, operating, maintaining, and troubleshooting your device.
Key Features:
- True Multi-Color & Multi-Material: Features 4 independent print heads for seamless color and material changes in a single print. Ideal for multi-color badges, gradient figures, and complex functional assemblies without manual intervention.
- Zero Purge Waste Technology: Innovative print head switching logic eliminates the need for massive purge towers, maximizing material efficiency, saving cost, and significantly reducing environmental impact.
- Up to 500% Faster Printing: Designed for rapid prototyping at 600mm/s, enabling a significant increase in productivity and completing complex multi-color projects in a fraction of the time without sacrificing structural integrity.
- Smart Calibration & Perfect Quality: Enjoy a hassle-free printing experience with fully automatic calibration and leveling. The intelligent compensation system ensures perfect first layers and sharp details in every print.
- Easy to Use & Reliable: Designed for creators and professionals with an intuitive interface, ensuring stable and consistent performance for various applications, from educational models to personalized gifts and functional prototypes.

2. What's in the Box
Carefully unpack your Flashforge Creator 5 and ensure all components are present:
- Flashforge Creator 5 3D Printer (x1)
- Filament (x4 spools)
- Quick Start Guide (x1)
- Power Cable (x1)
- Spool Holder (x4)
- Lubricating Grease (x1)
- Print Plate (x1)
- Display Screen (x1)
- Nozzle Caps (x4)
- Allen Key Set (1.5, 2.0, 2.5 mm) (x1)
- M3x14 Screws (x4)
- M3x16 Screws (x2)
- M3x6 Screws (x2)
- ST2.9x9.5 Screws (x2)

3. Setup Guide
3.1 Initial Assembly
- Carefully remove the printer from its packaging.
- Fasten the display screen using the provided screws.
- Install the extruders into their designated slots.
- Secure the magnetic tool heads in place.
- Remove any shipping screws or protective materials from the print bed.
- Connect the power cable to the printer and a suitable power outlet.
3.2 Filament Loading
- Place a filament spool onto one of the spool holders.
- Feed the end of the filament into the printer's designated input.
- Follow the on-screen instructions on the touch screen to guide the filament through the extruder.
3.3 Automatic Calibration and Leveling
The Flashforge Creator 5 features fully automatic calibration and leveling. Upon initial power-on or when prompted, the printer will perform these steps automatically to ensure optimal print quality. No manual bed leveling is required.


4. Operating Instructions
4.1 Printing Your First Model
- Prepare your 3D model using FlashPrint 5 slicing software.
- Transfer the sliced file to the printer via Wi-Fi or USB.
- Select the desired file from the printer's touch screen interface.
- Initiate the print. The printer will automatically perform necessary checks and begin printing.
4.2 Multi-Color and Multi-Material Printing (FlashSwap™)
The FlashSwap™ Multi-Tool Fast Switching System allows for rapid material changes. With four independent print heads, material switching takes approximately 7 seconds, eliminating waiting time for heating or material flushing. This system also reduces waste material generated during changes, preventing nozzle adhesion and print failures.


4.3 High-Speed Printing
The Creator 5 is capable of printing at speeds up to 600mm/s with an acceleration of 30,000mm/s², significantly reducing print times for complex models.

4.4 Dynamic Flow Calibration (PA Value)
This feature intelligently detects pressure variations during filament extrusion and automatically compensates for them. This ensures a more consistent filament diameter, leading to a neat arrangement of the printed surface, reduced Z-axis banding, and a smooth model surface.

4.5 Remote Monitoring and Group Control
Manage your printer remotely via the Flashforge app. This allows for remote monitoring of print progress and one-click task sending. For multiple printers, the Group Control feature enables efficient management of filament types and colors across devices.

5. Maintenance
Regular maintenance ensures the longevity and optimal performance of your Flashforge Creator 5 3D printer.
5.1 Cleaning
- Periodically clean the print bed with isopropyl alcohol to ensure good adhesion.
- Remove any filament debris from the print area and around the extruders.
- Keep the printer's interior free of dust and filament scraps.
5.2 Lubrication
- Apply lubricating grease to the moving parts, such as guide rails and lead screws, as needed to ensure smooth operation. Refer to the Quick Start Guide for specific lubrication points.
5.3 Nozzle Inspection
- Regularly inspect the nozzles for wear or clogs. Replace nozzle caps as necessary.
6. Troubleshooting
This section addresses common issues you might encounter with your Flashforge Creator 5 3D printer.
6.1 Common Printing Issues
- Poor First Layer Adhesion: Ensure the print bed is clean and free of grease. Verify that automatic leveling has been performed recently. Adjust bed temperature if necessary for specific filament types.
- Filament Clogging: Check if the filament is loaded correctly and not tangled. Ensure the nozzle temperature is appropriate for the filament being used. If a clog persists, the nozzle may need to be cleaned or replaced.
- Layer Shifting: Check for any obstructions in the printer's movement paths. Ensure belts are properly tensioned.
- Stringing/Oozing: Adjust retraction settings in your slicing software. Ensure filament is dry.
6.2 Power Outage Recovery
The Flashforge Creator 5 is equipped with a power outage recovery feature. In the event of a power interruption, the printer can resume printing from where it left off once power is restored, minimizing print failures.
6.3 Vibration Compensation
The printer features vibration compensation to eliminate ringing and deliver an ultra-smooth finish, especially during high-speed printing. If you notice surface artifacts, ensure this feature is enabled in your settings.

7. Specifications
| Feature | Detail |
|---|---|
| Brand | FLASHFORGE |
| Model | Creator 5 |
| Extruder Quantity | 4 Independent Toolheads |
| Build Volume | 256 x 256 x 256 mm |
| Maximum Flow Rate | 32 mm³/s |
| Nozzle Diameter | 0.4 mm (Standard) |
| Display | 4-inch 800 x 480 Full-Color Touchscreen |
| Recommended Filaments | PLA, PETG, TPU-90A (Top mount), TPU-95A, TPU-64D, PLA-CF, PETG-CF, SILK, PVA, BVOH |
| Supported Filaments with Enclosure | ABS, ASA, PA-CF, PET-CF, PAHT-CF, ASA-CF(GF), ABS-CF(GF), PPA-CF(GF) |
| Travel Speed | Max. 600 mm/s |
| Print Speed | Max. 300 mm/s |
| Acceleration | Max. 30,000 mm/s² |
| Connectivity | USB/WiFi |
| App & Slicing Software | Flash Studio |
| Printer Size | 520 x 443 x 710 mm (w/ Holders & Tubes) 436 x 432 x 480 mm (w/o Holders & Tubes) |
| Input | 100-120V/200-240V AC, 50/60Hz 700W |
| Build Plate | 120°C PEI Coating Plate |
| Auto Leveling | Automatic |
| Max Extruder Temp | 320°C |
| Removable Nozzle | Yes |
| Dynamic Flow Calibration | Auto PA Calibration |
| Filament Detection | Run-out Sensor |
| Power Outage Recovery | Yes |
| Chamber Lighting | Yes |
| Remote Monitoring | Built-in Full HD Camera (1280*720@30 Fps) |
| Multi-Printer Management | Yes |
| WiFi | 2.4 GHz / 5 GHz Wi-Fi |
| Weight | Net: 14kg; Gross: 18kg |
| Structure | Open Frame Design |

8. Warranty and Support
8.1 Technical Support
Flashforge provides lifetime technical support for the Creator 5 3D printer. Professional customer service is available for 12 hours a day to assist with any queries or issues you may encounter.
8.2 Returns Policy
This product is subject to a 14-day return policy for refunds or replacements, as per Amazon's terms and conditions.
Related documentsC5


Ask a question about this manual
Ask about setup, troubleshooting, compatibility, parts, safety, or missing instructions. Manuals+ will review the question and use this page’s manual context to help answer it.