
Introduction
Thank you for purchasing the Genérico X9 Wireless Gaming Controller. This controller is designed to provide a precise and comfortable gaming experience across multiple platforms. It features stable connectivity via Bluetooth and 2.4GHz wireless technology, a 6-axis gyroscope for motion control, and dual shock vibration for immersive feedback. This manual will guide you through the setup, operation, and maintenance of your new controller.
Package Contents
- 1 x Genérico X9 Wireless Gaming Controller
- 1 x USB-C Charging Cable
- 1 x User Manual
Product Overview
Familiarize yourself with the buttons and features of your X9 Wireless Gaming Controller.
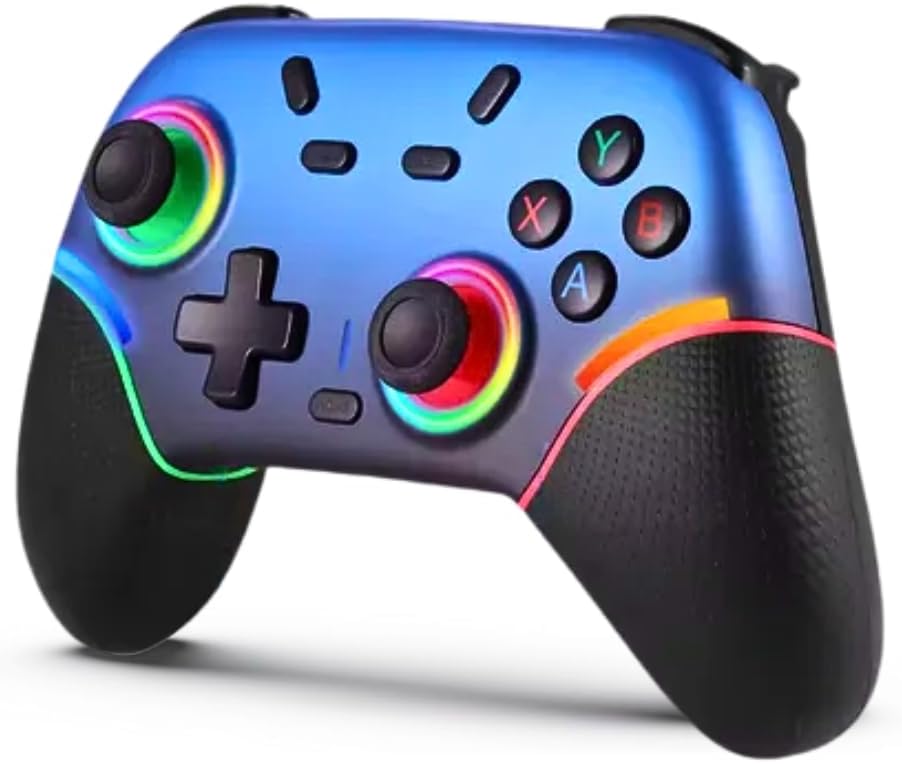
Figure 1: Front view of the Genérico X9 Wireless Gaming Controller (Blue variant).

Figure 2: Back view of the controller highlighting the programmable M1 and M2 buttons.
Button Layout:
- Left/Right Analog Sticks: For precise movement and camera control.
- D-Pad: Directional input.
- A/B/X/Y Buttons: Action buttons.
- L/R/ZL/ZR Buttons: Shoulder and trigger buttons.
- HOME Button: Returns to the system home screen.
- TURBO Button: Activates turbo function for rapid input.
- Screenshot Button: Captures screenshots.
- +/- Buttons: System menu navigation.
- M1/M2 Buttons: Programmable back buttons.
Setup and Connection
Connecting to Nintendo Switch:
- From the HOME Menu, select Controllers, then Change Grip/Order.
- On the controller, press and hold the HOME button for 3-5 seconds until the indicator lights flash rapidly.
- Once connected, the indicator light(s) on the controller will remain solid.
The controller is compatible with Nintendo Switch V1, V2, OLED, and Lite models.
Connecting to PC (Steam):
The X9 controller supports native connection to PC via Steam using Bluetooth or 2.4GHz wireless.
- Bluetooth Connection:
- Ensure your PC has Bluetooth enabled.
- Go to your PC's Bluetooth settings and search for new devices.
- On the controller, press and hold the HOME button until the indicator lights flash.
- Select "X9 Controller" from the list of available devices on your PC to pair.
- 2.4GHz Wireless Connection (if applicable, typically requires a USB dongle):
- Insert the 2.4GHz USB receiver (if included) into an available USB port on your PC.
- Turn on the controller. It should automatically connect to the receiver.

Figure 3: The X9 controller offers broad compatibility with multiple gaming platforms.
Operating Instructions
6-Axis Gyroscope:
The integrated 6-axis gyroscope provides precise motion sensing for games that utilize tilt and movement controls. This feature is automatically active when supported by the game.
Dual Shock Vibration:
The controller features dual motors for immersive haptic feedback. You can adjust the vibration intensity to your preference.
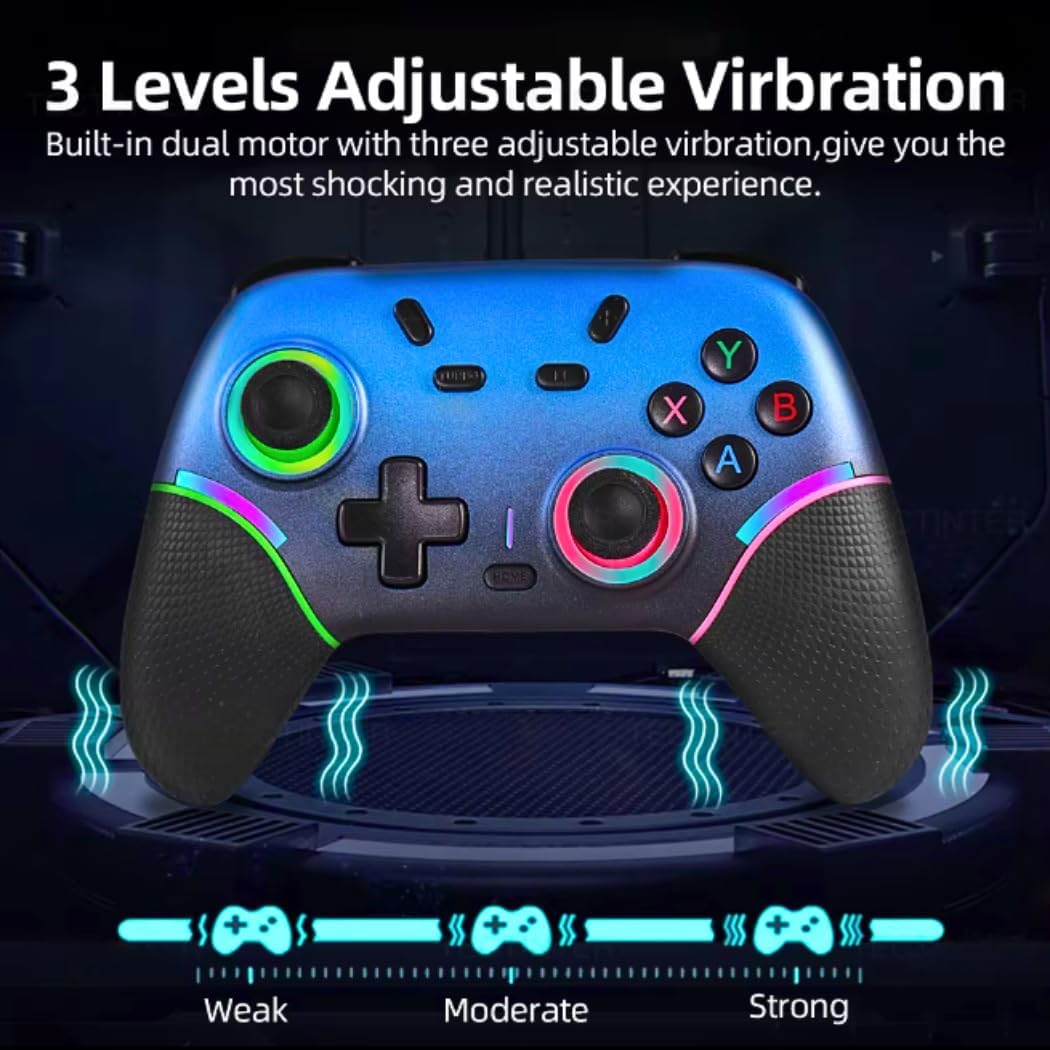
Figure 4: The controller offers three adjustable vibration levels for a customized gaming experience.
Refer to your game's settings or controller's specific button combinations (if any) to adjust vibration levels.
Programmable Buttons (M1/M2):
The M1 and M2 buttons on the back of the controller can be programmed to perform complex actions or map frequently used button combinations, enhancing your gameplay efficiency.
Figure 5: Programmable M1/M2 buttons allow for custom button assignments, up to 16 buttons can be mapped.
Programming Steps: (Note: Specific programming steps may vary. Consult the included physical manual for detailed instructions if this feature is not intuitive.)
- Press and hold the Program Button (often a small button near M1/M2 or a combination like TURBO + M1).
- Press the button(s) you wish to map (e.g., A+B+X+Y).
- Press the M1 or M2 button to assign the sequence.
- Release the Program Button to save.
Charging the Controller
The X9 controller is equipped with an 800mAh rechargeable battery, providing extended gameplay sessions.
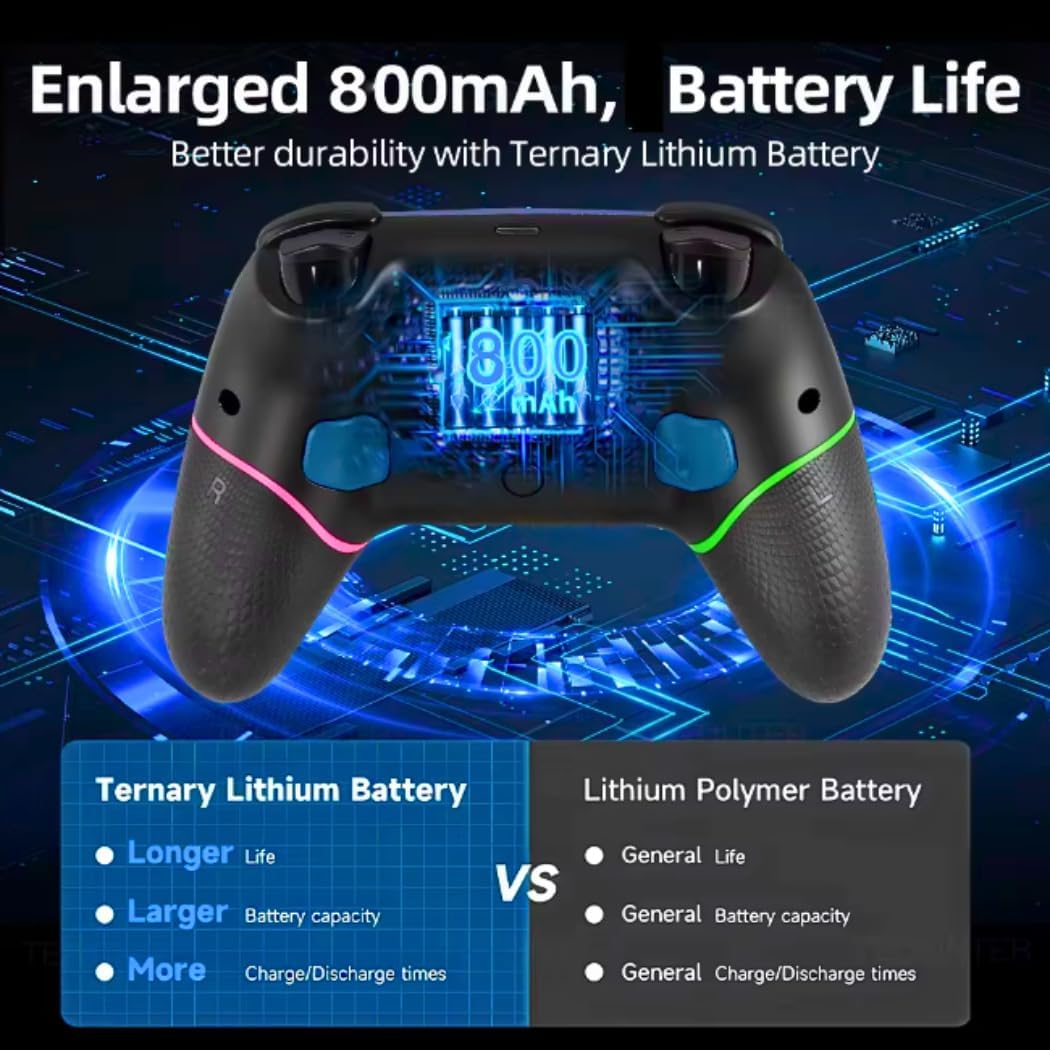
Figure 6: The controller features an 800mAh Ternary Lithium Battery for longer life and better durability.
- Connect the included USB-C charging cable to the USB-C port on the controller.
- Connect the other end of the cable to a USB power source (e.g., PC, USB wall adapter, Nintendo Switch dock).
- The indicator lights on the controller will show charging status (e.g., blinking while charging, solid when fully charged).
- A full charge typically takes approximately 2-3 hours.
Maintenance
- Keep the controller dry and away from extreme temperatures.
- Clean the controller with a soft, dry cloth. Do not use harsh chemicals or abrasive materials.
- Avoid dropping the controller or subjecting it to strong impacts.
- When not in use for extended periods, store the controller in a safe place and charge it periodically to maintain battery health.
Troubleshooting
- Controller not connecting:
- Ensure the controller is charged.
- Verify Bluetooth is enabled on your device (Switch/PC).
- Try re-pairing the controller by following the "Setup and Connection" steps.
- Restart your console/PC and the controller.
- Input lag or disconnection:
- Ensure you are within the 8-meter wireless range.
- Minimize interference from other wireless devices.
- Ensure the controller is fully charged.
- Buttons not responding:
- Check if the controller is properly connected.
- Restart the controller and the game.
- Ensure no physical obstruction is preventing button presses.
- Vibration not working:
- Check in-game settings to ensure vibration is enabled.
- Verify the vibration intensity is not set to "Weak" or off.
Specifications
| Model | X9 |
| Connectivity | Bluetooth, 2.4GHz Wireless |
| Compatibility | Nintendo Switch (V1, V2, OLED, Lite), PC (Steam) |
| Special Features | 6-Axis Gyroscope, Dual Shock Vibration, Programmable Buttons (M1/M2) |
| Wireless Range | Up to 8 meters |
| Battery Capacity | 800mAh (Rechargeable via USB-C) |
| Product Dimensions | 18.5 x 18.5 x 18 cm |
| Product Weight | 300 g |
| Certification | Anatel Homologation: 01831-22-12242 |
Warranty and Support
This product comes with a standard manufacturer's warranty. For specific warranty details, please refer to the documentation included in your product packaging or contact your retailer.
For technical support, troubleshooting assistance, or warranty claims, please contact the seller or manufacturer directly. Keep your purchase receipt as proof of purchase.