
1. Introduction
The WattCycle 12000W 48V All-in-One Solar Inverter is a powerful and versatile energy solution designed for off-grid and hybrid solar applications. This unit provides split phase 120/240V output, suitable for standard household appliances. It features an 18kW dual MPPT (Maximum Power Point Tracking) capability for efficient solar energy harvesting. The inverter is 72kW parallel-ready, allowing for system expansion. Its all-in-one design integrates the inverter, charger, and MPPT solar controller, simplifying installation.
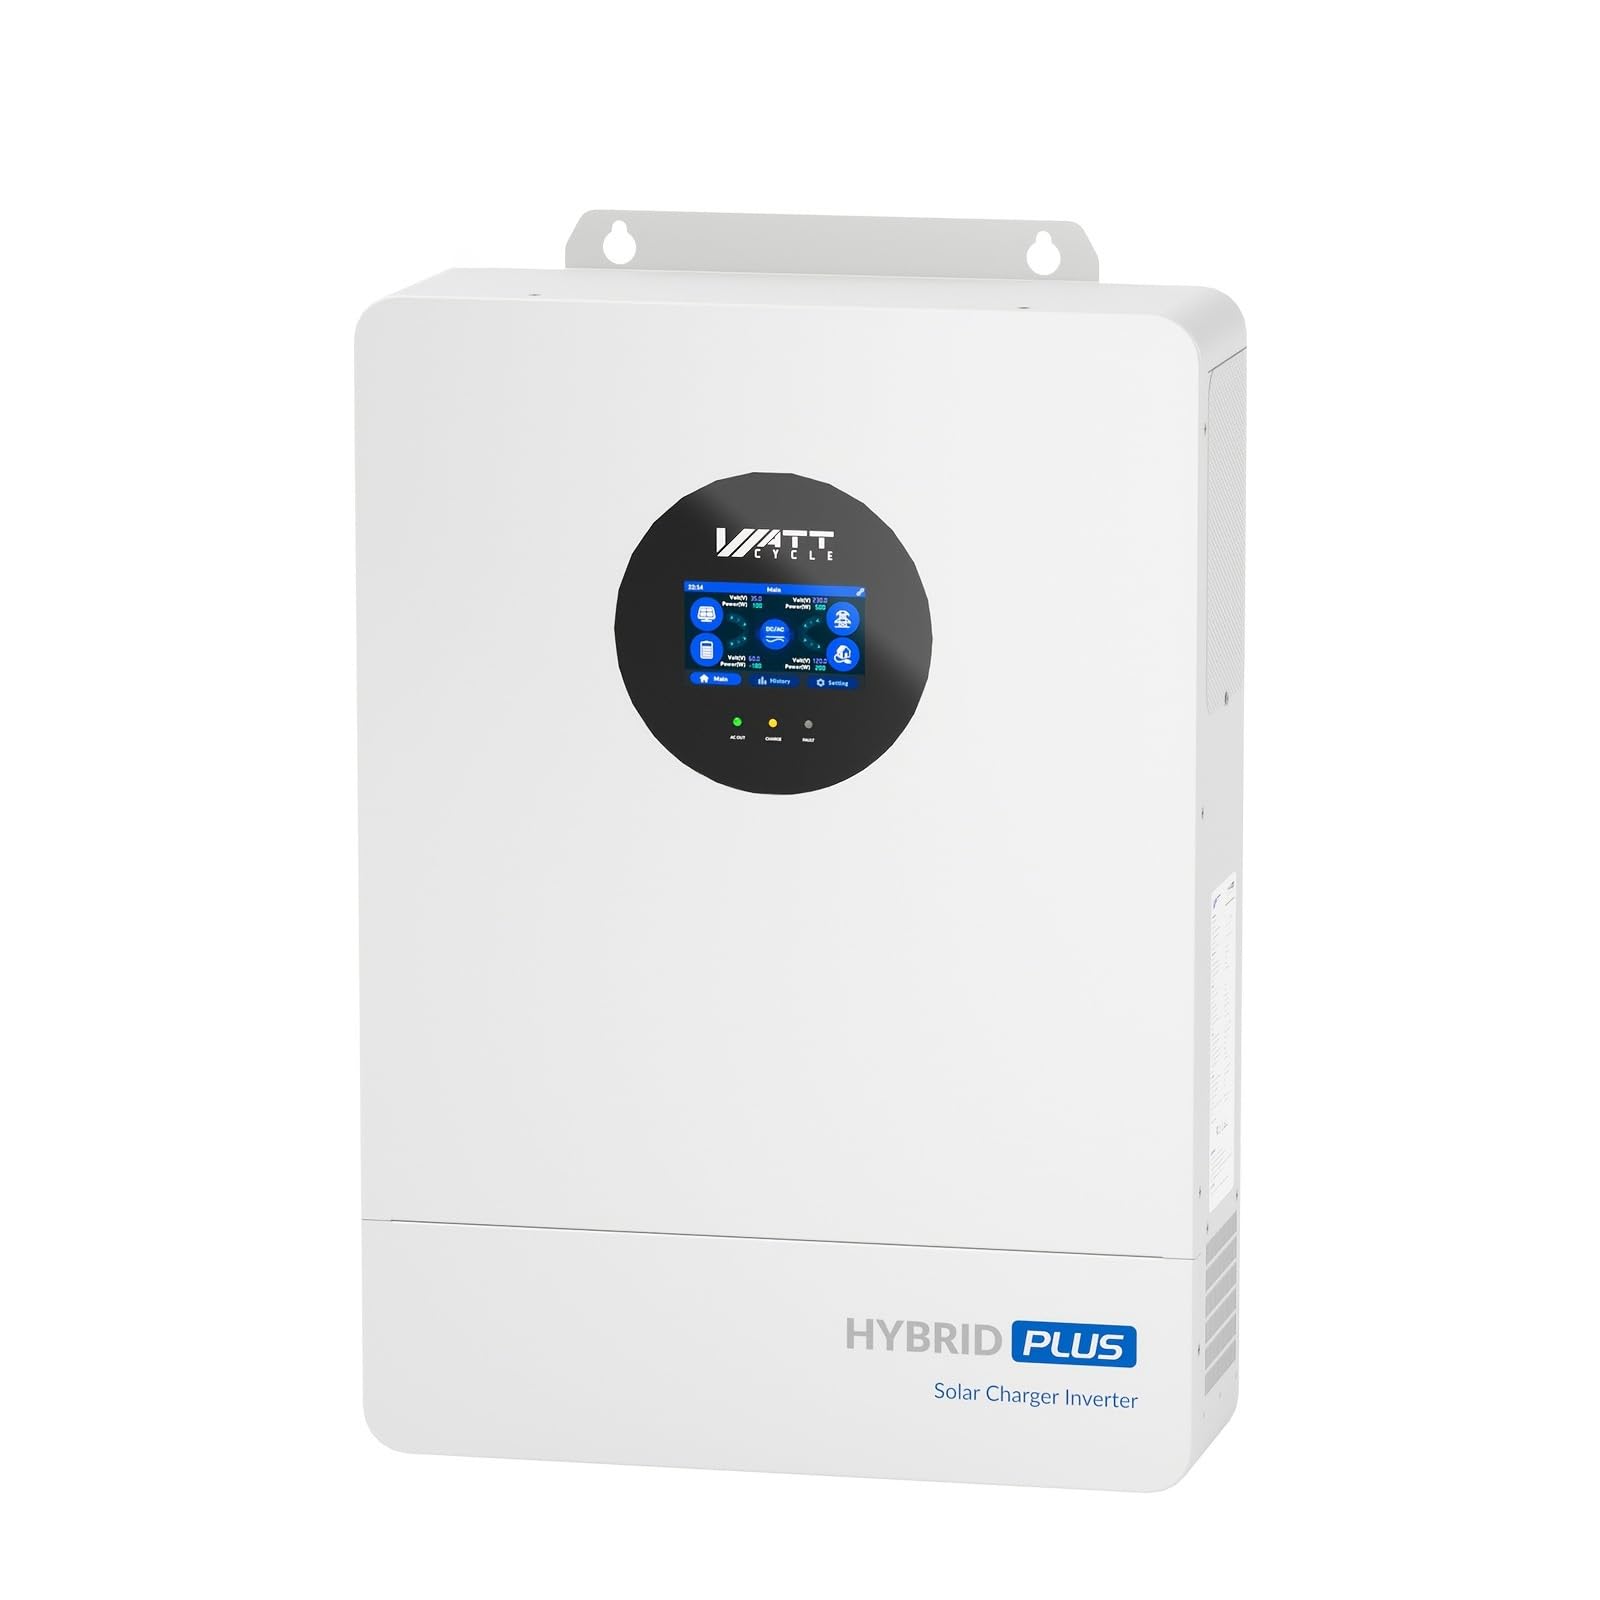
Image of the WattCycle 12000W 48V All-in-One Solar Inverter unit, showcasing its compact design and display.
2. Safety Information
Please read and understand all safety instructions before installation and operation. Failure to follow these instructions may result in electric shock, fire, serious injury, or death.
- Installation must be performed by qualified personnel in accordance with all local electrical codes.
- Do not attempt to disassemble or repair the inverter. Refer all servicing to qualified service personnel.
- Ensure proper grounding of the inverter.
- Keep the inverter away from flammable materials, moisture, and direct sunlight.
- Verify correct voltage and polarity for all connections, especially battery and solar inputs.
- Always disconnect all power sources (AC, DC, and solar) before performing any maintenance or wiring.
3. Package Contents
Verify that all items are present in the package:
- Solar Inverter
- User Manual
- Mounting Hardware
- Communication Cable
- AC Output Terminal Block
4. Product Features
- ALL-IN-ONE SOLAR INVERTER: Combines inverter, charger, and MPPT controller in a single compact system.
- SPLIT PHASE OUTPUT: Delivers 120/240V split phase power, compatible with standard US residential and commercial electrical systems.
- DUAL MPPT SOLAR CHARGING: Features dual MPPT inputs with up to 18kW of solar charging capacity for efficient energy harvesting.
- PARALLEL EXPANSION READY: Scale your system up to 72kW by connecting multiple units in parallel.
- 48V BATTERY COMPATIBILITY: Designed to work with 48V battery banks for reliable energy storage.
5. Setup and Installation
Important: Installation should only be performed by a certified electrician or qualified installer. Incorrect installation can lead to equipment damage, injury, or fire.
5.1 Site Selection
- Mount the inverter in a well-ventilated area, away from direct sunlight, heat sources, and moisture.
- Ensure adequate clearance around the unit for proper airflow.
- The mounting surface must be strong enough to support the inverter's weight.
5.2 Mounting
- Use the provided mounting hardware to securely attach the inverter to the chosen surface.
- Ensure the inverter is mounted vertically to facilitate heat dissipation.
5.3 Wiring Connections
All wiring must comply with local and national electrical codes. Use appropriately sized cables.
- Battery Connection: Connect the 48V battery bank to the inverter's DC input terminals. Observe correct polarity (+ to + and - to -). Install a DC circuit breaker between the battery and inverter.
- Solar Panel Connection: Connect the solar panel arrays to the dual MPPT inputs. Ensure the open-circuit voltage (Voc) and short-circuit current (Isc) of the solar array are within the inverter's specifications. Install appropriate DC disconnects.
- AC Output Connection: Connect the AC load panel to the inverter's AC output terminals (L1, L2, Neutral, Ground). Ensure proper split-phase wiring for 120/240V output. Install an AC circuit breaker.
- Grounding: Connect the inverter's chassis ground terminal to a reliable earth ground.
- Communication Cable: Connect the communication cable for monitoring or parallel operation as required.
6. Operating Instructions
6.1 Powering On
- Ensure all wiring connections are secure and correct.
- Close the DC circuit breaker for the battery bank.
- Close the DC disconnects for the solar panels.
- Turn on the inverter's main power switch.
- Observe the LCD display for system status and operational parameters.
- Close the AC output circuit breaker to power your loads.
6.2 LCD Display and Settings
The LCD display provides real-time information on battery voltage, solar input, AC output, and system status. Refer to the detailed section in the full manual for navigation and parameter settings, including charge current, output voltage, and utility priority.
6.3 Powering Off
- Open the AC output circuit breaker to disconnect loads.
- Turn off the inverter's main power switch.
- Open the DC disconnects for the solar panels.
- Open the DC circuit breaker for the battery bank.
7. Maintenance
Regular maintenance ensures optimal performance and longevity of your inverter.
- Cleaning: Periodically clean the inverter's exterior with a dry, soft cloth. Ensure ventilation openings are free from dust and debris.
- Connections: Annually inspect all electrical connections for tightness and signs of corrosion. Tighten any loose connections.
- Battery Inspection: Follow the battery manufacturer's maintenance guidelines for your specific battery type.
- Environmental Check: Ensure the installation environment remains within specified temperature and humidity ranges.
8. Troubleshooting
If you encounter issues, refer to the following common troubleshooting steps. For complex problems, contact technical support.
- No Power Output: Check battery voltage, DC circuit breaker, AC output breaker, and inverter's power switch. Ensure battery connections are secure.
- No Solar Charging: Verify solar panel connections, DC disconnects, and ensure sufficient sunlight. Check for shading on panels.
- Inverter Overload: Reduce the connected load. The inverter may automatically shut down to protect itself.
- Error Codes: Refer to the detailed error code section in the complete user manual for specific diagnostics.
9. Specifications
| Specification | Value |
|---|---|
| Brand | Wattcycle |
| Model Name | Wattcycle 12000w 48v All-in-one Solar Inverter |
| Wattage | 12000 watts |
| Power Source | Solar Powered |
| Input Voltage | 48 volts DC |
| Output Power | 12000 watts |
| Output Voltage | 120/240 volts AC (Split Phase) |
| Display Type | LCD |
| Frequency | 60 hertz |
| Color | Black |
| Unit Count | 1 Count |
| Manufacturer | Wattcycle |
10. Warranty and Support
This WattCycle inverter comes with a 5-year warranty from the date of purchase, covering defects in materials and workmanship under normal use. Please retain your proof of purchase for warranty claims.
For technical support, troubleshooting assistance, or warranty inquiries, please contact WattCycle Direct, the seller of this product. Contact information can typically be found on your purchase receipt or the seller's page on the platform where the product was acquired.
For additional resources and product information, visit the official Wattcycle Store: Wattcycle Store