
Introduction
This manual provides essential instructions for the installation, operation, and maintenance of your PUSOKEI Wall-Mounted Corded Telephone. Please read this manual thoroughly before using the product to ensure proper function and longevity.
Product Overview
The PUSOKEI Wall-Mounted Corded Telephone is a retro-style fixed phone designed for reliable communication. It features DTMF/FSK caller ID, an LCD screen for displaying time and caller information, and basic call functions like dialing, answering, and redialing. Its robust design ensures stability when mounted.
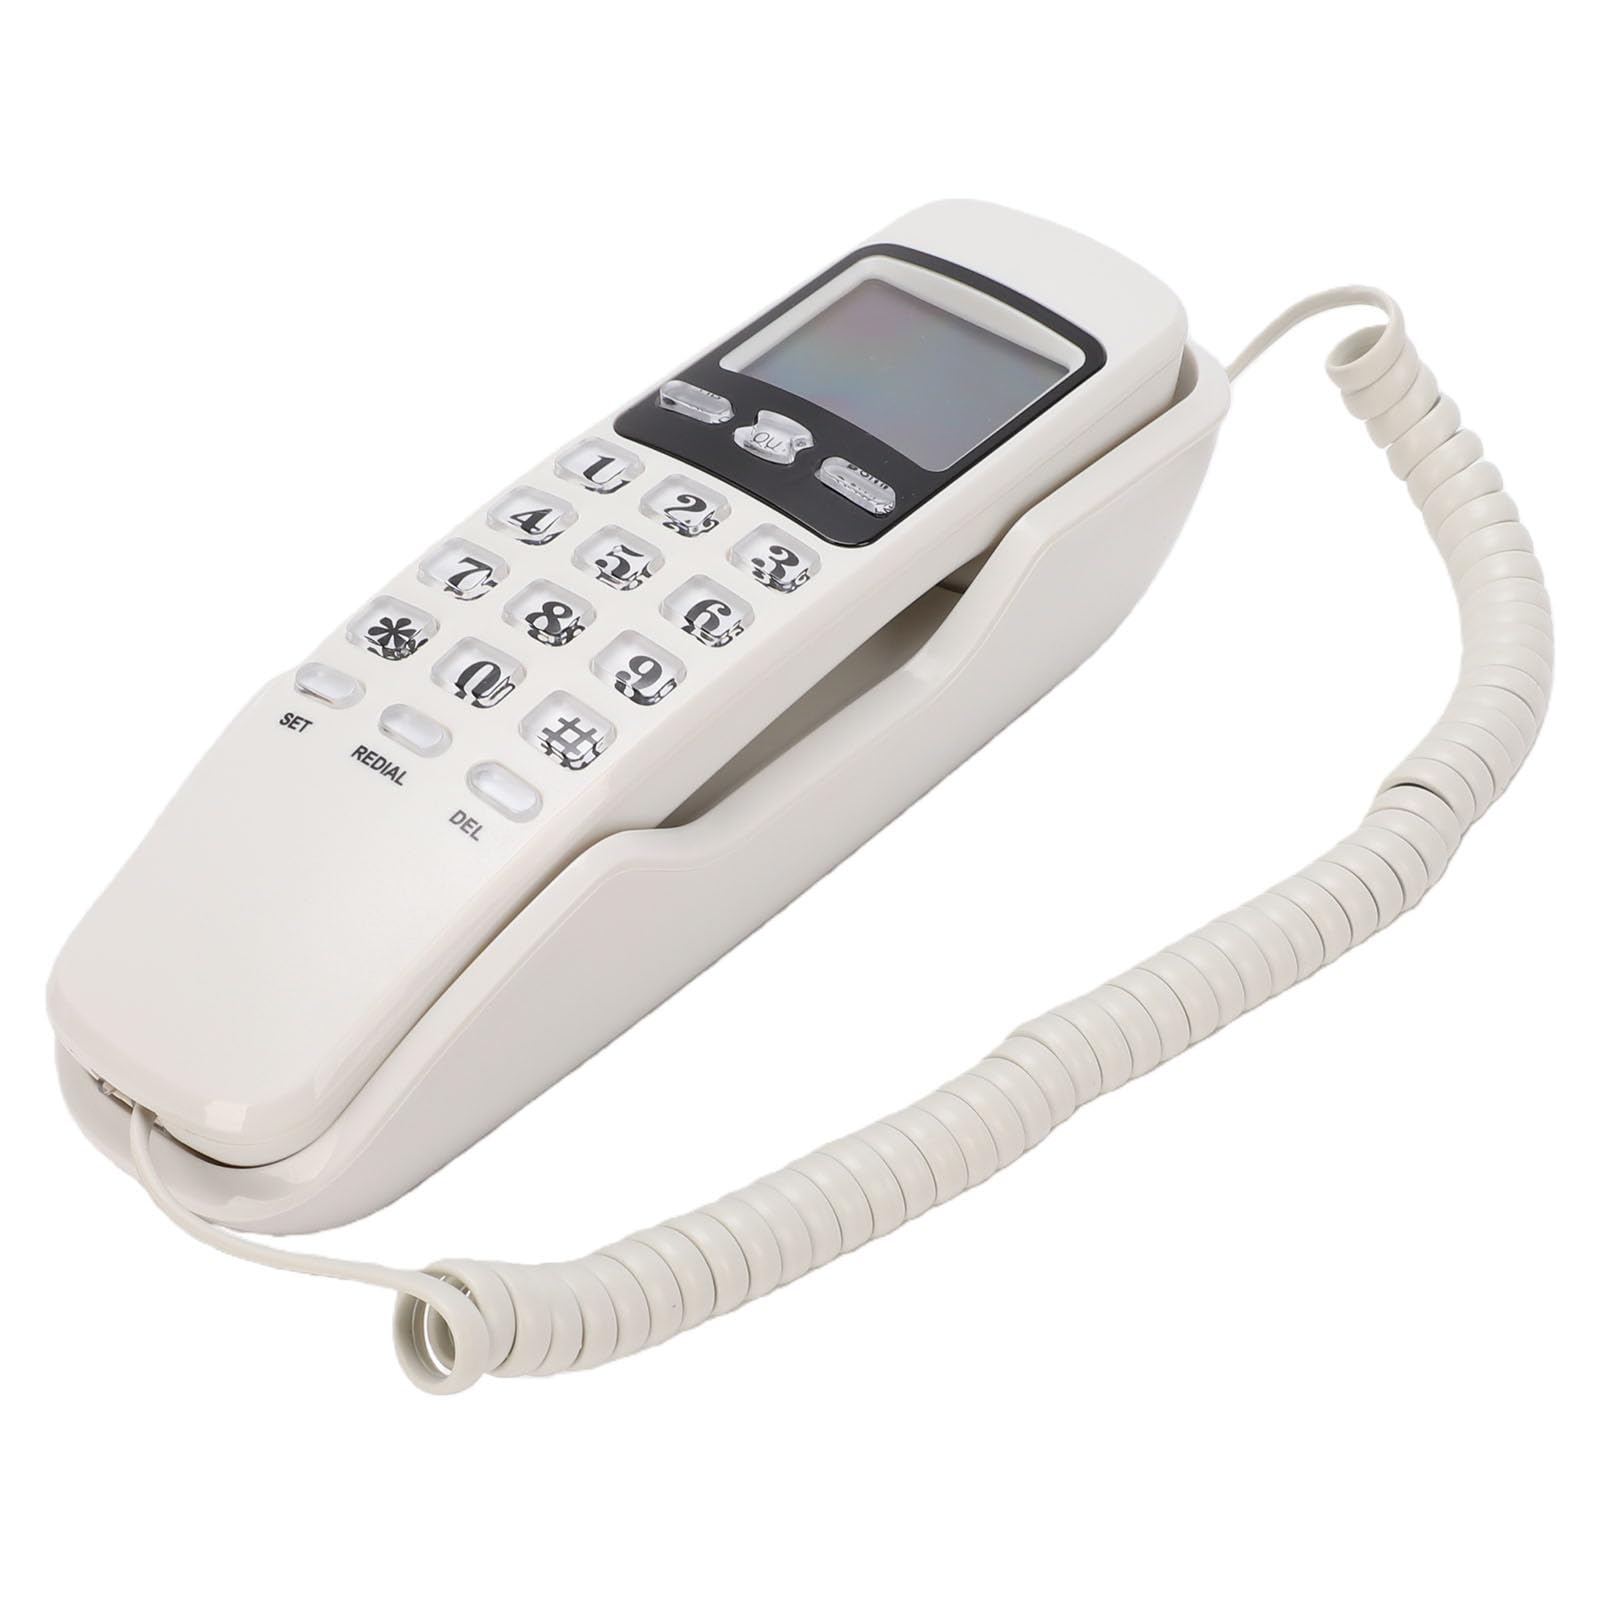
Image: Main view of the PUSOKEI Wall-Mounted Corded Telephone in white.
Package Contents
Verify that all items are present in the package:
- 1 x Telephone Handset with Keypad and LCD Screen
- 1 x Telephone Base (for wall mounting)
- 1 x Telephone Line Cable
- 1 x User Manual

Image: The telephone handset, base, and coiled telephone line cable, illustrating the main components included.
Setup
- Unpack: Carefully remove all components from the packaging.
- Connect Telephone Line: Plug one end of the provided telephone line cable into the port on the telephone base and the other end into your wall telephone jack.
- Mounting (Optional): If wall-mounting, secure the telephone base to the wall using appropriate hardware (not included). Ensure the base is firmly attached.
- Place Handset: Place the telephone handset onto the base. The phone is now ready for use.
This phone operates without external power or Wi-Fi, connecting directly to your existing telephone line.

Image: A person using the telephone, which is mounted on a wall, demonstrating its intended setup.
Operating Instructions
Making a Call:
- Lift the handset from the base.
- Listen for a dial tone.
- Dial the desired telephone number using the keypad.
- Once the call is complete, place the handset back on the base to hang up.
Answering a Call:
- When the phone rings, lift the handset from the base.
- Speak into the microphone and listen through the earpiece.
- Once the call is complete, place the handset back on the base to hang up.
Redial Function:
- To redial the last number called, lift the handset and press the REDIAL button.
Caller ID and LCD Display:
- The LCD screen displays incoming caller information (DTMF/FSK compatible) and the current month, day, time, and minutes.
- Use the UP and DOWN buttons to scroll through caller ID records.
- The phone stores up to 38 groups of incoming call memory.

Image: Close-up of the telephone handset, highlighting the LCD screen displaying dual call information and the current date and time.
Key Features
- Secure and Reliable Design: The phone is designed for durability and stability, ensuring it remains securely on its base, even if accidentally bumped.
- 38 Incoming Call Memory Groups: Stores frequently used numbers and incoming call records for easy reference and recall.
- Retro and Practical: Combines a classic retro design with essential modern call functions. Ideal for situations where mobile phone signal is unreliable or unavailable.
- Convenient Installation: Made from high-quality ABS material, it is easy to install and suitable for various environments such as kitchens, garages, elevators, phone booths, airports, schools, nursing homes, and hospitals.
- Dual Call Display System: Supports both DTMF and FSK caller ID systems. The LCD screen displays month, day, time, and minutes.

Image: The telephone placed on a desk in an office environment, emphasizing its robust design and suitability for diverse settings.
Maintenance
- Cleaning: Wipe the telephone with a soft, damp cloth. Do not use harsh chemicals or abrasive cleaners.
- Storage: Store the telephone in a cool, dry place away from direct sunlight and extreme temperatures when not in use for extended periods.
- Cable Care: Avoid kinking or stretching the telephone line cable excessively to prevent damage.
Troubleshooting
| Problem | Possible Cause | Solution |
|---|---|---|
| No dial tone | Telephone line cable is disconnected or damaged. | Ensure the telephone line cable is securely connected to both the phone and the wall jack. Test with another phone if possible. |
| Cannot hear caller / Caller cannot hear me | Handset not properly seated, or cable issue. | Ensure the handset is fully lifted. Check the coiled cord connecting the handset to the base for damage. |
| Caller ID not displaying | Caller ID service not activated by your telephone provider, or incompatible system. | Contact your telephone service provider to confirm Caller ID service is active and compatible with DTMF/FSK systems. |
| LCD screen is blank or unreadable | No incoming call or phone is idle. | The LCD screen activates upon incoming calls or when the handset is lifted. Ensure the phone is connected to an active line. |
Specifications
- Model Number: PUSOKEIhg8b2yfr3w-11
- Brand: PUSOKEI
- Color: Blanc (White)
- Material: Acrylonitrile Butadiene Styrene (ABS)
- Type: Corded Telephone
- Power Source: Wired Electric (No external power adapter required)
- Compatible Devices: Traditional Fixed Telephones (PSTN)
- Caller ID: Yes (DTMF/FSK compatible)
- Incoming Call Memory: 38 groups
- Product Dimensions: Approximately 19 x 8 x 8 cm
- Product Weight: Approximately 284 g
- Country of Origin: China
Warranty and Support
This product comes with a manufacturer's warranty of 90 days from the date of sale. For warranty claims or technical support, please contact your retailer or the manufacturer directly. Please retain your proof of purchase for warranty validation.
For further assistance, you may visit the PUSOKEI Brand Store.