
1. Important Safety Instructions
Read all instructions before using this appliance to reduce the risk of fire, electric shock, or injury. Keep this manual for future reference.
- Electrical Safety: Ensure the power outlet is properly grounded. Do not use extension cords or ungrounded adapters. Disconnect power before cleaning or maintenance.
- Ventilation: Allow adequate space around the freezer for proper air circulation (at least 4 inches on sides and back). Do not block ventilation openings.
- Placement: Place the freezer on a firm, level surface away from direct sunlight, heat sources, and moisture.
- Child Safety: This appliance is not intended for use by persons (including children) with reduced physical, sensory, or mental capabilities, or lack of experience and knowledge, unless they have been given supervision or instruction. Children should be supervised to ensure they do not play with the appliance.
- Disposal: Dispose of the appliance according to local regulations for flammable refrigerants and insulation gas. Remove the door before disposal to prevent child entrapment.
2. Product Overview
The OSTBA 3.5 Cu.Ft Chest Freezer is designed for compact storage of frozen goods, featuring adjustable temperature control and removable baskets for organization.
Included Components:
- 1 x Chest Freezer Unit
- 2 x Removable Storage Baskets
- 1 x User Manual

Figure 2.1: Front view of the OSTBA 3.5 Cu.Ft Chest Freezer.
Key Features:
- Compact Design: Ideal for small spaces, apartments, or garages.
- 6-Level Temperature Control: Allows precise temperature adjustment from mild cooling to strong freezing.
- Fast Freeze Mode: Rapidly lowers temperature to preserve food freshness.
- Removable Baskets: Two baskets for organized storage and easy access.
- Low Noise Operation: Operates quietly, suitable for various living environments.
- Energy Efficient: Designed for low power consumption.
- Bottom Wheels: For convenient movement and repositioning.

Figure 2.2: Illustration of the freezer's 3D cooling system, featuring 360-degree cooling, an R600a compressor, and energy-efficient operation.
3. Setup and Installation
3.1 Unpacking
- Remove all packaging materials, including foam and adhesive tape.
- Inspect the freezer for any shipping damage. Report any damage to your retailer immediately.
- Clean the interior and exterior of the freezer with a damp cloth before use.
3.2 Placement
- Place the freezer on a flat, stable surface strong enough to support the unit when fully loaded.
- Ensure there is at least 4 inches (10 cm) of space on all sides and the back of the freezer for proper air circulation.
- Avoid placing the freezer near heat sources (e.g., oven, radiator, direct sunlight) or in areas with high humidity.
- The freezer is equipped with bottom wheels for easy movement. Use caution when moving, especially on uneven surfaces.

Figure 3.1: The compact dimensions of the freezer (20.3"D x 21.1"W x 32.3"H) allow for flexible placement in various spaces.

Figure 3.2: The built-in rear wheels facilitate effortless movement and repositioning of the freezer.
3.3 Electrical Connection
- Plug the freezer into a dedicated, grounded 120V AC outlet.
- Do not use a power strip or extension cord.
- Allow the freezer to stand upright for at least 2-4 hours before plugging it in to allow the refrigerant to settle.
3.4 Initial Startup
- After plugging in, set the temperature control to a medium setting (e.g., Level 3).
- Allow the freezer to cool for 4-6 hours before loading it with food.
4. Operating Instructions
4.1 Temperature Control
The freezer features a 6-level temperature control knob located on the front panel. Rotate the knob to adjust the internal temperature.
- Levels 1-2 (Refrigerate/Mild Cooling): Suitable for items requiring light refrigeration.
- Levels 3-4 (Standard Refrigeration/Near Freezing): Recommended for general frozen food storage.
- Level 5 (Freeze): For optimal freezing of most items.
- STRONG (Fast Freeze Mode): Activates rapid freezing to quickly chill newly added food. Use this setting temporarily to lock in freshness, then return to a normal setting (Level 3-5) once items are fully frozen. Do not operate on STRONG for extended periods for energy efficiency.

Figure 4.1: The 6-level temperature control dial allows for precise temperature management.
4.2 Using the Removable Baskets
The two removable baskets help organize smaller items and frequently accessed foods, preventing them from getting lost at the bottom of the freezer.
- Place smaller packages, ice cream, or items you use often in the baskets.
- Larger items can be stored directly in the main compartment below the baskets.

Figure 4.2: The two removable inner baskets provide organized storage for various frozen items.
4.3 Energy Saving Tips
- Avoid opening the freezer door frequently or for extended periods.
- Ensure the door gasket is clean and seals properly.
- Do not overload the freezer, as this can hinder air circulation.
- Defrost the freezer regularly to prevent excessive ice buildup.
- Set the temperature to the warmest effective setting for your needs.

Figure 4.3: The freezer's low noise design ensures quiet operation, maintaining a peaceful environment.
5. Maintenance and Cleaning
5.1 Defrosting
Manual defrosting is required when ice buildup on the interior walls reaches approximately 0.2 inches (5 mm) thick.
- Unplug the freezer from the power outlet.
- Remove all food items and store them in another freezer or cooler.
- Open the drain plug located at the bottom of the freezer and place a shallow pan or towel underneath to collect water.
- Leave the lid open to allow ice to melt naturally. Do not use sharp objects or heating devices to speed up defrosting, as this can damage the freezer.
- Once all ice has melted, clean and dry the interior thoroughly.
- Close the drain plug, plug in the freezer, and allow it to cool for a few hours before returning food.
5.2 Cleaning
- Interior: Clean the interior with a solution of mild detergent and warm water. Rinse with clean water and dry thoroughly.
- Exterior: Wipe the exterior with a soft, damp cloth. Avoid abrasive cleaners or solvents.
- Door Gasket: Regularly clean the door gasket with a damp cloth to ensure a tight seal. A clean gasket helps maintain energy efficiency.
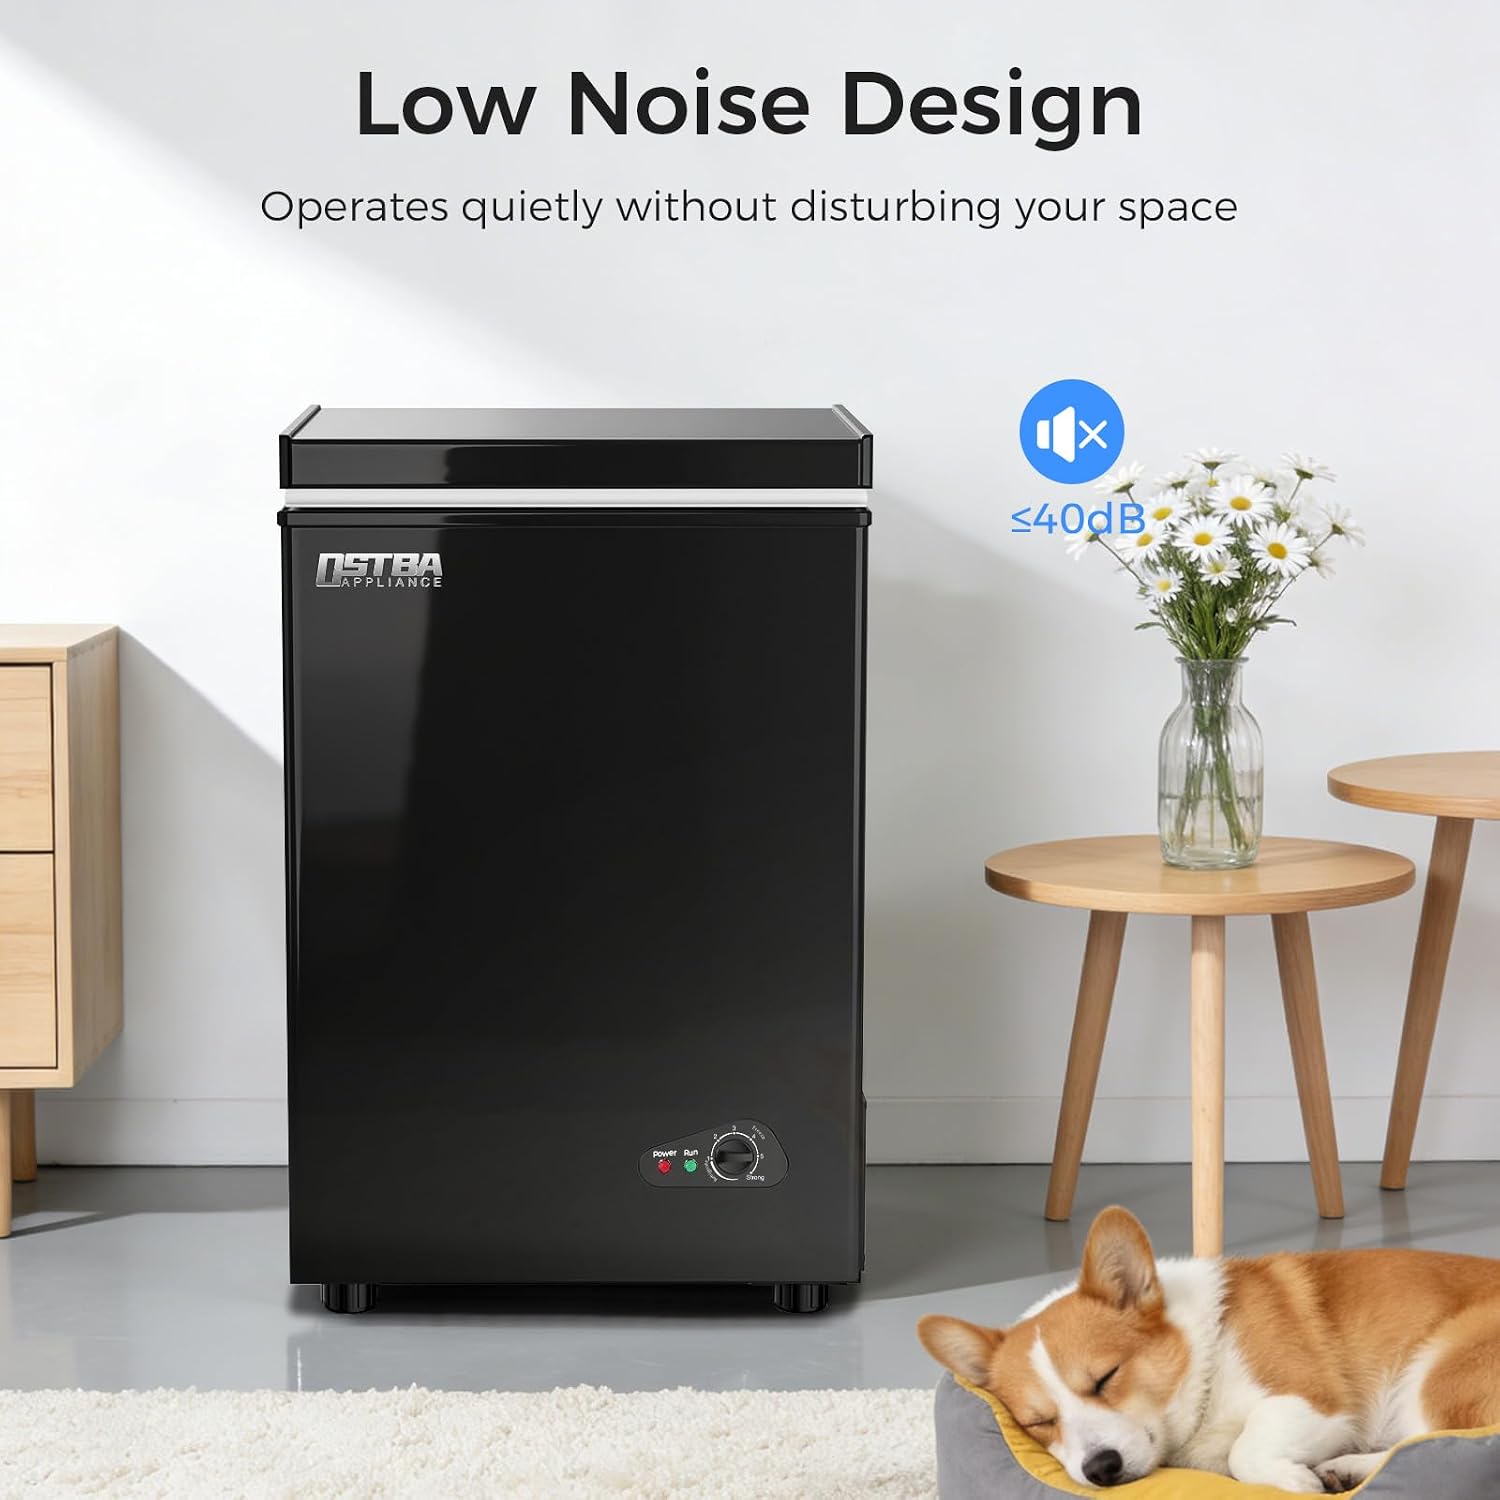
Figure 5.1: Key features for maintenance include the wide-opening door for access, a convenient drain port for defrosting, and a removable sealing gasket for easy cleaning.
6. Troubleshooting
Review this section before contacting customer support. It may save you time and expense.
| Problem | Possible Cause | Solution |
|---|---|---|
| Freezer does not operate. | No power; power cord unplugged; circuit breaker tripped. | Check power supply; ensure cord is securely plugged in; reset circuit breaker. |
| Freezer is not cold enough. | Temperature setting too high; door opened too frequently; excessive ice buildup; poor ventilation. | Adjust temperature to a lower setting; minimize door openings; defrost the freezer; ensure adequate clearance around the unit. |
| Excessive noise. | Freezer not level; objects vibrating against the unit; normal compressor operation. | Adjust leveling feet; ensure nothing is touching the freezer; some operational sounds are normal. |
| Door does not close properly. | Gasket dirty or damaged; freezer not level; food blocking closure. | Clean or replace gasket; level the freezer; rearrange food items. |
7. Specifications
| Feature | Specification |
|---|---|
| Model Number | BD/BC-100Q |
| Capacity | 3.5 Cu.Ft (100 Liters) |
| Product Dimensions (D x W x H) | 20.3" x 21.1" x 32.3" (51.56 cm x 53.59 cm x 82.04 cm) |
| Item Weight | 45.2 pounds (20.5 kg) |
| Voltage | 120V / 60Hz |
| Temperature Control | 6-Level Mechanical Control |
| Refrigerant | R600a |
| Estimated Yearly Energy Use | 192 kWh / $23 (based on 12 cents/kWh) |
| Noise Level | Under 40 dB |
| Installation Type | Freestanding |

Figure 7.1: The freezer offers a 3.5 Cu.Ft capacity, complemented by two removable inner baskets for efficient storage.
8. Warranty and Support
8.1 Manufacturer's Warranty
This OSTBA Chest Freezer (Model BD/BC-100Q) comes with a 1-year limited warranty from the date of purchase. This warranty covers defects in materials and workmanship under normal use. It does not cover damage resulting from misuse, accident, unauthorized modification, or improper installation.
Please retain your proof of purchase for warranty claims.
8.2 Customer Support
For technical assistance, warranty service, or general inquiries, please contact OSTBA customer support. Refer to the contact information provided on the product packaging or the official OSTBA website.
When contacting support, please have your model number (BD/BC-100Q) and purchase date available.
