
1. Introduction
This manual provides detailed instructions for the setup, operation, maintenance, and troubleshooting of your Yanmai Gaming Microphone Set, Model Yanmai-Q1. This dynamic microphone is designed for high-quality audio capture in various applications, including gaming, streaming, podcasting, and vocal recording, offering both USB and XLR connectivity.
2. What's in the Box
Carefully unpack your Yanmai Gaming Microphone Set and ensure all components are present:
- Dynamic Microphone with Windscreen
- Boom Arm Stand
- USB A+C to USB-C Data Cable
- XLR Cable
- User Manual (this document)
- C-Clamp

3. Setup Instructions
3.1 Boom Arm Installation
- Attach the C-clamp to a sturdy desk or table edge. Ensure the clamp is fully seated on a flat surface for stability. Avoid curved or obstructed edges.
- Insert the boom arm into the C-clamp's mounting hole. Tighten the screw to secure the arm.
- Adjust the boom arm to your desired position. The high-tension steel springs and reinforced joints are designed to hold the position without sagging.


3.2 Microphone Attachment and Connection
- Securely attach the dynamic microphone to the boom arm's shock mount.
- USB Connection (Plug & Play): For direct connection to a PC, Mac, or laptop, use the provided USB A+C to USB-C data cable. Connect the USB-C end to the microphone and the USB-A or USB-C end to your computer. The microphone will be recognized automatically without additional drivers.
- XLR Connection (Professional Audio Interface): For professional recording setups, connect the microphone to an audio interface or mixer using the provided XLR cable. In XLR mode, the microphone focuses on pure analog audio transmission; RGB lighting and the mute button are automatically disabled to ensure a noise-free Hi-Fi signal.
- Connect headphones to the 3.5mm headphone jack on the microphone for direct monitoring of your audio.

4. Operating Instructions
4.1 Microphone Controls
The microphone features intuitive controls for easy adjustment during use:
- Microphone Gain Knob: Adjusts the input sensitivity of the microphone. Turn clockwise to increase gain, counter-clockwise to decrease.
- Headphone Monitoring Volume Knob: Controls the volume of the audio output to your connected headphones.
- Tap-to-Mute Button: Press to instantly mute or unmute the microphone. An LED indicator will show the mute status (e.g., green for active, red for muted). This button is silent to prevent audible clicks in recordings.
- RGB Switch: Cycles through 8 different RGB lighting modes. (Note: RGB is disabled in XLR mode).

4.2 Optimal Microphone Placement
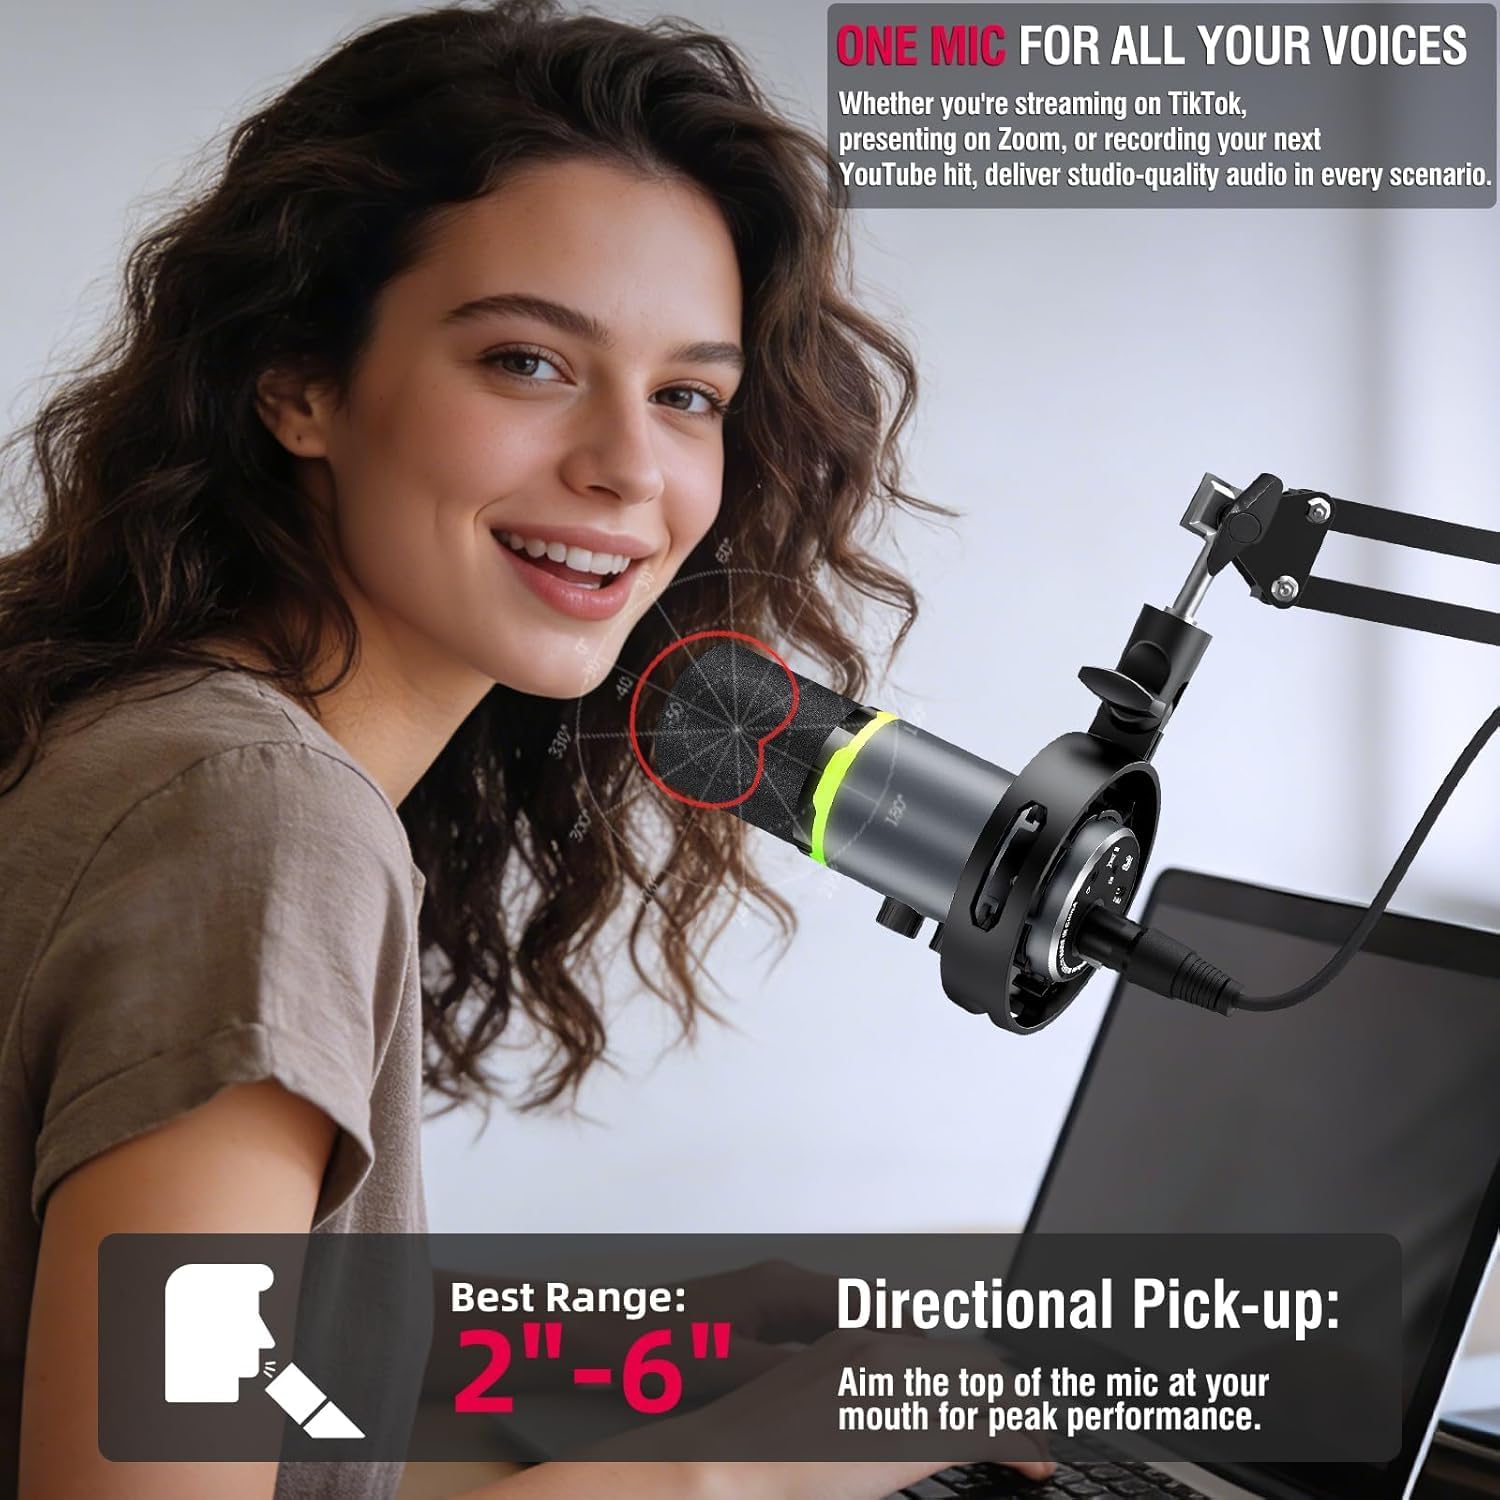
The Yanmai-Q1 features a cardioid polar pattern, which primarily picks up sound from the front, reducing background noise from the sides and rear. For best audio quality:
- Position the microphone directly in front of your mouth.
- Maintain a distance of approximately 2 to 6 inches (5 to 15 cm) from your mouth. Being too close can cause audio clipping, while being too far can result in low volume and increased room noise.
- Utilize the included windscreen to minimize plosive sounds (P, B) and breath noise.
4.3 Audio Quality and Noise Reduction
The microphone incorporates a built-in dynamic capsule and cardioid polar pattern to deliver clear audio and effectively reduce ambient noise such as keyboard clicks and computer fan sounds. This design ensures your voice remains prominent and natural.

5. Maintenance
To ensure the longevity and optimal performance of your Yanmai Gaming Microphone Set, follow these maintenance guidelines:
- Cleaning: Use a soft, dry cloth to wipe the microphone body and boom arm. Avoid using liquid cleaners or abrasive materials, as they may damage the finish or internal components.
- Windscreen: The foam windscreen can be gently removed and cleaned with mild soap and water if necessary. Ensure it is completely dry before reattaching.
- Storage: When not in use, store the microphone in a clean, dry environment away from extreme temperatures and humidity.
- Cable Care: Avoid sharp bends or kinks in the USB and XLR cables to prevent internal wire damage.
6. Troubleshooting
If you encounter issues with your microphone, refer to the following common troubleshooting steps:
- No Sound Output (USB):
- Ensure the USB cable is securely connected to both the microphone and your computer.
- Check your computer's sound settings to confirm the Yanmai-Q1 microphone is selected as the input device.
- Verify the microphone's gain knob is not set to minimum and the mute button is not active.
- Try connecting to a different USB port or a different computer to rule out port or system issues.
- No Sound Output (XLR):
- Ensure the XLR cable is securely connected to both the microphone and your audio interface/mixer.
- Confirm your audio interface/mixer is powered on and correctly configured.
- Check the input gain on your audio interface/mixer.
- Low Volume or Distorted Audio:
- Adjust the microphone gain knob. If the audio is distorted, reduce the gain. If it's too low, increase the gain.
- Ensure optimal microphone placement (2-6 inches from your mouth).
- Check for background noise. The cardioid pattern helps, but a noisy environment can still affect quality.
- If using USB, ensure no other audio software or drivers are interfering.
- Headphone Monitoring Issues:
- Ensure headphones are fully plugged into the 3.5mm jack on the microphone.
- Adjust the headphone monitoring volume knob on the microphone.
- RGB Lights Not Working (USB Mode):
- Press the RGB switch button to cycle through modes.
- Ensure the microphone is connected via USB, as RGB is disabled in XLR mode.
7. Specifications
| Feature | Specification |
|---|---|
| Brand | Yanmai |
| Model Name | Yanmai-Q1 |
| Connectivity Technology | USB, XLR |
| Connector Type | USB Type-C |
| Special Features | Echo Control, Mute Function, Noise Reduction, RGB Lighting |
| Compatible Devices | Laptop, PC, PS4/PS5, Mixer, Audio Interface |
| Color | Gray |
| Polar Pattern | Unidirectional (Cardioid) |
| Microphone Form Factor | Dynamic |
| Power Source | USB |
| Frequency Response | 80Hz - 15kHz |
| Sampling Rate | 48kHz/16bit |
| Enclosure Material | Acrylonitrile Butadiene Styrene, Metal |
8. Warranty Information
The Yanmai Gaming Microphone Set (Model Yanmai-Q1) comes with a 1-month warranty from the date of purchase. This warranty covers manufacturing defects and malfunctions under normal use. Please retain your proof of purchase for warranty claims. The warranty does not cover damage caused by misuse, accidents, unauthorized modifications, or normal wear and tear.
9. Support
For further assistance, technical support, or warranty inquiries, please contact Yanmai customer service through the retailer where the product was purchased or visit the official Yanmai website for contact information.