
ACMER P1 S Pro 6W
ACMER P1 S Pro 6W Laser Engraving Machine User Manual
Model: P1 S Pro 6W | Brand: ACMER
1. Introduction and Overview
This manual provides essential information for the safe and efficient operation of your ACMER P1 S Pro 6W Laser Engraving Machine. This high-precision laser engraver features a large working area of 380 x 370 mm and a high engraving speed of up to 10,000 mm/min, with an engraving precision of 0.01 mm. It is designed for various applications, including small-scale production and custom projects on materials such as wood, leather, plastic, PCBs, and painted metals.
The device is equipped with an ESP32 motherboard, supporting wireless WiFi connectivity and offline operation via a TF card. A built-in gyroscope enhances safety by preventing accidental operation if the machine is tilted. Please read this manual thoroughly before initial use to ensure proper setup and operation.

Figure 1.1: ACMER P1 S Pro Laser Engraver. This image shows the laser engraver in a typical use environment, highlighting its versatility for both home and business applications.
2. Safety Information
Your safety is paramount. Always adhere to the following safety guidelines:
- Read the entire manual: Before operating the machine, carefully read and understand all instructions and warnings provided in this manual.
- Eye Protection: Always wear appropriate laser safety goggles when the machine is in operation to protect your eyes from laser radiation.
- Ventilation: Ensure adequate ventilation in your workspace to dissipate fumes and smoke produced during engraving.
- Material Compatibility: Do not engrave or cut highly reflective materials, such as polished metals, as this can cause laser reflection and potential hazards. Engraving reflective metal is not recommended.
- Stability: Place the machine on a stable, level surface. The built-in gyroscope prevents accidental activation if the machine is tilted, but proper placement is crucial.
- Supervision: Never leave the machine unattended during operation.
- Emergency Stop: Familiarize yourself with the location and operation of the emergency stop button.
- Children and Pets: Keep children and pets away from the machine during operation.
3. Product Features
The ACMER P1 S Pro 6W Laser Engraving Machine is designed with advanced features for precision and versatility:
- Large Working Area: A generous 380 x 370 mm work area allows for engraving multiple pieces simultaneously or larger designs.
- High Engraving Speed: Achieve efficient project completion with a maximum engraving speed of 10,000 mm/min.
- Ultra-fine Precision: With an engraving precision of up to 0.01 mm and a laser spot size of 0.06 x 0.08 mm, intricate details, small text, and fine lines can be accurately reproduced.
- Wide Material Compatibility: Capable of engraving a variety of materials including wood, bamboo, paper, plastic, leather, PCBs, aluminum oxide, non-reflective coatings, painted metals, and ceramics.
- Smart Connectivity: Equipped with an ESP32 motherboard, supporting wireless WiFi data transfer and offline operation via a TF card for flexible use.
- Integrated Safety Gyroscope: A built-in horizontal gyroscope (anti-tilting) prevents accidental activation if the machine is inclined, enhancing operational safety.
- Durable Construction: Features an industrial-grade aluminum profile frame for stability and longevity.

Figure 3.1: Engraving Area and Machine Dimensions. The image illustrates the working area of 380x370mm and overall machine dimensions of 575mm x 560mm x 200mm.

Figure 3.2: Ultrafine Precision. This image highlights the 0.06mm laser spot and 0.01mm engraving accuracy, demonstrating the machine's capability for detailed work.
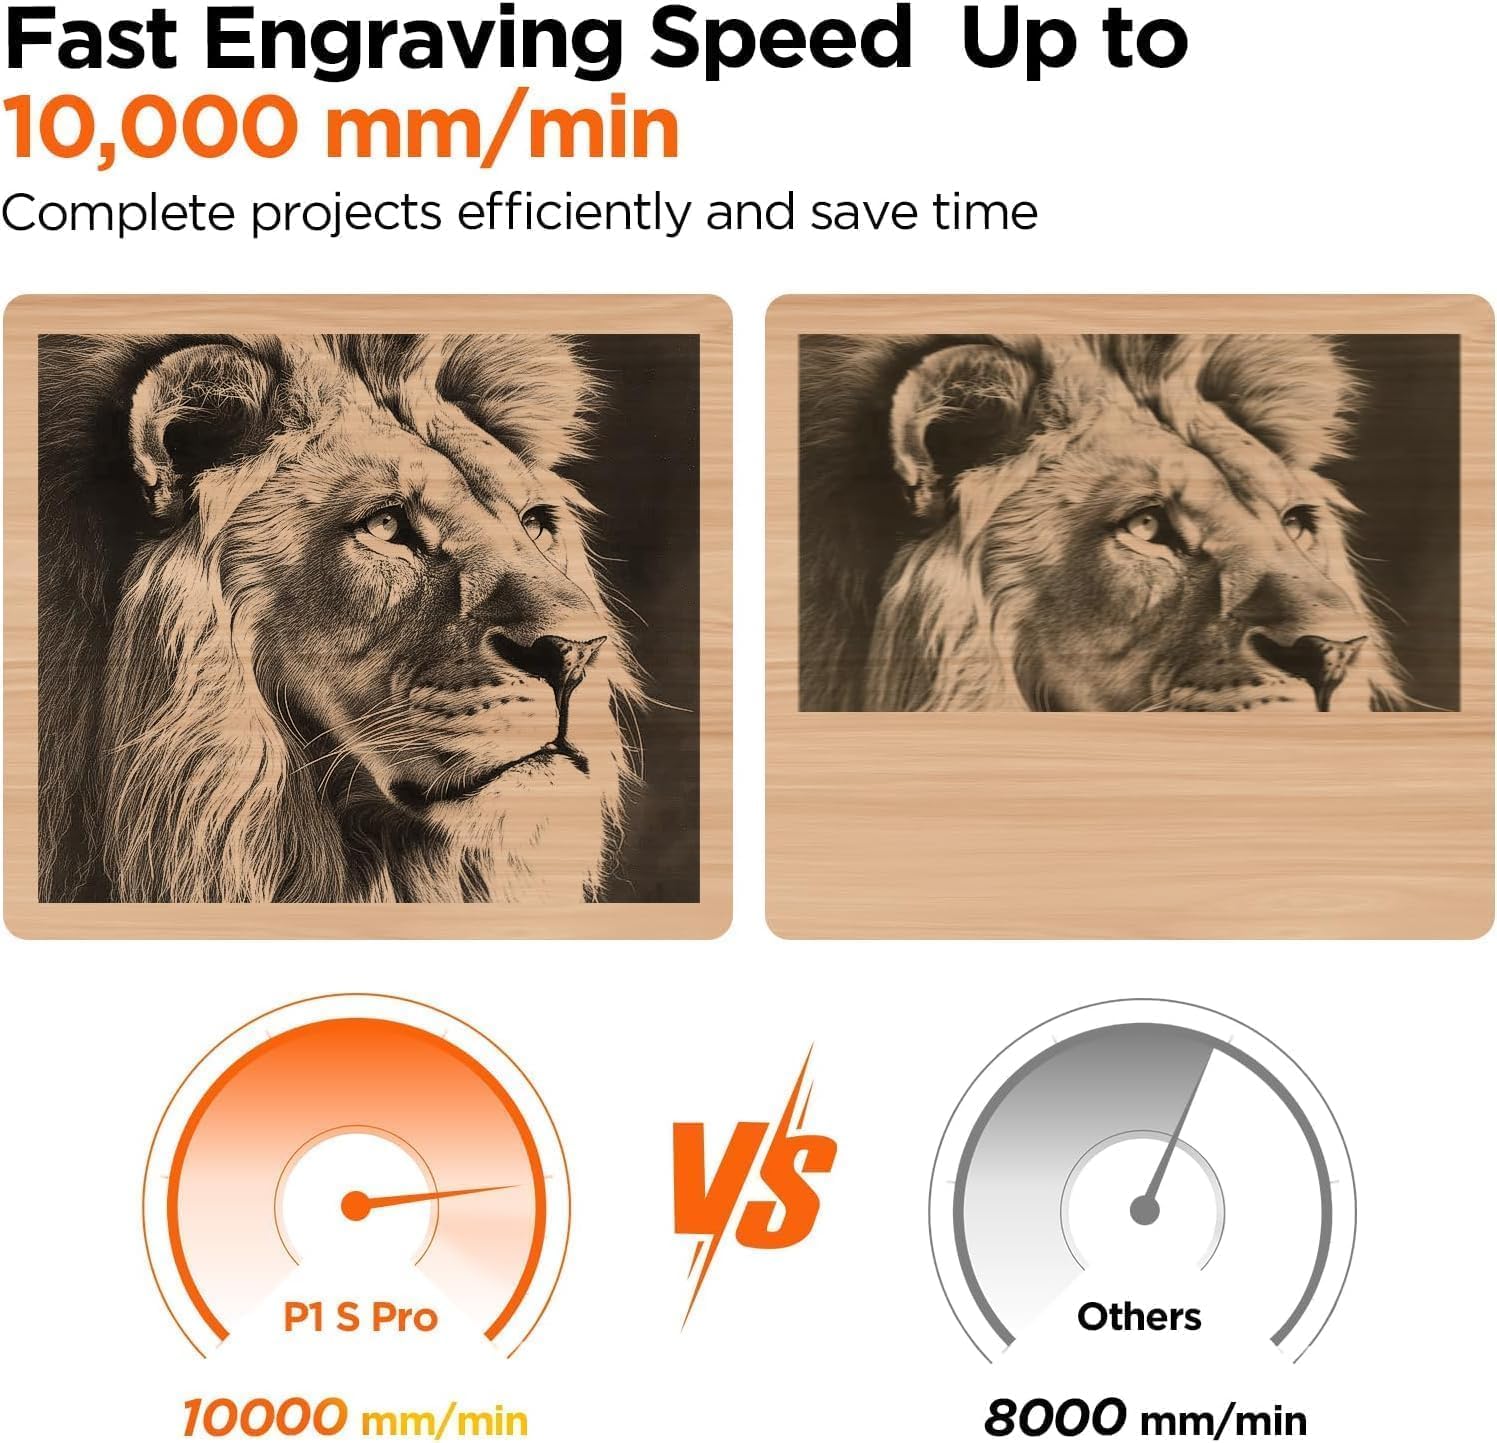
Figure 3.3: Fast Engraving Speed. The image compares the P1 S Pro's 10,000 mm/min speed to other models, illustrating its efficiency.
4. Setup Instructions
The assembly and initial setup of the ACMER P1 S Pro 6W require careful attention. Follow these general steps:
- Unpacking: Carefully remove all components from the packaging. Verify that all parts listed in the packing list are present and undamaged.
- Assembly: Assemble the machine frame according to the detailed instructions provided in the separate assembly guide. Ensure all screws are tightened securely.
- Laser Module Installation: Install the laser module onto the gantry. Connect all necessary cables as indicated in the assembly guide.
- Software Installation: Install the recommended engraving software (e.g., LightBurn, LaserGRBL) on your computer. Drivers may be required for USB connection.
- Calibration: Perform initial calibration of the laser module. This typically involves setting the focal length and ensuring the laser path is clear and aligned. Refer to the software's documentation for specific calibration procedures.
- Workspace Preparation: Prepare your workspace by ensuring it is clean, well-ventilated, and free from flammable materials.
Note: Some users have reported that installation can be complex. Detailed step-by-step instructions with photos are usually provided in the included assembly manual.
5. Operating Instructions
Operating your laser engraver involves preparing your design, setting up the machine, and initiating the engraving process.
5.1 Software Compatibility and Connection
The ACMER P1 S Pro 6W is compatible with various software and operating systems:
- Supported File Formats: NC, DXF, BMP, JPG, PNG, and more.
- Connection Methods: USB, dedicated App, or TF-Card for offline operation.
- Operating Systems: Compatible with macOS, Windows, Linux, Android, and iOS.

Figure 5.1: Software and Connection Compatibility. This image demonstrates the machine's compatibility with multiple operating systems and connection types, including USB, app, and TF card.
5.2 Wireless (WiFi) Operation
The machine supports wireless control via WiFi, allowing you to manage your engraving projects conveniently from a smartphone or other compatible device.
- Connect to WiFi: Follow the instructions in the app or software to connect your engraver to your local WiFi network.
- Load Design: Use the app or software to load your desired design file.
- Adjust Settings: Set engraving parameters such as power, speed, and passes based on your material and desired outcome.
- Start Engraving: Initiate the engraving process wirelessly.

Figure 5.2: WLAN Connection. This image illustrates how to control the engraver wirelessly using a smartphone application.
5.3 Offline Operation (TF Card)
For convenience, you can operate the machine offline using a TF card:
- Prepare TF Card: Save your engraving design files (in supported formats) onto a TF card.
- Insert TF Card: Insert the TF card into the designated slot on the machine.
- Select File: Use the machine's interface (if available) or connected software to select the desired file from the TF card.
- Start Engraving: Begin the engraving process without requiring a continuous connection to a computer or network.
6. Maintenance
Regular maintenance ensures the longevity and optimal performance of your ACMER P1 S Pro 6W Laser Engraving Machine.
- Cleaning the Lens: Periodically clean the laser lens with a specialized lens cleaning solution and a lint-free cloth to maintain laser power and precision.
- Cleaning the Machine: Keep the machine free from dust and debris. Use compressed air or a soft brush to clean the rails, belts, and other moving parts.
- Lubrication: Apply a small amount of lubricant to the guide rails as recommended by the manufacturer to ensure smooth movement of the laser module.
- Belt Tension: Check the tension of the drive belts regularly. They should be taut but not overly tight. Adjust if necessary according to the assembly guide.
- Cable Inspection: Inspect all cables for wear or damage. Replace any damaged cables immediately.
7. Troubleshooting
This section addresses common issues you might encounter. For more complex problems, please contact customer support.
| Problem | Possible Cause | Solution |
|---|---|---|
| Laser not firing or weak output | Dirty lens, incorrect focus, low power setting, loose cable connection. | Clean the laser lens. Re-focus the laser. Increase laser power in software. Check all cable connections. |
| Engraving is inaccurate or distorted | Loose belts, unstable machine, incorrect steps per mm setting, material shifting. | Check and tighten drive belts. Ensure the machine is on a stable surface. Verify software settings for accuracy. Secure the material firmly. |
| Machine not connecting to computer/app | Incorrect drivers, faulty USB cable, WiFi connectivity issues, software firewall. | Install/update drivers. Try a different USB cable. Check WiFi connection and network settings. Disable firewall temporarily for testing. |
| Machine stops mid-operation | Overheating, power interruption, software error, gyroscope triggered. | Allow machine to cool down. Check power supply. Restart software and machine. Ensure machine is not tilted. |
| Poor engraving quality on certain materials | Incorrect power/speed settings, material not suitable for laser engraving (e.g., reflective metals). | Adjust power and speed settings. Ensure the material is compatible. Note: Engraving reflective metal is not recommended. |
If you encounter problems not listed here or require further assistance, please contact ACMER technical support.
8. Specifications
| Feature | Specification |
|---|---|
| Model Number | P1 S Pro 6W |
| Laser Power | 6 W |
| Laser Type | Semiconductor Laser |
| Laser Wavelength | 455 ± 5 nm |
| Laser Spot Size | 0.06 x 0.08 mm |
| Engraving Precision | 0.01 mm |
| Working Area | 380 x 370 mm |
| Maximum Engraving Speed | 10,000 mm/min |
| Maximum Acceleration | 500 mm/s² |
| Machine Dimensions (L x W x H) | 575 x 560 x 200 mm |
| Machine Weight | 3.6 kg |
| Frame Material | Industrial-grade Aluminum Profiles |
| Drive Mechanism | Belt Drive |
| Power Input | 48 W - 72 W |
| Connectivity | USB, WiFi, TF Card (Offline) |
| Supported OS | macOS, Windows, Linux, Android, iOS |
| Color | Black |
9. Warranty Information
ACMER products typically come with a manufacturer's warranty. For specific details regarding the warranty period, coverage, and terms for your P1 S Pro 6W Laser Engraving Machine, please refer to the warranty card included with your product or visit the official ACMER website. Keep your proof of purchase for warranty claims.
10. Customer Support
Should you require assistance with your ACMER P1 S Pro 6W Laser Engraving Machine, please do not hesitate to contact our customer support team. We are committed to providing professional and prompt service to ensure your satisfaction.
- Online Support: ACMER offers 24/7 online support.
- Contact Information: Refer to the contact details provided on the official ACMER website or in your product packaging.
- Seller Support: For purchase-related inquiries, you may also contact the seller, Acmer Official, directly through the platform where you made your purchase.

Figure 10.1: 24/7 Online Support. This image indicates the availability of continuous online customer support.
Related documentsP1 S Pro 6W


Ask a question about this manual
Ask about setup, troubleshooting, compatibility, parts, safety, or missing instructions. Manuals+ will review the question and use this page’s manual context to help answer it.