
1. Introduction
This manual provides comprehensive instructions for the installation, operation, and maintenance of your Anlapus 3MP 2K Window Camera. This camera is designed for indoor security, offering 2K resolution, night vision, AI human/vehicle detection, two-way talk, and flexible magnetic setup for monitoring outdoor areas through a window.
2. Package Contents
Please check the package for the following items:
- Anlapus 3MP 2K Window Camera
- USB Power Cable (long)
- Power Adapter
- Magnetic Mounting Brackets (various types, including 20° tilt mount)
- Adhesive Cable Clips
- User Manual (this document)
- Mounting Stickers
3. Setup Guide
3.1. Powering On the Camera
- Connect the USB power cable to the camera's power port.
- Plug the other end of the USB cable into the provided power adapter.
- Plug the power adapter into a standard electrical outlet.
- The camera will power on and indicate its status (e.g., an LED light).
3.2. App Installation
The Anlapus 3MP 2K Window Camera operates with the Vsees App.
- Download the "Vsees" app from your mobile device's app store (App Store for iOS or Google Play Store for Android).
- Install the app and create an account if you are a new user, or log in with your existing credentials.
3.3. Connecting to Wi-Fi
The camera supports both 2.4 GHz and 5 GHz dual-band Wi-Fi for a stronger network connection.

Image: The camera supports both 2.4 GHz for wider coverage and 5 GHz Wi-Fi for faster speeds, ensuring a robust network connection.
- Open the Vsees app and tap the "+" icon to add a new device.
- Follow the on-screen instructions to select your camera model and connect it to your home Wi-Fi network. This typically involves scanning a QR code displayed on your phone with the camera or entering your Wi-Fi credentials.
- Ensure your mobile device is connected to the same Wi-Fi network during the initial setup.
3.4. Mounting the Camera
The Anlapus Window Camera features a quick and easy magnetic setup, requiring no tools for repositioning.
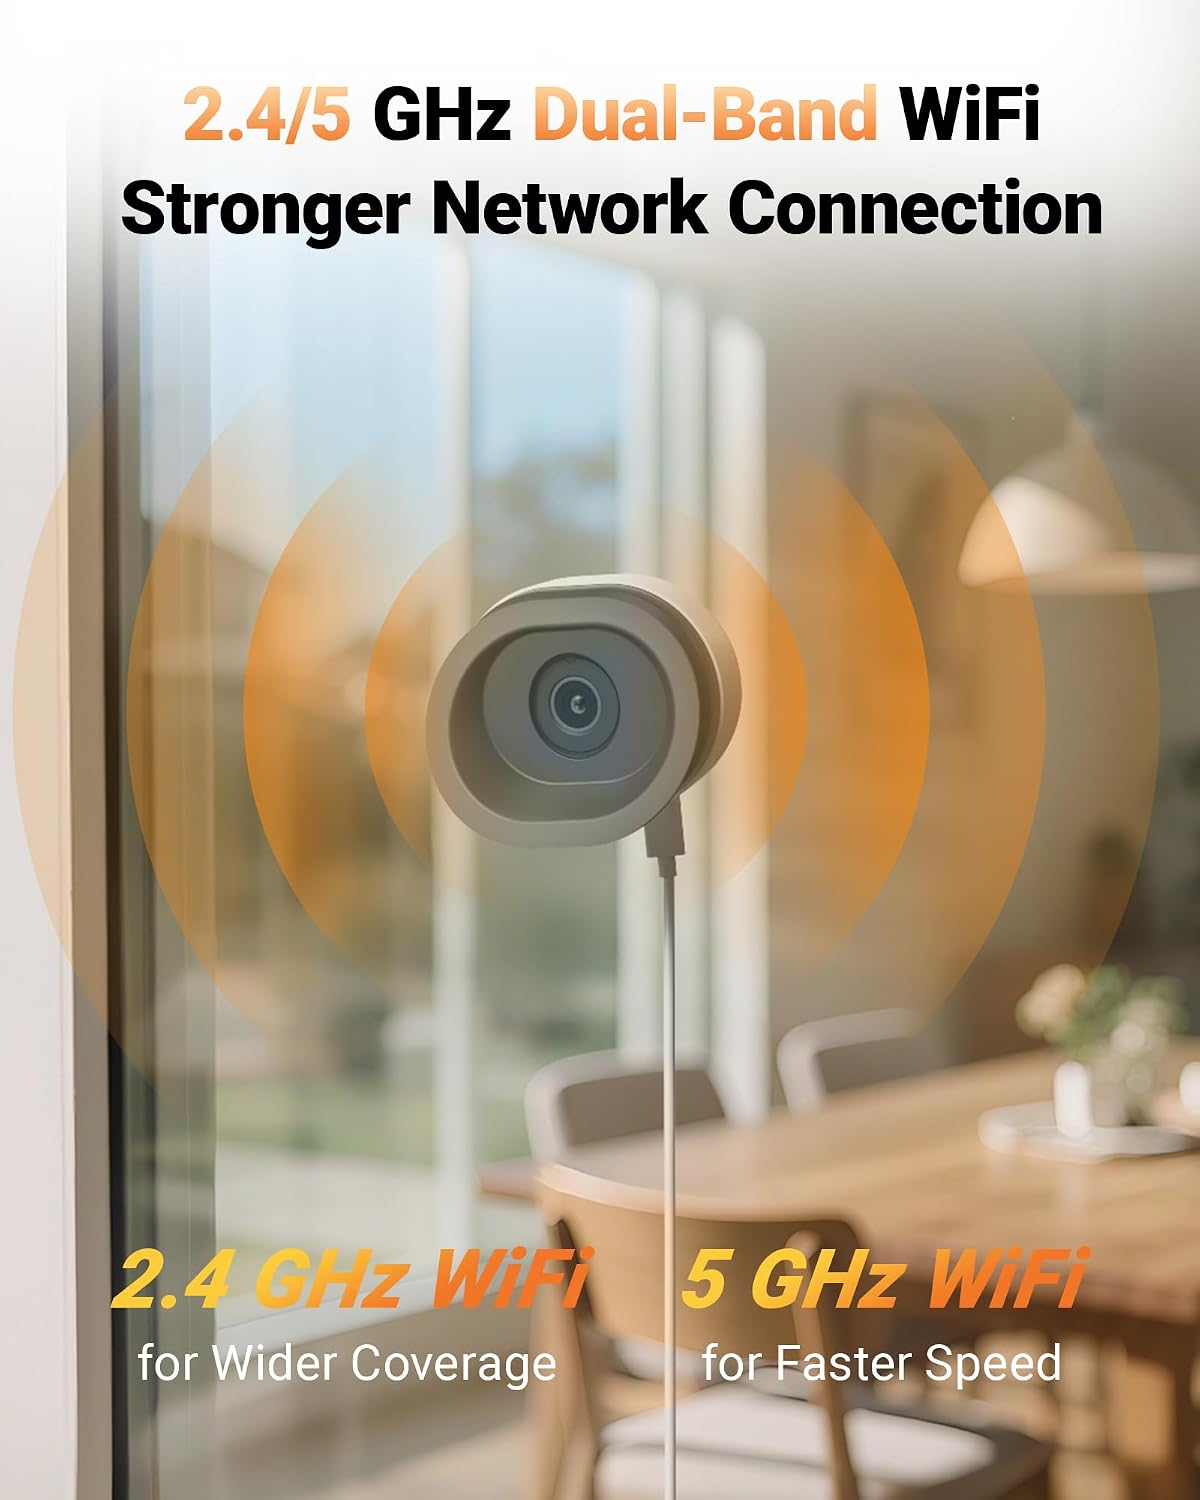
Image: The camera's magnetic base allows for quick, tool-free installation and easy repositioning on compatible mounting stickers.
Choose a suitable window for placement. The camera is designed for versatile window placement, including 2nd-floor windows, garage windows, balcony windows, and storefront windows, without requiring outdoor mounting, preventing vandalism, or theft.

Image: Examples of versatile window placements, demonstrating the camera's suitability for various indoor monitoring scenarios without outdoor installation.
The camera comes with multiple magnetic brackets, including a 20° tilt mount for higher windows and a level mount. The magnetic design allows you to easily attach and detach the camera from the mounting stickers.

Image: A comparison showing the wider outdoor view achieved with the 20° tilt mount, ideal for higher windows, versus a standard level mount.
The camera also features multi-directional tilt capabilities, allowing you to adjust the angle (up, down, left, right) for optimal viewing.

Image: Illustrations showing the camera's ability to tilt in multiple directions (down, up, left, right) for flexible viewing angles.
- Clean the window surface where you intend to mount the camera.
- Apply the adhesive mounting sticker to the clean window surface.
- Attach the desired magnetic bracket (e.g., 20° tilt mount) to the sticker.
- Place the camera onto the magnetic bracket. Adjust the camera angle as needed.
- Use the included adhesive cable clips to neatly route the power cable along the window frame or wall.
4. Operating Instructions
4.1. Live View
Access the Vsees app on your mobile device. Select your camera from the device list to view the live feed. You can pinch to zoom and pan across the live video.
4.2. Two-Way Talk
The camera supports two-way audio communication. In the live view interface of the Vsees app, tap the microphone icon to speak through the camera's speaker. Tap the speaker icon to listen to audio from the camera's vicinity.
4.3. Recording and Playback
The camera supports 24/7 continuous recording or motion-triggered recording. You can store footage locally using a microSD card (not included) or via cloud storage (subscription may be required).
- Local Storage: Insert a formatted microSD card into the camera's designated slot. Configure recording settings (continuous or event-based) within the Vsees app.
- Playback: In the Vsees app, navigate to the playback section for your camera. Use the timeline to review recorded footage.
4.4. AI Human/Vehicle Detection
The camera features AI-powered human and vehicle detection, providing accurate alerts and reducing false alarms.

Image: The camera's AI detection identifies and distinguishes between persons, vehicles, and pets, sending relevant alerts to your device.
- Enable AI detection in the Vsees app settings for your camera.
- Configure alert preferences, such as push notifications to your mobile device.
4.5. Night Vision
The camera provides clear night vision, including full-color night images with true AI-ISP technology and an F1.0 super aperture, without requiring a spotlight.

Image: The Anlapus A60 Pro camera offers full-color night vision with no glare, providing clearer images compared to traditional infrared or spotlight-based night vision.
4.6. Anti-Glare & Anti-Reflection
The camera is designed with anti-glare and anti-reflection technology to ensure clear viewing through windows, minimizing distortions often seen with traditional indoor cameras.

Image: A side-by-side comparison demonstrating the Anlapus A60 Pro's ability to provide a clear, reflection-free view through a window, unlike a traditional indoor camera.
5. Maintenance
- Cleaning: Gently wipe the camera lens and body with a soft, dry cloth. Avoid using harsh chemicals or abrasive cleaners.
- Firmware Updates: Regularly check the Vsees app for available firmware updates. Keeping your camera's firmware updated ensures optimal performance and security. Follow the app's instructions for any update procedures.
- Placement: Ensure the camera is not exposed to direct sunlight for extended periods, as this can cause the housing to warm up.
6. Troubleshooting
- Camera not connecting to Wi-Fi:
- Ensure your Wi-Fi network is active and within range.
- Verify that you have entered the correct Wi-Fi password.
- Try restarting your router and the camera.
- Confirm your phone is connected to the same Wi-Fi network during setup.
- Poor image quality:
- Check if the camera lens is clean.
- Ensure there is sufficient lighting, especially during night vision.
- Verify the camera is positioned correctly to avoid reflections or glare from the window.
- No motion detection alerts:
- Ensure motion detection is enabled in the Vsees app settings.
- Check the sensitivity settings for motion detection.
- Verify that app notifications are enabled on your mobile device.
- Two-way talk not working:
- Check your phone's microphone and speaker permissions for the Vsees app.
- Ensure the camera's microphone and speaker are not obstructed.
- Verify a stable internet connection.
- Camera feels warm:
- It is normal for the camera housing to feel warm during operation. However, ensure it is not placed in direct sunlight or in an enclosed space with poor ventilation.
7. Technical Specifications
| Feature | Specification |
|---|---|
| Brand | Anlapus |
| Model Number | Window Camera |
| Recommended Uses | Indoor Security |
| Connectivity Technology | Wired (Power), Wireless (Wi-Fi) |
| Special Features | Easy to Install, Night Vision, AI Human/Vehicle Detection, 2-Way Talk, Magnetic Setup, Anti-Glare/Anti-Reflection |
| Compatible Devices | Vsees App |
| Power Source | Corded Electric |
| Item Dimensions (L x W x H) | 3.39 x 3.06 x 3.15 inches |
| Wi-Fi Support | 2.4GHz / 5GHz Dual-Band |
| Resolution | 3MP 2K |
8. Warranty and Support
Anlapus products are designed for reliability and performance. For specific warranty details, please refer to the warranty card included in your product packaging or visit the official Anlapus website.
For technical support, troubleshooting assistance, or any inquiries regarding your Anlapus 3MP 2K Window Camera, please contact Anlapus customer support through their official website or the Vsees app.
Online Resources:
- Anlapus Official Website: www.anlapus.com (Note: This is a placeholder URL, please refer to actual product documentation for correct website.)
- Vsees App Support: Check the 'Help' or 'FAQ' section within the Vsees application.