
1. Important Safety Instructions
Please read all instructions carefully before using this appliance and retain for future reference. Failure to follow these instructions may result in electric shock, fire, or serious personal injury.
- Ensure the power supply voltage matches the rating label on the fan.
- Do not immerse the fan, cord, or plug in water or other liquids.
- Unplug from the power outlet when not in use, before assembling or disassembling parts, and before cleaning.
- Keep the fan out of reach of children and pets.
- Do not operate the fan with a damaged cord or plug, or after the appliance malfunctions or has been damaged in any manner.
- Avoid placing the fan near curtains, plants, or other objects that could obstruct airflow.
- Do not insert fingers or any objects into the fan grille when it is operating.
- Use only the charging cable provided or a certified USB-C charger.
- Do not attempt to repair or modify the fan yourself. Contact qualified service personnel.
2. Product Overview
The Lepwings WD-289 is a versatile 2-in-1 rechargeable pedestal fan designed for both floor and table use. It features a 10400 mAh battery, remote control, 4 speed settings, natural wind mode, 90° oscillation, 120° adjustable tilt, and a timer function.

Image: Overview of the Lepwings Rechargeable Pedestal Fan, showing its main components.
3. Setup and Assembly
The fan can be easily converted between a pedestal fan and a table fan. No tools are required for assembly or height adjustment.
3.1 Assembling the Pedestal Fan
- Unpack all components from the box.
- Attach the base to the main pole by twisting until secure.
- Attach the fan head assembly to the top of the main pole by twisting until secure.
- To adjust height, twist the locking mechanism on the pole, extend or retract, then twist to lock.
3.2 Converting to Table Fan
To use as a table fan, simply remove the extension poles by twisting the locking mechanisms and re-attach the fan head directly to the base.

Image: The fan shown in both its full-height pedestal configuration and compact table fan configuration.
4. Operating Instructions
4.1 Charging the Fan
The fan is equipped with a 10400 mAh rechargeable battery. Before first use, fully charge the fan.
- Connect the provided USB-C cable to the charging port on the fan.
- Connect the other end of the cable to a compatible USB power adapter (not included).
- The LED display will indicate charging status. A full charge provides extended wireless operation.
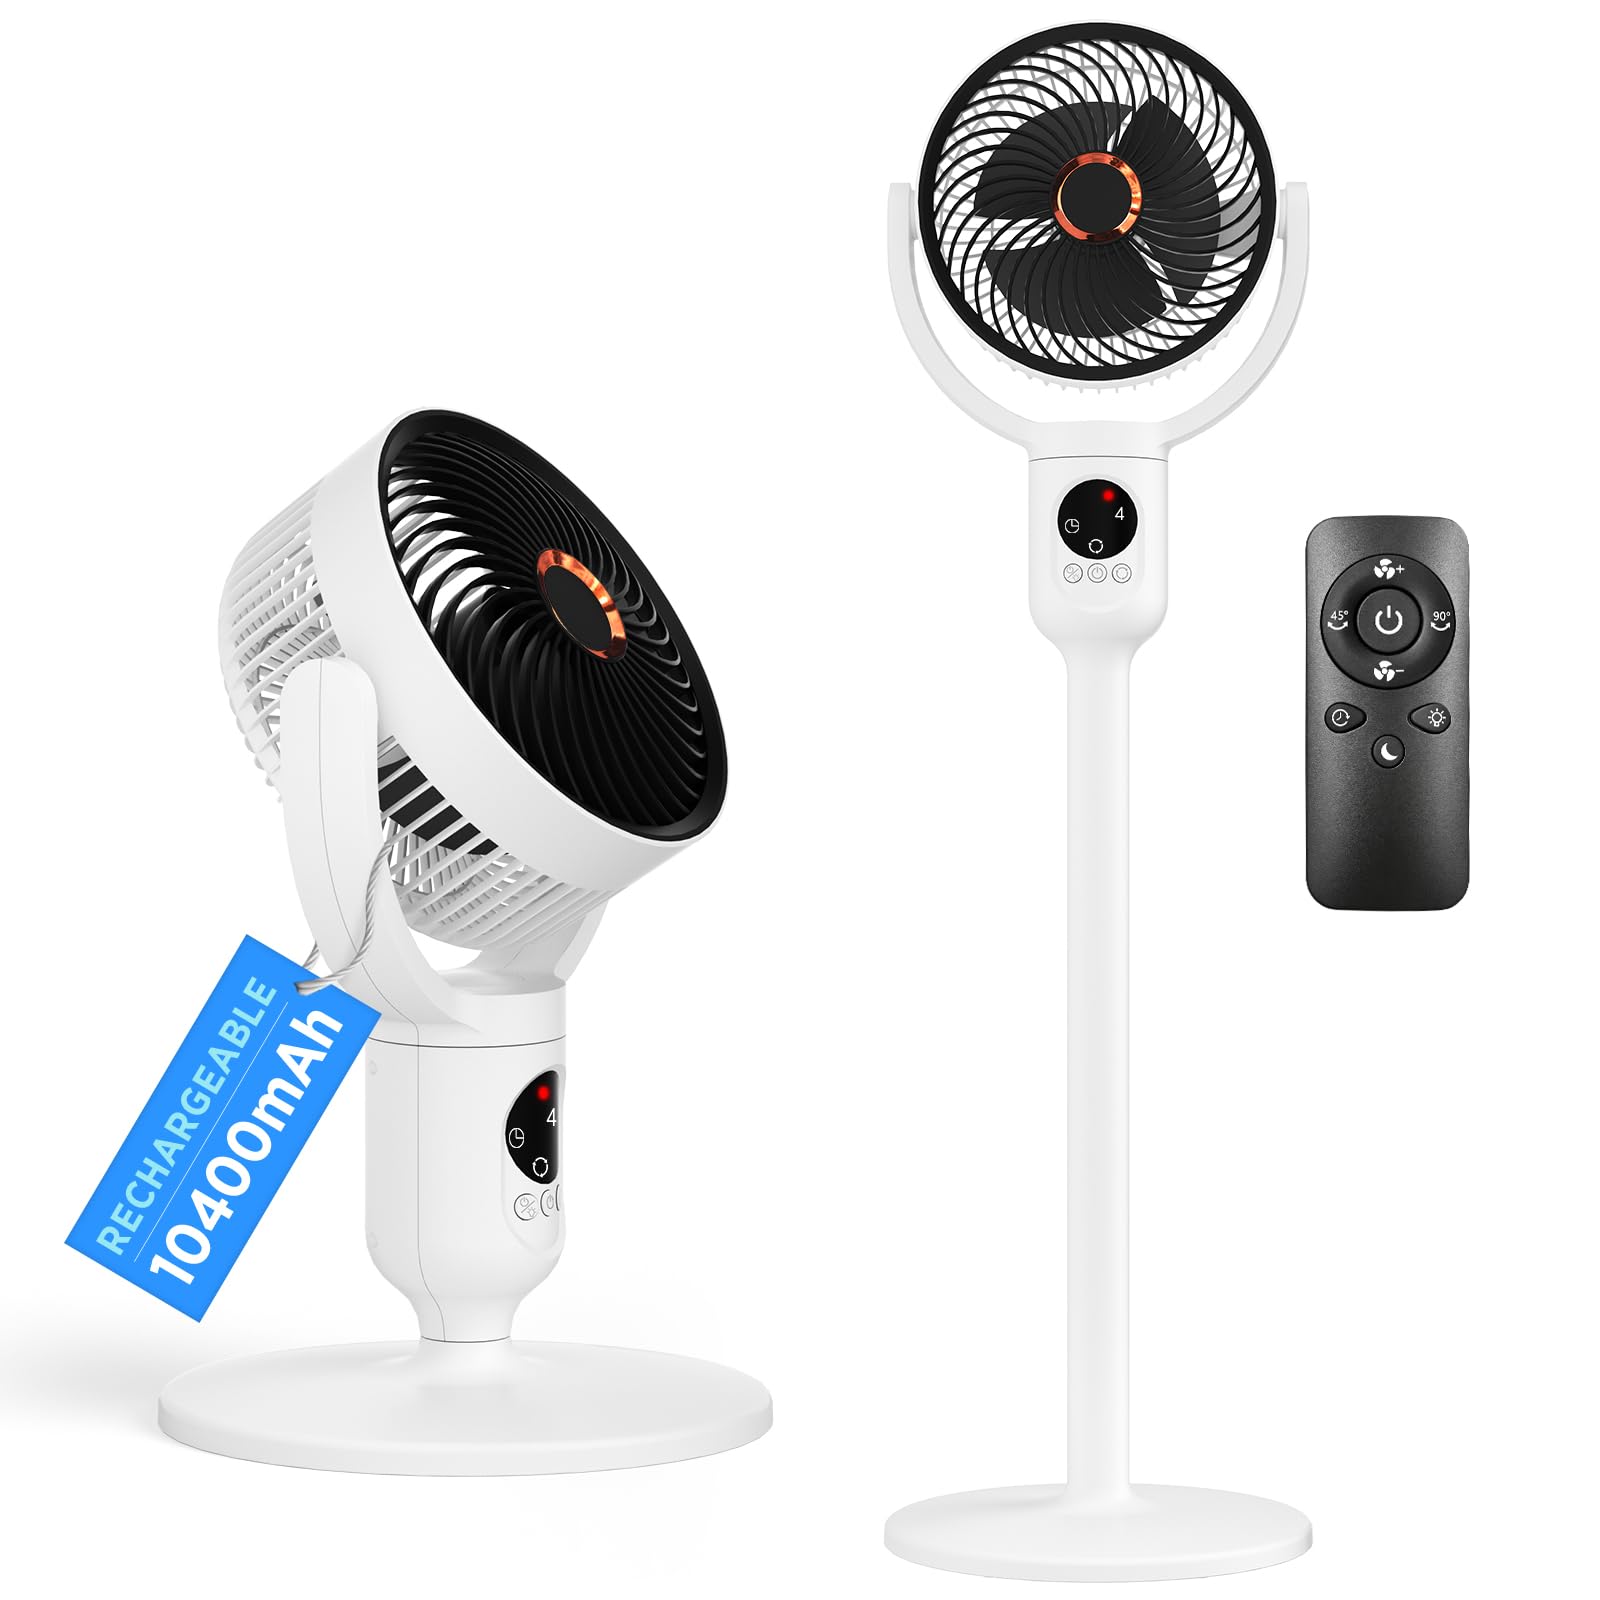
Image: The fan highlighting its Type-C charging capability and estimated battery life for different speed settings.
4.2 Power On/Off and Speed Settings
The fan can be operated using the integrated buttons on the LED display or the remote control.
- Power Button: Press once to turn on/off.
- Speed Button: Press repeatedly to cycle through 4 fan speeds (Low, Medium, High, Max) and Natural Wind mode.
4.3 Oscillation and Tilt
- Oscillation Button: Press to activate 90° automatic horizontal oscillation. Press again to stop.
- Manual Tilt: The fan head can be manually adjusted up to 120° vertically to direct airflow.

Image: Diagram illustrating the 90-degree automatic oscillation and 120-degree manual vertical tilt features of the fan.
4.4 Timer Function
- Timer Button: Press to set the fan to automatically turn off after 3, 6, or 9 hours. The LED display will show the selected timer setting.
4.5 LED Night Light
- Light Button: Press to turn the soft LED night light on or off.

Image: The fan operating quietly in a bedroom, demonstrating its timer, LED night light, and remote control features.
4.6 Remote Control
The included remote control allows convenient operation of all fan functions from a distance.
- Ensure the remote control has working batteries.
- Point the remote control directly at the fan's receiver for optimal response.
- Buttons on the remote correspond to the functions on the fan's control panel (Power, Speed, Oscillation, Timer, Light).

Image: The compact remote control for the Lepwings fan, showing its various function buttons.
4.7 Cordless Operation
Thanks to its powerful 10400 mAh battery, the fan offers cordless freedom, allowing you to use it in various locations such as your office, patio, garden, or courtyard without needing a power outlet.

Image: The fan being used in an office, on a patio, in a garden, and in a courtyard, demonstrating its portability and cordless operation.
5. Maintenance
Regular cleaning helps maintain the fan's performance and extends its lifespan.
5.1 Cleaning the Fan
- Always unplug the fan before cleaning.
- To clean the fan blades, twist the front cover counter-clockwise to remove it.
- Wipe the fan blades and interior surfaces with a soft, damp cloth. For stubborn dirt, a mild soap solution can be used.
- Ensure all parts are completely dry before reattaching the front cover by twisting clockwise until secure.
- Wipe the exterior of the fan with a soft, dry cloth. Do not use abrasive cleaners or solvents.

Image: Step-by-step visual guide on how to remove the fan cover and clean the blades.
6. Troubleshooting
If you encounter issues with your fan, refer to the following common problems and solutions:
| Problem | Possible Cause | Solution |
|---|---|---|
| Fan does not turn on. | No power; battery depleted; power button not pressed. | Ensure fan is charged or connected to power. Press the power button firmly. |
| Weak airflow. | Low speed setting; obstructed grille; dirty blades. | Increase fan speed. Check for obstructions. Clean fan blades and grille. |
| Fan does not oscillate. | Oscillation function not activated. | Press the oscillation button on the control panel or remote. |
| Remote control not working. | Depleted batteries; obstruction between remote and fan; remote not pointed correctly. | Replace remote batteries. Ensure clear line of sight. Point remote directly at the fan. |
| Unusual noise during operation. | Loose parts; foreign object inside; fan not on a stable surface. | Turn off and unplug the fan. Check for loose parts or foreign objects. Place on a flat, stable surface. |
If the problem persists after trying these solutions, please contact customer support.
7. Specifications
| Feature | Detail |
|---|---|
| Brand | Lepwings |
| Model Number | WD-289 |
| Battery Capacity | 10400 mAh |
| Power Source | Battery (USB-C rechargeable) |
| Fan Speeds | 4 speeds + Natural Wind mode |
| Oscillation | 90° Automatic Horizontal |
| Vertical Tilt | 120° Manual Adjustment |
| Timer Settings | 3, 6, 9 hours |
| Noise Level | 30 Decibels |
| Control Type | Remote Control, Button Control |
| Product Dimensions (D x W x H) | 26D x 91B x 26H cm (Pedestal Mode) |
| Material | Acrylonitrile Butadiene Styrene (ABS) |
| Included Components | Remote Control, USB-C Charging Cable |
8. Warranty and Support
This Lepwings product is covered by a standard manufacturer's warranty. Please refer to the warranty card included in your packaging for specific terms and conditions.
For technical support, troubleshooting assistance, or warranty claims, please contact Lepwings customer service through the retailer where the product was purchased or visit the official Lepwings website.
Please have your model number (WD-289) and purchase date available when contacting support.