
1. Introduction
Thank you for choosing the GMKtec NucBox G3 Pro Mini PC. This compact and powerful device is designed for a wide range of applications, from daily office tasks and web browsing to video editing and light server operations. Featuring an Intel Core i3-10110U processor, expandable memory and storage, and versatile connectivity, the NucBox G3 Pro offers a stable and efficient computing experience. This manual provides essential information for setup, operation, maintenance, and troubleshooting to ensure optimal performance and longevity of your device.
2. Safety Information
- Always use the provided power adapter to prevent damage to the device.
- Do not expose the device to water, moisture, or extreme temperatures.
- Avoid placing the device in direct sunlight or near heat sources.
- Ensure proper ventilation to prevent overheating. Do not block the ventilation openings.
- Do not attempt to open or repair the device yourself. Refer to qualified service personnel.
- Keep the device away from strong magnetic fields.
3. Package Contents
Please check the box for the following items:
- GMKtec Mini PC Unit (NucBox G3 Pro) x 1
- Screw Package x 1
- Power Adapter x 1
- HDMI Cable x 1
- User Manual x 1
- VESA Bracket x 1

Image: Contents of the GMKtec NucBox G3 Pro retail package.
4. Product Overview
The GMKtec NucBox G3 Pro is a compact mini PC featuring an Intel Core i3-10110U processor, offering enhanced processing performance compared to previous generation models. It supports a wide range of uses from daily tasks to business applications. The device is designed for low power consumption (TDP 8W-15W) and low heat generation, ensuring stable operation.
Key Features:
- Processor: Intel Core i3-10110U (2 Cores, 4 Threads, up to 4.1GHz, 6MB Cache)
- Memory: 16GB DDR4 (8GB x 2) standard, expandable up to 64GB via 2 SO-DIMM slots.
- Storage: 256GB NVMe SSD standard, expandable up to 8TB via 2 M.2 slots (M.2 2280 PCIe Gen3x4 x1, M.2 2242 SATA3.0 x1).
- Display Output: Supports dual 4K@60Hz display output via HDMI ports.
- Connectivity: Wi-Fi 6 (up to 1201 Mbps), Bluetooth 5.2, 2.5G LAN.
- Special Features: Wake On LAN, PXE Boot, RTC Wake, Auto Power On.
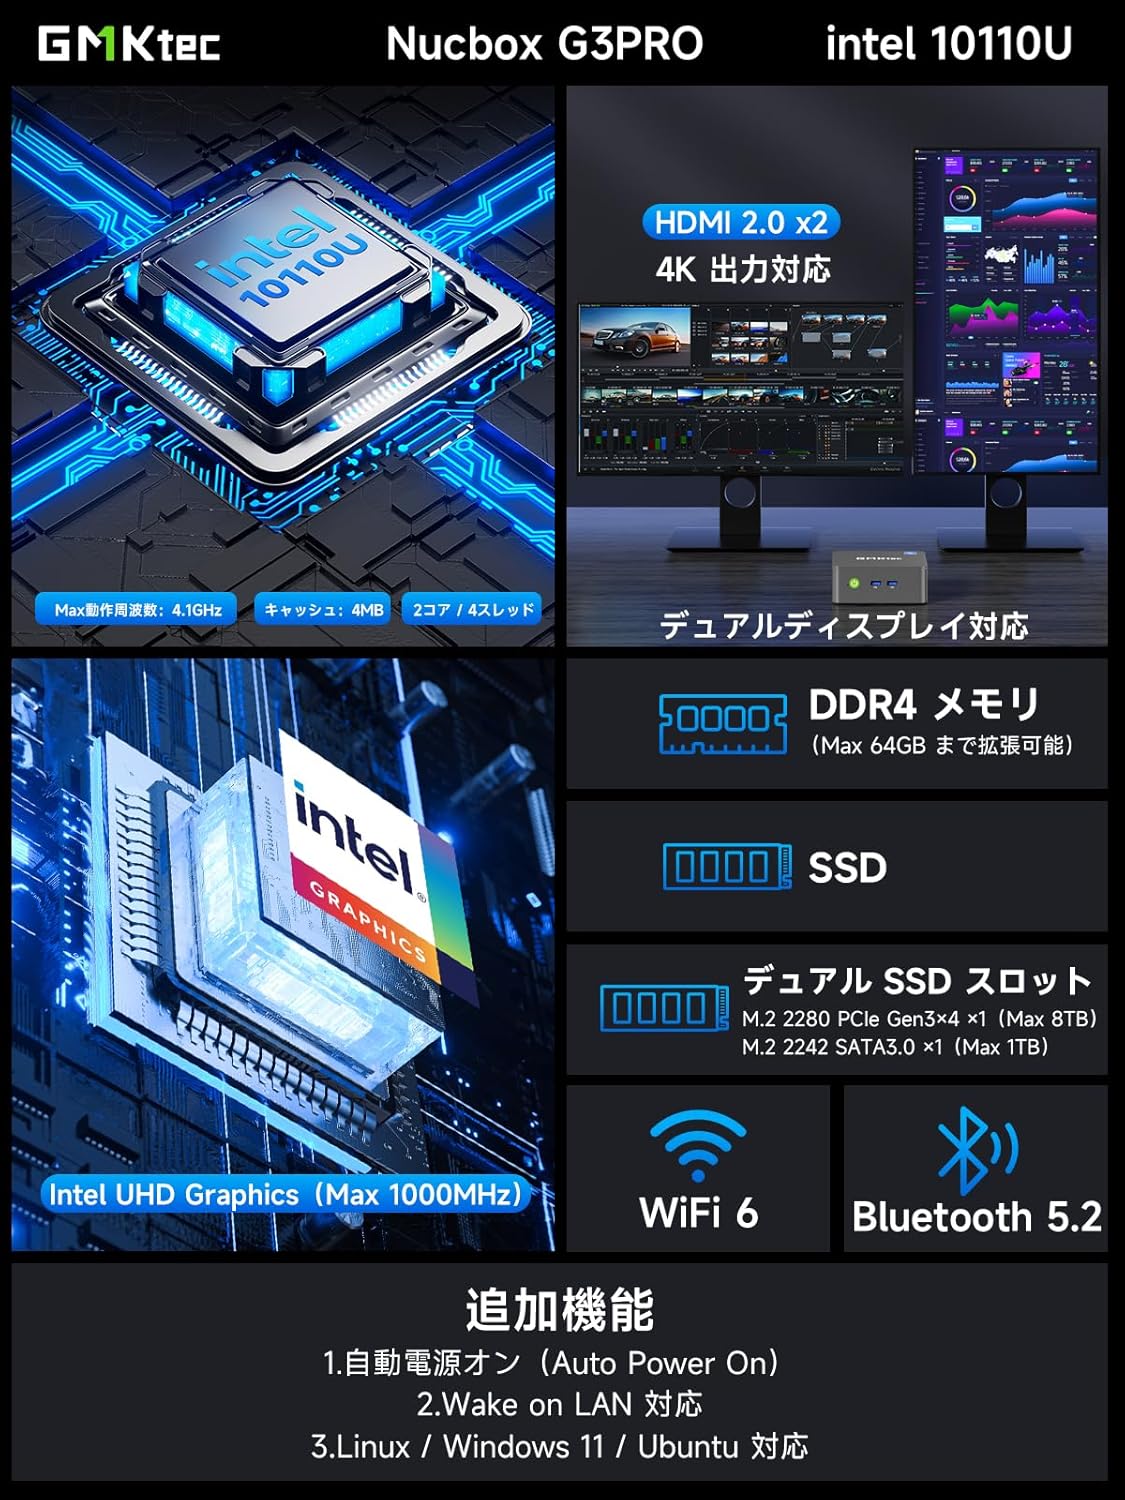
Image: Overview of the GMKtec NucBox G3 Pro, highlighting ports, memory, storage, and wireless capabilities.
Ports and Interfaces:
The NucBox G3 Pro offers a comprehensive set of ports for various peripherals and displays:
- USB 3.2 (Gen1) x 2
- USB 2.0 x 2
- HDMI x 2 (4K@60Hz output)
- 2.5G LAN (RJ45) x 1
- 3.5mm Audio Jack x 1
- Power Button x 1
- DC IN x 1

Image: Detailed view of the NucBox G3 Pro's front and rear ports, including HDMI, USB, LAN, and audio jacks.
5. Setup
5.1 Initial Connection
- Connect your monitor(s) to the HDMI ports on the back of the Mini PC using the provided HDMI cable.
- Connect your keyboard and mouse to the USB ports.
- For wired internet access, connect an Ethernet cable to the 2.5G LAN port.
- Connect the power adapter to the DC IN port on the Mini PC, then plug it into a power outlet.
- Press the power button on the front of the Mini PC to turn it on.
5.2 VESA Mount Installation
The NucBox G3 Pro supports VESA mounting, allowing you to attach it to the back of a compatible monitor or TV for a clutter-free workspace.
- Attach the VESA bracket to the back of your monitor using the appropriate screws.
- Secure the Mini PC to the VESA bracket.

Image: Demonstrates VESA mount installation and desktop placement options for the Mini PC.
6. Operating Instructions
6.1 Power On/Off
- Power On: Press the power button on the front panel.
- Power Off: From the operating system, select 'Shut down'. Alternatively, press and hold the power button for 5 seconds to force a shutdown (not recommended for regular use).
6.2 Display Configuration
The NucBox G3 Pro supports dual 4K displays. Connect your monitors to the HDMI ports. The operating system will automatically detect and configure the displays. You can adjust display settings (resolution, orientation, extended/duplicated desktop) through the Windows Display Settings.
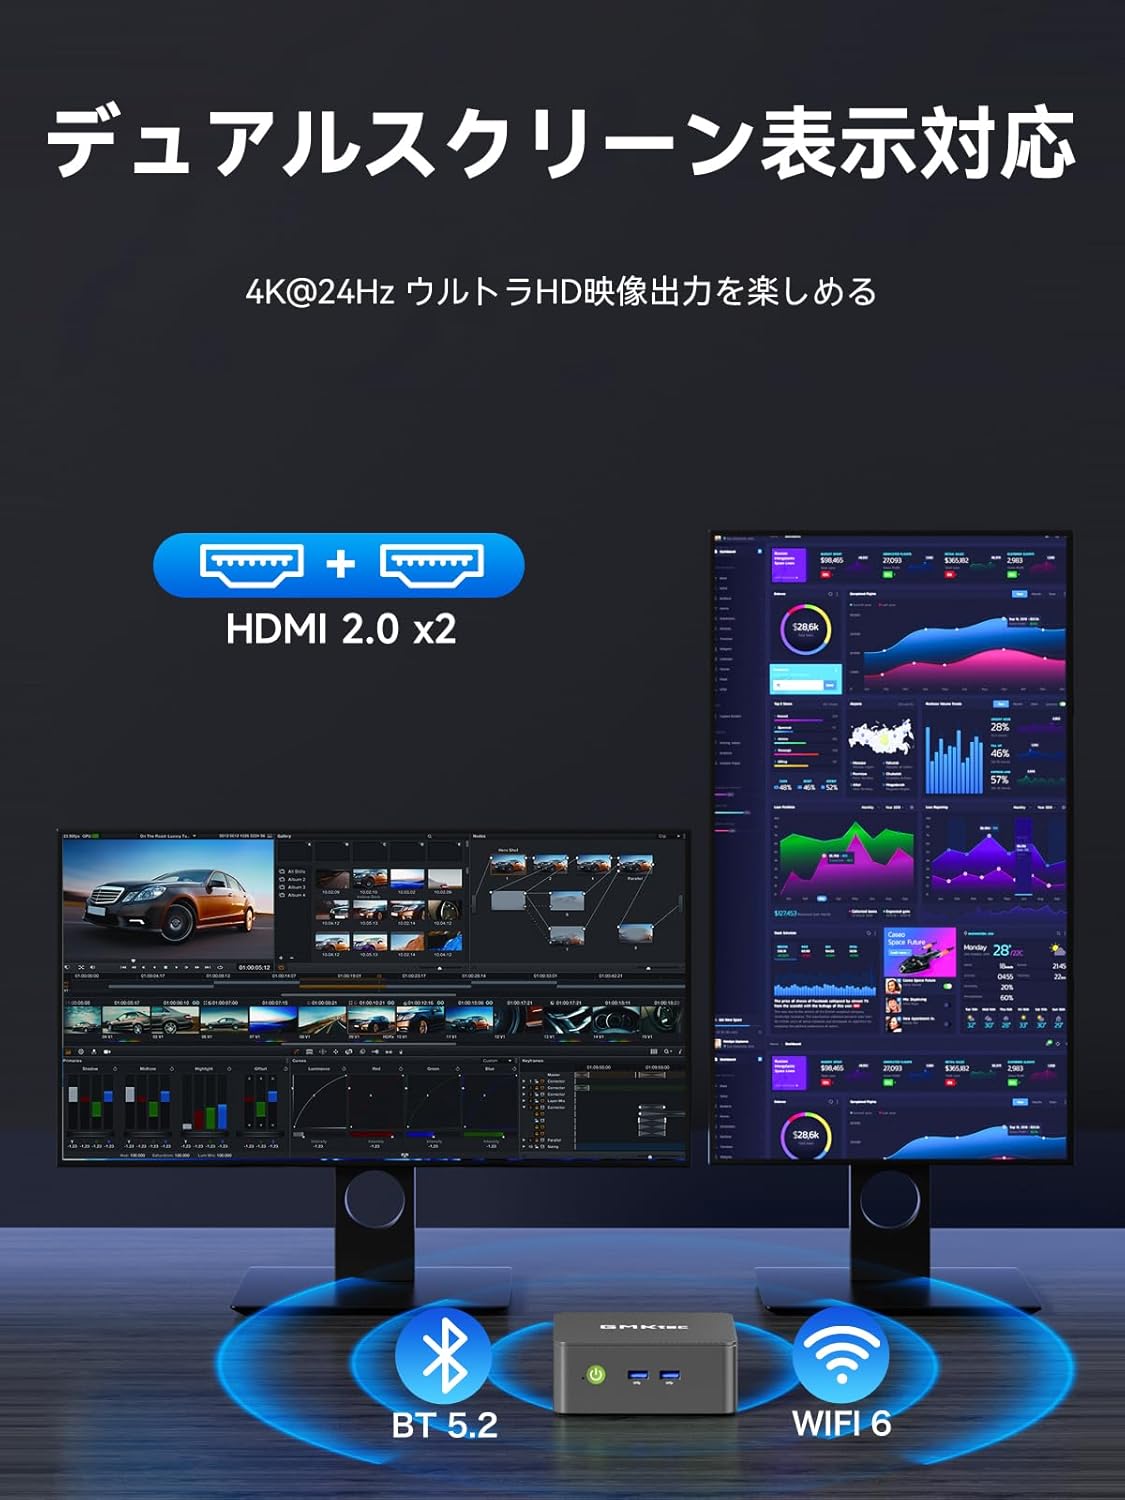
Image: Illustrates the dual-screen display capability of the Mini PC.
6.3 Operating Modes (TDP Adjustment)
The Mini PC features three adjustable TDP (Thermal Design Power) modes: 8W, 10W, and 15W. These modes allow you to balance performance and power consumption according to your needs (Quiet Mode, Power Saving Mode, Full Power Mode).
To adjust the operating mode:
- Power on the Mini PC and repeatedly press the 'ESC' key during startup to enter the BIOS setup screen.
- Navigate to the 'Advanced' tab using the arrow keys.
- Select 'Hardware Monitor' and press 'Enter'.
- Enter the 'System Smart Fan' menu.
- Select 'Enabled' for System Smart Fan.
- Under 'PWM Control System Fan Speed', you can choose from various fan speed percentages (20% to 100%) or 'OFF' to stop the fan. Adjust to your preferred speed.
- Once settings are complete, press 'F10' to save and exit.

Image: Shows the three operating modes (Silent, Balanced, Performance) and the BIOS screen for fan speed adjustment.
Video: Demonstrates how to adjust fan speed settings in the BIOS. Note: This video is for a similar GMKtec model (G10), but the BIOS fan control steps are generally applicable.
7. Maintenance
7.1 Cleaning
Regularly clean the exterior of the Mini PC with a soft, dry cloth. Use compressed air to clear dust from the ventilation openings to maintain optimal airflow and cooling performance.
7.2 Storage and Memory Expansion
The NucBox G3 Pro allows for easy expansion of both RAM and SSD storage. It supports up to 64GB DDR4 RAM and up to 8TB SSD storage.
- Power off the device and disconnect all cables.
- Carefully remove the bottom cover of the Mini PC.
- Locate the SO-DIMM slots for RAM or the M.2 slots for SSDs.
- Install or replace the components as needed, ensuring they are securely seated.
- Reattach the bottom cover and reconnect all cables.

Image: Illustrates the process of expanding storage with M.2 SSDs in the Mini PC.

Image: Exploded view showing internal components like DDR4 memory, M.2 SSDs, cooling fan, and heat vents.
8. Troubleshooting
- No Power: Ensure the power adapter is securely connected to both the Mini PC and a working power outlet. Try a different outlet.
- No Display: Check that the HDMI cable is securely connected to both the Mini PC and the monitor. Ensure the monitor is powered on and set to the correct input source.
- No Internet Connection: For wired connections, check the Ethernet cable and router. For Wi-Fi, ensure the Wi-Fi adapter is enabled in Windows settings and connected to the correct network.
- Slow Performance: Close unnecessary applications. Check for background processes. Ensure sufficient free storage space. Consider upgrading RAM or SSD if performance issues persist.
- Overheating: Ensure the Mini PC has adequate ventilation. Clean dust from the vents. Adjust fan speed settings in BIOS if necessary (refer to Operating Instructions).
9. Specifications
| Feature | Detail |
|---|---|
| Brand | GMKtec |
| Model | NucBox G3 Pro |
| Operating System | Windows 11 Pro |
| CPU Model | Intel Core i3-10110U |
| CPU Speed | Up to 4.1 GHz |
| Graphics | Integrated Intel UHD Graphics |
| Installed RAM | 16 GB DDR4 (expandable to 64 GB) |
| Memory Speed | 2400 MHz |
| Storage Capacity | 256 GB NVMe SSD (expandable to 8 TB) |
| Hard Disk Interface | PCIE x 2 (M.2 2280 PCIe Gen3x4 x1, M.2 2242 SATA3.0 x1) |
| Video Output Interface | HDMI x 2 (Supports 4K@60Hz) |
| USB Ports | USB 3.2 (Gen1) x 2, USB 2.0 x 2 |
| Network Connectivity | 2.5G LAN, Wi-Fi 6, Bluetooth 5.2 |
| Product Dimensions | 114 x 106 x 42.5 mm |
| Product Weight | 280 grams |
| Special Features | Wake On LAN, PXE Boot, RTC Wake, Auto Power On |
10. Warranty and Support
Your GMKtec NucBox G3 Pro Mini PC comes with a 1-year manufacturer's warranty. For technical support, warranty claims, or any inquiries regarding your product, please contact GMKtec customer service through the official channels or the seller from whom you purchased the device.
Seller: GMKtec-Official (1-year manufacturer's warranty)
For further assistance, please visit the GMKtec Store on Amazon.


