
Introduction
Welcome to your new CREATE WIND CLEAR EDGE Ceiling Fan with Light. This manual provides essential information for the safe installation, operation, and maintenance of your appliance. Please read it thoroughly before use and keep it for future reference.
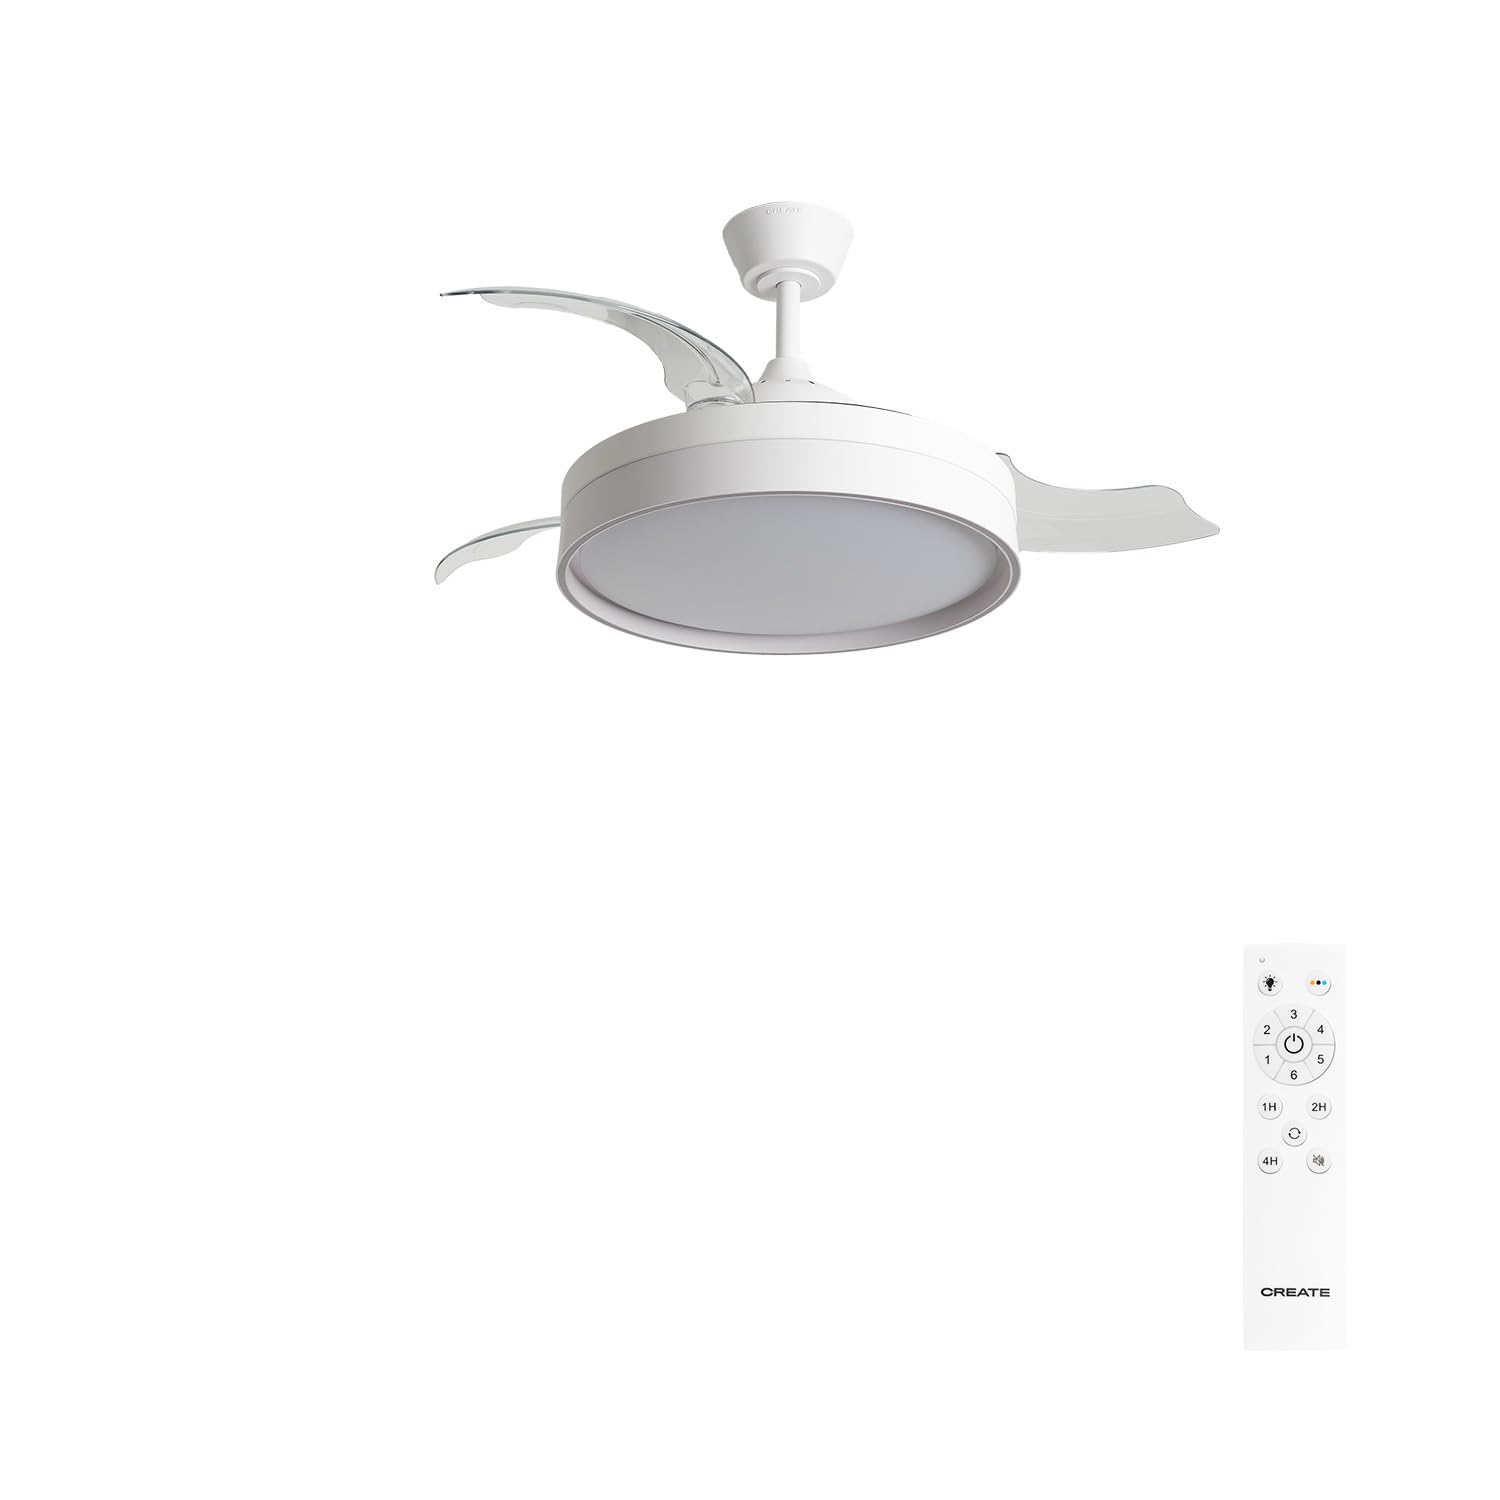
Image: The CREATE WIND CLEAR EDGE ceiling fan with its light on and blades retracted, blending seamlessly into a modern room setting.
Safety Instructions
To ensure safe operation and prevent damage, please observe the following safety precautions:
- Read all instructions carefully before installing and using the fan.
- Ensure the main power supply is disconnected at the circuit breaker before any installation, maintenance, or cleaning.
- Installation must be performed by a qualified electrician in accordance with all local electrical codes.
- Mount the fan securely to a ceiling structure capable of supporting its weight (approximately 5-7 kg).
- Do not insert objects into the fan blades while the fan is in operation.
- Keep children and pets away from the fan during operation.
- This appliance is designed for indoor use only.
- Use only the remote control provided with the fan.
Package Contents
Carefully unpack all components and ensure you have received the following items:
- Ceiling Fan Unit (Motor, Integrated LED Light, Retractable Blades)
- Ceiling Mount Bracket
- Downrod
- Canopy
- Remote Control
- Mounting Hardware (screws, anchors)
- User Manual
If any parts are missing or damaged, please contact customer support immediately.
Setup and Installation
WARNING: Disconnect power at the circuit breaker before beginning installation.
- Prepare the Mounting Location: Ensure the ceiling joist or support structure can safely hold the fan's weight.
- Install the Mounting Bracket: Secure the mounting bracket to the ceiling outlet box using the provided screws. Ensure it is firmly attached and can support the fan.
- Assemble the Fan: Attach the downrod to the motor housing. Carefully feed the electrical wires through the downrod.
- Wire the Fan: Connect the fan's electrical wires to the household wiring according to local electrical codes. Typically, this involves connecting live, neutral, and ground wires.
- Secure the Fan: Lift the fan assembly and hang it on the mounting bracket hook. Secure the canopy to cover the wiring connections.
- Install Blades: The WIND CLEAR EDGE features retractable blades that are typically pre-installed. Ensure they are correctly seated in their mechanism.
- Restore Power: Once installation is complete and all connections are secure, restore power at the circuit breaker.

Image: Close-up view of the fan's ceiling mount and downrod, showing the connection point to the ceiling. The 'CREATE' brand name is visible on the canopy.

Image: The CREATE WIND CLEAR EDGE ceiling fan with its transparent blades fully extended, viewed from below, ready for operation. The central light fixture is illuminated.
Operating Instructions
Your CREATE WIND CLEAR EDGE fan is controlled by the included remote control.
Remote Control Functions
- Power On/Off: Press the power button to turn the fan and light on or off.
- Fan Speed: Use the speed buttons to cycle through 6 available fan speeds.
- Light Control:
- Press the light button to turn the LED light on or off.
- Press the color temperature button to cycle through 3 LED light temperatures: warm (2700K), neutral (3300K), and cool (4000K). The light intensity is not adjustable.
- Timer Function: Set the fan to automatically turn off after 1 to 4 hours. (Up to 8 hours with optional Wi-Fi module and app, if purchased separately).
- Summer/Winter Function (Reverse Rotation): This function reverses the direction of the fan blades to optimize air circulation for different seasons.
- In Summer Mode (counter-clockwise rotation), the fan creates a downward airflow, producing a cooling effect.
- In Winter Mode (clockwise rotation), the fan creates an upward airflow, circulating warm air trapped near the ceiling, improving heating efficiency.

Image: A graphic illustrating key features: a timer icon with "1-4h" indicating programmable operation, a crossed-out speaker icon for silent operation, and a bar graph icon with "6" for the six-speed motor.

Image: A diagram illustrating the three available LED light color temperatures: 2700K (warm white), 3300K (neutral white), and 4000K (cool white), each represented by a lightbulb icon and corresponding Kelvin temperature.

Image: A diagram showing the fan's Summer and Winter modes. In Winter mode, arrows indicate warm air being pushed up and circulated down the walls. In Summer mode, arrows show cool air being pushed directly downwards.
Retractable Blades
The fan features transparent retractable blades that extend when the fan is in operation and retract when the fan is turned off, transforming the unit into an elegant light fixture.

Image: The CREATE WIND CLEAR EDGE ceiling fan installed in a room, with its transparent blades extended and the light on, actively circulating air.
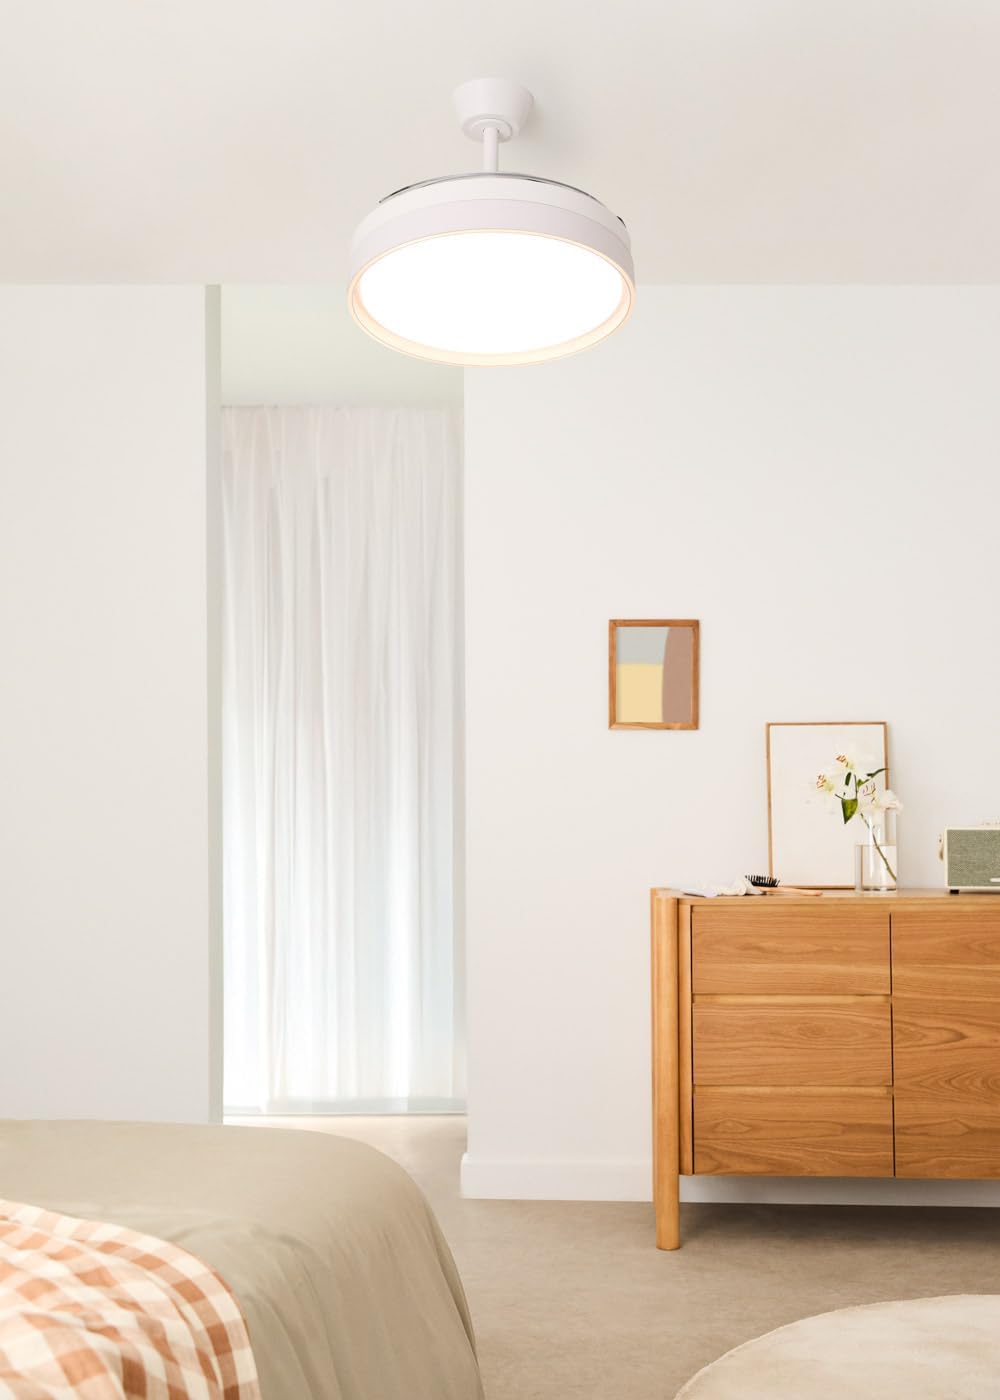
Image: The CREATE WIND CLEAR EDGE ceiling fan installed in a room, with its transparent blades fully retracted, making it appear as a modern ceiling light fixture. The light is on.
Maintenance
Regular maintenance ensures optimal performance and longevity of your ceiling fan.
- Cleaning: Disconnect power before cleaning. Use a soft, damp cloth to wipe down the fan housing and blades. Do not use abrasive cleaners or solvents.
- Blade Inspection: Periodically check the blades for any signs of damage or imbalance.
- Tighten Fasteners: Over time, some fasteners may become loose. Check and tighten all screws and connections annually.
- Light Source: The LED light source is integrated. Do not attempt to replace individual LEDs. If the light fails, contact customer support.
Troubleshooting
Refer to the table below for common issues and their solutions:
| Problem | Possible Cause | Solution |
|---|---|---|
| Fan does not start | No power supply; Loose wiring; Remote control battery low. | Check circuit breaker; Verify wiring connections; Replace remote control batteries. |
| Light does not work | No power supply; Loose wiring; LED module failure. | Check circuit breaker; Verify wiring connections; Contact customer support for LED module replacement. |
| Fan wobbles | Loose mounting screws; Unbalanced blades. | Ensure all mounting screws are tight; Check blades for damage and ensure they are properly seated. |
| Remote control not responding | Low battery; Obstruction between remote and receiver; Remote not paired. | Replace batteries; Remove obstructions; Refer to pairing instructions (if applicable, not provided in source). |
Specifications
- Brand: CREATE
- Model Name: WIND CLEAR EDGE M
- Model Number: 227415_674266
- Color: White
- Electric Fan Design: Ceiling Fan
- Power Source: Electric Cable
- Dimensions (D x W x H): 107 cm x 107 cm x 51.5 cm
- Special Features: Remote Control, Retractable Blades, Summer/Winter Function, Integrated LED Light
- Mounting Type: Ceiling Mount
- Number of Speeds: 6
- Noise Level: 40 Decibels
- Power: 40 Watts
- Number of Blades: 3
- Airflow: 172 Cubic meters per minute
- Voltage: 240 Volts
- Usage: Indoor
- Blade Material: Plastic
- LED Light: 30W, 3 Color Temperatures (Warm 2700K, Neutral 3300K, Cool 4000K)
- Timer: 1-4 hours (up to 8 hours with optional Wi-Fi module)
Warranty and Support
For detailed warranty information or technical support, please refer to the warranty card included with your product or visit the official CREATE website. Please retain your purchase receipt as proof of purchase for any warranty claims.