
1. Safety Information
- Maximum Weight Capacity: The upper bunk and lower bunk are designed to support up to 350 lbs each. The trundle bed also has a specific weight limit; do not exceed it.
- Guardrails: The top bunk is equipped with full-length guardrails. Ensure they are always securely in place to prevent falls.
- Mattress Thickness: For the upper bunk, use a mattress no thicker than 6 inches to ensure the safety guardrails are effective.
- Adult Supervision: Children using the bunk bed should always be supervised by an adult, especially when climbing the stairs.
- Assembly: This product requires full assembly by at least two adults. Do not attempt to assemble alone.
- Regular Checks: Periodically check all bolts and connections to ensure they remain tight and secure.
- No Jumping: Do not allow jumping on the bed.
2. Package Contents
Verify that all parts and hardware are present before beginning assembly. If any parts are missing or damaged, contact customer support immediately.
2.1. Main Components
- Upper Bed Frame
- Lower Bed Frame
- Trundle Bed Frame
- Storage Stair Unit
- Bed Slats (for upper, lower, and trundle beds)
- Guardrails
- House-shaped decorative frame
2.2. Hardware and Tools
All necessary tools for assembly are included in the package. A detailed hardware list will be provided in the physical instruction manual.
3. Setup and Assembly
3.1. Before You Begin
- Clear a spacious area for assembly.
- Ensure you have all packages (this product typically ships in 3 separate packages that may arrive on different days).
- Have at least two adults available for assembly.
- Review the detailed step-by-step instructions and diagrams provided in your physical assembly manual.
3.2. Step-by-Step Assembly Overview
The following is a general overview. Refer to your included assembly manual for precise, detailed steps and diagrams.
- Unpack and Identify: Carefully unpack all components and hardware. Lay them out and identify each part using the provided parts list.
- Assemble Lower Bed Frame: Begin by assembling the main frame of the lower bed according to the instructions.
- Attach Storage Stair Unit: Securely attach the storage stair unit to the lower bed frame. Ensure all connections are tight.
- Assemble Upper Bed Frame: Construct the upper bed frame.
- Install Upper Bed: Carefully lift and secure the upper bed frame onto the lower bed frame and stair unit. This step requires two adults.
- Install Guardrails and House Frame: Attach the safety guardrails to the upper bunk and then install the decorative house-shaped frame.
- Assemble Trundle Bed: Assemble the trundle bed frame separately.
- Install Slats: Place and secure the wooden slats for the upper, lower, and trundle beds.
- Final Check: Double-check all bolts, screws, and connections to ensure they are fully tightened and secure before use.
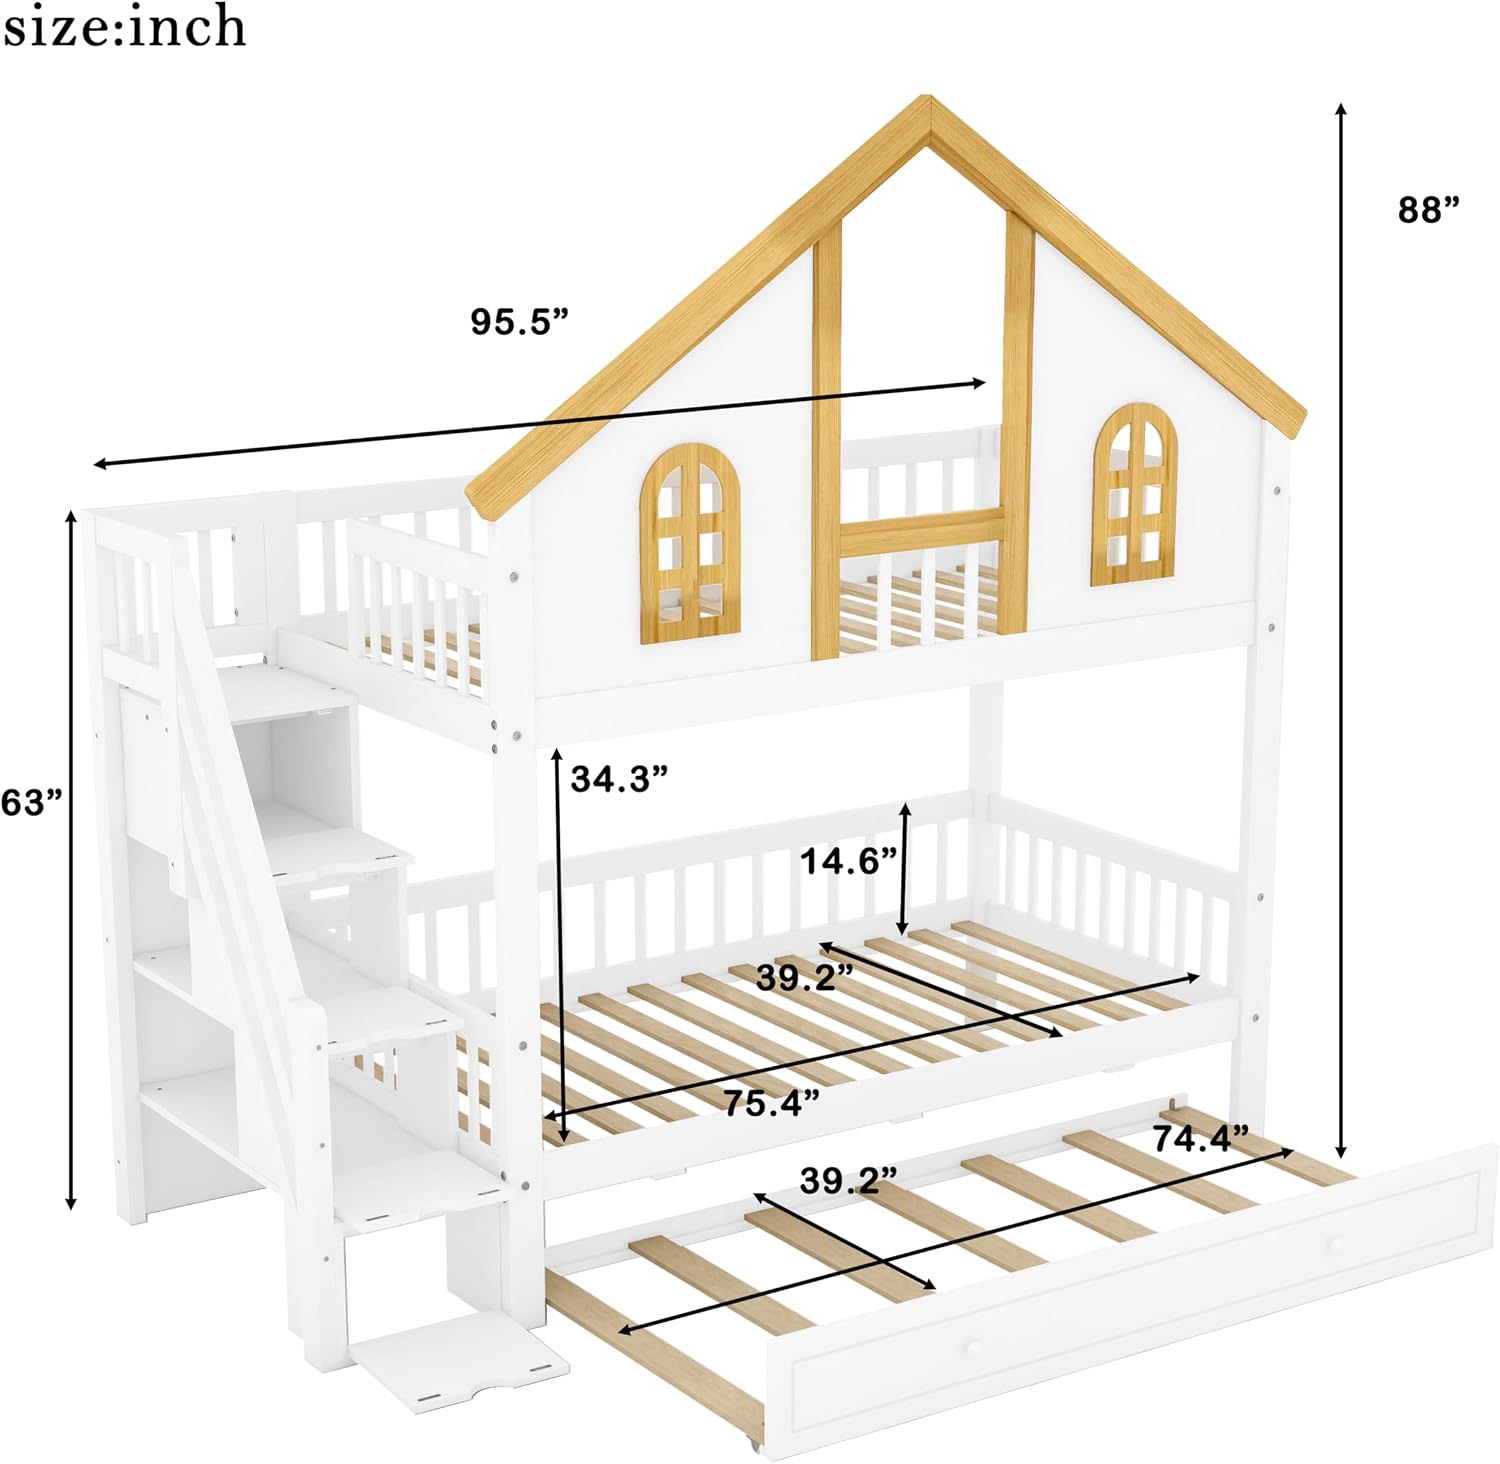
Figure 3.2.1: An overview of the complete bunk bed assembly, showcasing the integrated storage stairs and the pull-out trundle bed.

Figure 3.2.2: This image provides an angled perspective of the bunk bed, emphasizing the built-in storage stairs and the decorative house-shaped frame on the upper bunk.
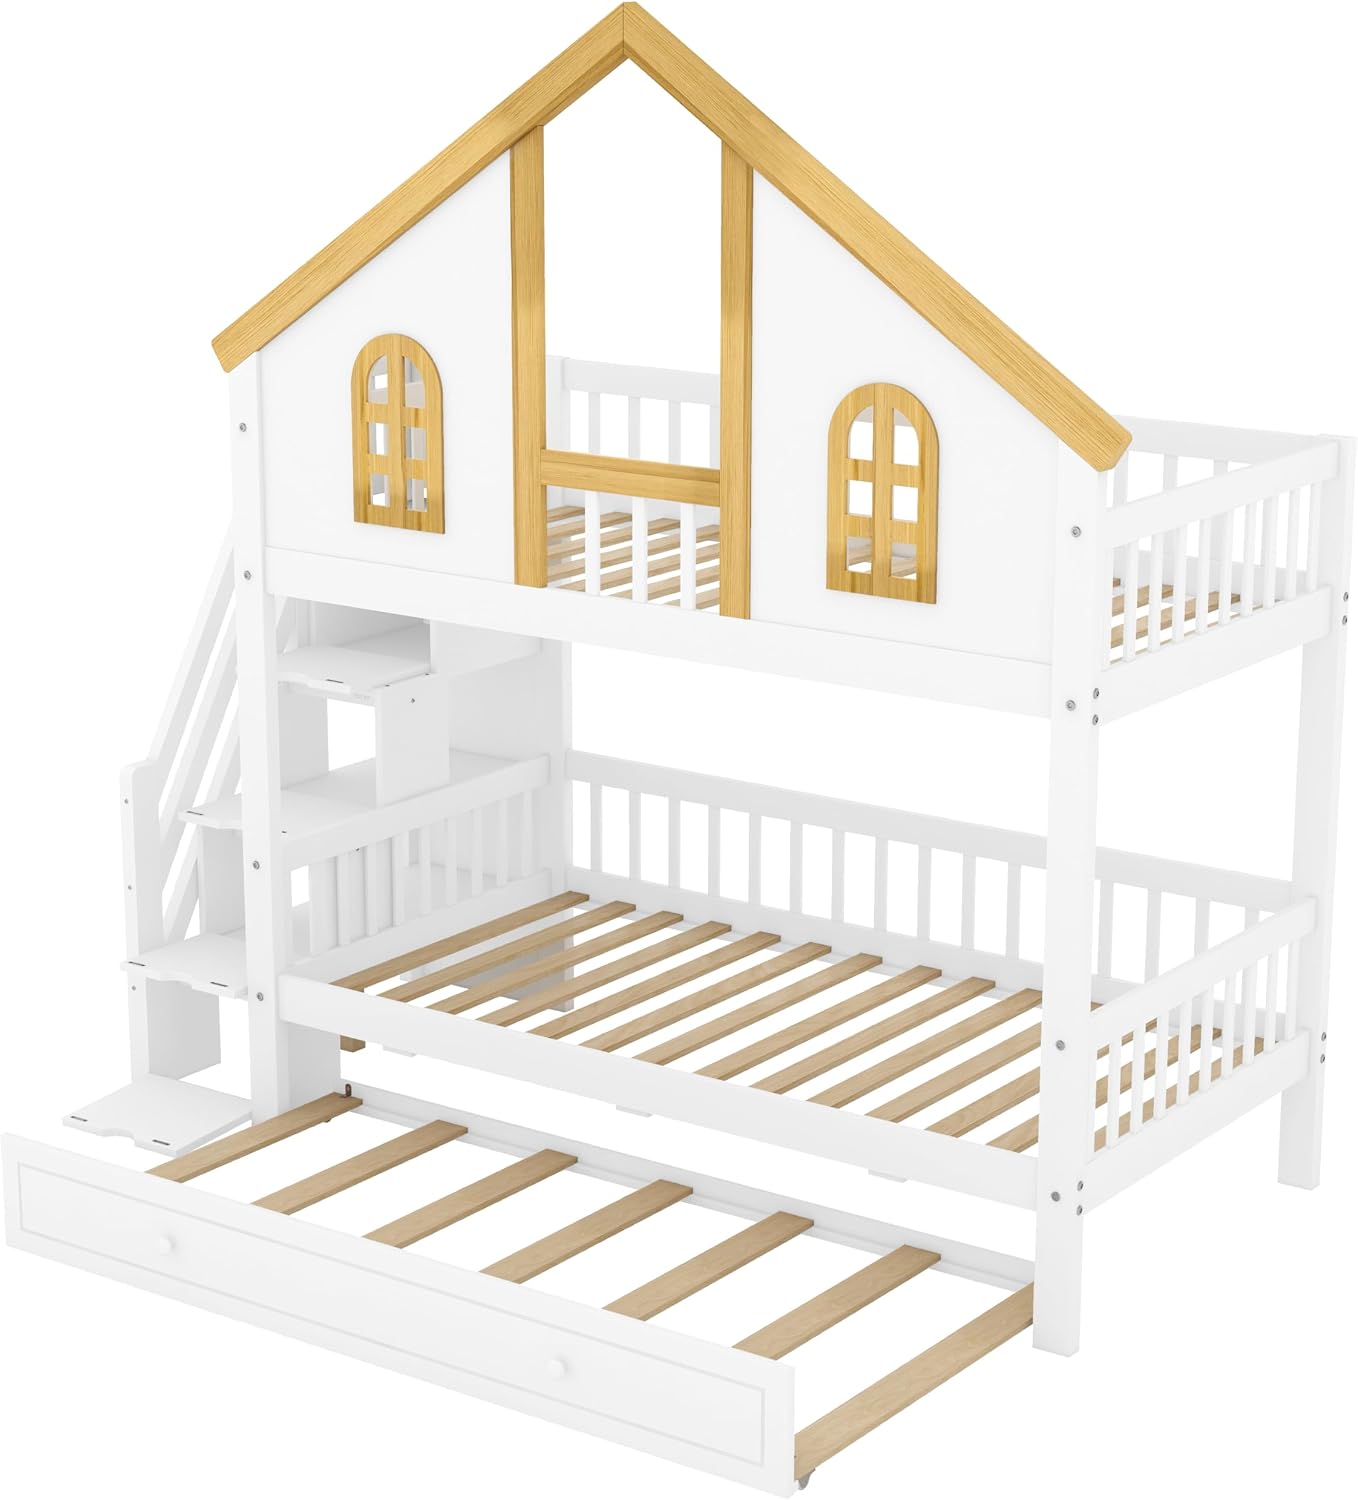
Figure 3.2.3: A view of the bunk bed with the trundle fully extended, illustrating how it provides an additional sleeping space.
4. Operating Instructions
4.1. Using the Bunk Beds
- Upper Bunk: Access the upper bunk using the integrated storage stairs. Always use the stairs carefully.
- Lower Bunk: The lower bunk provides a comfortable sleeping area.
- Mattress Placement: Place appropriate size mattresses on both the upper and lower bunks. Ensure the upper bunk mattress does not exceed the recommended thickness.
4.2. Using the Trundle Bed
- Extend Trundle: Gently pull the handle on the front of the trundle bed to slide it out from under the lower bunk.
- Retract Trundle: Push the trundle bed back under the lower bunk until it is fully recessed for storage.
4.3. Using the Storage Stairs
- Each step of the staircase features built-in shelves. These can be used to store books, small decor items, or other bedside essentials.
- Do not overload the storage compartments.
5. Maintenance
- Cleaning: Wipe down the bed frame with a soft, damp cloth. Avoid harsh chemicals or abrasive cleaners that could damage the wood finish.
- Hardware Check: Periodically (e.g., every 3-6 months) inspect all bolts, screws, and connections. Tighten any that have become loose to maintain stability and safety.
- Wood Care: Protect the wood from direct sunlight and extreme temperature changes to prevent warping or fading.
6. Troubleshooting
| Issue | Possible Cause | Solution |
|---|---|---|
| Bed feels wobbly or unstable | Loose bolts or connections. | Inspect all assembly hardware and tighten any loose bolts or screws. |
| Squeaking noises | Loose connections or friction between parts. | Tighten all hardware. If squeaking persists, apply a small amount of lubricant (e.g., paraffin wax) to contact points between wood or metal parts. |
| Trundle bed difficult to slide | Obstruction or uneven floor. | Check for any objects blocking the trundle's path. Ensure the floor surface is level. Clean any debris from the trundle's wheels. |
| Missing parts or damaged components | Shipping error or manufacturing defect. | Do not proceed with assembly. Contact SOFTSEA customer support immediately for replacement parts. |
7. Specifications
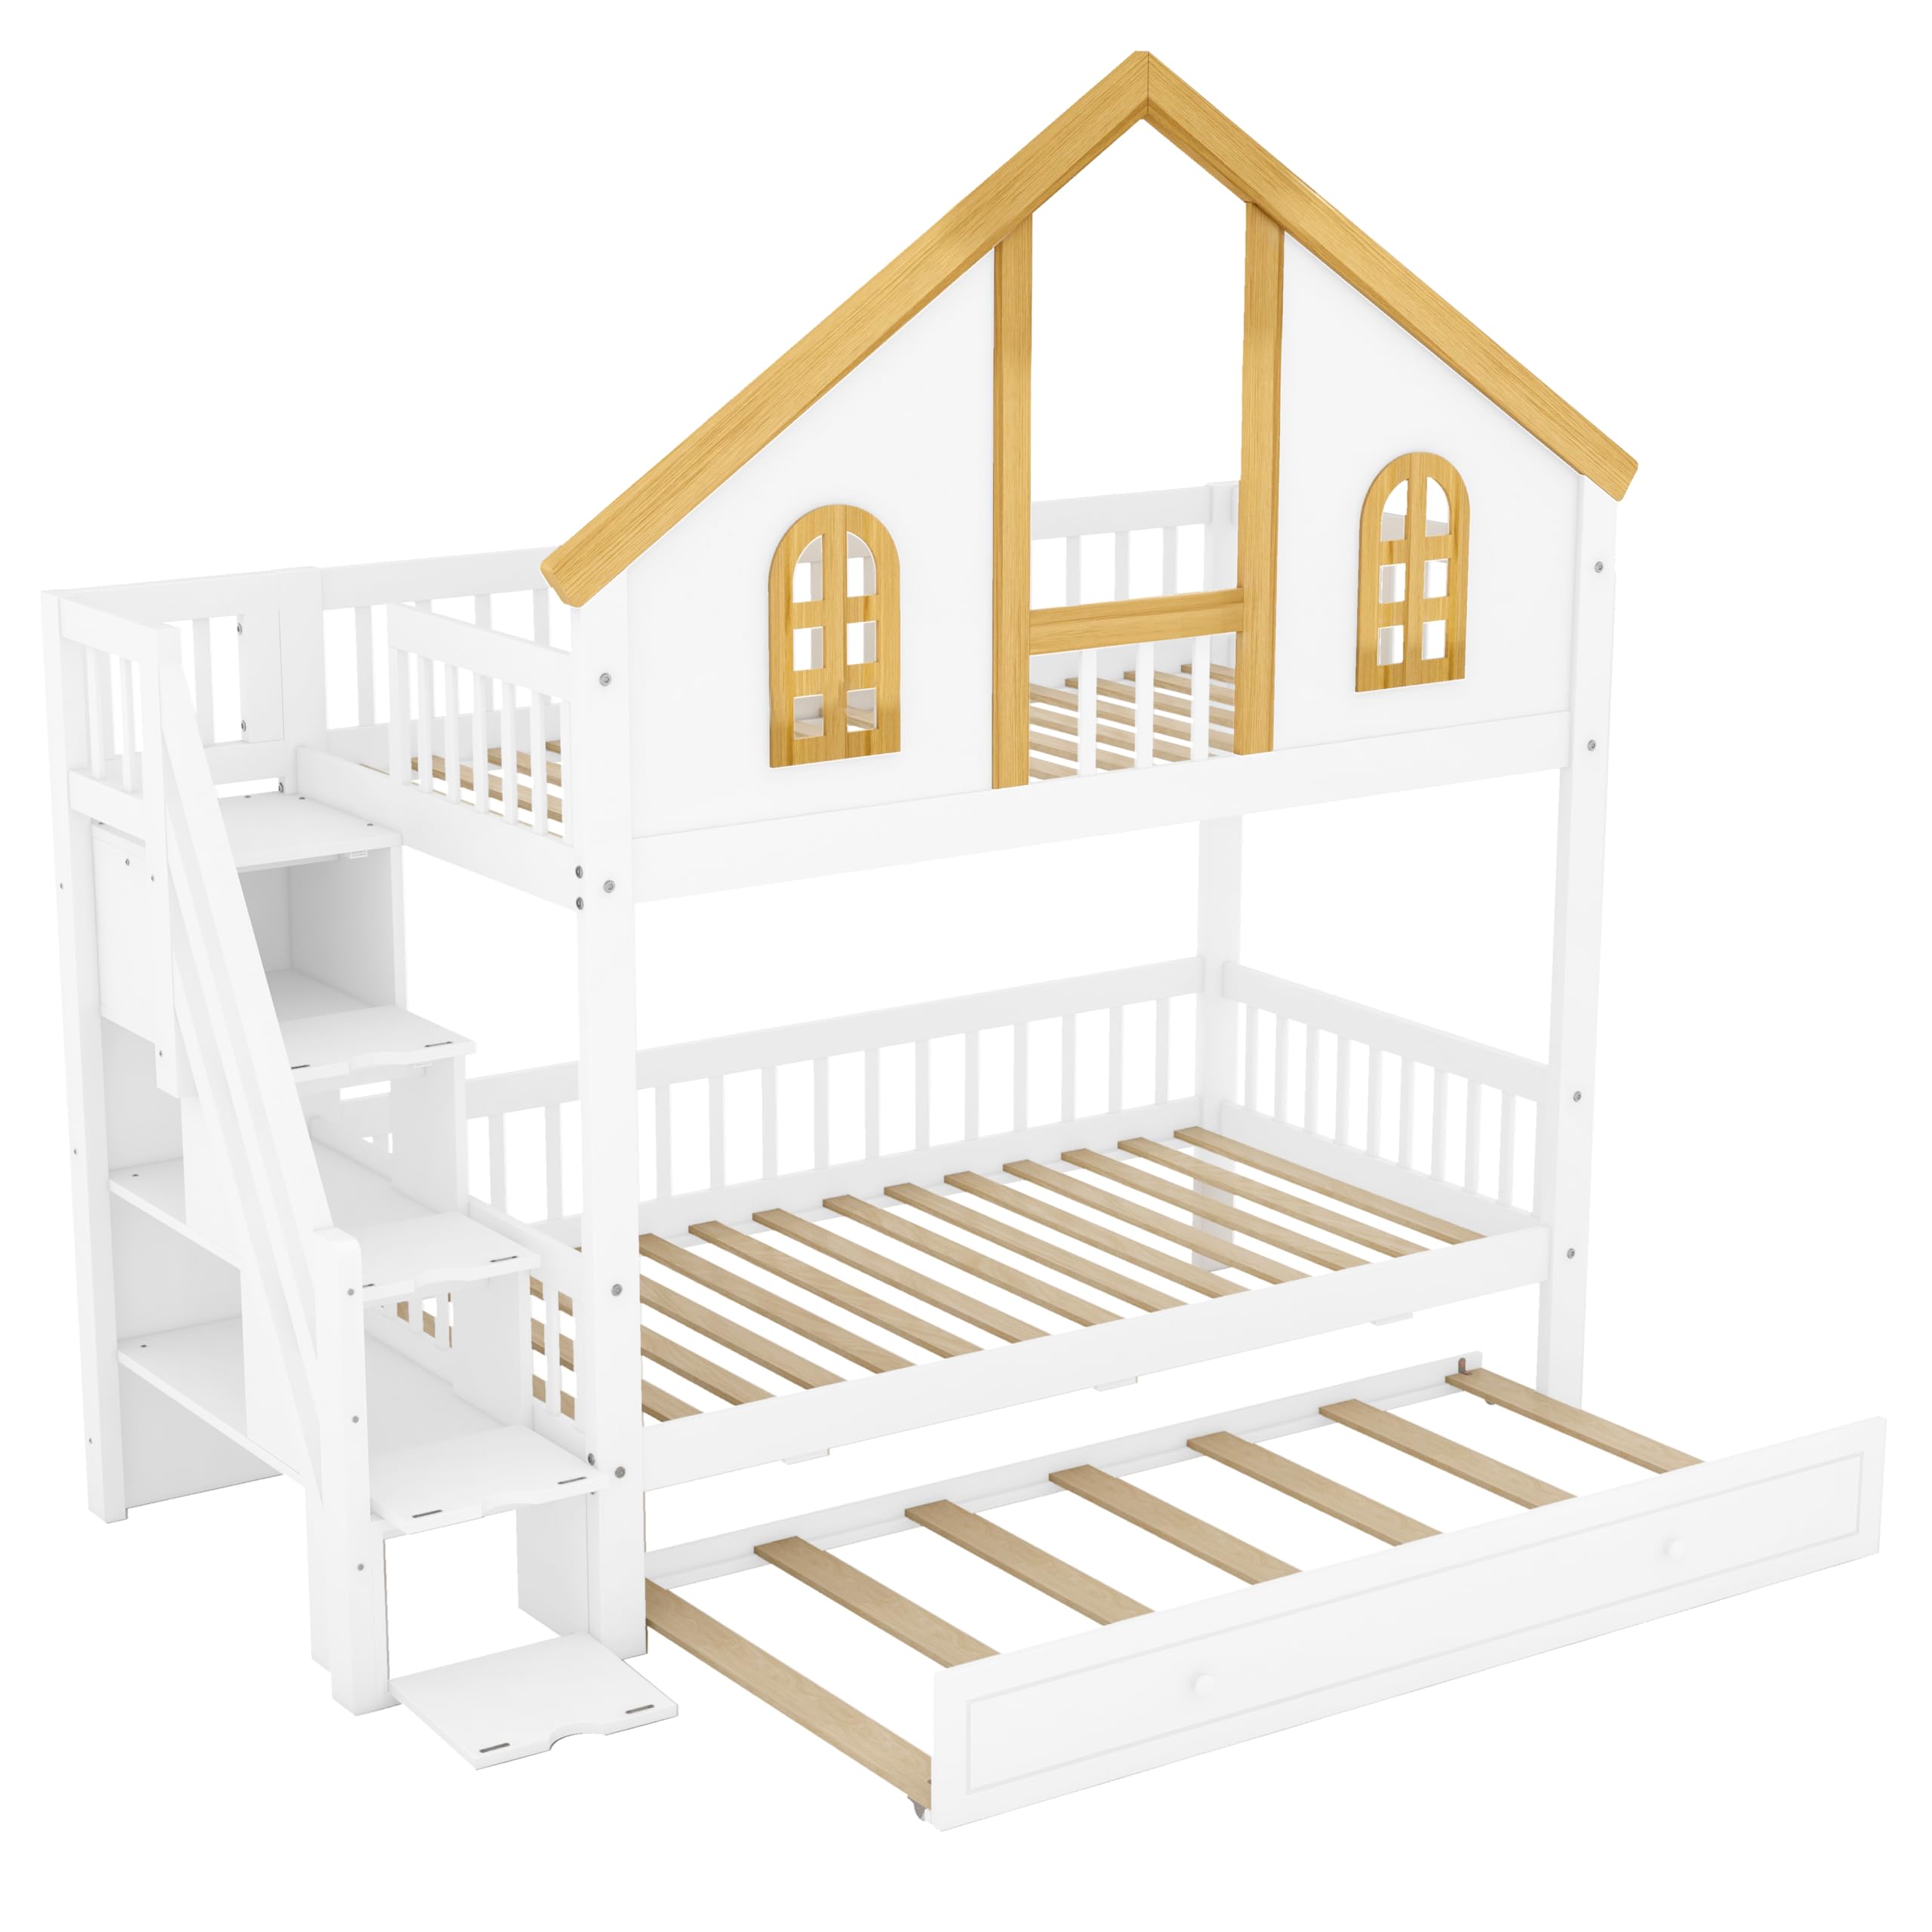
Figure 7.1: This diagram illustrates the overall dimensions of the bunk bed, including height, length, and width, as well as the internal dimensions for the upper and lower beds and trundle.
| Feature | Detail |
|---|---|
| Model Number | ST44 |
| Product Dimensions (L x W x H) | 95.5" x 72" x 88" |
| Upper Bed Inner Space | Twin |
| Down Bed Inner Space | Twin |
| Each Bed Weight Capacity | 350 LBS |
| Recommended Mattress Thickness (Upper/Down) | 6 inches |
| Material | Pine Wood + MDF |
| Color | Natural |
| Assembly Required | Yes (Full Assembly) |
| Number of Packages | 3 |
| Country of Origin | Vietnam |
8. Warranty Information
Specific warranty details for the SOFTSEA Twin Over Twin Bunk Bed (Model ST44) are not provided in this document. Please refer to the product packaging, your purchase receipt, or contact SOFTSEA customer support for comprehensive warranty information.
9. Customer Support
If you have any questions, require assistance with assembly, or need to report missing/damaged parts, please contact SOFTSEA customer support.
- Online Support: Visit the official SOFTSEA store on Amazon: SOFTSEA Store
- Contact Information: Refer to the contact details provided in your product packaging or purchase documentation.
