
1. Introduction
This manual provides detailed instructions for the assembly, operation, and maintenance of your FAVSH Queen Size Upholstered Platform Bed with Trundle. This bed features integrated LED lighting, USB and Type-C charging ports, and a convenient pull-out trundle bed. Please read these instructions carefully before assembly and use to ensure safe and proper operation.
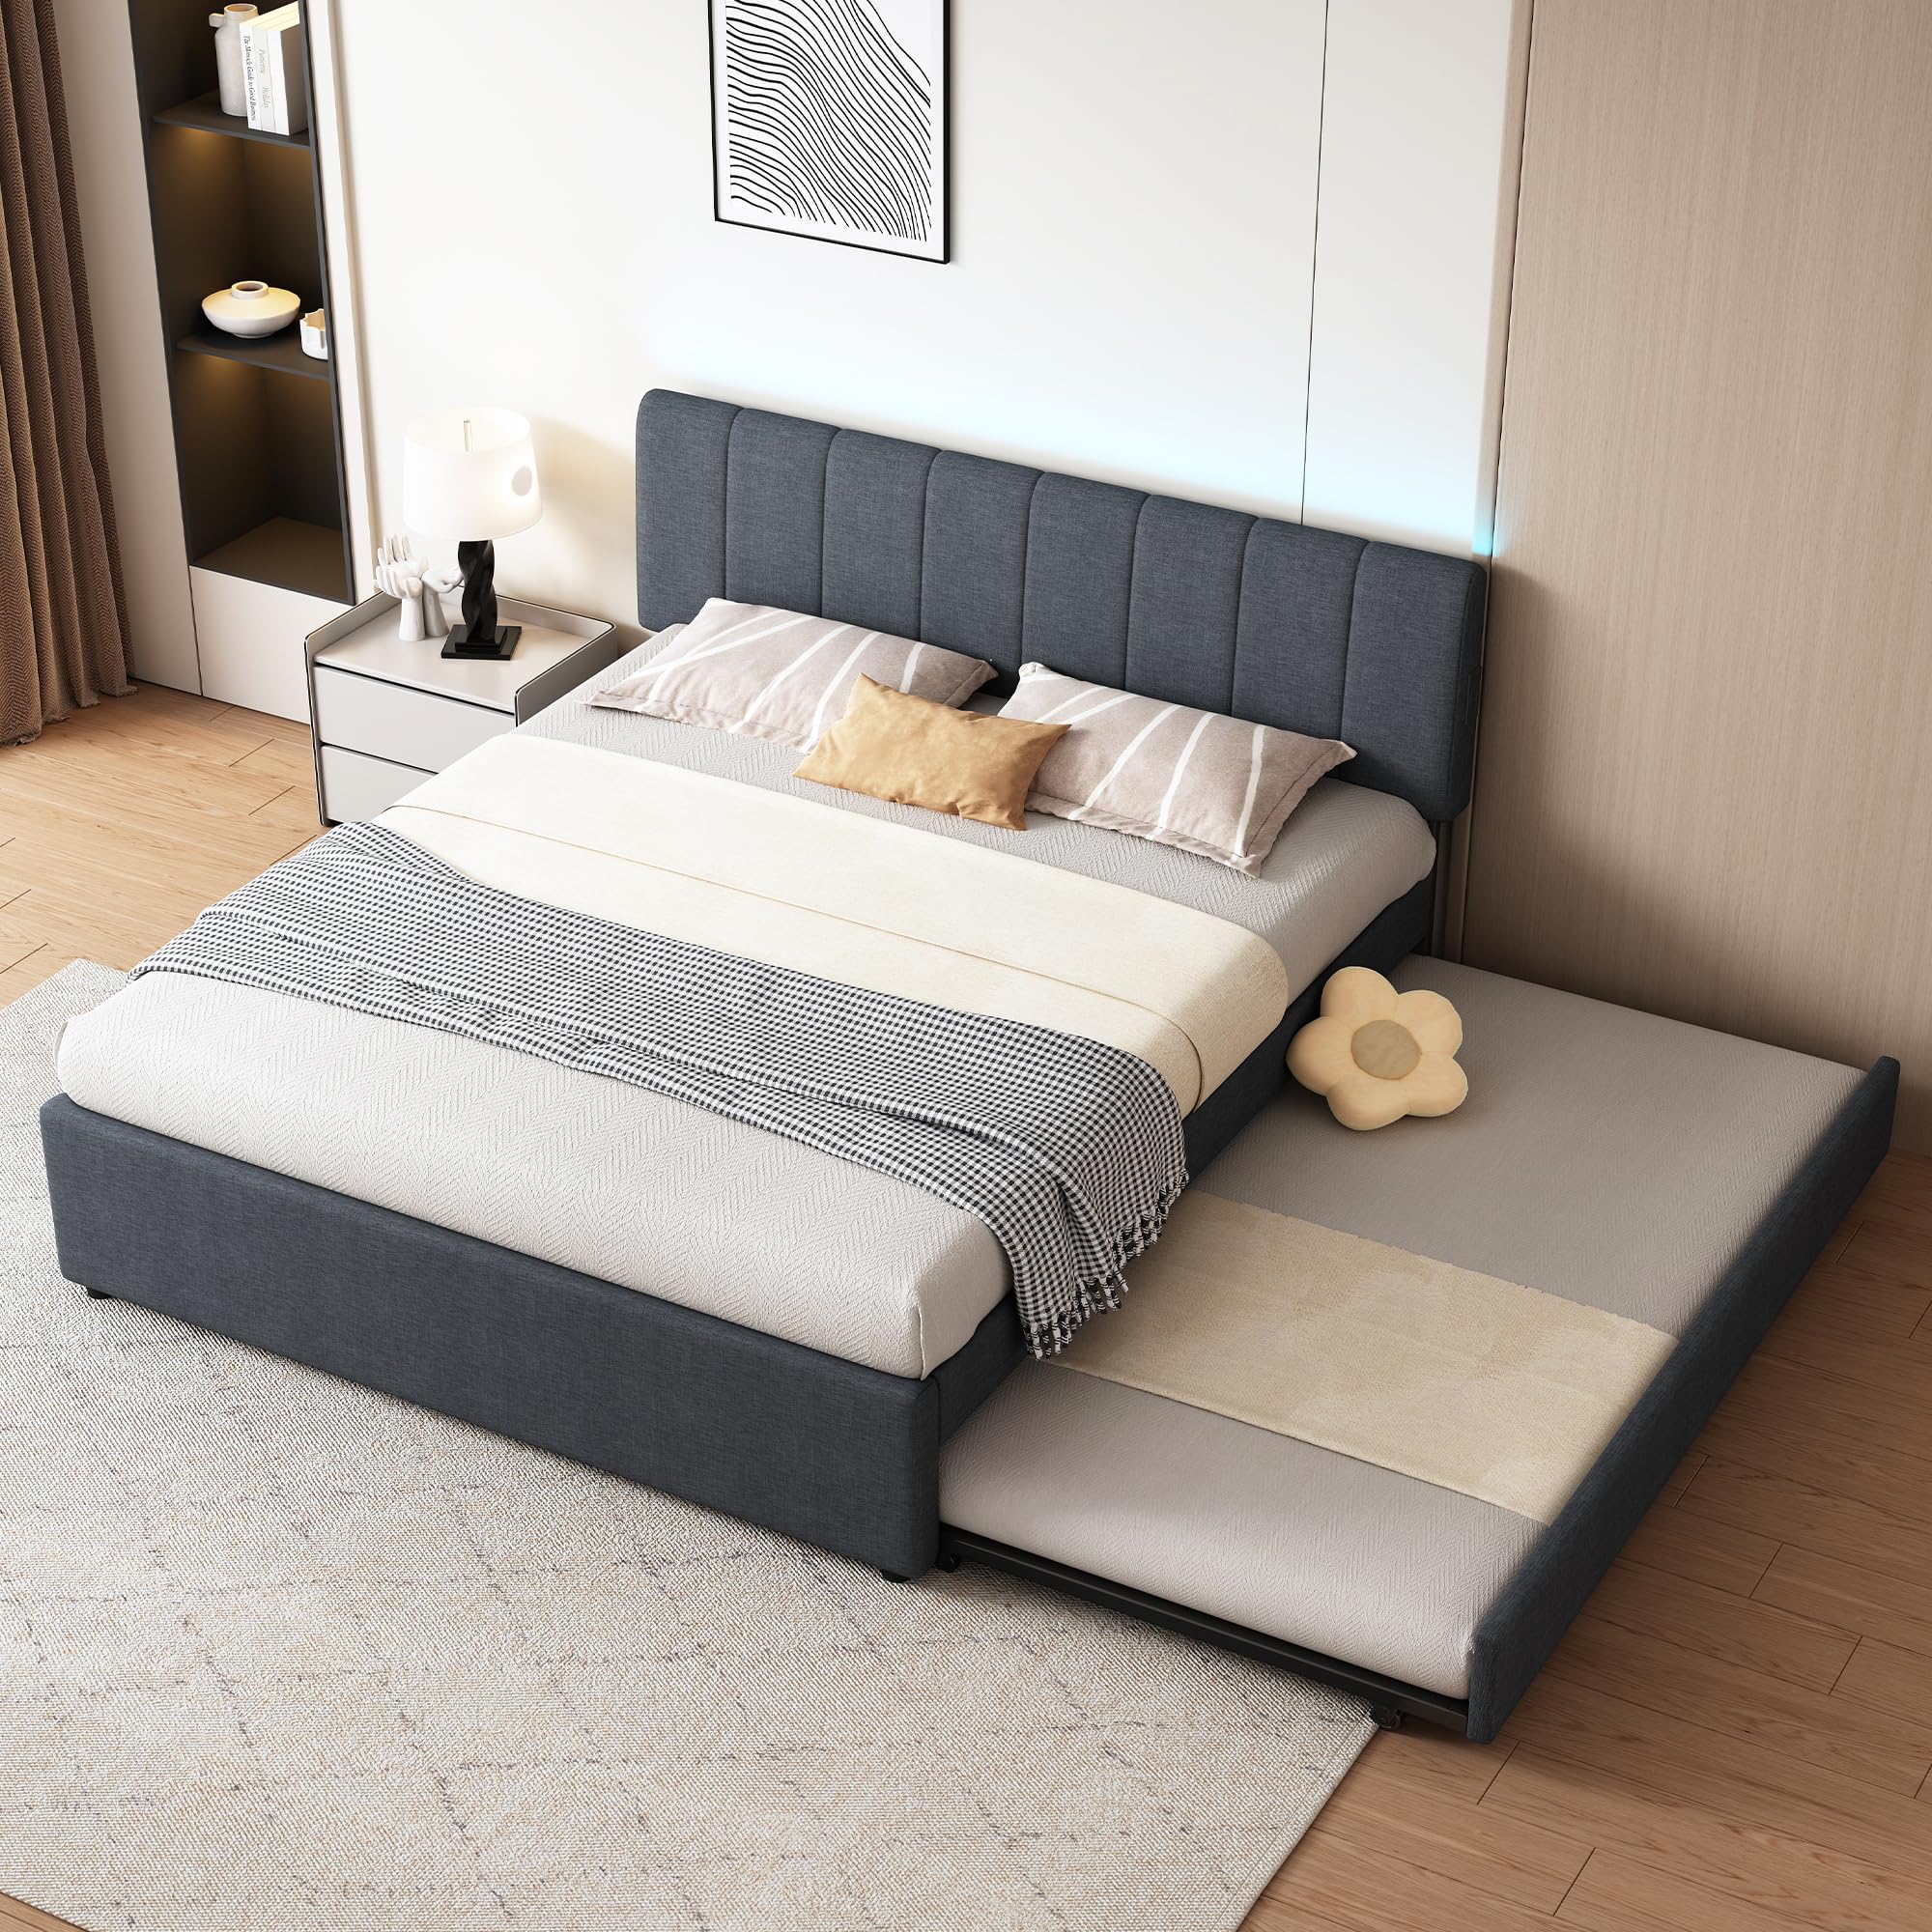
Figure 1.1: Assembled FAVSH Queen Size Upholstered Platform Bed with LED lighting activated.
2. Safety Information
Do not exceed the maximum weight recommendation of 800 pounds. Always assemble and use the bed frame according to the provided instructions to prevent tip-over risks. Be cautious around sharp edges and reinforced components during assembly.
Keep all small parts and packaging materials away from children during assembly to prevent choking hazards. Ensure all connections are securely tightened before use. Periodically check and re-tighten all fasteners to maintain stability.
3. Package Contents
Before beginning assembly, verify that all components listed below are present and undamaged. If any parts are missing or damaged, please contact customer support.
- Installation Manual
- Slats (for main bed and trundle)
- Trundle Frame
- Bed Frame Components (Headboard, Side Rails, Footboard)
- Hardware Pack (screws, bolts, tools)
4. Specifications
| Feature | Detail |
|---|---|
| Size | Queen & Trundle |
| Material | Linen Fabric, Solid Wood, Metal |
| Product Dimensions (L x W x H) | 86"L x 64"W x 40.5"H |
| Trundle Dimensions (L x W x H) | 78.75"L x 41.25"W x 8.75"H |
| Maximum Weight Recommendation | 800 Pounds |
| Charging Ports | 1 USB, 1 Type-C |
| Special Features | LED Lights (APP-controlled), Trundle Bed |

Figure 4.1: Detailed dimensions of the Queen size platform bed and trundle.
5. Assembly Instructions
The user manual included with the bed provides step-by-step instructions for assembly. Follow the instructions carefully to ensure proper setup and stability. It is recommended to assemble the bed with at least two adults.
5.1. Prepare the Area
- Clear a spacious area for assembly.
- Lay out all components and hardware, ensuring nothing is missing.
5.2. Assemble the Main Bed Frame
- Attach the side rails to the headboard and footboard using the provided hardware. Do not fully tighten screws until all major components are connected.
- Insert the central support beam and secure it.
- Place the wooden slats onto the bed frame and secure them according to the manual. Ensure EVA strips are properly positioned to prevent noise.

Figure 5.1: View of the bed frame with wooden slats providing mattress support.
5.3. Assemble the Trundle Bed
- Assemble the trundle frame and attach the wheels.
- Install the wooden slats onto the trundle frame.
- Slide the assembled trundle under the main bed frame. The trundle can be positioned on either the left or right side of the main bed.

Figure 5.2: The trundle bed partially extended from beneath the main bed frame.

Figure 5.3: The trundle bed can be installed to extend from either the left or right side of the main platform bed.
5.4. Final Tightening
Once all components are in place, go back and fully tighten all screws and bolts. Do not overtighten.
6. Operating Instructions
6.1. LED Lighting System
The integrated LED lights in the headboard are controlled via a mobile application. Download the designated app (refer to the included manual for app details) to access over 20 preset colors and 4 dynamic modes. The app allows for customization of lighting effects to suit your preference.
Figure 6.1: The bed's headboard features integrated LED lighting for ambient illumination.
6.2. USB and Type-C Charging Ports
The headboard includes one USB port and one Type-C port for convenient charging of electronic devices. Simply plug your device's charging cable into the appropriate port. Ensure the bed is connected to a power source for the charging ports to function.

Figure 6.2: The side of the headboard where the USB and Type-C charging ports are located.
6.3. Trundle Bed Operation
To use the trundle bed, gently pull it out from under the main bed frame. The wheels allow for smooth extension and retraction. To store, push the trundle back into its position under the main bed until it is fully concealed.

Figure 6.3: The trundle bed fully extended, providing an additional sleeping surface for guests.
7. Maintenance
7.1. Cleaning
- Fabric Upholstery: For general cleaning, use a soft brush or vacuum cleaner with an upholstery attachment to remove dust and debris. For spills, blot immediately with a clean, dry cloth. For stubborn stains, use a mild fabric cleaner following the product's instructions, testing on an inconspicuous area first.
- Frame: Wipe metal or wood components with a damp cloth and mild soap, then dry thoroughly.
7.2. Fastener Checks
Periodically (every 3-6 months), inspect all bolts and screws to ensure they are tight. Re-tighten any loose fasteners to maintain the bed's structural integrity and prevent squeaking.
7.3. LED Lights
The LED lights are designed for long-term use. If issues arise, check the power connection and the app settings. Do not attempt to replace individual LED components.
8. Troubleshooting
| Problem | Possible Cause | Solution |
|---|---|---|
| Bed is wobbly or squeaks | Loose fasteners; uneven floor. | Check and tighten all bolts and screws. Ensure the bed is on a level surface. |
| LED lights not working | Power connection issue; app malfunction. | Verify the bed is plugged into a working outlet. Check the LED controller connection. Restart the control app. |
| USB/Type-C ports not charging | Bed not powered; faulty cable/device. | Ensure the bed is connected to power. Try a different charging cable or device to rule out external issues. |
| Trundle difficult to pull out/push in | Obstruction; dirty wheels. | Check for any objects blocking the trundle's path. Clean the trundle wheels if they are dirty. |
9. Warranty and Support
For any questions, concerns, or to report missing/damaged parts, please contact FAVSH customer support. Refer to your purchase documentation for specific warranty details and contact information.