
1. Safety Instructions
Please read all safety instructions before operating this appliance. Failure to follow these instructions may result in electric shock, fire, or serious injury.
- Always unplug the fan from the power outlet before cleaning, servicing, or moving it.
- Do not insert fingers or any other objects through the grille when the fan is operating.
- Ensure the fan is placed on a stable, level surface to prevent it from tipping over.
- Do not use the fan in wet or damp locations, such as bathrooms or laundry areas.
- Keep the power cord away from heated surfaces.
- Do not operate any fan with a damaged cord or plug. Discard the fan or return it to an authorized service facility for examination and/or repair.
- This appliance is for household use only.
2. Product Components
Familiarize yourself with the parts of your NEWBULIG Pedestal Fan.
- Front Grille
- Fan Blades (5 blades)
- Rear Grille
- Motor Housing
- Height Adjustable Pole
- Base
- Control Panel
- Remote Control

Image: Overview of the NEWBULIG 17-inch Pedestal Fan, showing its main parts.
3. Setup and Assembly
The NEWBULIG Pedestal Fan is designed for tool-free assembly. Follow these steps to set up your fan.
3.1 Base Assembly
- Place the base on a flat surface.
- Insert the adjustable pole into the base and secure it firmly.

Image: Illustration of the fan base and pole assembly.
3.2 Fan Head Assembly
- Attach the rear grille to the motor housing.
- Place the fan blades onto the motor shaft, ensuring they are securely seated.
- Secure the front grille to the rear grille using the provided clips or fasteners.
Image: Exploded view of fan head components for assembly.
3.3 Video Guide: How to Install the Pedestal Fan
Video: A step-by-step guide demonstrating the correct installation process for the NEWBULIG pedestal fan.
4. Operating Instructions
Your NEWBULIG Pedestal Fan offers multiple settings for personalized comfort.
4.1 Control Panel

Image: Detailed view of the fan's integrated control panel.
- Power Button: Turns the fan On or Off.
- Speed Button: Cycles through 3 speed settings (Low, Medium, High).
- Mode Button: Selects between 3 breeze modes (Normal, Natural, Sleep).
- Oscillation Button: Activates or deactivates the 80° wide-angle oscillation.
- Timer Button: Sets the automatic shut-off timer for up to 15 hours.
4.2 Remote Control
The included remote control allows convenient operation from up to 5 meters away.
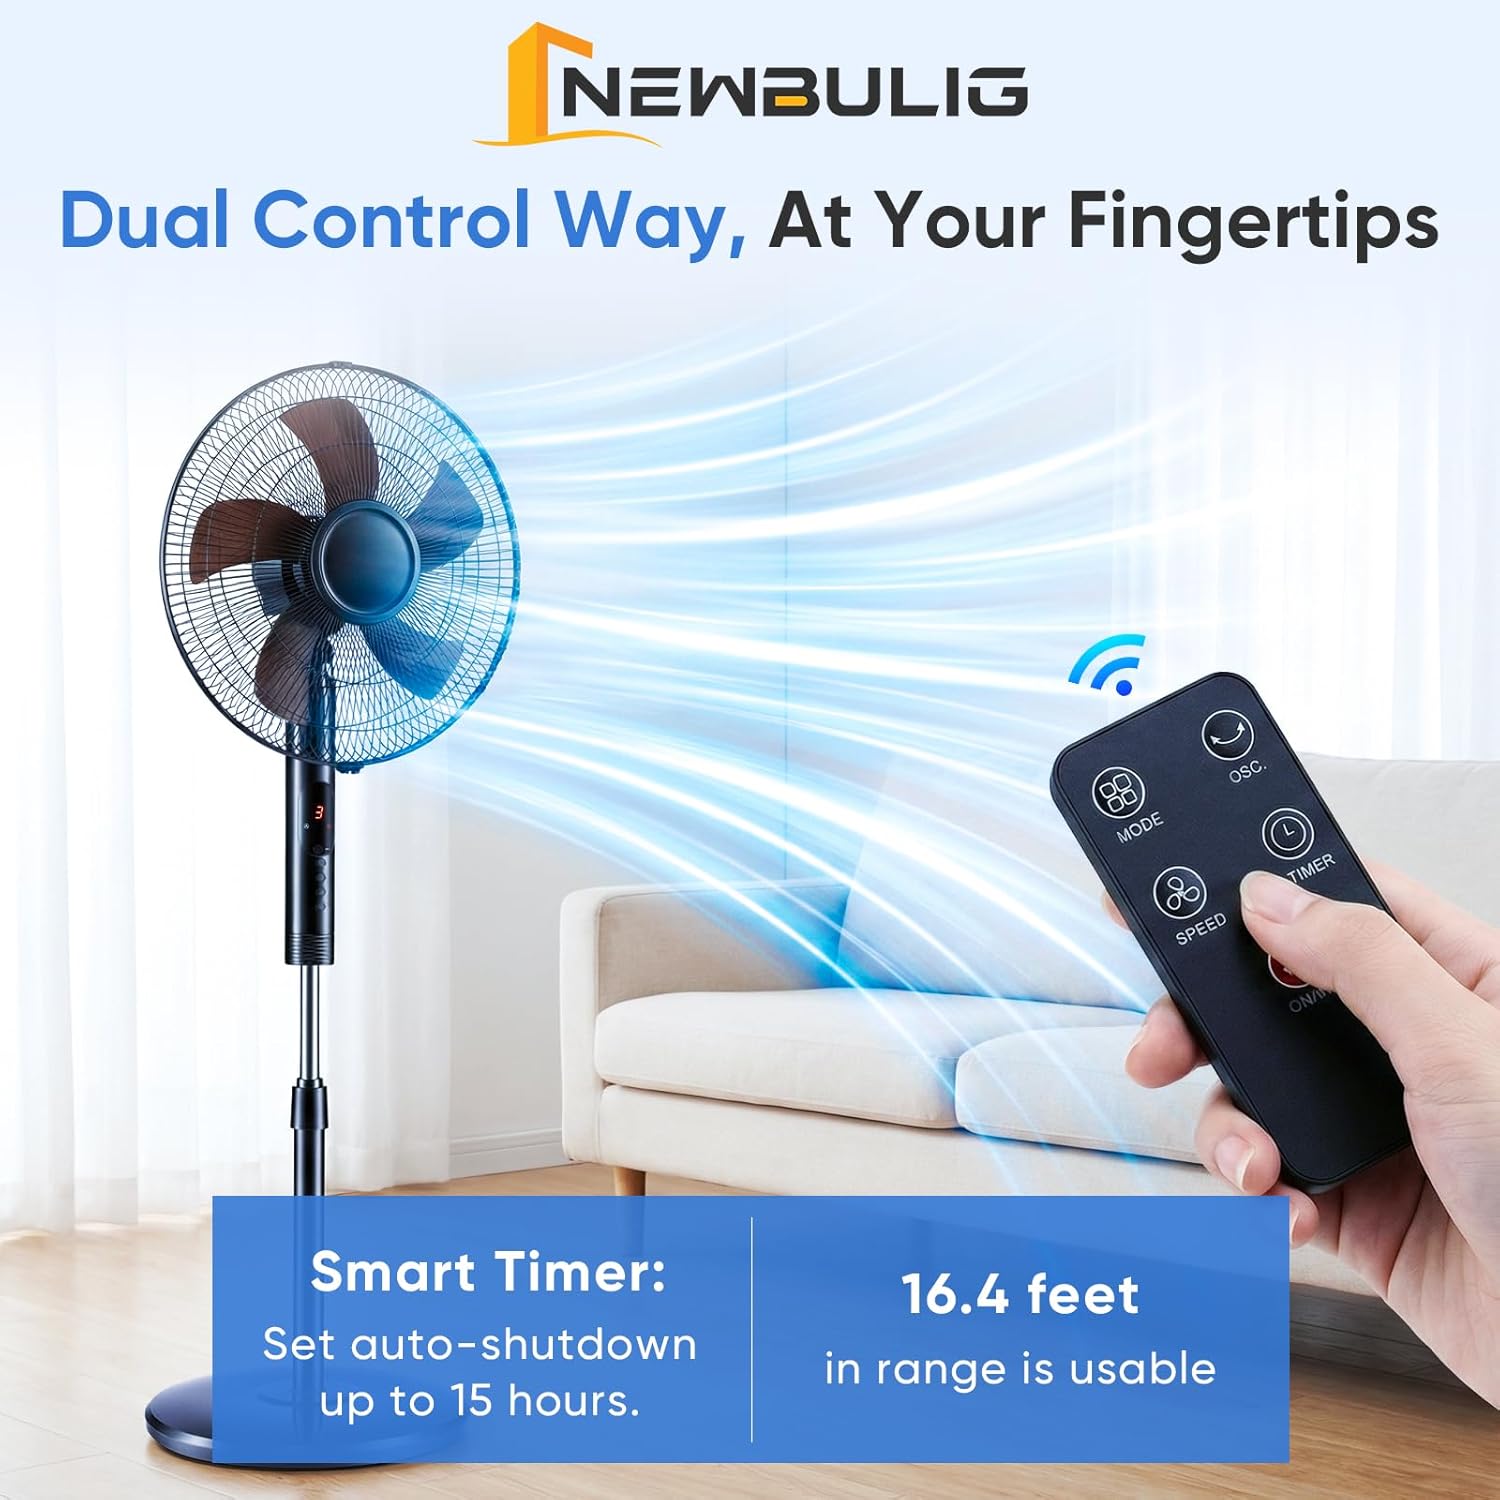
Image: The remote control unit for the fan.
- Ensure batteries are correctly inserted.
- Point the remote control towards the fan's receiver.
- All functions available on the control panel are also accessible via the remote.
4.3 Height and Tilt Adjustment
- Height: Loosen the adjustment knob on the pole, raise or lower the fan to the desired height, and then tighten the knob securely.
- Tilt: Manually adjust the fan head up or down to direct airflow.
5. Maintenance
Regular cleaning ensures optimal performance and extends the life of your fan.
- Always unplug the fan before cleaning.
- Use a soft, damp cloth to wipe the exterior surfaces of the fan. Do not use abrasive cleaners or solvents.
- To clean the fan blades and grilles, remove the front grille. The metal cage with clips makes this process easier. Wipe the blades and grilles with a damp cloth. Ensure all parts are completely dry before reassembling and operating the fan.
- Do not immerse the fan in water or any other liquid.
- Store the fan in a cool, dry place when not in use.
6. Troubleshooting
Refer to this section for common issues and their solutions.
| Problem | Possible Cause | Solution |
|---|---|---|
| Fan does not turn on. | Not plugged in; Power outlet malfunction; Fan switch off. | Ensure the fan is securely plugged into a working outlet. Check the power switch on the fan and the wall outlet. |
| Remote control not working. | Dead batteries; Obstruction between remote and fan; Remote not pointed correctly. | Replace remote control batteries. Ensure there are no obstructions. Point the remote directly at the fan's control panel. |
| Fan makes unusual noise (e.g., clicking). | Loose parts; Obstruction in blades/grille; Fan not on a level surface. | Unplug the fan and check for any loose parts or obstructions. Ensure the fan is on a stable, level surface. |
| Weak airflow. | Fan speed too low; Dirty blades/grille. | Increase the fan speed setting. Unplug the fan and clean the blades and grilles as per maintenance instructions. |
7. Specifications
Key technical details for the NEWBULIG 17-inch Pedestal Fan.
| Feature | Detail |
|---|---|
| Brand | NEWBULIG |
| Model Number | AC-DSV6ALD-16BK |
| Product Dimensions (D x W x H) | 17.13" x 17.13" x 51.18" |
| Item Weight | 10.7 Pounds |
| Power Source | Electric (Corded) |
| Wattage | 80 watts |
| Voltage | 120 Volts |
| Number of Speeds | 3 |
| Breeze Modes | 3 (Normal, Natural, Sleep) |
| Noise Level | 56 Decibels |
| Oscillation | 80° Wide-Angle |
| Timer | Up to 15 hours |
| Control Method | Button Control, Remote Control |
| Material | Copper, Iron, Polypropylene |
| Indoor/Outdoor Usage | Indoor Only |
8. Warranty and Support
For warranty information, please refer to the documentation included with your purchase or contact the retailer where the product was acquired. Specific warranty terms and conditions may vary.
For technical support or inquiries regarding your NEWBULIG Pedestal Fan, please contact the manufacturer or your point of purchase. Keep your model number (AC-DSV6ALD-16BK) and purchase receipt handy for faster service.
