
Full Size Loft Metal Bed
Generic Full Size Loft Metal Bed User Manual
Model: Full Size Loft Metal Bed
Introduction
Thank you for choosing the Generic Full Size Loft Metal Bed. This manual provides essential information for the safe assembly, operation, and maintenance of your new loft bed. Please read all instructions carefully before beginning assembly and retain this manual for future reference.
Important Safety Information
- Weight Capacity: The maximum bearing capacity for this loft bed is 400 pounds. Do not exceed this limit.
- Guardrails: The top bunk is equipped with full-length and heightened guardrails. Ensure they are always securely fastened.
- Mattress Height: Ensure the top of the mattress is at least 5 inches (12.7 cm) below the upper edge of the guardrail. Recommended mattress thickness is 4-6 inches.
- Anti-Tipping: Use the provided anti-tipping hardware to securely fasten the bed to the wall for added safety.
- Assembly: Assembly should be performed by at least two adults. Follow all steps precisely.
- Regular Checks: Periodically check all bolts and connections to ensure they remain tight.
- Children: Do not allow children under 6 years of age on the upper bunk.
- Electrical Safety: Ensure the charging station and LED lights are connected to a suitable power source and avoid overloading.
Setup and Assembly
Before you begin, ensure all parts are present and undamaged. It is recommended to assemble the bed in the room where it will be used. Two adults are required for safe assembly.
1. Unpack and Identify Components
Carefully unpack all components from the packaging. Lay them out on a clean, soft surface to prevent scratches. Refer to the included parts list (not provided in this manual, refer to your packaging) to identify each piece.
2. Assemble the Main Frame
Begin by connecting the main metal frame components. Use the provided hardware to secure all connections. Ensure all bolts are finger-tight before fully tightening them later.

Image: Side view of the loft bed frame, illustrating the metal structure and support beams.
3. Install the Stairs and Shelves
Attach the stairs to the main frame. The stairs are designed to be lengthened and widened, providing additional storage space. Secure the wooden shelves onto the stair frame and any other designated shelf areas.

Image: Detailed view of the integrated stairs, desk surface, and the built-in charging station.

Image: Close-up of the wooden shelves, demonstrating their integration into the bed's structure for storage.
4. Attach the Desk and Charging Station
Position and secure the built-in desk under the loft bed. The charging station is typically integrated into the desk surface. Ensure all electrical connections for the charging station are properly routed and secured.
5. Install Bed Slats and Guardrails
Place the metal bed slats across the top bunk frame. These slats eliminate the need for a box spring. Secure the full-length guardrails around the perimeter of the top bunk. Double-check that all guardrail connections are tight and secure.
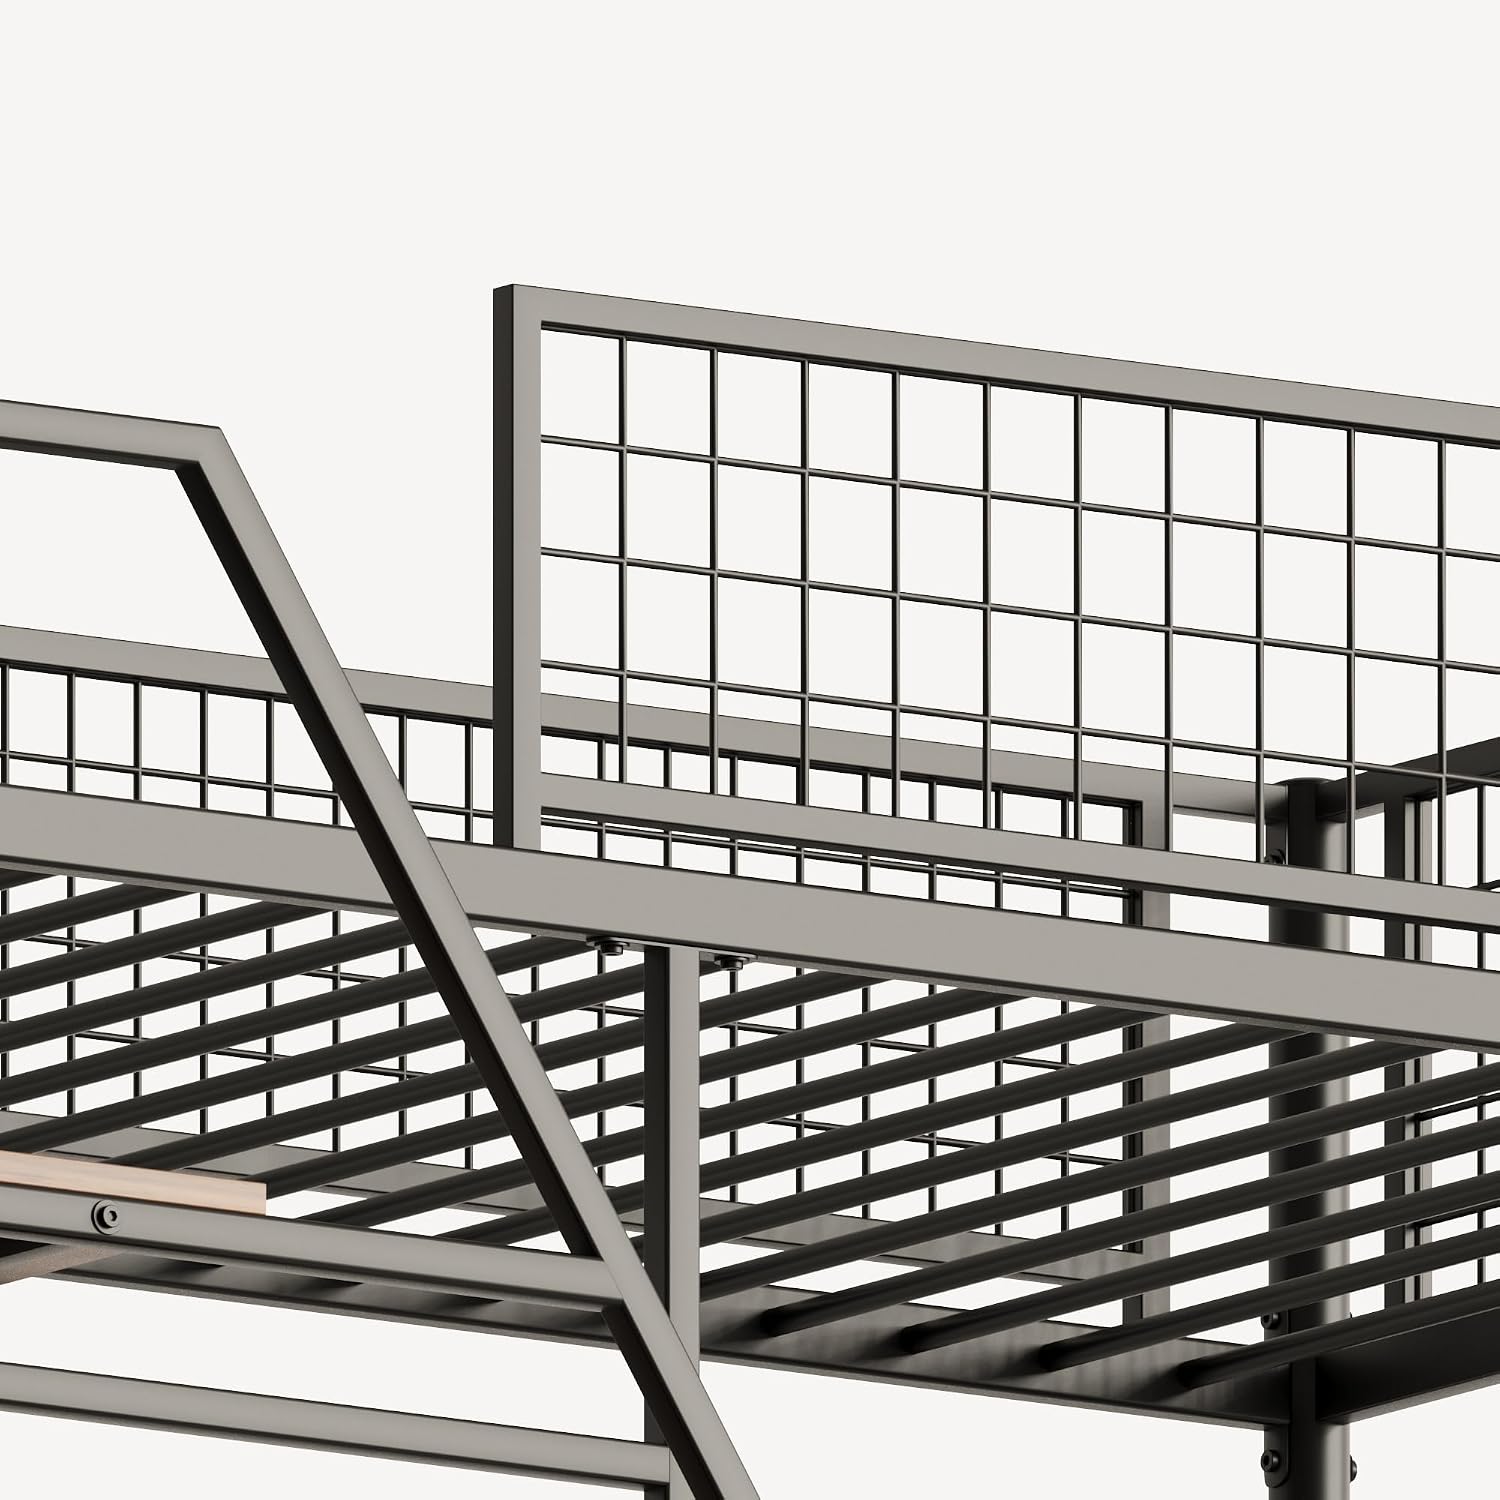
Image: Close-up view of the metal bed frame and the protective guardrail on the top bunk.
6. Connect LED Lighting
Route and connect the LED lighting strips as indicated in your specific assembly diagram. Ensure all connections are secure and the wiring is safely tucked away to prevent damage.
7. Final Tightening and Anti-Tipping Installation
Once all components are assembled, go back and fully tighten all bolts and screws. Install the anti-tipping hardware to secure the bed to a wall stud. This is a critical safety step.

Image: The fully assembled loft bed, showcasing the integrated stairs, desk, and charging station.
Operating Instructions
Charging Station
The built-in charging station provides convenient power outlets and USB ports. To use, simply plug the bed's power cord into a standard wall outlet. Then, connect your devices to the charging station's ports. Avoid overloading the charging station with too many high-power devices simultaneously.
LED Lighting
The integrated LED lights can be controlled via a switch or remote (if included). Refer to the specific instructions for your LED light kit for details on changing colors, brightness, or modes. Ensure the LED power adapter is securely plugged in.
Maintenance
- Cleaning: Wipe down metal and wood surfaces with a soft, damp cloth. Avoid harsh chemicals or abrasive cleaners that could damage the finish.
- Hardware Check: Periodically (e.g., every 3-6 months) inspect all bolts, screws, and connections to ensure they are tight. Re-tighten as necessary to maintain stability and safety.
- Electrical Components: Ensure the charging station and LED light wiring are free from damage. If any wiring is frayed or exposed, discontinue use and contact customer support.
- Foot Pads: Check the wear-resistant foot pads on the bed legs to ensure they are intact and preventing unwanted sliding and noise.
Troubleshooting
| Problem | Possible Cause | Solution |
|---|---|---|
| Bed feels wobbly or unstable. | Loose bolts or screws. Anti-tipping hardware not installed or loose. | Check and tighten all assembly hardware. Ensure anti-tipping hardware is securely fastened to a wall stud. |
| Charging station not working. | Not plugged into wall outlet. Overloaded circuit. Damaged wiring. | Ensure the bed's power cord is securely plugged into a functional wall outlet. Unplug some devices if overloaded. Inspect wiring for damage; if damaged, discontinue use and contact support. |
| LED lights not turning on. | LED power adapter unplugged. Faulty connection. | Check that the LED power adapter is securely plugged into both the bed and the wall outlet. Verify all LED strip connections are firm. |
| Squeaking noises. | Loose connections between metal parts. | Identify the source of the squeak and tighten the corresponding bolts. Applying a small amount of lubricant (e.g., silicone spray) to contact points may help. |
Specifications
- Model: Full Size Loft Metal Bed
- Brand: Generic
- Material: Metal, Wood
- Color: Black
- Style: Modern
- Product Dimensions (L x W x H): 78.11" x 88.27" x 70.87"
- Maximum Weight Capacity: 400 lbs
- Special Features: Built-in Charging Station, LED Lighting, Integrated Desk, Storage Shelves, Full-length Guardrails, Anti-Tipping Hardware
- Recommended Mattress Thickness: 4-6 inches
Warranty and Support
For warranty information or technical support, please refer to the documentation included with your purchase or contact the retailer/manufacturer directly. Keep your purchase receipt for warranty claims.
Related documentsFull Size Loft Metal Bed


Ask a question about this manual
Ask about setup, troubleshooting, compatibility, parts, safety, or missing instructions. Manuals+ will review the question and use this page’s manual context to help answer it.