
1. Introduction
This manual provides detailed instructions for the assembly, operation, and maintenance of your COSIEST 12x25 FT 2-in-1 Carport Storage Shed (Model H1005100). This versatile structure is designed to provide shelter for vehicles and additional enclosed storage space. Please read this manual thoroughly before beginning assembly or use to ensure safe and correct installation and operation.
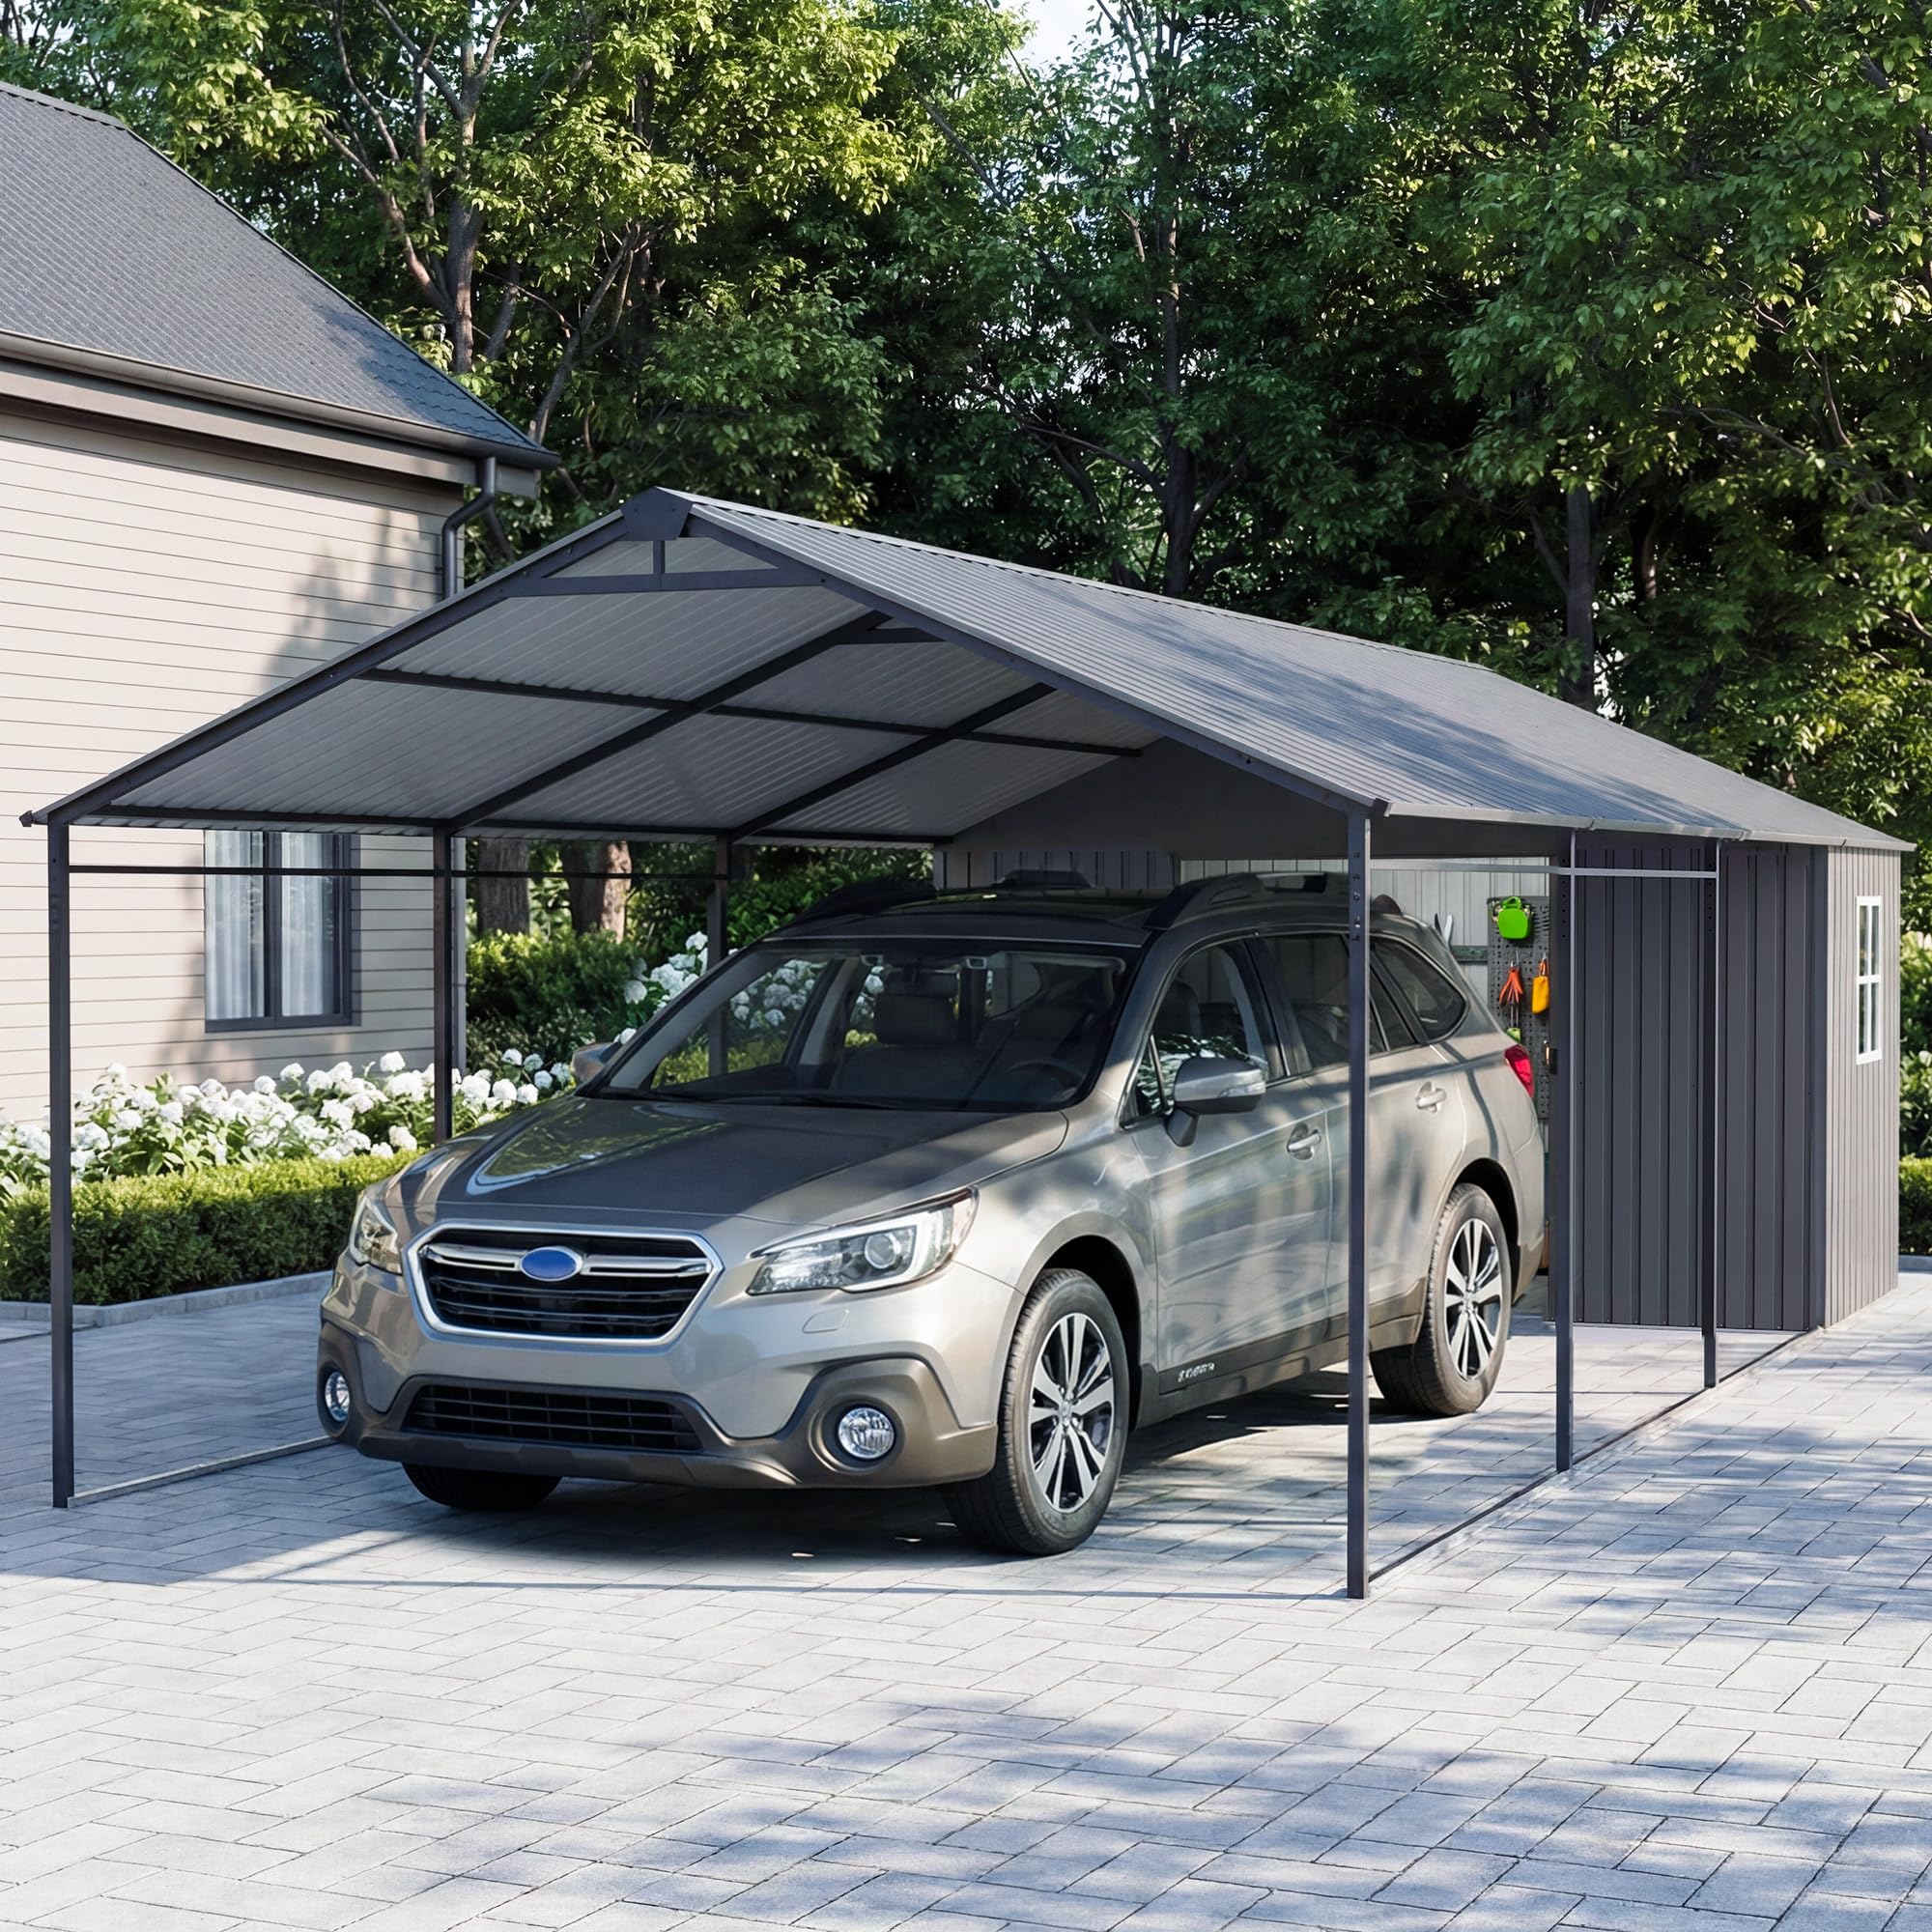
Image 1.1: The COSIEST 12x25 FT 2-in-1 Carport Storage Shed providing shelter for a vehicle.
2. Safety Information
WARNING: Failure to follow these safety instructions may result in serious injury or property damage.
- Assembly requires at least 3 people. Attempting assembly with fewer individuals may lead to injury or damage to the product.
- Always secure the structure to a stable foundation using appropriate anchoring methods to prevent tipping, especially in windy conditions. Consult local building codes for anchoring requirements.
- Keep children and pets away from the assembly area to prevent accidents.
- Do not exceed the weight limit of 70kg/m² (approximately 150 lbs/sq.ft) for the roof. Excessive snow or debris accumulation must be cleared promptly.
- Wear appropriate safety gear, including gloves and eye protection, during assembly.
- Inspect all components for damage before assembly. Do not use damaged parts.
- Ensure the assembly area is clear of obstructions and level.
- In case of severe weather conditions (heavy snow, strong winds), consider disassembling the structure or taking additional precautions to secure it.
3. Components List
Before beginning assembly, verify that all parts listed below are present and undamaged. Refer to the separate parts diagram for visual identification of each component.
- Metal Frame Pipes (various lengths and shapes)
- Roof Panels (Galvanized Steel)
- Wall Panels (for enclosed storage section)
- Connectors and Joints
- Fasteners (bolts, nuts, washers, screws)
- Anchoring Hardware (ground stakes, expansion bolts, etc. - specific type may vary)
- Door Assembly (for storage section)
- Assembly Tools (wrenches, screwdrivers - not included)

Image 3.1: Example of the 2-in-1 Carport Storage Shed structure, highlighting the carport and enclosed storage sections.
4. Setup and Assembly
Assembly of the COSIEST 12x25 FT 2-in-1 Carport Storage Shed requires careful attention to detail and adherence to the following steps. It is strongly recommended to have at least three people for assembly.
- Site Preparation: Choose a level, stable area for installation. Clear any debris, rocks, or vegetation. Ensure adequate space around the structure for assembly.
- Unpack and Organize: Carefully unpack all components and lay them out according to the parts diagram. Group similar parts together for easier access.
- Assemble Base Frame: Connect the horizontal and vertical base frame pipes using the provided connectors and fasteners. Ensure all connections are secure but do not fully tighten bolts until the entire frame is assembled.
- Erect Vertical Supports: Attach the vertical support pipes to the base frame. Gradually raise the structure, securing each vertical support. This step requires multiple people to hold the frame steady.
- Install Roof Frame: Connect the roof frame pipes to the vertical supports. Ensure the roof pitch is correctly oriented.
- Attach Roof Panels: Carefully lift and secure the galvanized steel roof panels to the roof frame using the designated fasteners. Overlap panels as instructed to ensure water resistance.
- Assemble Storage Section: Construct the enclosed storage section frame and attach the wall panels. Install the door assembly according to the specific instructions for that component.
- Final Tightening: Once the entire structure is assembled and aligned, systematically tighten all bolts and fasteners.
- Anchoring: Securely anchor the carport to the ground using the provided anchoring hardware. For concrete foundations, use expansion bolts. For soil, use ground stakes. Ensure anchors are driven deep enough to provide maximum stability.
Refer to the detailed assembly diagrams included in your packaging for specific component identification and step-by-step visual guidance. Do not deviate from the instructions.
5. Operating Instructions
The COSIEST 12x25 FT 2-in-1 Carport Storage Shed is designed for sheltering vehicles and providing secure storage. Follow these guidelines for optimal use:
- Vehicle Parking: Drive vehicles into the carport section carefully, ensuring adequate clearance on all sides. Avoid contact with the frame or roof panels.
- Storage Use: Utilize the enclosed storage section for tools, equipment, or other items. Ensure the door is securely closed and locked when not in use to protect contents from weather and theft.
- Weight Distribution: When storing items, distribute weight evenly within the storage section. Do not lean heavy objects against the walls or frame.
- Ventilation: If storing items that require ventilation, ensure the storage section is not completely sealed.
- Weather Conditions: In anticipation of heavy snow, high winds, or other severe weather, take extra precautions. Clear snow from the roof promptly to prevent exceeding the weight limit. Consider temporary bracing or additional anchoring in extreme wind conditions.
6. Maintenance
Regular maintenance will extend the lifespan of your COSIEST Carport Storage Shed and ensure its continued safety and functionality.
- Regular Inspection: Periodically inspect the entire structure for loose bolts, damaged panels, or signs of corrosion. Tighten any loose fasteners immediately.
- Cleaning: Clean the roof and panels regularly to remove dirt, leaves, and other debris. Use a mild soap solution and a soft brush or cloth. Avoid abrasive cleaners or harsh chemicals that could damage the finish.
- Snow Removal: During winter, promptly remove snow accumulation from the roof to prevent structural stress and potential collapse. Do not use sharp tools that could damage the roof panels.
- Anchoring Check: Verify that the anchoring system remains secure, especially after strong winds or heavy rain. Re-secure or replace anchors as needed.
- Corrosion Prevention: If any scratches or chips appear on the metal frame or panels, touch them up with rust-inhibiting paint to prevent corrosion.
- Door Maintenance: Lubricate door hinges and latches periodically to ensure smooth operation.
7. Troubleshooting
This section addresses common issues you might encounter with your carport storage shed.
| Problem | Possible Cause | Solution |
|---|---|---|
| Structure feels unstable or wobbly. | Loose fasteners; inadequate anchoring; uneven ground. | Tighten all bolts and nuts. Check and reinforce ground anchors. Ensure the installation surface is level. |
| Water leakage from the roof. | Improperly overlapped roof panels; damaged panels; loose fasteners. | Inspect roof panel overlaps and seal any gaps. Check for and replace damaged panels. Tighten roof fasteners. |
| Door to storage section sticks or does not close properly. | Misaligned frame; dirty or corroded hinges/latch. | Check the squareness of the storage section frame. Clean and lubricate hinges and latch. Adjust door alignment if possible. |
| Rust spots appearing on metal parts. | Scratches or chips in the protective coating. | Clean the affected area and apply rust-inhibiting paint. |
If you encounter a problem not listed here or require further assistance, please contact COSIEST customer support.
8. Specifications
| Feature | Detail |
|---|---|
| Model Number | H1005100 |
| Brand | COSIEST |
| Dimensions (L x W) | 12 x 25 FT |
| Floor Area | 300 square feet |
| Material | Metal (Galvanized Steel Roof) |
| Color | Gray |
| Roof Weight Limit | 70kg/m² (~150 lbs/sq.ft) |
| Water Resistance Level | Waterproof |
| UV Protection | Yes |
9. Warranty and Customer Support
For warranty information, please refer to the documentation provided with your purchase or visit the official COSIEST website. If you have any questions regarding assembly, operation, maintenance, or require replacement parts, please contact COSIEST customer support:
- Online Support: Visit the COSIEST Store on Amazon for product information and contact options.
- Manufacturer Contact: Refer to your purchase receipt or product packaging for direct manufacturer contact details.
Please have your model number (H1005100) and purchase date available when contacting support.