
1. Introduction
This manual provides essential information for setting up, operating, maintaining, and troubleshooting your MSI Aegis ZS2 Gaming Desktop. Please read this manual thoroughly before using your new system to ensure proper functionality and longevity. Keep this manual for future reference.
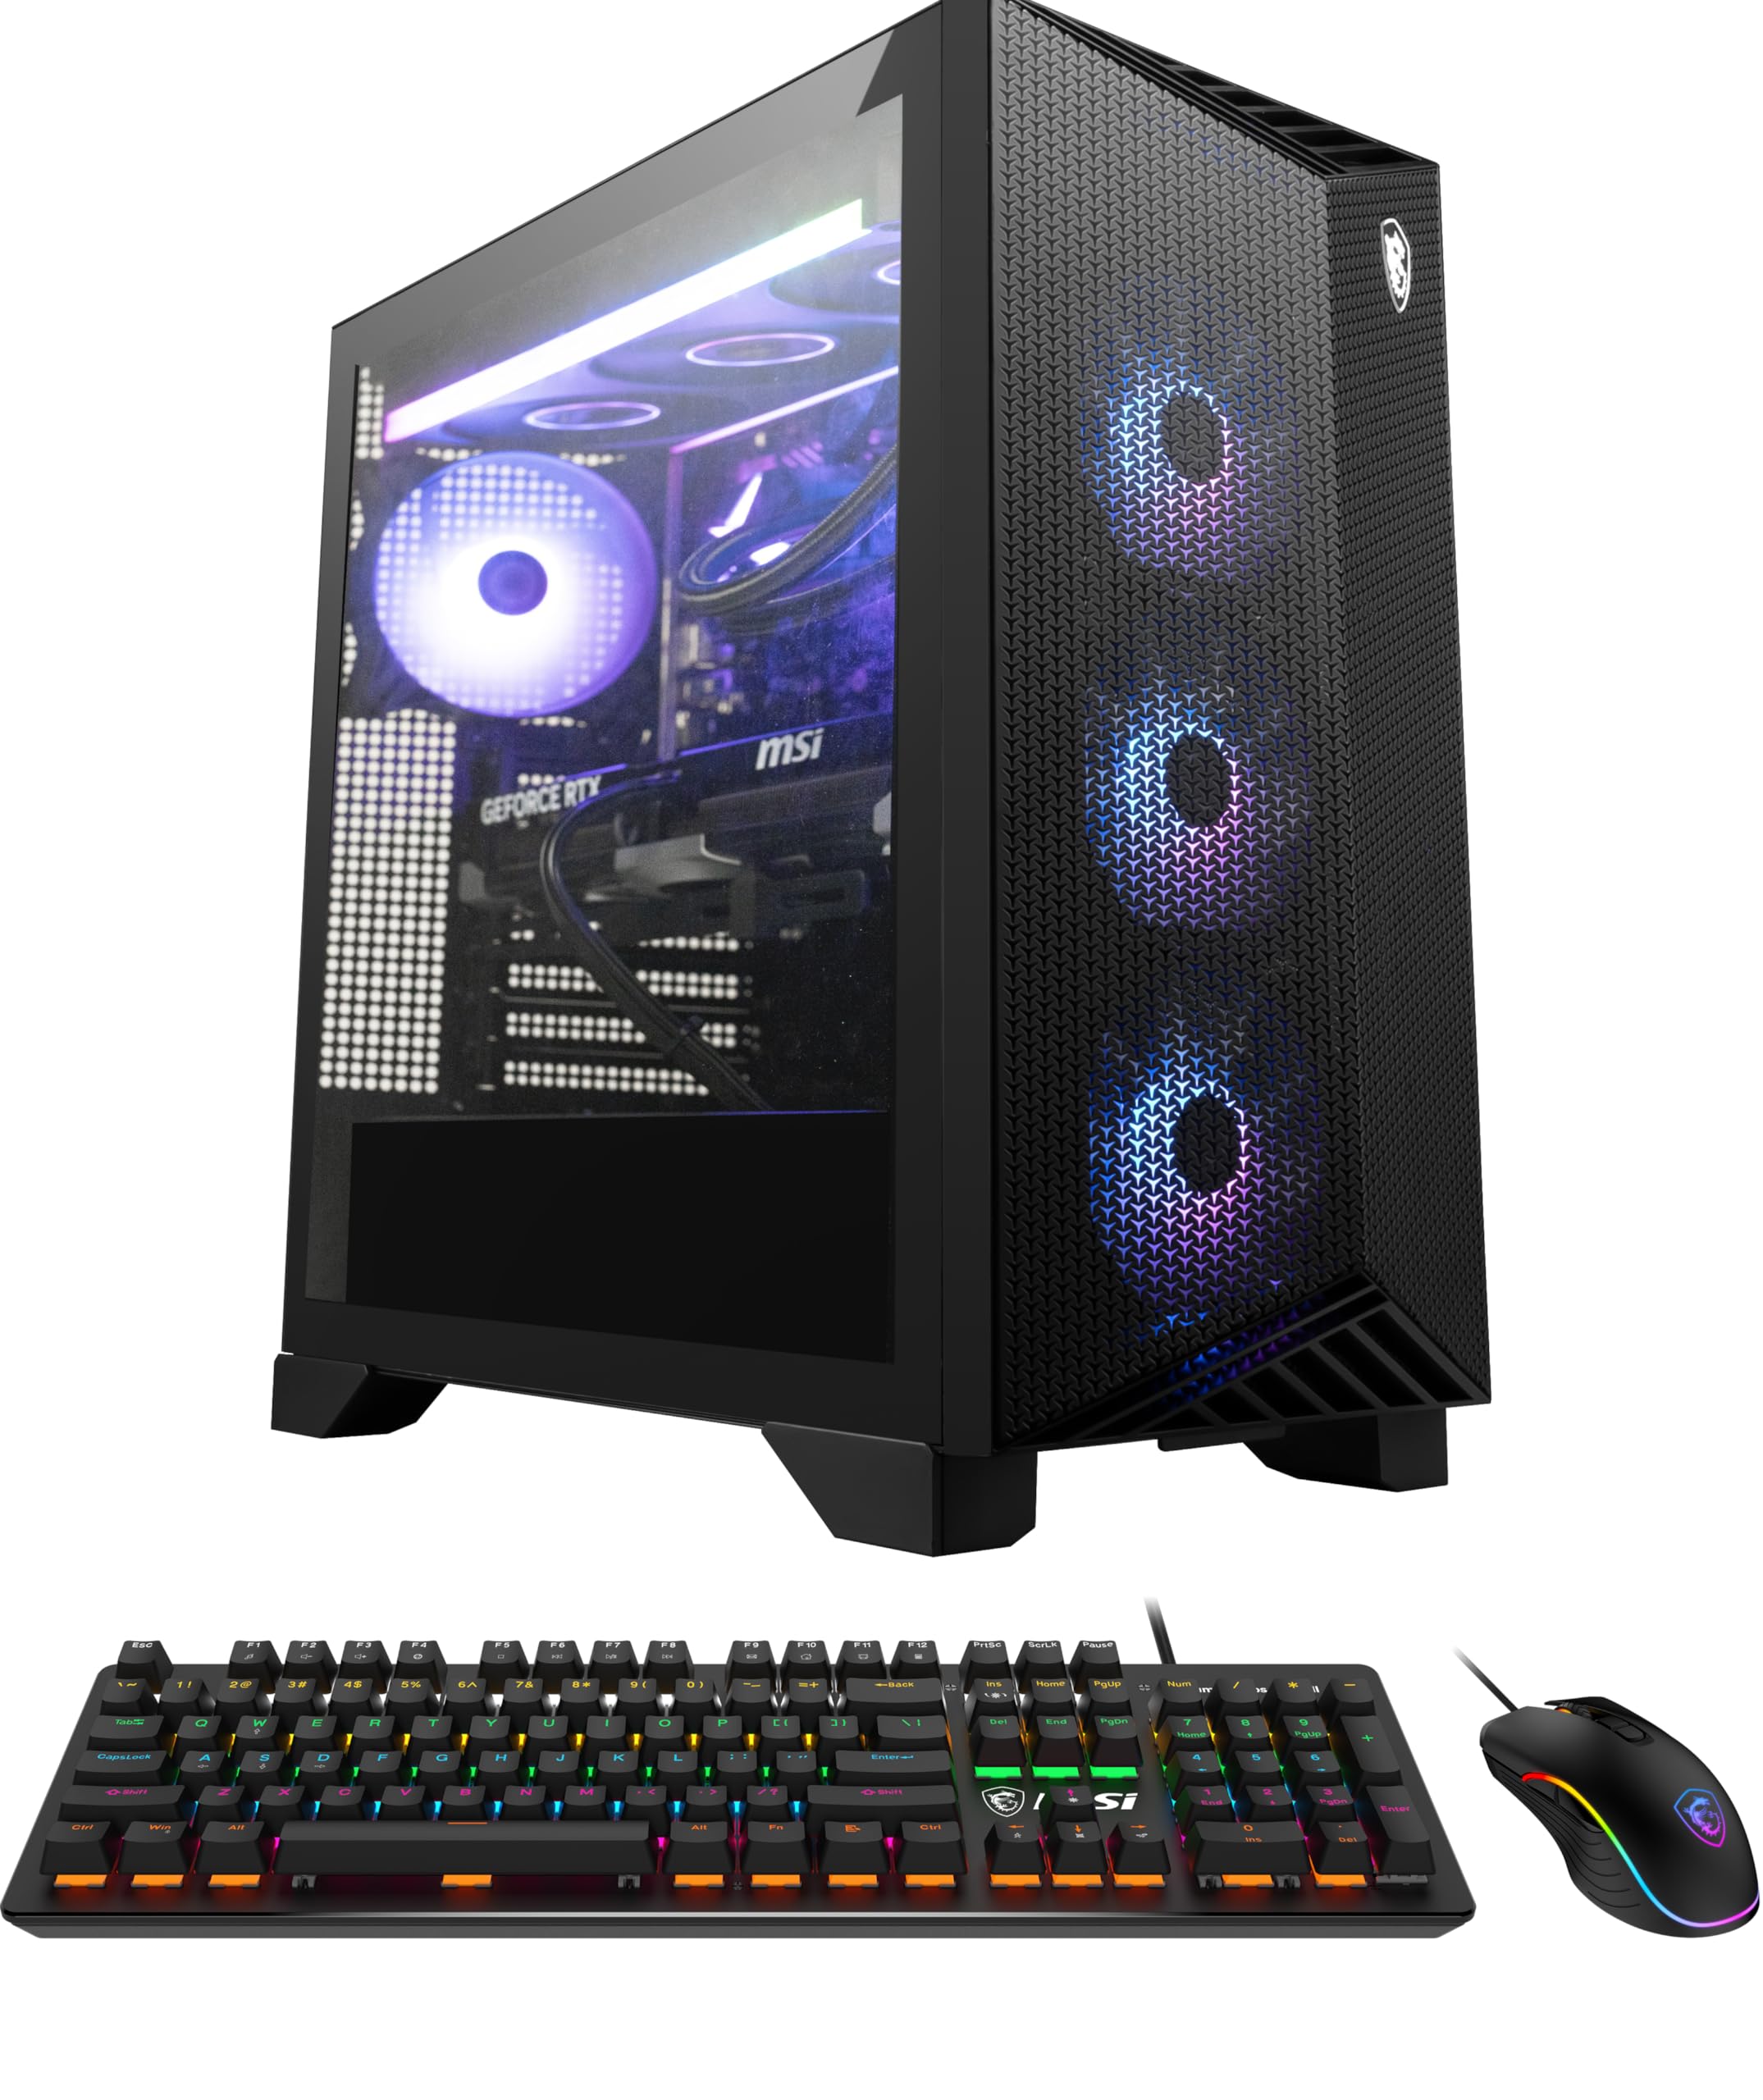
Image 1.1: The MSI Aegis ZS2 Gaming Desktop tower.
2. Safety Information
Observe the following safety precautions to prevent damage to your system and ensure personal safety:
- Always disconnect the power cord from the electrical outlet before cleaning or performing any maintenance.
- Do not expose the system to moisture, extreme temperatures, or direct sunlight.
- Place the desktop on a stable, flat surface to prevent accidental falls.
- Ensure adequate ventilation around the desktop to prevent overheating. Do not block any ventilation openings.
- Only use power adapters and cables approved by MSI.
- Avoid opening the chassis unless instructed by official MSI support or a qualified technician.
3. Package Contents
Verify that all items are present in your package:
- MSI Aegis ZS2 Gaming Desktop
- Power Cord
- Wired Gaming Keyboard
- Wired Gaming Mouse
- Quick Start Guide and Documentation

Image 3.1: The MSI Aegis ZS2 Gaming Desktop with included peripherals.
4. Setup
4.1 Unpacking and Placement
- Carefully remove the desktop and all accessories from the packaging.
- Place the desktop on a flat, stable surface with sufficient space for ventilation.
- Remove any protective films or internal packaging materials from the chassis.
4.2 Connecting Peripherals
- Monitor: Connect your monitor to the graphics card's DisplayPort or HDMI output. The graphics card is typically located in the lower slots on the rear of the PC.
- Keyboard and Mouse: Connect the wired gaming keyboard and mouse to any available USB ports on the rear I/O panel.
- Network: For a wired connection, connect an Ethernet cable to the LAN port. For wireless, ensure the Wi-Fi antennas are securely attached (if external).
- Audio: Connect speakers or headphones to the audio output jacks.

Image 4.1: Rear I/O panel with various connectivity options.
4.3 Power Connection and Initial Boot
- Connect the power cord to the desktop's power input and then to a grounded electrical outlet.
- Press the power button located on the front panel of the desktop.
- Follow the on-screen instructions to complete the Windows 11 Home setup.
5. Operating Your Desktop
5.1 Windows 11 Home
Your MSI Aegis ZS2 comes pre-installed with Windows 11 Home. Familiarize yourself with the operating system's interface, settings, and features for optimal use.
5.2 Liquid Cooling System
The system features an MSI exclusive 360mm CPU liquid cooler designed for maximum heat dissipation. This ensures stable performance even during demanding tasks and gaming sessions.

Image 5.1: Internal view highlighting the 360mm liquid cooling system.
5.3 RGB Lighting Control
The desktop includes built-in RGB lighting. You can cycle through various lighting options by pressing the dedicated MSI LED button on the front panel. For advanced customization, use the MSI Center software.

Image 5.2: The MSI Aegis ZS2 showcasing its RGB lighting.
6. Maintenance
6.1 Cleaning
- Use a soft, dry cloth to clean the exterior of the desktop.
- For dust accumulation, use compressed air to gently clear vents and fan areas.
- Do not use liquid cleaners directly on the components.
6.2 Software Updates
Regularly update your Windows operating system, graphics drivers (NVIDIA GeForce), and MSI utilities to ensure optimal performance and security. These updates often include performance enhancements and bug fixes.
7. Troubleshooting
If you encounter issues, refer to the following common problems and solutions:
| Problem | Possible Solution |
|---|---|
| No power when pressing the power button. | Ensure the power cord is securely connected to both the desktop and the electrical outlet. Check the power switch on the power supply unit (if present). |
| No display on the monitor. | Verify that the monitor is powered on and connected to the graphics card's output, not the motherboard's integrated graphics ports. Try a different cable or monitor. |
| System is slow or unresponsive. | Check for background applications consuming resources. Ensure drivers are up to date. Run a system diagnostic or antivirus scan. |
| Overheating issues. | Ensure proper ventilation around the chassis. Clean dust from vents and fans. Monitor temperatures using MSI Center software. |
For more complex issues, please contact MSI customer support.
8. Specifications
| Component | Detail |
|---|---|
| Model Name | Aegis ZS2 B9NVV-1615CA |
| Processor | AMD Ryzen R9-9900X (4.4 GHz base, up to 5.6 GHz boost) |
| Graphics Card | NVIDIA GeForce RTX 5080 16G GDDR7 256-bit |
| Memory (RAM) | 32GB DDR5 (6000 MT/s), Max 96GB |
| Storage | 2TB M.2 NVMe PCIe 4.0 SSD |
| Operating System | Windows 11 Home |
| Cooling System | MSI 360mm CPU Liquid Cooler |
| Connectivity | Wi-Fi 7 (802.11.be), Bluetooth 5.3, Ethernet |
| I/O Ports | USB Type-C, USB Type-A, HDMI, DisplayPort, Audio Jacks |
| Dimensions (HxWxD) | 49.3 x 23.1 x 48.3 cm |
| Weight | 16.74 kg |
9. Warranty and Support
Your MSI Aegis ZS2 Gaming Desktop comes with a 1 Year Limited Warranty. For warranty claims, technical support, or service inquiries, please visit the official MSI website or contact their customer service department. Ensure you have your product's serial number and proof of purchase available when seeking support.
Online Resources: For the latest drivers, FAQs, and support documentation, please visit the official MSI support website: www.msi.com/support


