
msi MAG 274CF E20
MSI MAG 274CF E20 27-inch FHD Gaming Monitor User Manual
Model: MAG 274CF E20
1. Introduction
Thank you for choosing the MSI MAG 274CF E20 27-inch FHD Gaming Monitor. This monitor is designed to provide an immersive gaming experience with its 1920 x 1080 (FHD) resolution, 200Hz refresh rate, and rapid 0.5ms (GtG, Min) response time. It features a curved VA panel, AMD FreeSync Premium technology, HDR Ready capabilities, and Less Blue Light technology for enhanced visual comfort. This manual will guide you through the setup, operation, and maintenance of your new monitor.
2. Safety Information
Please read all instructions carefully before using the monitor and retain this manual for future reference. Observe the following safety guidelines:
- Do not place the monitor on an unstable cart, stand, or table.
- Do not block ventilation openings.
- Do not use near water or sources of heat.
- Use only the power cord and adapter provided by the manufacturer.
- Disconnect the power plug from the outlet if the monitor will not be used for an extended period.
- Refer all servicing to qualified service personnel.
3. Package Contents
Verify that all items listed below are present in your package:
- MAG 274CF E20 Widescreen Gaming LCD Monitor
- 1 x HDMI Cable (2.0b)
- 1 x Power Cord (C13)
- 1 x Quick Guide
If any items are missing or damaged, please contact your retailer or MSI customer support.
4. Setup
4.1 Assembling the Stand
Follow these steps to attach the stand to your monitor. Ensure the monitor is placed face down on a soft, clean surface to prevent scratches.
- Carefully remove the monitor from its packaging.
- Attach the stand neck to the monitor panel.
- Secure the base to the stand neck.
Alternatively, the monitor supports VESA mounting (100 x 100mm) for wall or arm mounting. Refer to your VESA mount instructions for installation.

Image: Front view of the MSI MAG 274CF E20 monitor, illustrating the display and assembled stand.
4.2 Connecting Cables
Connect the necessary cables to the monitor's input ports:
- Power Cable: Connect the power cord to the DC-in port on the monitor and then to a power outlet.
- Video Cable: Connect either an HDMI cable (included) or a DisplayPort cable from your computer's graphics card to the corresponding port on the monitor. The monitor supports 2x HDMI 2.0b and 1x DisplayPort 1.2a.
- Audio Output: For external audio, connect headphones or speakers to the Headphone-out port.

Image: Detailed view of the monitor's input/output ports, showing DC-in, DisplayPort 1.2a, two HDMI 2.0b ports, and a Headphone-out jack.
4.3 Initial Power-On
After connecting all cables, press the power button on the monitor to turn it on. The monitor should automatically detect the input signal. If not, you may need to manually select the input source using the OSD menu.
5. Operating Instructions
5.1 OSD (On-Screen Display) Navigation
The monitor features a 5-way joystick navigator located on the back of the monitor for easy access to the OSD menu. Press the joystick to open the OSD menu, then move it up/down/left/right to navigate and select options.
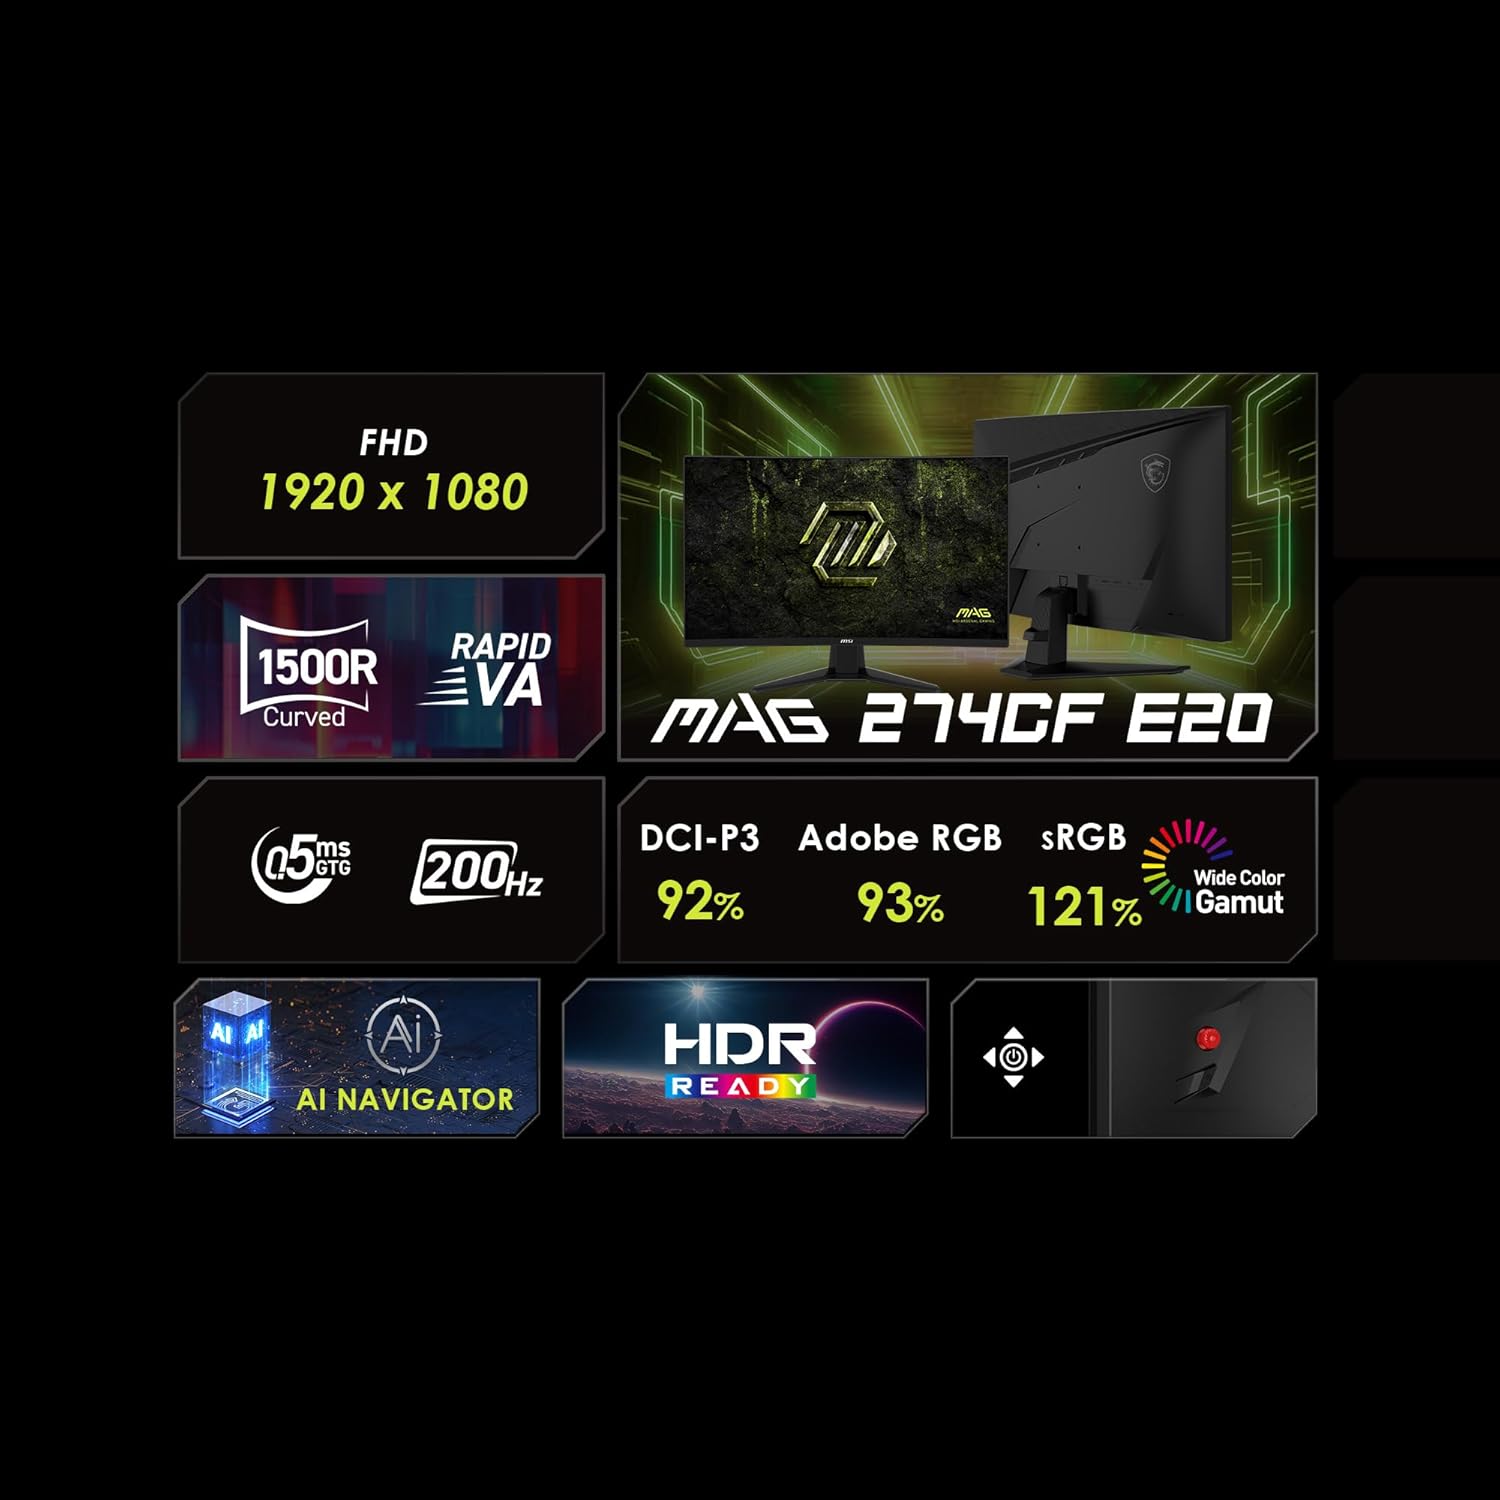
Image: Side view of the monitor, indicating the position of the OSD joystick for menu navigation.
5.2 Adjusting Monitor Settings
Through the OSD menu, you can adjust various settings to optimize your viewing experience:
- Gaming: Adjust refresh rate, response time (0.5ms GtG, Min.), FreeSync Premium, and gaming modes (FPS, RPG).
- Image: Control brightness, contrast, sharpness, and color temperature.
- Display: Select input source (HDMI 1, HDMI 2, DisplayPort).
- PIP/PBP: Configure Picture-in-Picture or Picture-by-Picture modes if supported.
- HDR: Enable or disable HDR Ready functionality for enhanced dynamic range.
- Eye Care: Activate features like Less Blue Light and Anti-Flicker for reduced eye strain.
- AI Vision: Utilize AI Vision technology to enhance details in dark areas and improve overall brightness and color saturation.

Image: A visual representation of the monitor's Less Blue Light feature, showing a split screen with and without the blue light reduction enabled.
5.3 Tilt Adjustment
The monitor stand allows for tilt adjustment. Gently hold both sides of the monitor and tilt it to your desired viewing angle. Do not apply excessive force.

Image: Side profile of the monitor, illustrating its ability to tilt for ergonomic viewing.
6. Maintenance
6.1 Cleaning the Monitor
- Always unplug the monitor from the power outlet before cleaning.
- Use a soft, lint-free cloth lightly dampened with water or a mild, non-abrasive screen cleaner.
- Do not spray cleaner directly onto the screen.
- Avoid using benzene, thinner, or any volatile solvents, as they may damage the monitor surface.
6.2 Storage
When storing the monitor for an extended period, ensure it is powered off, unplugged, and stored in a cool, dry place away from direct sunlight and extreme temperatures. It is recommended to use the original packaging for protection.
7. Troubleshooting
If you encounter issues with your monitor, refer to the following common problems and solutions:
| Problem | Possible Solution |
|---|---|
| No power indicator / No image |
|
| No signal / Image not displayed |
|
| Flickering or distorted image |
|
| Colors are incorrect or washed out |
|
If the problem persists after trying these solutions, please contact MSI customer support.
8. Specifications
| Feature | Specification |
|---|---|
| Brand | msi |
| Model Number | MAG 274CF E20 |
| Screen Size | 27 inches |
| Resolution | 1920 x 1080 (FHD) |
| Aspect Ratio | 16:9 |
| Refresh Rate | 200 Hz |
| Response Time | 0.5 ms (GtG, Min.) |
| Panel Type | Rapid VA |
| Curvature | 1500R |
| Contrast Ratio | 100,000,000:1 (Dynamic) |
| Viewing Angle | 178 degrees (H/V) |
| Connectivity | 2x HDMI 2.0b, 1x DisplayPort 1.2a, 1x Headphone-out |
| Adaptive Sync | AMD FreeSync Premium |
| VESA Mounting | 100 x 100 mm |
| Tilt Adjustment | Yes |
| Additional Features | HDR Ready, AI Vision, Less Blue Light, Anti-Flicker |
| Color | Black |
| Item Weight | 8.7 pounds |
9. Warranty and Support
9.1 Warranty Information
The MSI MAG 274CF E20 monitor comes with a 3-year warranty from the date of purchase. This warranty covers manufacturing defects and malfunctions under normal use. Please retain your proof of purchase for warranty claims. For detailed warranty terms and conditions, refer to the official MSI website or contact MSI customer service.
9.2 Customer Support
For technical assistance, troubleshooting beyond this manual, or warranty inquiries, please visit the official MSI support website or contact their customer service department. Contact information can typically be found on the MSI website or in the quick guide included with your product.
You can find more information and support resources at the MSI Official Website.
Related documentsMAG 274CF E20


Ask a question about this manual
Ask about setup, troubleshooting, compatibility, parts, safety, or missing instructions. Manuals+ will review the question and use this page’s manual context to help answer it.