
1. Introduction
This manual provides essential information for the safe and efficient operation of your MDWXDOFP SPAU-P10R Series Pressure Sensor. Please read this manual thoroughly before installation, operation, or maintenance to ensure proper use and to prevent damage to the device or injury to personnel. Keep this manual for future reference.
2. Safety Information
Warning: Failure to follow these safety instructions may result in serious injury or equipment damage.
- Ensure all electrical connections are made by qualified personnel and comply with local and national electrical codes.
- Disconnect power before performing any installation, maintenance, or troubleshooting procedures.
- Do not exceed the specified operating pressure or temperature limits of the sensor.
- Protect the sensor from mechanical shock, vibration, and corrosive substances.
- Use appropriate personal protective equipment (PPE) when handling the sensor or working in its vicinity.
3. Product Overview
The MDWXDOFP SPAU-P10R Series Pressure Sensor is designed for precise pressure measurement in various industrial applications. It features a robust design and provides reliable performance for monitoring and control systems.
Key features include:
- Accurate pressure sensing
- Durable construction for industrial environments
- Multiple connection options (M8D, G18FD)

Figure 3.1: Front view of the MDWXDOFP SPAU-P10R pressure sensor. This image shows the digital display indicating a pressure reading of "6.00 bar" and control buttons for adjustment.

Figure 3.2: Side view of the MDWXDOFP SPAU-P10R pressure sensor. This image highlights the electrical connection points and the overall compact design of the unit.
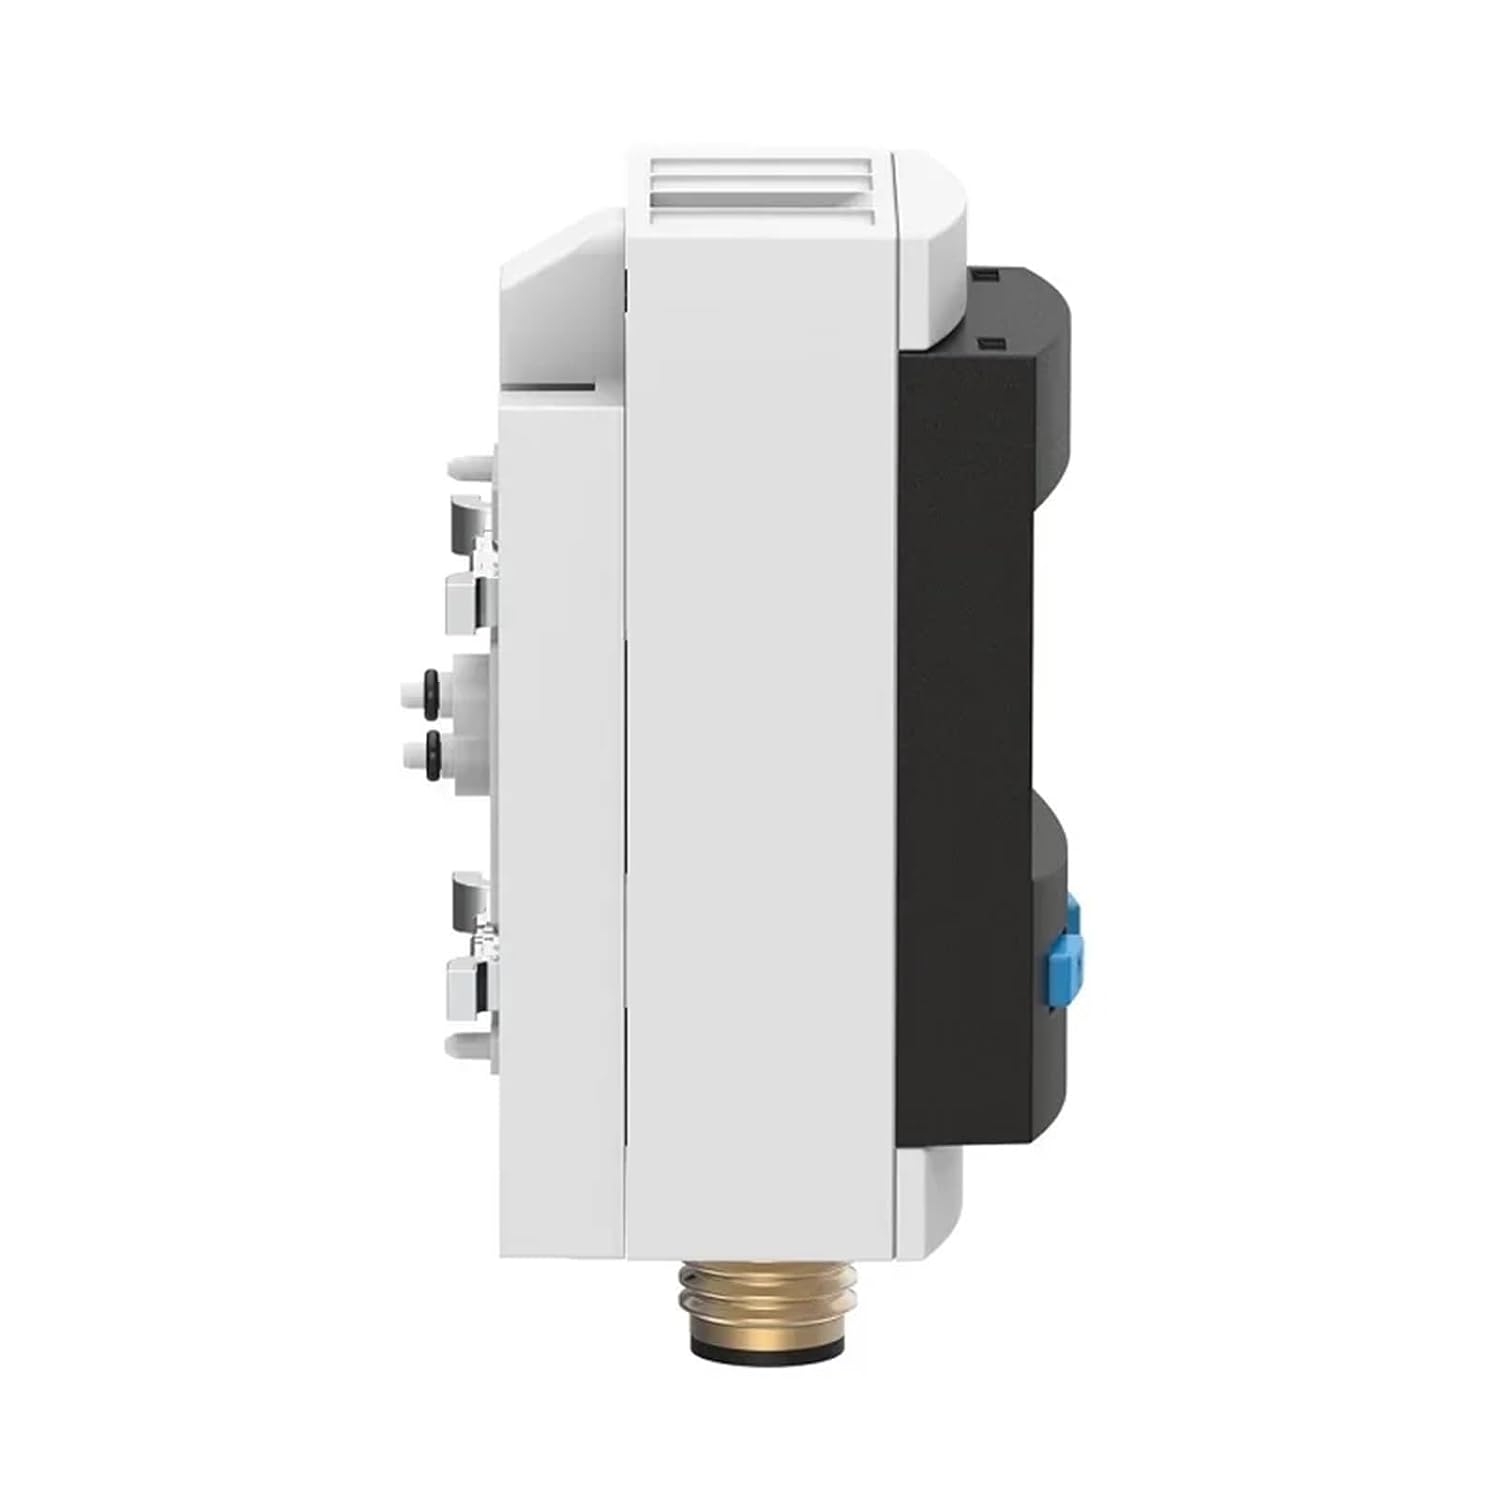
Figure 3.3: Rear/side view of the MDWXDOFP SPAU-P10R pressure sensor. This image displays the mounting bracket and the pressure inlet connection at the bottom.
4. Setup and Installation
Follow these steps for proper installation of the pressure sensor:
- Mounting: Securely mount the sensor in the desired location using appropriate brackets or mounting hardware. Ensure the mounting surface is stable and free from excessive vibration.
- Pressure Connection: Connect the pressure port of the sensor to the process line. Use suitable sealing materials (e.g., PTFE tape) to ensure a leak-free connection. Do not overtighten.
- Electrical Connection:
- Ensure power is OFF before making any electrical connections.
- Connect the sensor to the control system according to the wiring diagram provided with your specific model (refer to product documentation for detailed diagrams).
- Verify correct polarity for power supply and signal lines.
- Power On: After all connections are secure, apply power to the sensor.
5. Operating Instructions
Once installed and powered, the SPAU-P10R sensor will begin measuring pressure. The digital display (if present on your model) will show the current pressure reading.
- Reading the Display: The display shows the measured pressure in the configured unit (e.g., bar, psi).
- Parameter Configuration: If your model includes configuration buttons (e.g., "A" and "B" buttons as seen in Figure 3.1), refer to the detailed product datasheet for instructions on how to access and modify parameters such as measurement units, switching points, or output types.
- Output Signal: The sensor provides an electrical output signal (e.g., analog 4-20mA, digital switching) corresponding to the measured pressure, which can be integrated into your control system.
6. Maintenance
The MDWXDOFP SPAU-P10R Series Pressure Sensor is designed for minimal maintenance. However, regular checks can ensure optimal performance and longevity.
- Cleaning: Periodically clean the exterior of the sensor with a soft, damp cloth. Do not use abrasive cleaners or solvents. Ensure no liquid enters the electrical connections.
- Inspection: Regularly inspect the sensor and its connections for any signs of damage, corrosion, or leaks. Tighten any loose connections.
- Calibration: Depending on your application and industry standards, periodic calibration may be required. Refer to your system's calibration schedule and procedures.
7. Troubleshooting
If you encounter issues with your pressure sensor, refer to the following common problems and solutions:
| Problem | Possible Cause | Solution |
|---|---|---|
| No display/No power | No power supply; incorrect wiring; faulty power supply. | Check power connections and supply voltage. Verify wiring against diagram. |
| Incorrect pressure reading | Sensor not calibrated; pressure port clogged; sensor damaged; incorrect unit setting. | Perform calibration. Check pressure port for obstructions. Inspect sensor for damage. Verify unit settings. |
| No output signal | Incorrect wiring; faulty output configuration; sensor damaged. | Check output wiring. Verify output settings in sensor configuration. |
| Leakage at pressure connection | Improper sealing; loose connection; damaged threads. | Re-seal connection with appropriate material. Tighten connection. Inspect threads for damage. |
If the problem persists after attempting these solutions, contact technical support.
8. Specifications
The following specifications apply to the MDWXDOFP SPAU-P10R Series Pressure Sensor. Specific values may vary by model (e.g., 8035302, 8001231).
- Brand: MDWXDOFP
- Model Numbers: SPAU-P10R-MS4-F-L-PNLK-PNVBA-M8D (8035302), SPAU-P10R-W-G18FD-L-PNLK-PNVBA-M8U (8001231)
- ASIN: B0GMQG2F2K
- Measurement Range: (Refer to specific model datasheet)
- Output Signal: (e.g., Analog 4-20mA, Digital Switching)
- Supply Voltage: (e.g., 12-30V DC)
- Process Connection: (e.g., G1/8, M8)
- Electrical Connection: (e.g., M8 connector)
- Operating Temperature: (Refer to specific model datasheet)
- Protection Class: (e.g., IP65)
9. Warranty and Support
MDWXDOFP products are manufactured to high-quality standards. For warranty information, please refer to the documentation included with your purchase or contact your supplier. For technical support, assistance with troubleshooting, or spare parts, please contact MDWXDOFP customer service or your authorized distributor.
Please have your product model number and ASIN (B0GMQG2F2K) available when contacting support.