
1. Introduction
The Poolin EOX 15-Needle Commercial Embroidery Machine is designed for professional embroidery applications, offering advanced capabilities for cap and 3D puff embroidery. This machine features a 15-needle system for multi-color designs and a large embroidery area, optimizing efficiency for various projects.
This manual provides essential information for the safe and effective operation, setup, and maintenance of your embroidery machine. Please read it thoroughly before initial use.

Figure 1.1: The Poolin EOX 15-Needle Commercial Embroidery Machine in operation, showcasing a detailed bulldog design. This image highlights the 15-needle system, 1200 SPM for flat embroidery, 850 SPM for hat embroidery, and a 20"x14" large embroidery area.

Figure 1.2: A user standing beside the Poolin EOX machine, surrounded by embroidered caps, bags, and apparel, illustrating the machine's versatility for various projects from hobby to commercial orders.
2. Safety Information
Always observe the following safety precautions to prevent injury or damage to the machine:
- Ensure the machine is placed on a stable, level surface.
- Keep hands and loose clothing away from moving parts, especially the needle area, during operation.
- Disconnect power before performing any maintenance, cleaning, or when the machine is not in use.
- Do not operate the machine in damp or wet conditions.
- Use only approved accessories and parts.
- Keep children and pets away from the machine during operation.
3. Package Contents
Verify that all items are present in your package:
- Poolin EOX 15-Needle Commercial Embroidery Machine
- Advanced Cap & Hat Embroidery Setup (hoops and attachments)
- 60-Color Polyester Thread Kit (4000m cones)
- 20-Color Matte Thread Set
- 144 Pre-wound Magsnap Bobbins
- 3D Puff Foam Sheets
- Power Cable
- USB Cable (for design transfer, if applicable)
- Tool Kit (needles, oil, brushes, etc.)

Figure 3.1: A selection of colorful embroidery threads, illustrating the variety included in the 60-color polyester thread kit and 20-color matte thread set. These threads are soft to touch and strong for durable stitches.

Figure 3.2: Packaging for 3D Puffy Foam sheets, indicating their use for raised logo embroidery. The package specifies 6"x8" size, 10 pieces per pack, and 3mm thickness.
4. Setup
4.1 Machine Placement
Place the embroidery machine on a sturdy, level table or stand capable of supporting its weight. Ensure adequate space around the machine for operation, maintenance, and material handling.
4.2 Power Connection
Connect the power cable to the machine and then to a grounded electrical outlet. Ensure the power switch is in the OFF position before connecting.
4.3 Software Installation and Connectivity
The Poolin EOX machine utilizes Institch Design Software. Install the software on your computer or tablet. The machine supports WiFi Pattern Transfer for design loading.

Figure 4.1: A tablet screen showing the Institch Design Software interface, which includes features like Doodle Digitizing, WiFi Pattern Transfer, and a Cost Calculator to streamline embroidery business operations.
4.4 Threading the Machine
Follow the threading path indicated on the machine for each of the 15 needles. Ensure proper tension for each thread. Refer to the machine's internal diagrams for detailed threading instructions.

Figure 4.2: A close-up of a hand inserting a bobbin into the bobbin case of an embroidery machine. This process is crucial for proper stitching and applies to various brands of multi-needle embroidery machines.
4.5 Attaching Hoops
Select the appropriate hoop for your project (e.g., cap hoop for hats, flat hoop for garments). Securely attach the hoop to the machine's embroidery arm, ensuring it is locked into place.
5. Operating Instructions
5.1 Loading Designs
Transfer your embroidery design files to the machine via WiFi Pattern Transfer using the Institch Design Software. Ensure the design is correctly oriented and sized for your chosen hoop.
5.2 Machine Operation
Power on the machine. Use the control panel to select your design, assign thread colors to needles, and set embroidery parameters. The machine supports speeds up to 1200 stitches per minute (SPM) for flat embroidery and 850 SPM for cap embroidery.
5.3 Cap Embroidery
For cap embroidery, use the specialized cap hoop. Ensure the cap is firmly secured and properly aligned to prevent shifting during stitching. The machine is configured for structured cap embroidery and detailed logo work.
5.4 3D Puff Embroidery
When performing 3D puff embroidery, place the 3D puff foam sheets on the fabric before hooping or at the appropriate stage of the design. The machine's settings should be adjusted for this technique to achieve the desired raised effect.
5.5 Using Different Thread Types
The machine is compatible with both standard polyester threads for vibrant finishes and matte threads for non-shiny, premium branding styles. Adjust thread tension as needed when switching between thread types.

Figure 5.1: A collage showcasing diverse embroidery applications, including personalized stockings, caps with raised lettering, hoodies with skull designs, and embroidered tote bags. This demonstrates the machine's capability for various creative and commercial projects.
6. Maintenance
6.1 Regular Cleaning
Regularly clean the machine to remove lint, dust, and thread fragments. Use a soft brush or vacuum cleaner for the needle area, bobbin case, and other moving parts. Ensure the machine is unplugged before cleaning.
6.2 Lubrication
Apply a small amount of machine oil to designated lubrication points as indicated in the machine's detailed maintenance guide. Proper lubrication ensures smooth operation and extends the lifespan of components.
6.3 Needle Replacement
Replace needles regularly, especially if they become bent, dull, or broken. Using damaged needles can lead to poor stitch quality and machine damage. Refer to the tool kit for appropriate needle types.
7. Troubleshooting
This section addresses common issues you might encounter:
- Thread Breaks: Check thread path, tension settings, needle condition, and ensure the bobbin is correctly inserted.
- Poor Stitch Quality: Verify needle size and type match the fabric and thread, adjust tension, and ensure the hoop is taut.
- Machine Not Starting: Check power connection, ensure the power switch is on, and verify safety sensors are not triggered.
- Design Transfer Issues: Confirm WiFi connection, check software settings, and ensure file format compatibility.
For persistent issues, refer to the detailed troubleshooting guide in your machine's full manual or contact technical support.
8. Specifications
| Feature | Specification |
|---|---|
| Model | EOX 15-Needle Commercial Embroidery Machine |
| Needle Count | 15 Needles |
| Embroidery Area | 14" x 20" (35.5cm x 50.8cm) |
| Max Speed (Flat) | 1200 Stitches Per Minute (SPM) |
| Max Speed (Cap) | 850 Stitches Per Minute (SPM) |
| Connectivity | WiFi Pattern Transfer |
| Software | Institch Design Software |
9. Warranty and Support
Poolin provides comprehensive technical support for your embroidery machine. For assistance, please contact our support team.
9.1 Technical Support
Our online engineers are available 7 days a week, 24 hours a day. U.S.-based engineers are also available for local support.
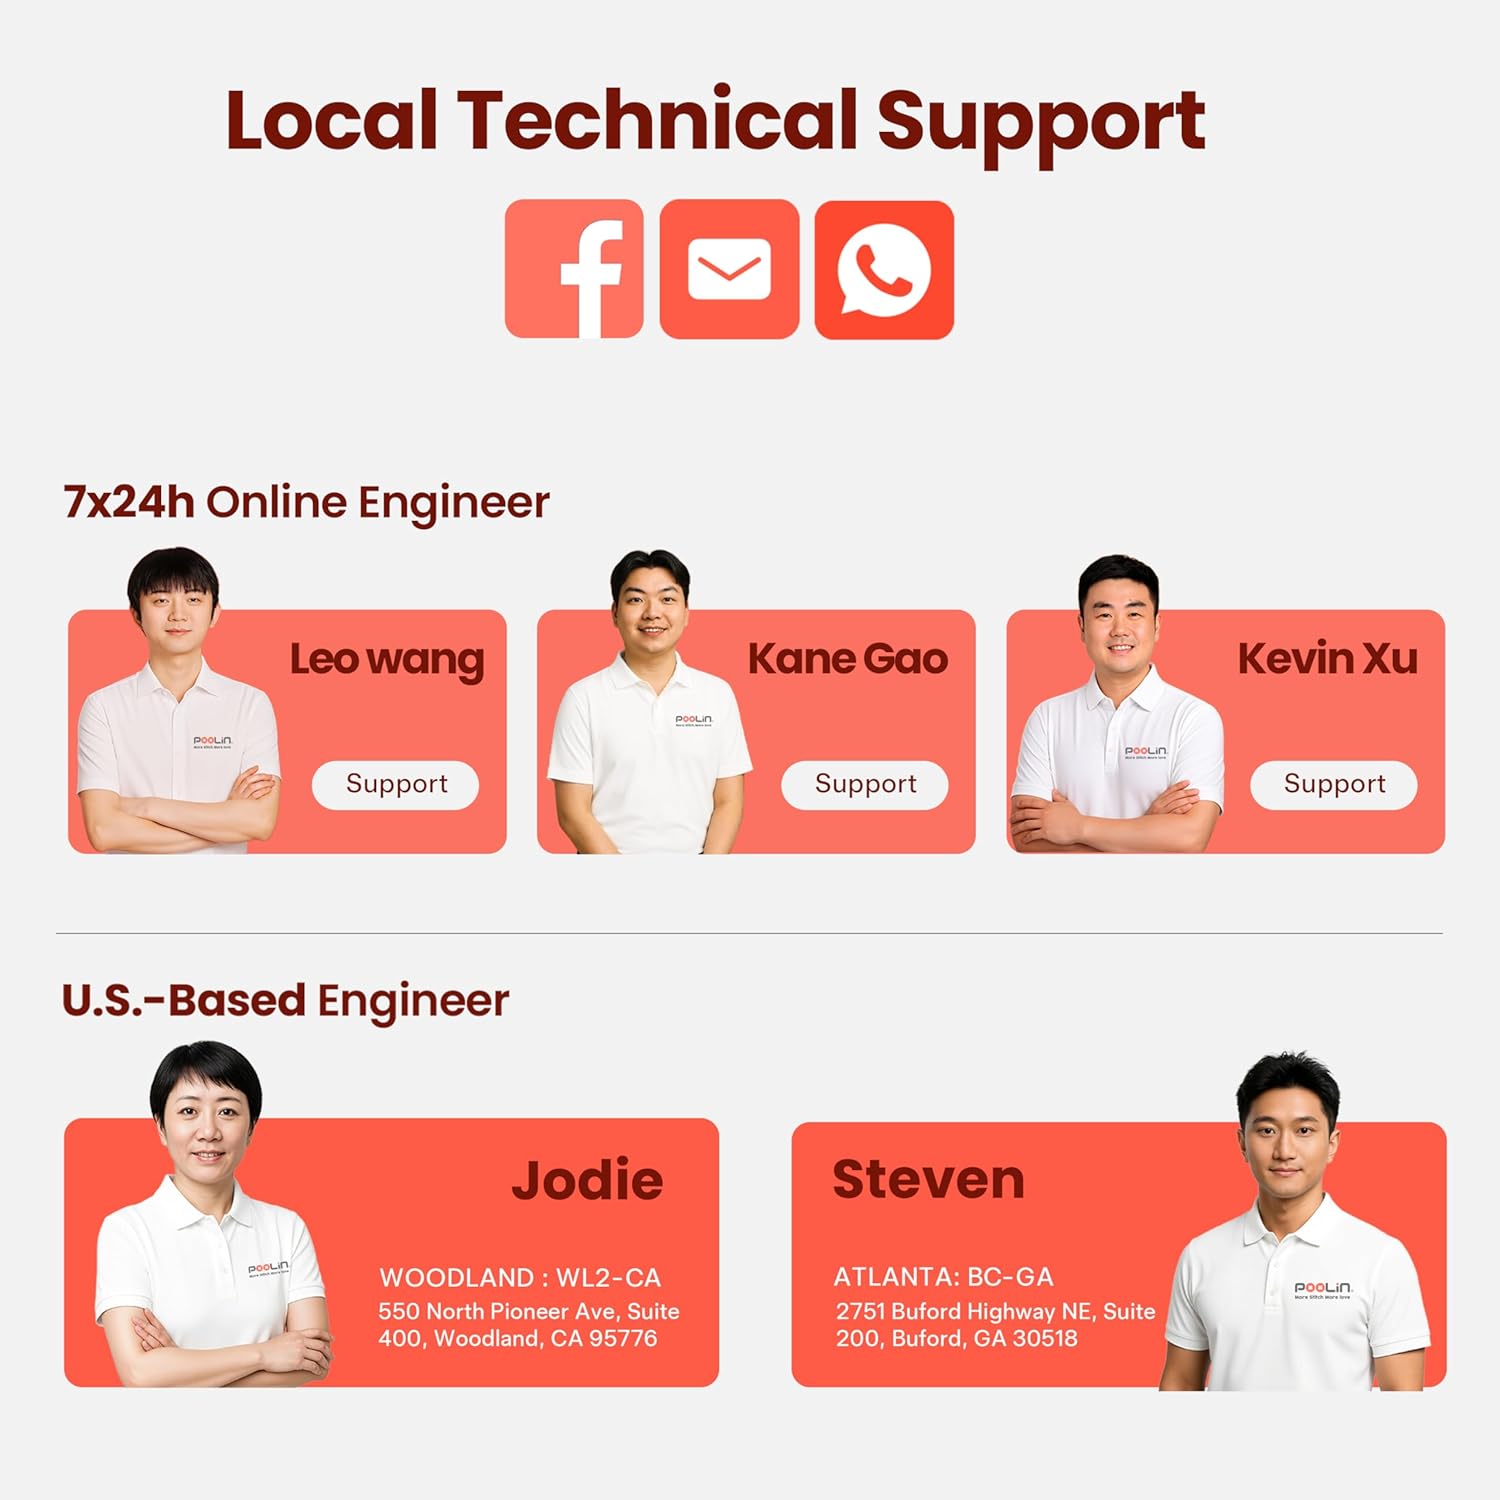
Figure 9.1: Poolin's Local Technical Support details, including contact icons (Facebook, Email, WhatsApp) and profiles of online engineers (Leo Wang, Kane Gao, Kevin Xu) and U.S.-based engineers (Jodie in Woodland, CA; Steven in Atlanta, GA).
For direct assistance, you can reach out via the contact methods shown in Figure 9.1, including email and messaging platforms. Specific U.S. locations for technical support are also provided.
9.2 Warranty Information
Please refer to your purchase documentation for detailed warranty terms and conditions. The warranty typically covers manufacturing defects for a specified period from the date of purchase.