
1. Introduction
The BOTLUXE PC10 Robotic Pool Cleaner is designed to provide efficient and comprehensive cleaning for both inground and above-ground pools. This cordless device features powerful suction, advanced filtration, and smart navigation to clean floors, walls, and waterlines. Its self-parking function and long battery life ensure a hassle-free pool maintenance experience.

Image: The BOTLUXE PC10 Robotic Pool Cleaner ready for operation in a pool.
2. Safety Information
Please read and understand all safety instructions before operating the BOTLUXE PC10 Robotic Pool Cleaner. Failure to follow these instructions may result in electric shock, fire, or serious injury.
- Ensure the charging port is dry before connecting the power adapter.
- Do not operate the cleaner if the power cord or plug is damaged.
- Keep children and pets away from the pool area while the cleaner is in operation.
- Only use the provided power adapter for charging.
- Do not attempt to disassemble or repair the cleaner yourself. Contact customer support for assistance.
- Remove the cleaner from the pool before adding chemicals or performing maintenance.
- Operating water temperature range is 41°F to 95°F (5°C to 35°C).
3. What's in the Box
Verify that all components are present upon unpacking:

Image: All items included in the BOTLUXE PC10 package: the robotic cleaner, hook, user manual, power adapter, and maintenance kit.
- Robot Pool Vacuum (with Built-in Filter) x 1
- Hook x 1
- User Manual x 1
- Power Adapter x 1
- Maintenance Kit x 1
4. Setup
4.1 Initial Charging
Before first use, fully charge the robotic pool cleaner. The 5,200mAh battery provides up to 120 minutes of runtime and charges in approximately 2.5 hours.
- Ensure the cleaner is out of the water and the charging port is dry.
- Connect the power adapter to the cleaner's charging port.
- Plug the adapter into a power outlet. The indicator lights will show charging status.
- Once fully charged, disconnect the adapter and seal the charging port cover securely.
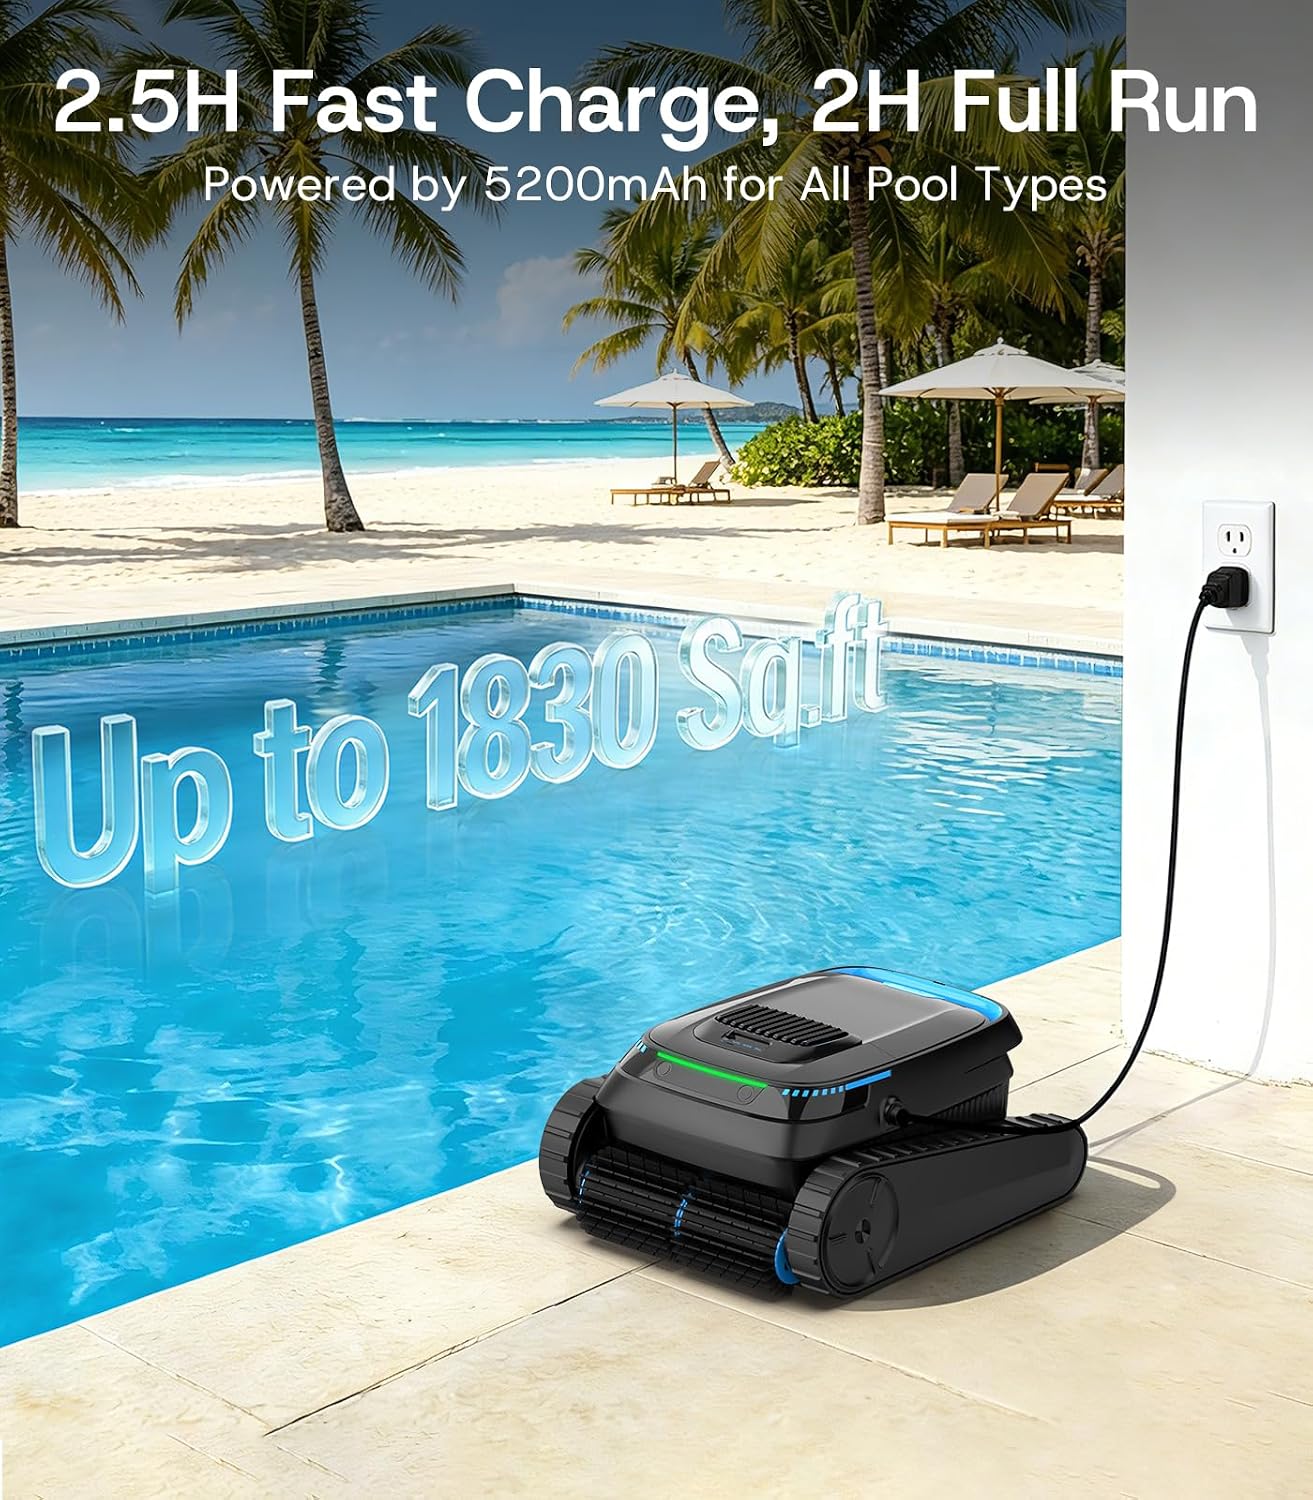
Image: The robotic pool cleaner connected to its power adapter for charging next to a pool.
4.2 Placement in Pool
The cordless design allows for easy deployment.
- Gently lower the cleaner into the pool until it sinks to the bottom.
- Ensure no air bubbles are trapped inside the unit.
5. Operating Instructions
5.1 Selecting Cleaning Modes
The cleaner offers three flexible cleaning modes for full pool coverage:

Image: Diagram illustrating the three cleaning modes: Auto, Floor Only, and Wall Only, for comprehensive pool cleaning.
- Full Pool Mode (Auto): Cleans floors, walls, and waterlines.
- Floor Only Mode: Focuses cleaning on the pool floor.
- Wall Only Mode: Focuses cleaning on pool walls and waterlines.
Use the switch on the top of the unit to select your desired cleaning mode before placing it in the water.
5.2 Smart Navigation and Agility
The intelligent navigation system automatically plans efficient cleaning paths (N-shaped, S-shaped, and more) to cover every inch of your pool. Its rugged treads and strong climbing performance allow it to tackle slopes up to 30°, steps, corners, and uneven surfaces.
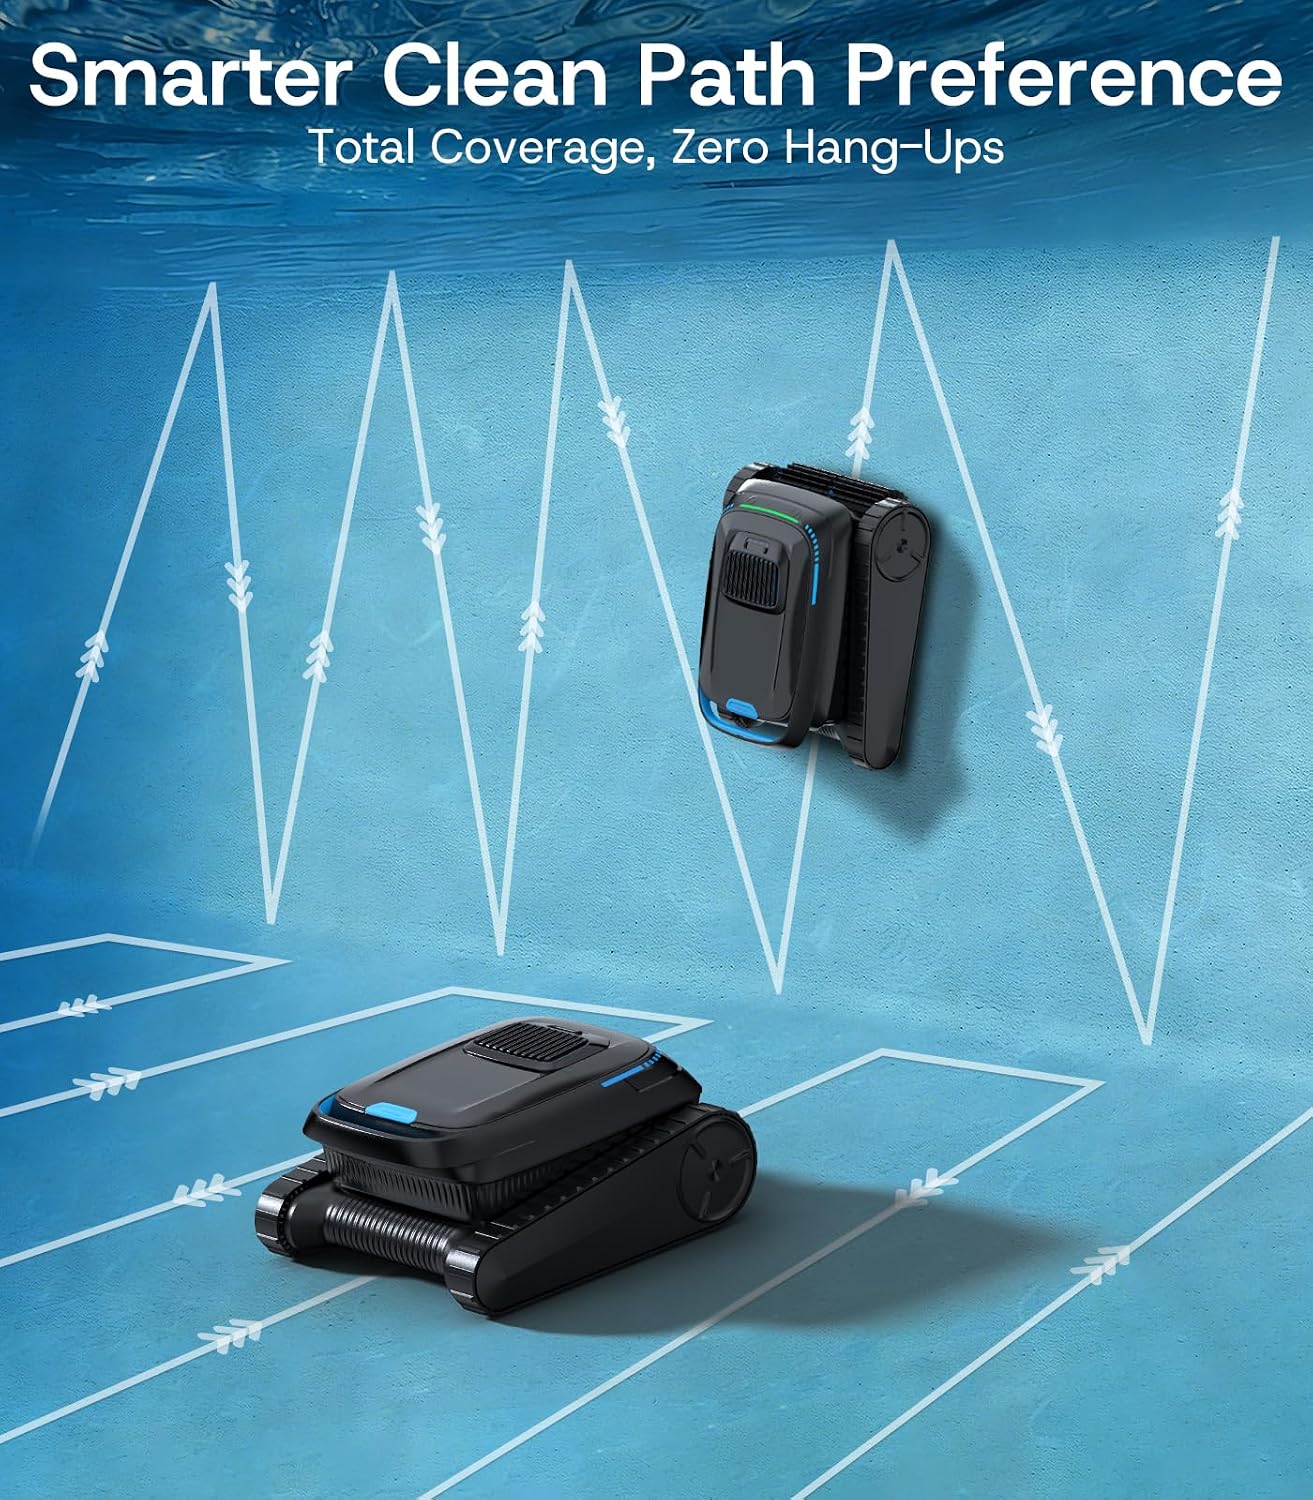
Image: The robotic pool cleaner following a smart, efficient cleaning path on the pool floor and wall.

Image: The robotic pool cleaner demonstrating its ability to climb slopes and navigate steps within the pool.
5.3 Self-Parking Feature
When the battery level is low or the cleaning cycle is complete, the cleaner will automatically navigate to the poolside for easy retrieval.

Image: The robotic pool cleaner automatically docking at the edge of the pool, ready for retrieval, with a quick water-drain feature.
5.4 Official Product Video
Video: Official demonstration of the BOTLUXE PC10 Cordless Pool Cleaner Robot in action, showcasing its cleaning capabilities.
6. Maintenance
6.1 Filter Cleaning
Regular cleaning of the 4L ultra-fine filter (150µm mesh) is essential for optimal performance. The filter captures fine sand to large leaves.
- After each cleaning cycle, remove the cleaner from the pool.
- Open the filter compartment.
- Remove the filter basket and empty any collected debris.
- Rinse the filter basket thoroughly with a hose until clean.
- Reinsert the clean filter basket and close the compartment securely.

Image: A hand removing the top-load filter basket from the robotic pool cleaner for cleaning.

Image: A filter basket being rinsed with a hose to remove debris.
7. Troubleshooting
7.1 Temperature Protection Triggered
Question: How do I get the pool cleaner working again after temperature protection is triggered?
Answer: The suitable operating water temperature for the robotic pool cleaner is 41°F to 95°F (5°C to 35°C). Exceeding this range may trigger low or high-temperature protection. Once the water temperature returns to the normal range, simply restart the machine, and it will resume normal operation.
7.2 General Issues
- Cleaner not moving: Ensure the battery is fully charged and the correct cleaning mode is selected. Check for any obstructions in the brushes or wheels.
- Poor cleaning performance: Clean the filter basket. Ensure the pool water chemistry is balanced.
- Cleaner not charging: Verify the power adapter is correctly connected and the outlet is functional. Ensure the charging port on the cleaner is dry and free of debris.
8. Specifications

Image: The robotic pool cleaner highlighting its IP68 waterproof rating and ability to clean depths up to 3 meters.
| Feature | Detail |
|---|---|
| Brand | BOTLUXE |
| Model Name | PC10-0526 |
| Product Dimensions | 10"L x 6"W x 13"H |
| Power Source | Battery Powered |
| Suction Power | 5000 GPH |
| Battery Capacity | 5200mAh |
| Run Time | Up to 120 minutes |
| Charging Time | 2.5 Hours |
| Filtration Mesh | 150µm |
| Filter Capacity | 4 liters |
| Max Pool Size | Up to 1,830 sq.ft. |
| Climbing Angle | Up to 30° |
| Waterproof Rating | IP68 |
| Installation Type | Robotic |
9. Warranty & Support
For warranty information, technical support, or service inquiries, please refer to the contact details provided on the product packaging or visit the official BOTLUXE website. Keep your purchase receipt as proof of purchase for warranty claims.