
1. Introduction
The Elite Gourmet ProBioticPRO Digital Yogurt Maker is designed to produce fresh, homemade yogurt. This appliance offers programmable digital controls for temperature and time, allowing customization of yogurt consistency. It includes both individual 6-oz glass jars and 1-quart glass bowls to accommodate various batch sizes. The automatic shut-off feature ensures consistent results.
2. Important Safeguards
When using electrical appliances, basic safety precautions should always be followed, including:
- Read all instructions before operating.
- Do not touch hot surfaces. Use handles or knobs.
- To protect against electrical shock, do not immerse cord, plugs, or the appliance base in water or other liquid.
- Close supervision is necessary when any appliance is used by or near children.
- Unplug from outlet when not in use and before cleaning. Allow to cool before putting on or taking off parts.
- Do not operate any appliance with a damaged cord or plug, or after the appliance malfunctions or has been damaged in any manner.
- The use of accessory attachments not recommended by the appliance manufacturer may cause injuries.
- Do not use outdoors.
- Do not let cord hang over edge of table or counter, or touch hot surfaces.
- Do not place on or near a hot gas or electric burner, or in a heated oven.
- Extreme caution must be used when moving an appliance containing hot oil or other hot liquids.
- Do not use appliance for other than intended use.
- Always attach plug to appliance first, then plug cord into the wall outlet. To disconnect, turn any control to "off", then remove plug from wall outlet.
3. Parts and Features
Familiarize yourself with the components of your yogurt maker.

Image: Components of the Elite Gourmet ProBioticPRO Yogurt Maker. This image displays the main unit, the transparent lid, eight 6-oz glass jars with lids, and two 1-quart glass bowls with lids, along with a recipe book.
- Main Unit Base: Contains the heating element and control panel.
- Transparent Lid: Covers the jars/bowls during fermentation.
- 8 x 6-oz Glass Jars with Lids: For individual servings.
- 2 x 1-Quart Glass Bowls with Lids: For larger batches.
- Digital Control Panel: For setting time and temperature.
4. Setup
- Unpack: Carefully remove all components from the packaging.
- Clean: Wash the glass jars, bowls, and lids in warm, soapy water. Rinse thoroughly and dry. Wipe the main unit base with a damp cloth. Do not immerse the base in water.
- Placement: Place the yogurt maker on a stable, flat, heat-resistant surface, away from direct sunlight or heat sources.
- Prepare Ingredients: Ensure all ingredients (milk, starter culture) are at room temperature or as specified by your recipe.
5. Operating Instructions
5.1 Basic Yogurt Making Steps
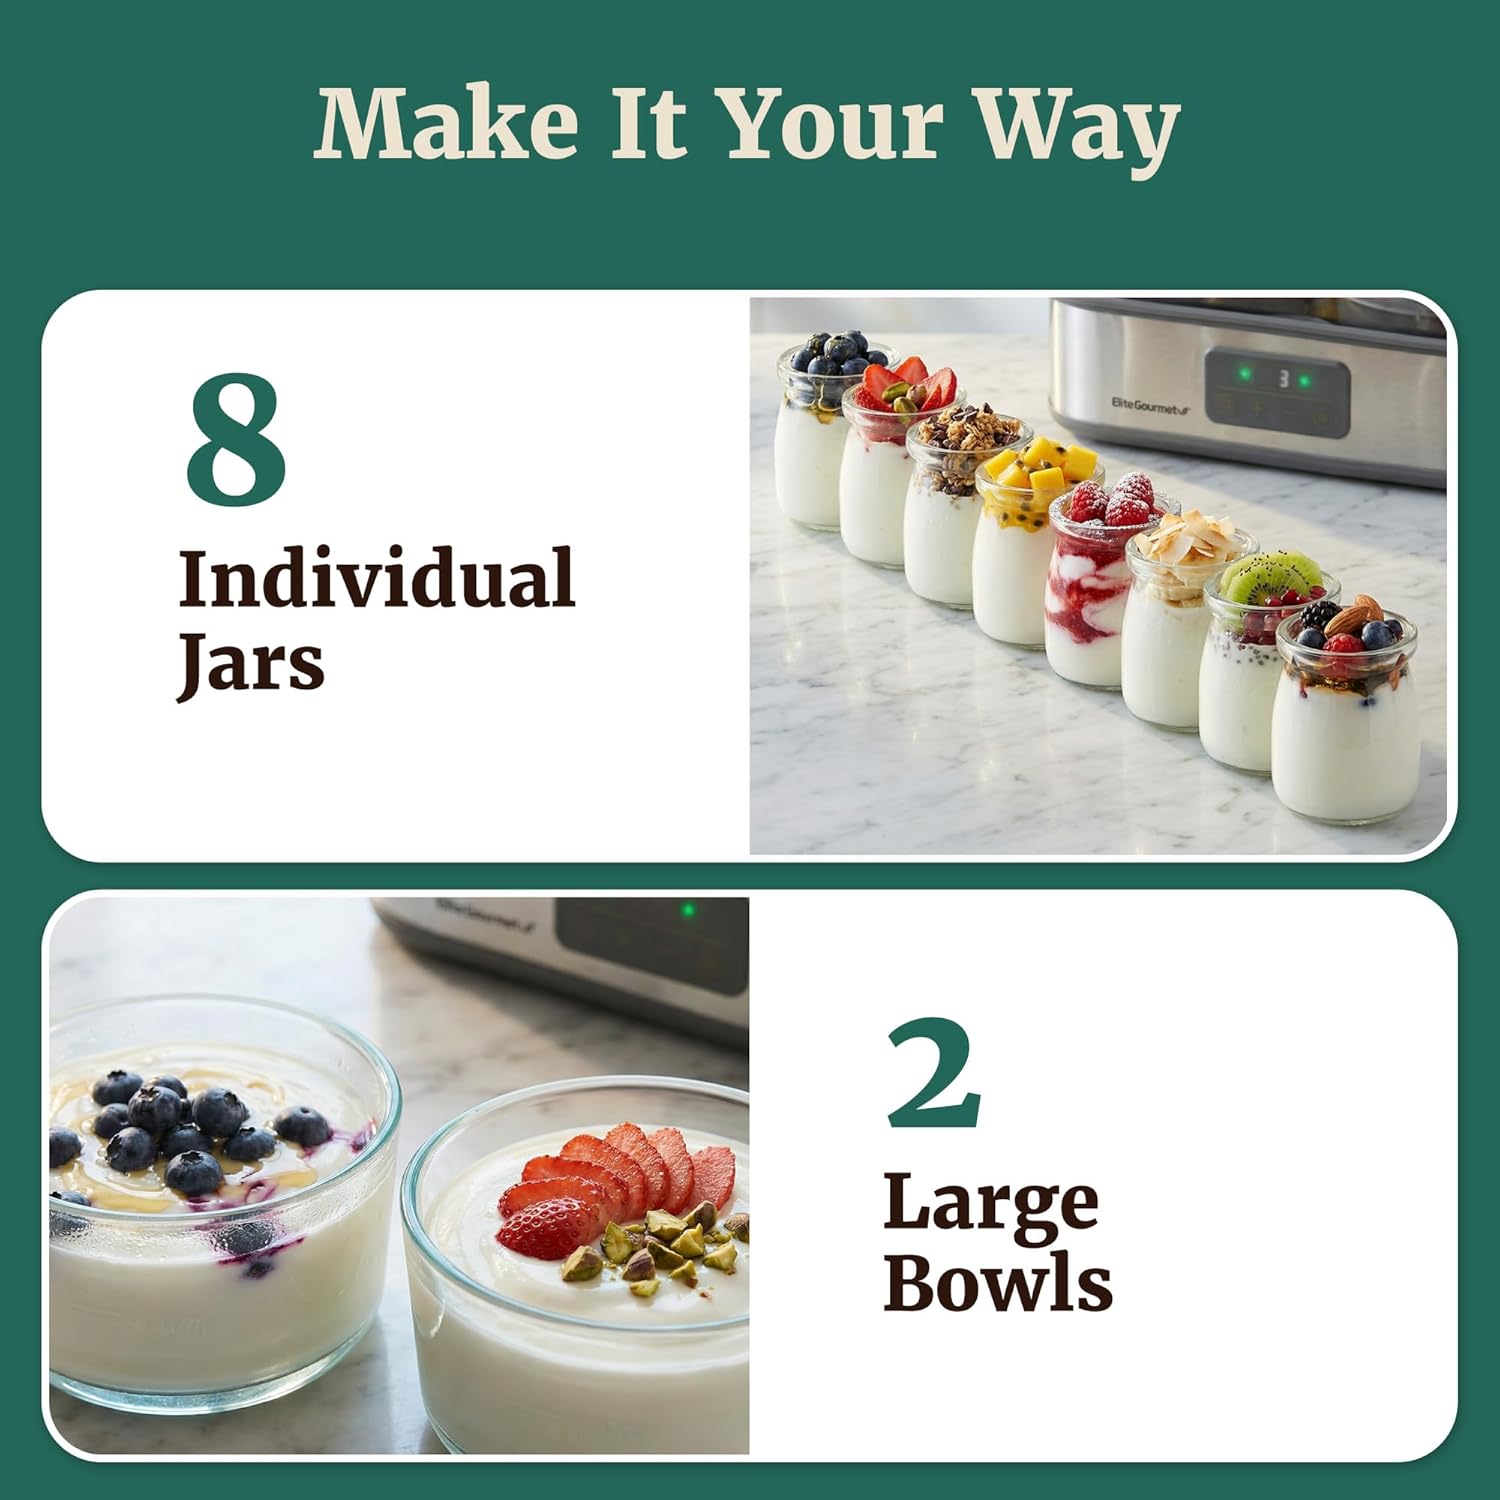
Image: Visual guide for quick and easy yogurt making. Step 1: Mix milk and starter. Step 2: Pour into jars or bowls. Step 3: Add water to the base and start the machine.
- Prepare Mixture: Combine your milk and starter culture according to your chosen recipe. Ensure the mixture is well-blended.
- Fill Containers: Pour the yogurt mixture into the clean glass jars or bowls. Do not overfill. Place the lids loosely on the jars/bowls if desired, or leave them off for thicker yogurt.
- Place in Unit: Arrange the filled jars or bowls inside the yogurt maker base.
- Add Water: Pour water into the base of the yogurt maker, around the jars/bowls, up to the maximum fill line. This creates a water bath for even heating.
- Cover: Place the transparent lid securely on the yogurt maker.
- Plug In: Connect the power cord to a wall outlet.
5.2 Using the Digital Control Panel

Image: Instructions for adjusting settings. The control panel locks during operation. To unlock, press and hold the ON/OFF button for 3 seconds. Once unlocked, you can adjust time and temperature settings using the '+' and '-' buttons.
- Power On: Press the ON/OFF button to turn on the unit.
- Unlock Panel: During a cycle, the control panel automatically locks to prevent accidental changes. To adjust settings, press and hold the ON/OFF button for 3 seconds until the lock indicator disappears.
- Set Temperature: Use the "TEMP" button and the '+' / '-' buttons to set your desired fermentation temperature (range: 68-127°F / 20-53°C).
- Set Time: Use the "TIME" button and the '+' / '-' buttons to set your desired fermentation time (up to 48 hours).
- Start Fermentation: Once time and temperature are set, the unit will begin the fermentation process. The display will show the remaining time.
- Automatic Shut-off: The unit will automatically shut off once the set fermentation time is complete.
5.3 After Fermentation
- Remove Containers: Carefully remove the transparent lid and then the jars/bowls from the unit. Be cautious as the water in the base may still be warm.
- Cool: Allow the yogurt to cool to room temperature.
- Refrigerate: Cover the jars/bowls with their lids and refrigerate for at least 4 hours to chill and thicken further.
- Enjoy: Your homemade yogurt is now ready to be enjoyed.
6. Cleaning and Maintenance
Proper cleaning ensures the longevity and hygiene of your yogurt maker.
- Unplug: Always unplug the appliance from the power outlet and allow it to cool completely before cleaning.
- Glass Jars and Bowls: The glass jars, bowls, and their lids are dishwasher-safe. Alternatively, wash them by hand with warm, soapy water, rinse thoroughly, and dry.
- Main Unit Base: Wipe the exterior of the main unit base with a soft, damp cloth. Do not use abrasive cleaners or scouring pads. Never immerse the main unit base in water or any other liquid.
- Lid: The transparent lid can be washed in warm, soapy water, rinsed, and dried.
- Storage: Store the clean and dry yogurt maker and its accessories in a cool, dry place.
7. Troubleshooting
| Problem | Possible Cause | Solution |
|---|---|---|
| Yogurt is too thin/runny. | Insufficient fermentation time or temperature; insufficient starter culture; milk type. | Increase fermentation time or temperature. Ensure proper amount of active starter. Use whole milk or add milk powder for thicker results. |
| Yogurt is too sour. | Over-fermentation (too long or too high temperature). | Reduce fermentation time or temperature in future batches. |
| Control panel is locked. | Automatic lock feature during operation. | Press and hold the ON/OFF button for 3 seconds to unlock the panel and adjust settings. |
| Unit does not turn on. | Not plugged in; power outlet issue; unit malfunction. | Ensure the unit is securely plugged into a working outlet. Check household circuit breaker. If problem persists, contact customer support. |
8. Specifications
- Model: EYMEC24
- Product Dimensions: 14.06 x 7.32 x 5.08 inches
- Item Weight: 6.38 pounds
- Temperature Range: 68-127°F (20-53°C)
- Max Run Time: Up to 48 hours
- Included Containers: 8 x 6-oz glass jars, 2 x 1-quart glass bowls
- Manufacturer: Elite Gourmet
9. Warranty and Customer Support
The Elite Gourmet ProBioticPRO Yogurt Maker is backed by a 1-year warranty from the date of purchase. This warranty covers defects in materials and workmanship under normal household use.
For warranty claims, technical assistance, or general inquiries, please contact Elite Gourmet's US-based customer support team. Contact information can typically be found on the manufacturer's website or in the product packaging.
Please retain your proof of purchase for warranty validation.