
Batavia BTC0251-US
BATAVIA Electric Staple Gun 0251 User Manual
Model: BTC0251-US
Brand: Batavia
1. Important Safety Instructions
Read all safety warnings and instructions before operating this tool. Failure to follow the warnings and instructions may result in electric shock, fire, and/or serious injury.
- Always wear eye protection (safety glasses) when operating the staple gun.
- Keep hands and body parts away from the discharge area of the tool.
- Never point the tool at yourself or others.
- Ensure the contact safety mechanism is engaged before firing.
- Do not operate the tool in explosive atmospheres, such as in the presence of flammable liquids, gases, or dust.
- Keep children and bystanders away while operating a power tool.
- Store idle tools out of reach of children and do not allow persons unfamiliar with the power tool or these instructions to operate the power tool.
- Use the correct power tool for your application. Do not force the tool.
2. Product Overview
The BATAVIA Electric Staple Gun 0251 is a versatile 2-in-1 cordless tool designed for both stapling and brad nailing. It features an integrated staple remover for convenience.
Key Features:
- 2-in-1 functionality: Staples and Brad Nails
- Cordless operation for portability
- Integrated staple remover
- Lightweight design
- No-mar tip to protect work surfaces
- Triple safety mechanism
- Bright LED illumination for improved visibility
- Up to 1200+ shots per full charge
Components:

- ON/OFF Switch: Powers the tool on or off.
- LED Indicator: Shows power status and battery level.
- Type-C Port: For charging the internal battery.
- Trigger: Activates the stapling/nailing mechanism when contact safety is engaged.
- TPR Comfort Grip: Ergonomic handle for comfortable use.
- LED Working Light: Illuminates the work area.
- Contact Safety: Must be pressed against the workpiece for the tool to fire.
- Nail Viewer Window: Allows checking the remaining staples/nails.
- Quick Release Magazine: For easy loading and unloading of fasteners.
3. Setup
3.1 Charging the Battery
The staple gun is powered by an internal rechargeable battery. Before first use, fully charge the battery.
- Locate the Type-C charging port on the tool.
- Connect a compatible Type-C charging cable to the port and a power source.
- The LED indicator will show the charging status. Refer to the LED indicator section for details.
- A full charge provides over 1200 shots.
3.2 Loading Staples or Brad Nails
This tool is compatible with T50 Staples (1/4"-9/16") and 18GA Brad Nails (9/16"-5/8").

- Ensure the tool is turned OFF.
- Locate the Quick Release Magazine at the bottom of the tool.
- Press the release button or lever to open the magazine.
- Insert a strip of compatible staples or brad nails into the magazine, ensuring they are oriented correctly (points facing forward).
- Close the magazine securely until it clicks into place.
- Use the Nail Viewer Window to confirm fasteners are loaded.
4. Operating Instructions
4.1 Powering On/Off
- To turn ON the tool, slide the ON/OFF switch to the 'ON' position. The LED indicator will light up.
- To turn OFF the tool, slide the ON/OFF switch to the 'OFF' position. The LED indicator will turn off.
4.2 Firing Staples/Nails

- Ensure the tool is loaded with the correct fasteners and powered ON.
- Place the nose of the tool firmly against the workpiece, ensuring the Contact Safety is fully depressed.
- Squeeze the Trigger to fire a staple or nail.
- Release the trigger and lift the tool from the workpiece.
4.3 Using the LED Working Light
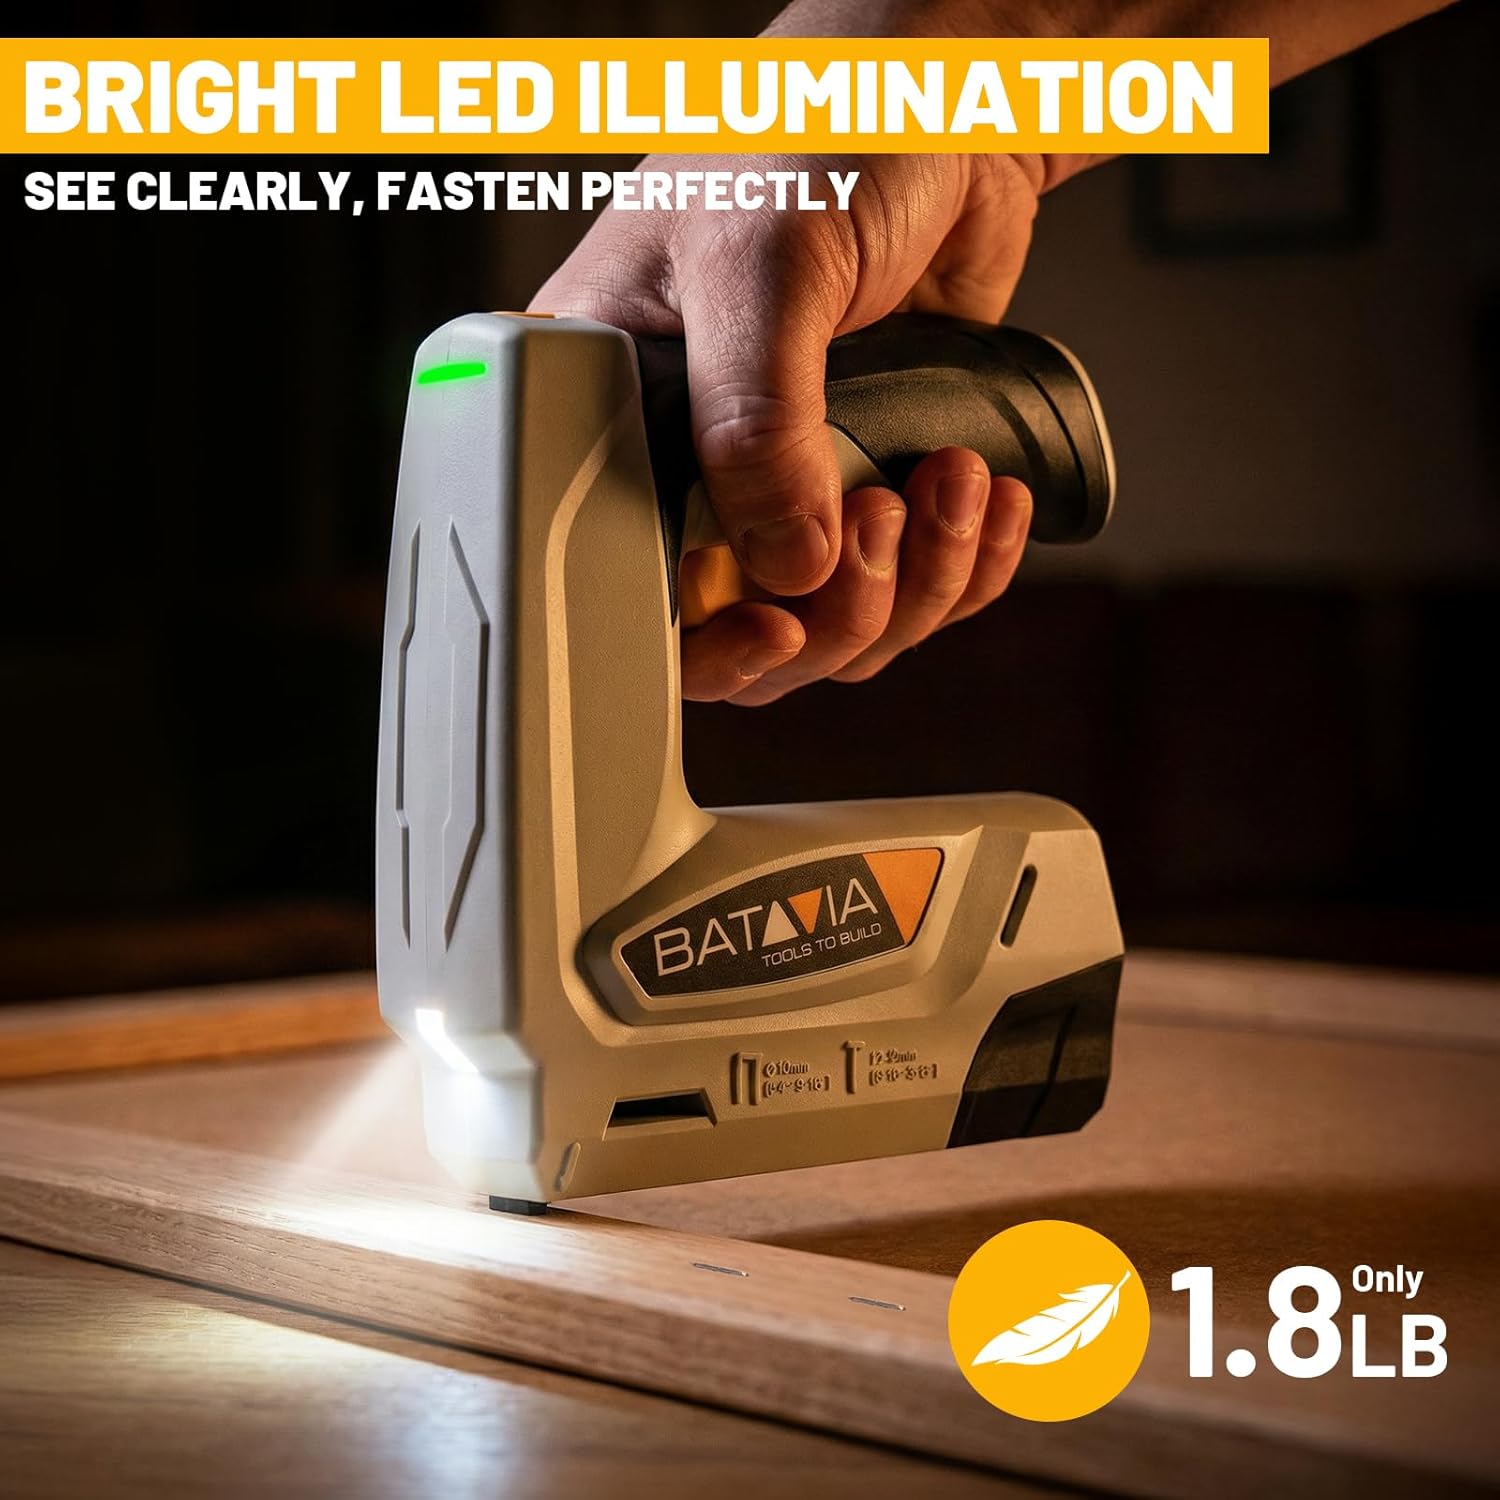
The integrated LED working light automatically activates when the tool is in operation, providing illumination for precise fastening in dimly lit areas.
4.4 Using the Integrated Staple Remover

The tool includes a separate, integrated staple remover for correcting mistakes or disassembling projects. To use:
- Position the remover's prongs under the staple to be removed.
- Apply gentle leverage to lift the staple from the material.
4.5 Recommended Applications and Limitations
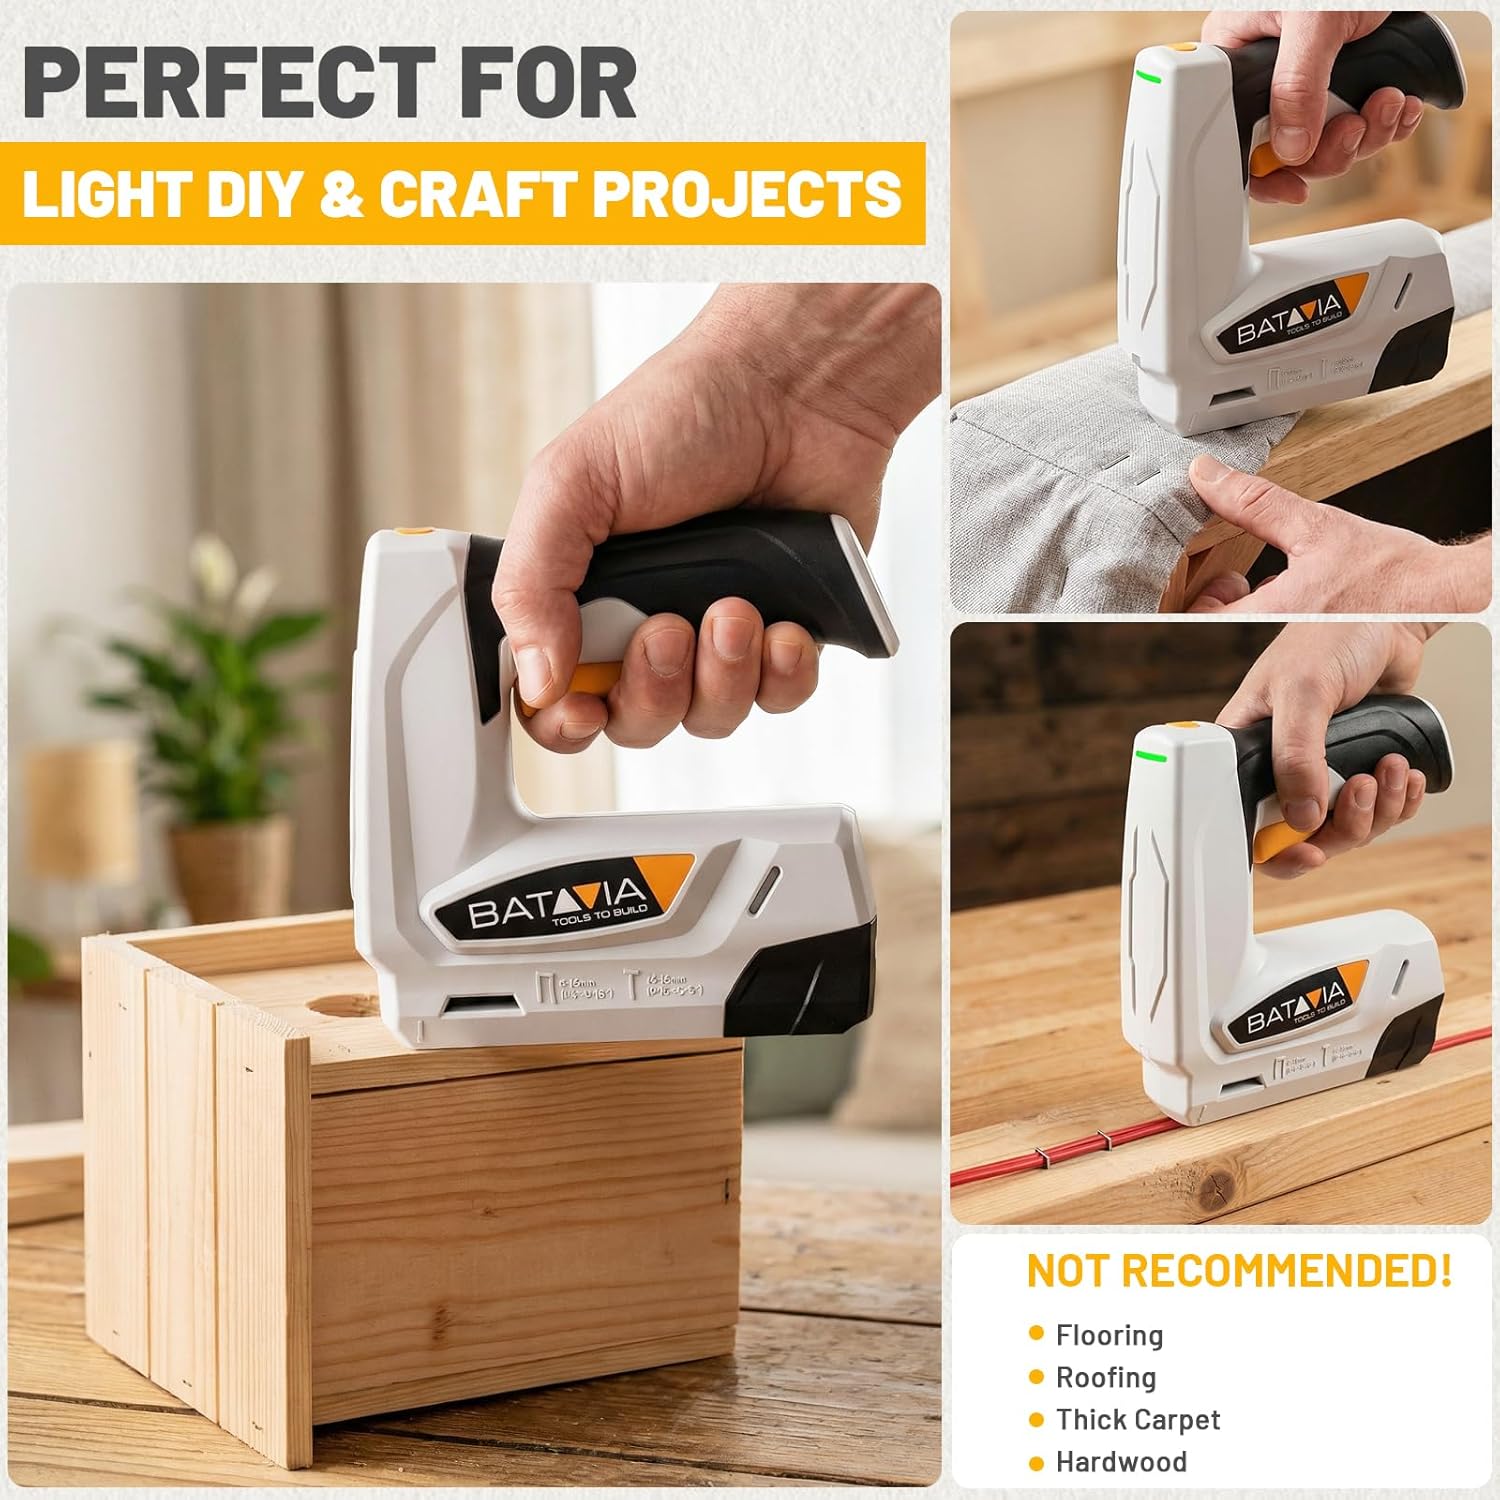
This tool is ideal for light DIY and craft projects, including:
- Upholstery
- Decorative work
- Light wood assembly
- Fabric fastening
Not Recommended For:
- Flooring
- Roofing
- Thick Carpet
- Hardwood
5. Maintenance
5.1 Cleaning
- Always turn off the tool and remove any fasteners before cleaning.
- Wipe the tool's exterior with a clean, damp cloth. Do not use harsh chemicals or abrasive cleaners.
- Keep the magazine area free of dust and debris to prevent jamming.
5.2 Storage
- Store the tool in a dry, secure location, away from direct sunlight and extreme temperatures.
- Ensure the tool is turned OFF before storing.
- For long-term storage, charge the battery partially (around 50%) to prolong its lifespan.
5.3 Battery Care
- Do not expose the battery to water or excessive heat.
- Only use the provided or a compatible Type-C charger.
- If the tool will not be used for an extended period, recharge the battery every 3-6 months.
6. Troubleshooting
| Problem | Possible Cause | Solution |
|---|---|---|
| Tool does not fire |
|
|
| Fasteners jam in the tool |
|
|
| Fasteners not fully driven |
|
|
7. Specifications
| Specification | Detail |
|---|---|
| Model Number | BTC0251-US |
| Brand | Batavia |
| Power Source | 4V Rechargeable Battery (1 Nonstandard Battery included) |
| Compatible Fasteners | T50 Staples (1/4"-9/16"), 18GA Brad Nails (9/16"-5/8") |
| Operation Mode | Automatic |
| Material | Plastic |
| Product Dimensions (L x W x H) | 17.78 x 15.24 x 0.25 cm (approximate) |
| Item Weight | 454 g (approximate 1.0 lb) |
| Manufacturer | BATAVIA |
8. Warranty and Support
For warranty information, technical support, or service inquiries, please refer to the warranty card included with your product or contact Batavia customer service directly.
Please have your model number (BTC0251-US) and purchase date available when contacting support.
Ask a question about this manual
Ask about setup, troubleshooting, compatibility, parts, safety, or missing instructions. Manuals+ will review the question and use this page’s manual context to help answer it.