
1. Introduction
Thank you for choosing the ActiveTrail 10x10x6 FT Large Dog Kennel. This manual provides essential information for the safe assembly, operation, and maintenance of your new dog kennel. Please read these instructions carefully before beginning assembly and retain them for future reference.
2. Safety Information
- Always ensure all connections are securely fastened before allowing pets into the kennel.
- Regularly inspect the kennel for any signs of wear, damage, or loose components. Tighten or replace as necessary.
- Do not allow children to play unsupervised near or inside the kennel.
- Ensure the kennel is placed on a level, stable surface to prevent tipping.
- For smaller dog breeds, additional measures may be required to prevent them from fitting through the bars.
- Secure the kennel to the ground using appropriate stakes or anchors, especially in windy conditions.
3. Package Contents
Verify that all components listed below are present before starting assembly. If any parts are missing or damaged, contact customer support.
- Metal fence panels (various sizes for sides, front, and back)
- Gate panel with latch
- Feeding door panel with stainless steel bowls
- Roof frame components (poles, connectors)
- Waterproof and anti-UV canopy cover
- Connecting clamps/bolts and nuts
- Ground stakes
- Assembly tools (wrenches, Allen keys)
4. Assembly Instructions
Assembly typically requires two people and can take approximately 3-4 hours. Follow these steps carefully.
4.1. Prepare the Area
Choose a level, clear outdoor space for the kennel. Ensure adequate drainage and clearance around the kennel for maintenance.
4.2. Assemble the Wall Panels
- Unpack all metal fence panels. Identify the gate panel and feeding door panel.
- Begin by connecting two adjacent fence panels using the provided clamps/bolts and nuts. Ensure all bolts are tightened securely.
- Continue connecting the remaining fence panels to form the desired 10x10 FT square enclosure. Integrate the gate panel and feeding door panel into the structure as desired.
- Double-check that all panel connections are firm and stable.
4.3. Install the Roof Frame
- Assemble the roof frame components according to the diagrams. This typically involves connecting poles to form the sloped roof structure.
- Carefully lift and attach the assembled roof frame to the top of the kennel wall panels. Secure it using the designated connectors or clamps.
4.4. Attach the Waterproof Canopy
- Drape the waterproof and anti-UV canopy cover over the roof frame.
- Secure the canopy to the frame using the strong straps or bungee cords provided, ensuring it is taut and covers the entire roof area. This provides protection from rain and UV rays.

Image: The kennel with its waterproof and anti-UV canopy cover installed, protecting the interior from elements.
4.5. Secure the Kennel to the Ground
Use the provided ground stakes to anchor the kennel firmly to the ground. This enhances stability and prevents movement, especially in adverse weather conditions.
5. Operating Instructions
5.1. Main Gate Operation
The main gate is equipped with an escape-proof secure lock. To open, slide the latch mechanism and pull the gate outwards. To close, push the gate shut and engage the latch firmly.

Image: Close-up view of the escape-proof secure lock mechanism on the main gate and the feeding gate with bowls.
5.2. Feeding Door Usage
The kennel features a dedicated feeding door with stainless steel bowls. To feed your pet, unlatch the small feeding door, swing it open, place food or water in the bowls, and then close and secure the door. This allows for convenient feeding without entering the main enclosure.
6. Maintenance
- Cleaning: Regularly clean the kennel panels and floor area with pet-safe cleaning solutions. The canopy can be wiped down with a damp cloth.
- Inspection: Periodically check all bolts, clamps, and connections for tightness. Re-tighten any loose hardware.
- Canopy Care: Ensure the canopy remains taut to prevent water pooling. Inspect for tears or damage, especially after strong winds or heavy precipitation.
- Ground Anchors: Verify that ground stakes remain firmly in place. Re-secure if necessary.
7. Troubleshooting
- Kennel Instability: Ensure all panel connections are fully tightened. Verify the kennel is on a level surface and securely anchored with ground stakes.
- Small Pets Escaping: The bar spacing is designed for large and medium-sized dogs. For smaller breeds, consider adding additional mesh or chicken wire to the lower sections of the panels to prevent escape.
- Difficulty Assembling: Ensure all parts are correctly oriented according to the diagrams. Some holes may require slight alignment adjustments during assembly. Two people are recommended for easier assembly.
- Water Pooling on Roof: Ensure the canopy is stretched tightly over the roof frame and secured at all attachment points to maintain its slope and prevent water accumulation.
8. Specifications
| Feature | Specification |
|---|---|
| Assembled Length | 118.11 inches (300 cm) |
| Assembled Width | 118.11 inches (300 cm) |
| Assembled Height | 70.87 inches (180 cm) |
| Material | Heavy-duty galvanized metal (iron pipe) |
| Roof Material | Waterproof and Anti-UV Canopy |
| Approximate Weight | 133.38 lbs (87.08 lbs listed in specifications, using product description for consistency) |
| Color | Black (metal frame), Grey (canopy) |
| Special Features | Lockable gate, Feeding door with bowls, Durable construction |
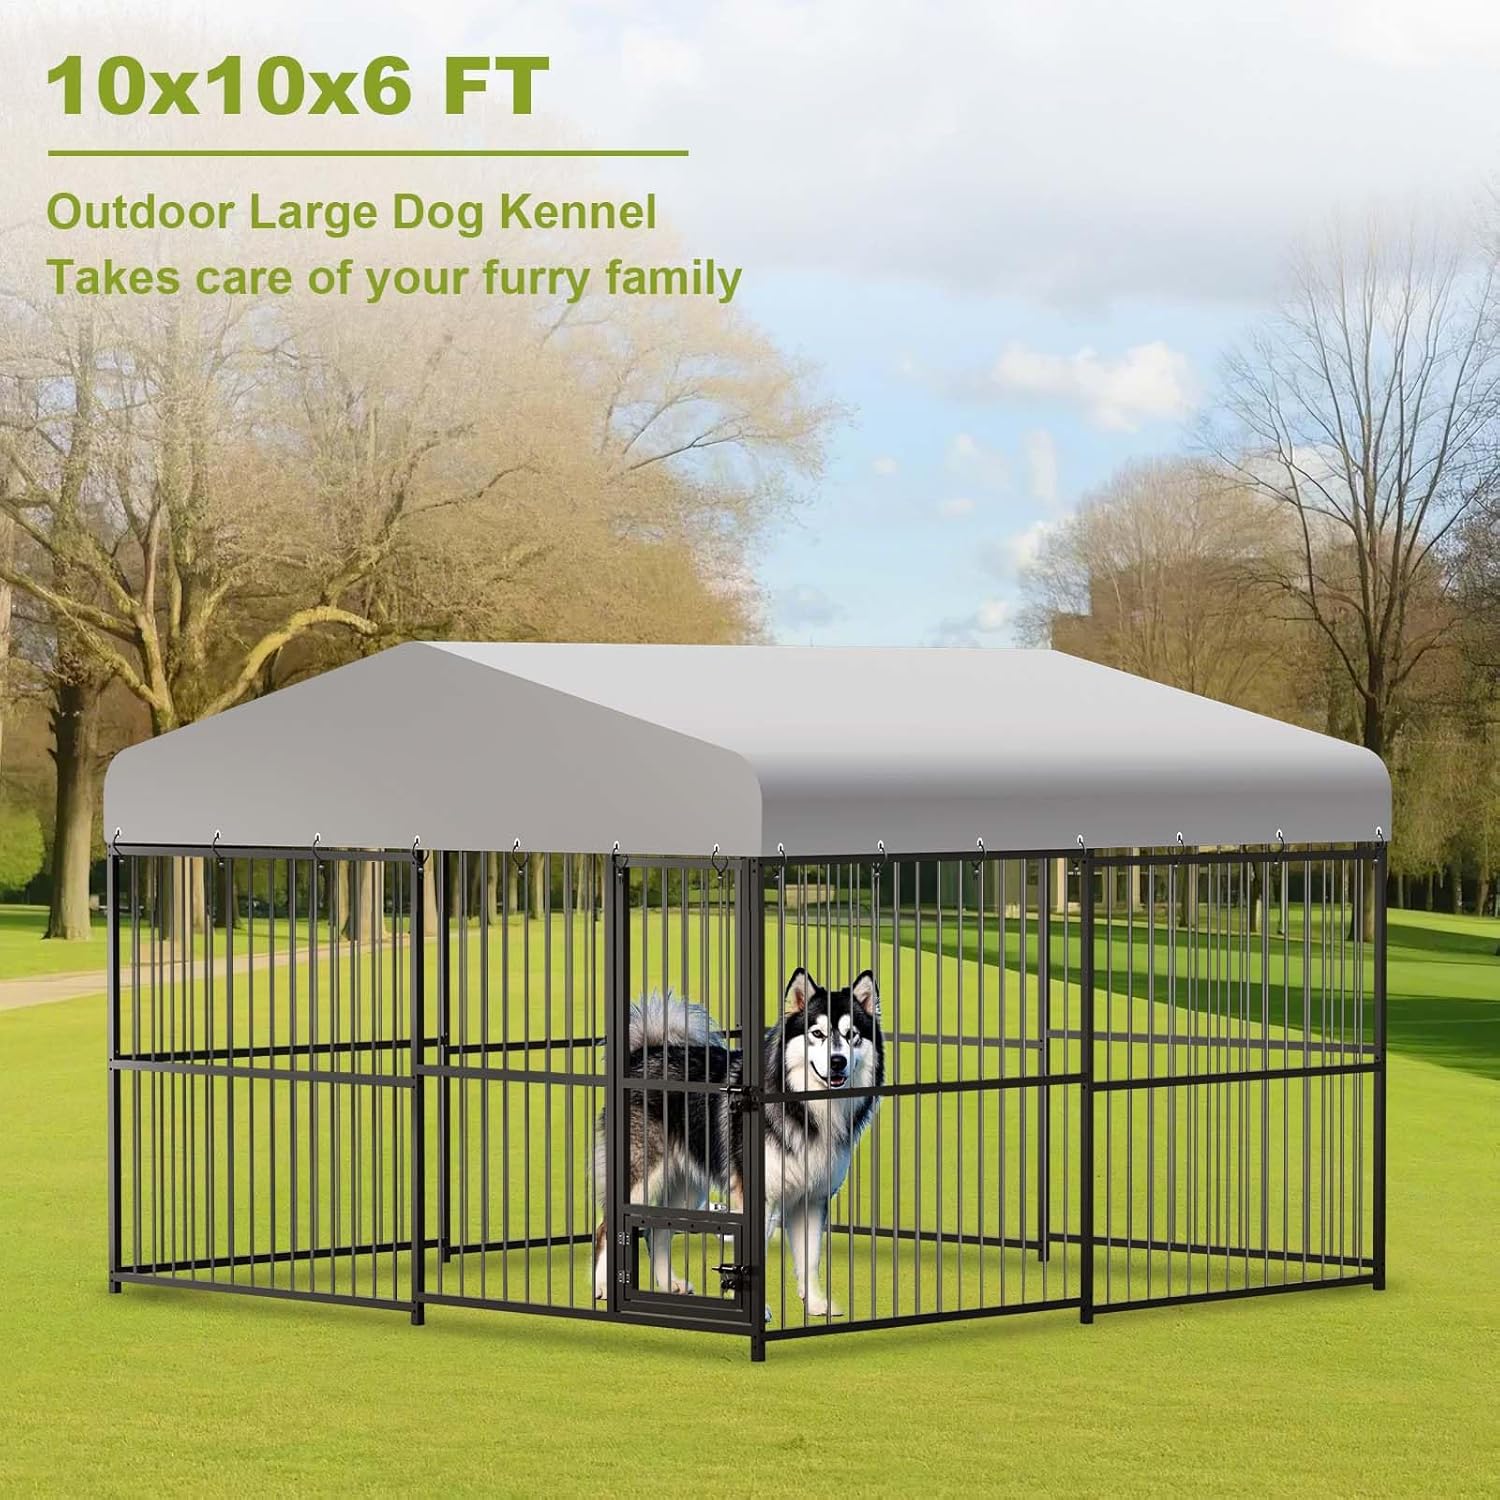
Image: Diagram illustrating the overall dimensions of the 10x10x6 FT dog kennel.
9. Warranty and Support
For warranty information or customer support, please refer to the retailer's return policy or contact ActiveTrail customer service directly. Keep your purchase receipt as proof of purchase.