
1. Introduction
This manual provides essential information for the proper installation, operation, and maintenance of your Gawfolk GFTY985 34-inch Curved Gaming Monitor. Please read this manual thoroughly before using the product and retain it for future reference.
The Gawfolk GFTY985 is a 34-inch ultrawide curved gaming monitor featuring a UWQHD (3440x1440) resolution, 240Hz refresh rate, and 1ms GTG response time. It supports AdaptiveSync (FreeSync & G-Sync compatible) for smooth gameplay and includes built-in speakers. The 1500R curvature is designed to enhance immersion.
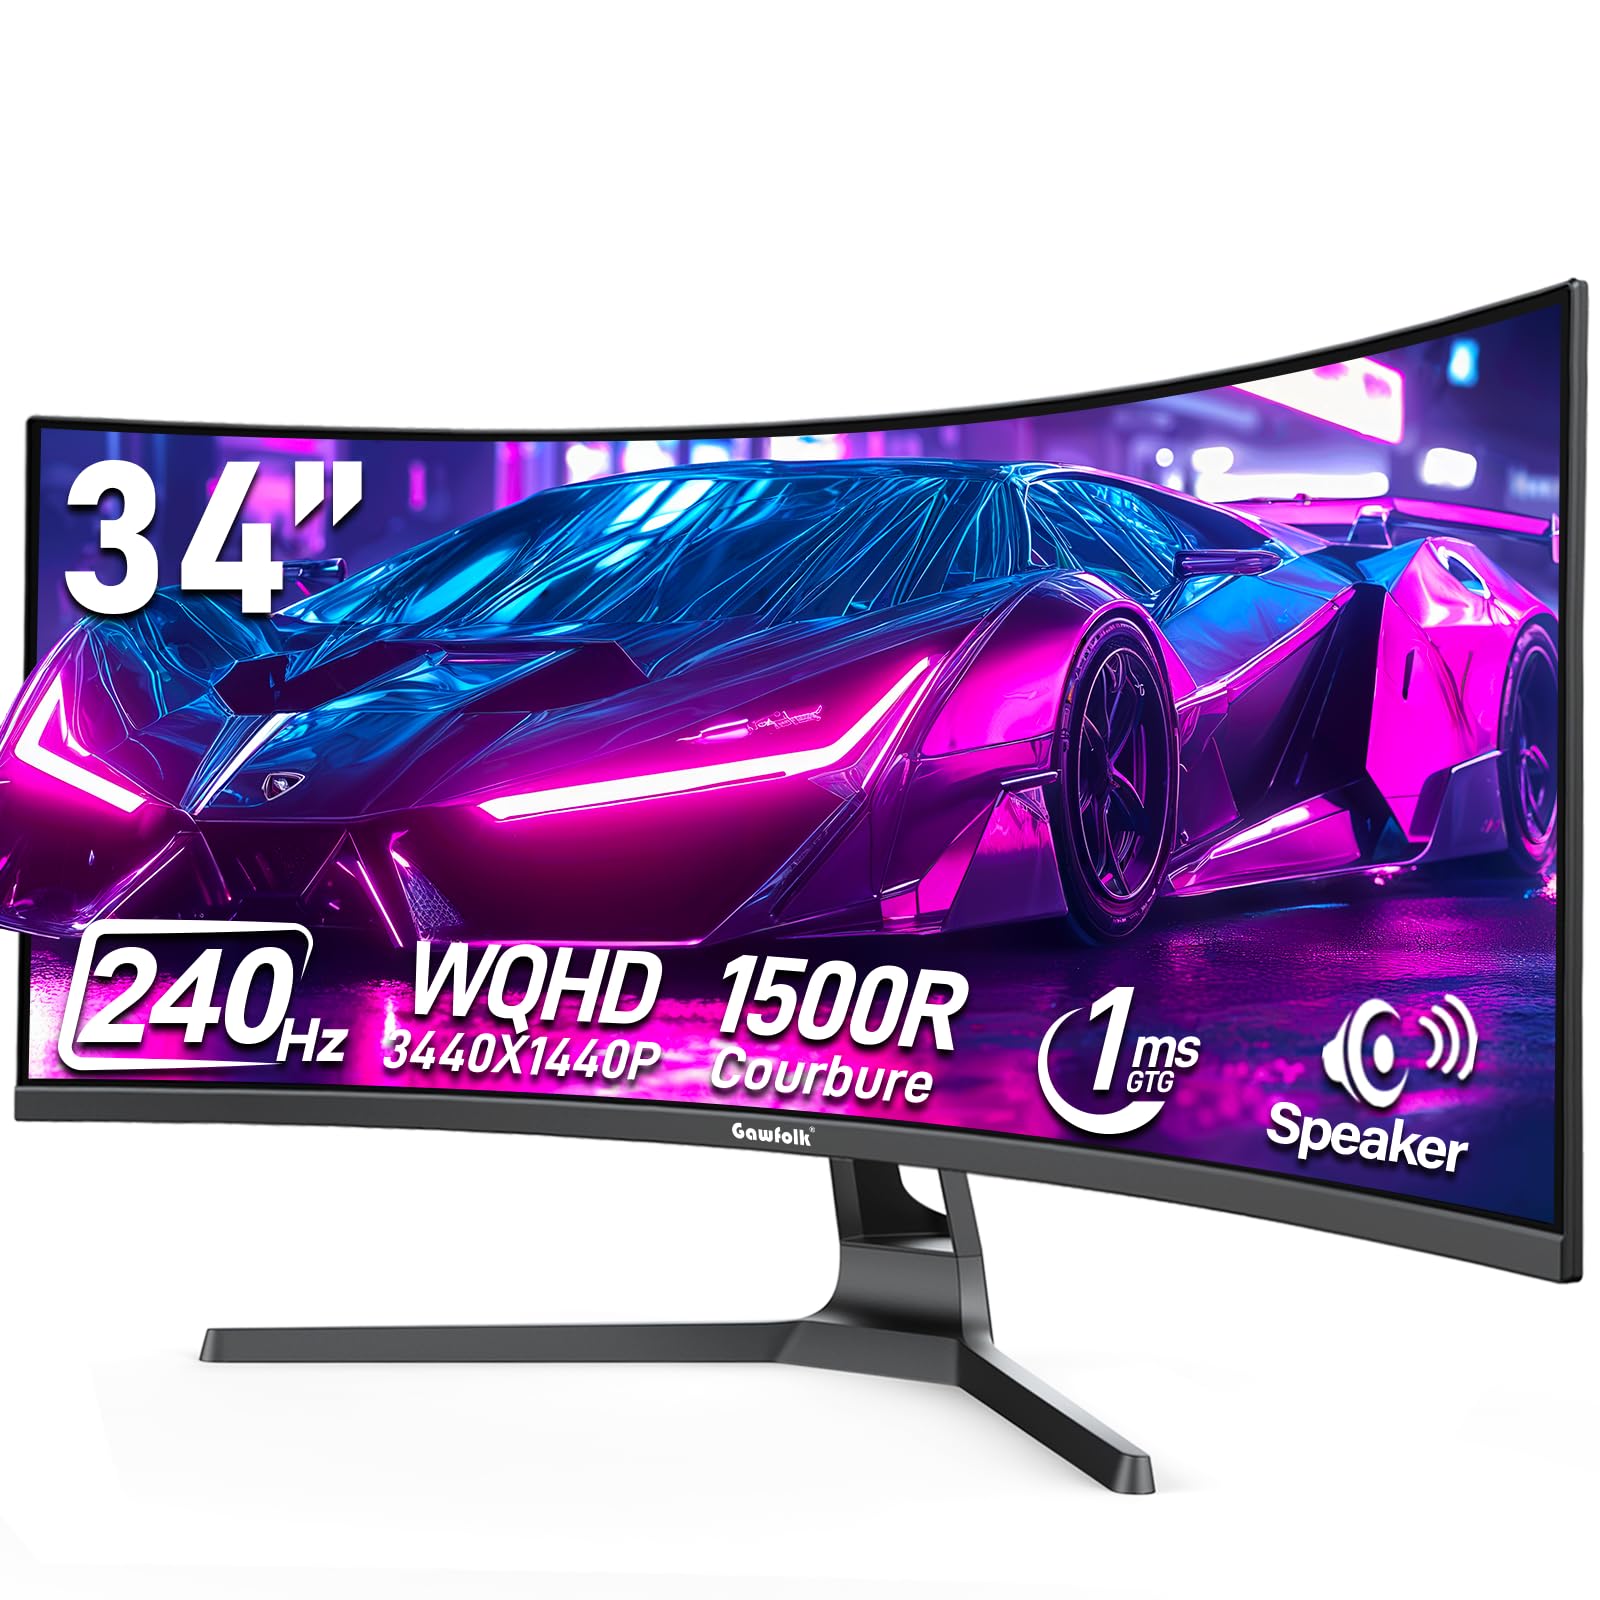
Image 1.1: Front view of the Gawfolk GFTY985 34-inch Curved Gaming Monitor.
2. Safety Information
Observe the following safety precautions to ensure safe and optimal performance of your monitor:
- Do not expose the monitor to rain, moisture, or extreme temperatures.
- Ensure proper ventilation around the monitor. Do not block ventilation openings.
- Use only the power adapter supplied with the monitor.
- Avoid placing heavy objects on the power cord.
- Disconnect the power plug from the outlet if the monitor will not be used for an extended period.
- Do not attempt to service the monitor yourself. Refer all servicing to qualified personnel.
- Keep the monitor away from strong magnetic fields.
3. What's in the Box
Verify that all components are present upon unpacking:
- Gawfolk Monitor
- V-shaped base + bracket
- Power Adapter
- Instruction Manual
- Screw Bag (for stand assembly)
- DisplayPort Cable
4. Setup
4.1. Monitor Assembly
Follow these steps to attach the stand to your monitor:
- Carefully remove the monitor from its packaging, placing it face down on a soft, clean surface to prevent scratches.
- Attach the bracket to the back of the monitor using the screws provided in the screw bag.
- Connect the V-shaped base to the bracket and secure it with the remaining screws.
Alternatively, the monitor supports VESA wall mounting (100x100mm). Ensure you use appropriate VESA mounting hardware (not included) and follow the instructions provided with your VESA mount.
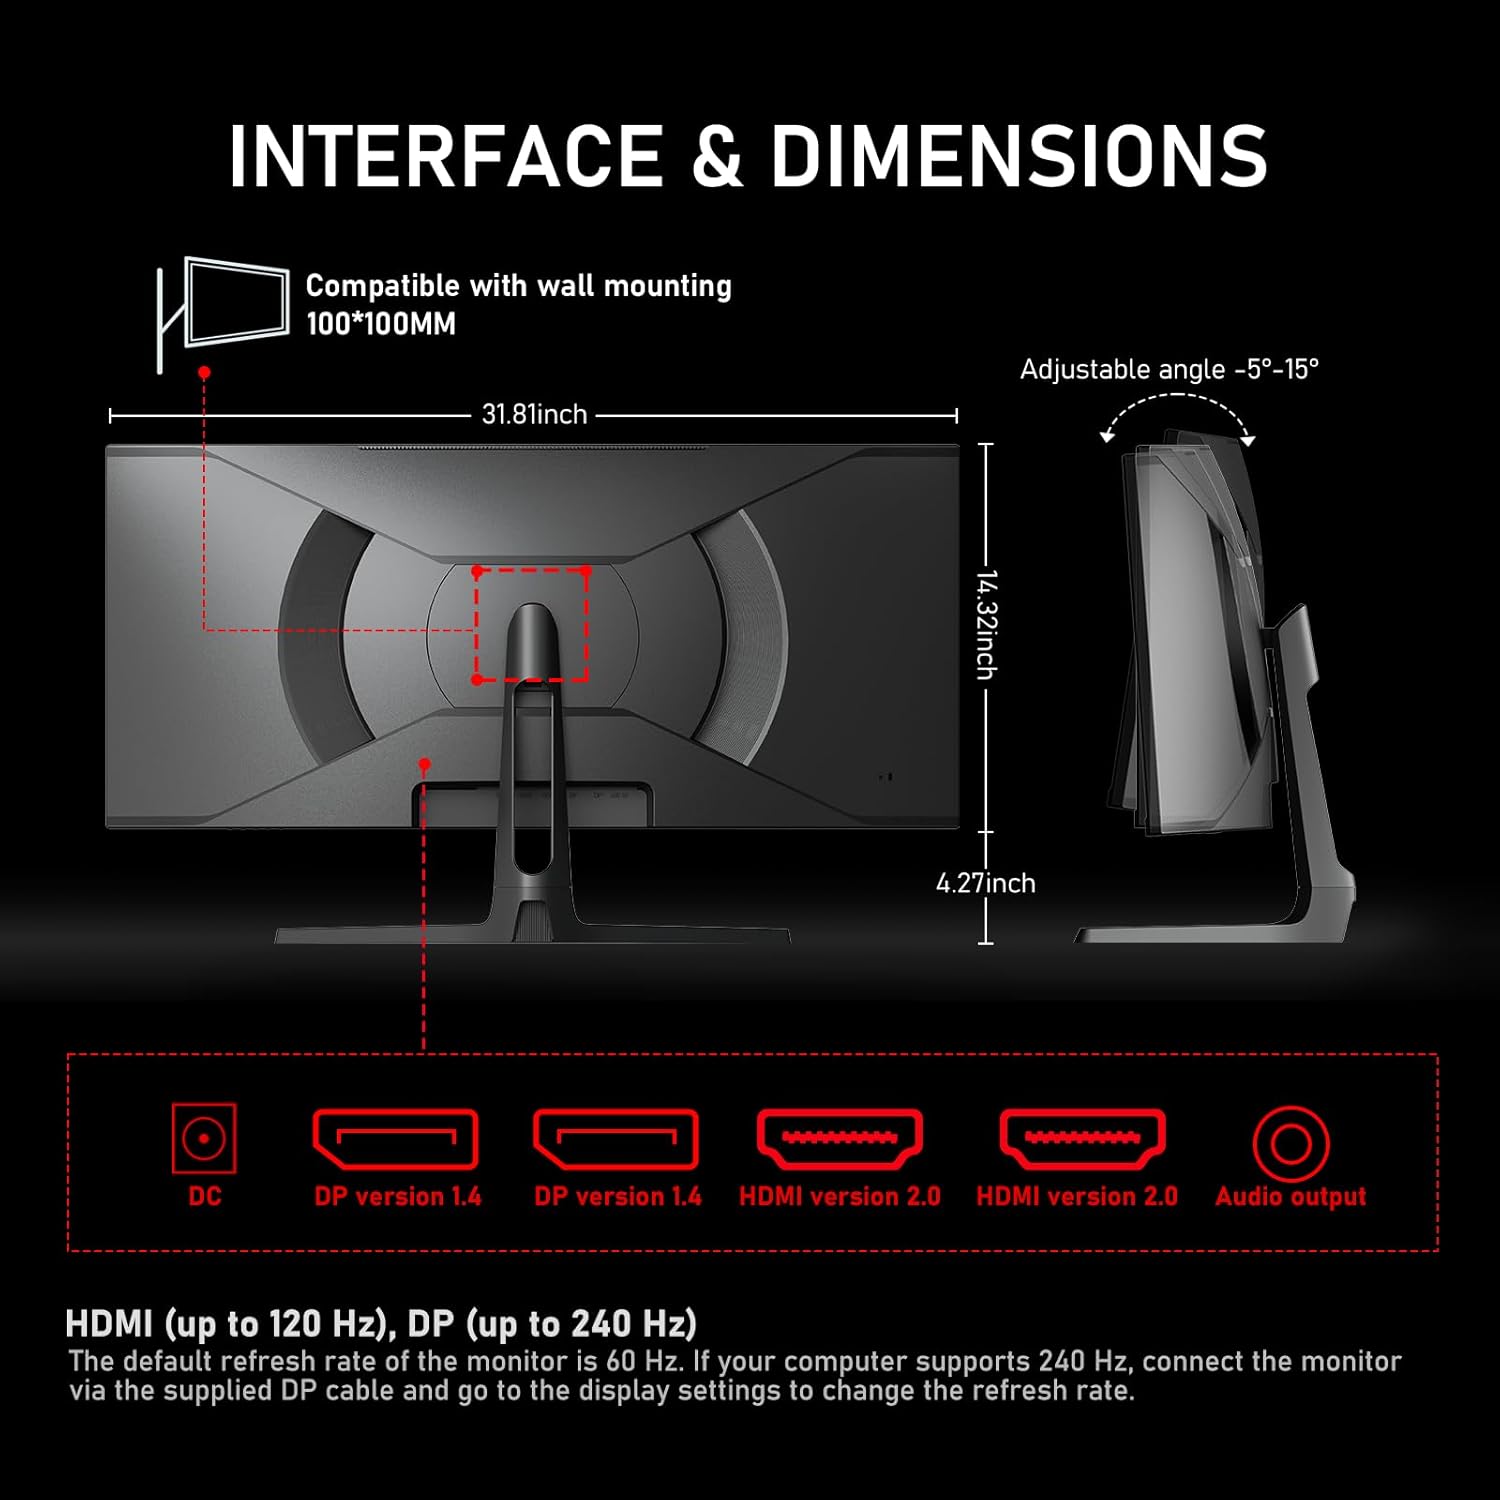
Image 4.1: Diagram showing monitor dimensions and interface locations, including VESA mount points.
4.2. Connecting the Monitor
Connect the monitor to your computer or other devices using the appropriate cables.
- DisplayPort (DP 1.4): For optimal performance, including the 240Hz refresh rate and UWQHD resolution, use the supplied DisplayPort cable to connect your computer's graphics card to one of the monitor's DP 1.4 ports.
- HDMI (HDMI 2.0): Connect your device to one of the monitor's HDMI 2.0 ports. Note that HDMI 2.0 supports up to 120Hz refresh rate at UWQHD (3440x1440) resolution.
- Audio Output: Connect external headphones or speakers to the 3.5mm audio output jack for private listening or external audio.

Image 4.2: Rear view of the monitor illustrating available input ports.
4.3. Powering On
- Connect the power adapter to the monitor's DC input port.
- Plug the power adapter into a power outlet.
- Press the power button on the monitor to turn it on.
5. Operating Instructions
5.1. On-Screen Display (OSD) Menu
The OSD menu allows you to adjust various monitor settings. Typically, buttons located on the back or bottom of the monitor are used to navigate the OSD. Refer to the physical buttons on your monitor for specific controls (e.g., joystick or individual buttons for navigation, selection, and exit).
5.2. Adjusting Display Settings
- Refresh Rate: To achieve 240Hz, ensure you are connected via DisplayPort 1.4. You may need to adjust the refresh rate in your computer's display settings (e.g., Windows Display Settings or NVIDIA/AMD Control Panel).
- Resolution: The native resolution is 3440x1440. Ensure your computer's display settings are configured to this resolution for the sharpest image.
- AdaptiveSync: This monitor is compatible with FreeSync and G-Sync. Enable AdaptiveSync in the monitor's OSD menu and ensure it is enabled in your graphics card's control panel for tear-free gaming.
- Brightness & Contrast: Adjust these settings in the OSD menu to suit your viewing environment. The monitor has a typical brightness of 310 cd/m² and a contrast ratio of 3500:1.
- Color Settings: The monitor supports 1.07 billion colors (8-bit+FRC) and 83% NTSC color gamut. Adjust color temperature, gamma, and other color-related settings via the OSD for desired visual output.

Image 5.1: Visual representation of the monitor's rich color capabilities.
5.3. Built-in Speakers
The monitor includes built-in speakers for audio output. Volume can typically be controlled via the OSD menu or your connected device's audio settings. For private listening, connect headphones to the earphone jack.

Image 5.2: Monitor highlighting the built-in speaker feature.
6. Maintenance
6.1. Cleaning the Monitor
- Always unplug the monitor before cleaning.
- Use a soft, lint-free cloth lightly dampened with water or a mild, non-abrasive screen cleaner.
- Do not spray cleaner directly onto the screen.
- Avoid using benzene, thinner, or any volatile solvents, as they may damage the monitor's surface.
6.2. Storage
If storing the monitor for an extended period, disconnect all cables and pack it in its original packaging to protect it from dust and physical damage. Store in a cool, dry place.
7. Troubleshooting
If you encounter issues with your monitor, refer to the following common problems and solutions:
| Problem | Possible Cause | Solution |
|---|---|---|
| No image on screen | Power cable disconnected, video cable loose, incorrect input source. | Check power connections. Ensure video cable (DP/HDMI) is securely connected. Select correct input source via OSD. |
| Image is blurry or distorted | Incorrect resolution, refresh rate, or cable quality. | Set display resolution to 3440x1440. Ensure refresh rate is set correctly (up to 240Hz via DP). Use the provided DisplayPort cable. |
| Screen flickering or tearing | AdaptiveSync not enabled, refresh rate mismatch. | Enable AdaptiveSync in monitor OSD and graphics card settings. Ensure consistent refresh rate. |
| No sound from built-in speakers | Volume too low, incorrect audio output selected on PC, audio cable not connected (if using external). | Increase monitor volume via OSD. Select monitor as audio output device in PC settings. If using external speakers, ensure they are connected to the audio output jack. |
| Monitor freezes or displays 240p | Software/driver issue, cable issue. | Update graphics drivers. Try a different DisplayPort cable. Restart PC and monitor. |
8. Specifications
| Feature | Detail |
|---|---|
| Brand | Gawfolk |
| Model Number | GFTY985 |
| Screen Size | 34 inches |
| Resolution | UWQHD (3440x1440) |
| Aspect Ratio | 21:9 |
| Curvature | 1500R |
| Panel Type | VA |
| Refresh Rate | 240 Hz (via DP), 120 Hz (via HDMI) |
| Response Time | 1 ms |
| Brightness | 310 cd/m² |
| Contrast Ratio | 3500:1 |
| Color Support | 1.07 billion colors (8-bit+FRC) |
| Color Gamut | 83% NTSC |
| Viewing Angle | 178 degrees |
| Adaptive Sync | FreeSync, G-Sync Compatible |
| Connectivity | 2x HDMI 2.0, 2x DisplayPort 1.4, 3.5mm Audio Out |
| Speakers | Built-in |
| Mounting Type | VESA 100x100mm, Tilt Adjustment |
| Power Consumption | 47 watts |
| Item Weight | 5.7 kg |
| Dimensions (D x W x H) | 10.56"D x 31.87"W x 18.58"H |
9. Warranty & Support
9.1. Warranty Information
This Gawfolk monitor is covered by a 1 Year Manufacturer Warranty against manufacturing defects. Please retain your proof of purchase for warranty claims.
9.2. Customer Support
For assistance with product setup, compatibility, troubleshooting, or general inquiries, please contact Gawfolk customer support. Our support team is available to help ensure a smooth experience.
Contact information for customer support can typically be found on the official Gawfolk website or on the warranty card included with your product.


