
1. Product Overview
The HUANUO HNDMA118 Monitor Arm is designed to enhance your workspace ergonomics and efficiency. Featuring a unique mechanical spring system, it provides stable support for your monitor over extended periods without pressure loss common in gas spring designs. Constructed with professional-grade metal materials (90% of the product), it ensures high rigidity and durability for daily use in various environments, including offices, home offices, and gaming setups.
This monitor arm supports displays from 13 to 32 inches and can hold monitors weighing between 2 to 9 kg. It is compatible with VESA mounting patterns of 75x75mm and 100x100mm.

Image 1.1: Product compatibility overview, showing supported monitor sizes, weight, and VESA standards.
2. Setup and Installation
2.1 Pre-Installation Checklist
- Your monitor size must be between 13 and 32 inches.
- The combined weight of your monitor and any accessories must be between 2 and 9 kg.
- Your monitor must support VESA standards of 75x75mm or 100x100mm.
- For clamp or grommet installation, your desk thickness must be between 20mm and 90mm.
2.2 Mounting Options
The monitor arm offers two installation methods: clamp mount and grommet mount.

Image 2.1: Clamp and Grommet mounting options. Clamp mount supports desk thickness 15-90mm. Grommet mount supports desk thickness 15-90mm and hole diameter 10-12mm.
2.3 VESA Compatibility
Ensure your monitor has VESA mounting holes. If your monitor does not have visible VESA holes, consult your monitor's manual to remove any covers or stands. If your monitor is not VESA compatible, a VESA adapter (sold separately) may be required.

Image 2.2: Checking VESA compatibility on your monitor. VESA 75x75mm and 100x100mm are supported.
2.4 Easy Installation with InstaMount
The monitor arm features an InstaMount one-touch quick release design, simplifying the installation process. No complicated screw tightening is required; simply place and snap the monitor into position. The package includes a clear instruction manual and organized hardware for a smooth setup.
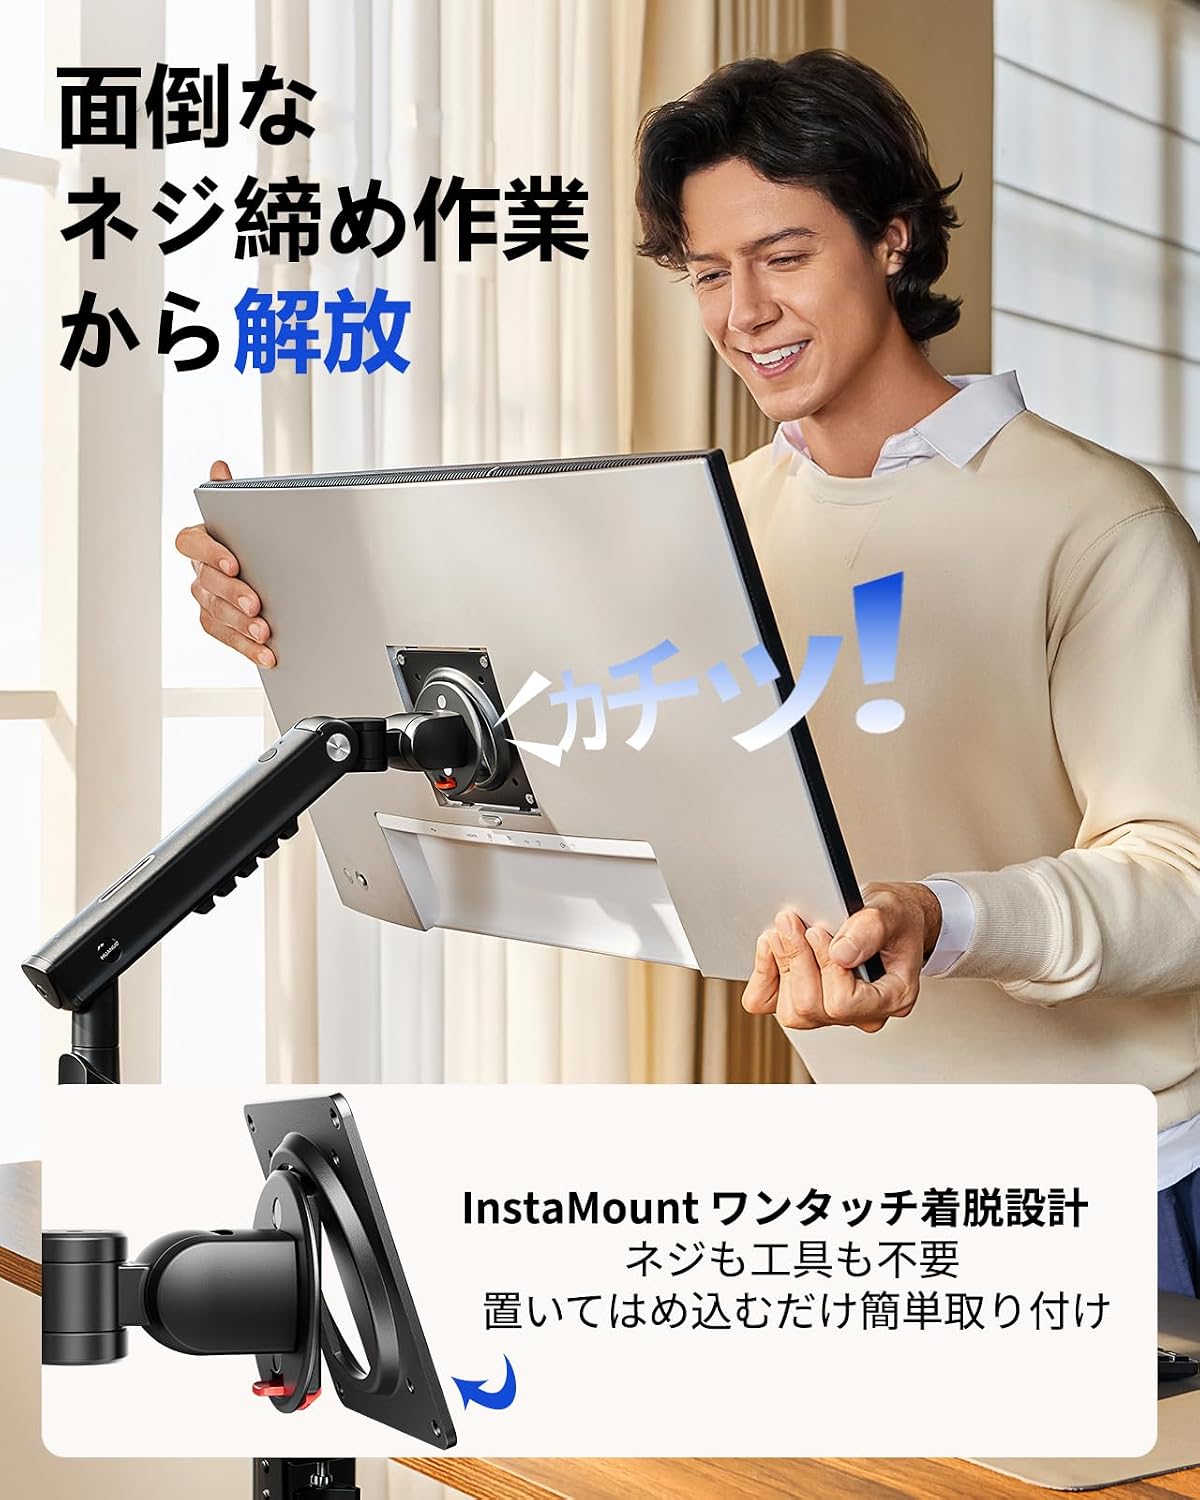
Image 2.3: The InstaMount feature allows for easy, tool-free monitor attachment.
3. Operating the Monitor Arm
3.1 Flexible Adjustment
The monitor arm allows for extensive adjustments to achieve your optimal viewing angle and position. It supports an upward tilt of 85°, a downward tilt of 25°, 360° rotation, and 90° swivel left and right. With a maximum height of 42cm and an extension of 47.5cm, you can easily raise your monitor to eye level, providing greater freedom in monitor placement and saving valuable desk space.

Image 3.1: Monitor arm's full range of motion and dimensions for personalized positioning.
3.2 LockSteady Technology
Experience smooth, effortless movement with just one finger, combined with stable locking at any desired position. The LockSteady technology ensures that your monitor stays exactly where you leave it, preventing unwanted sagging or drifting. This feature is ideal for users who frequently adjust their monitor position, as well as those who prefer a fixed setup.

Image 3.2: LockSteady technology provides smooth adjustment and stable positioning.
4. Maintenance and Adjustment
4.1 Tension Adjustment with Window
Unlike traditional monitor arms that rely on guesswork for tension adjustment, the HUANUO HNDMA118 features a tension strength indicator window. This allows you to visually confirm the current tension setting, making precise adjustments straightforward. This ensures your monitor is always held securely at the desired height.
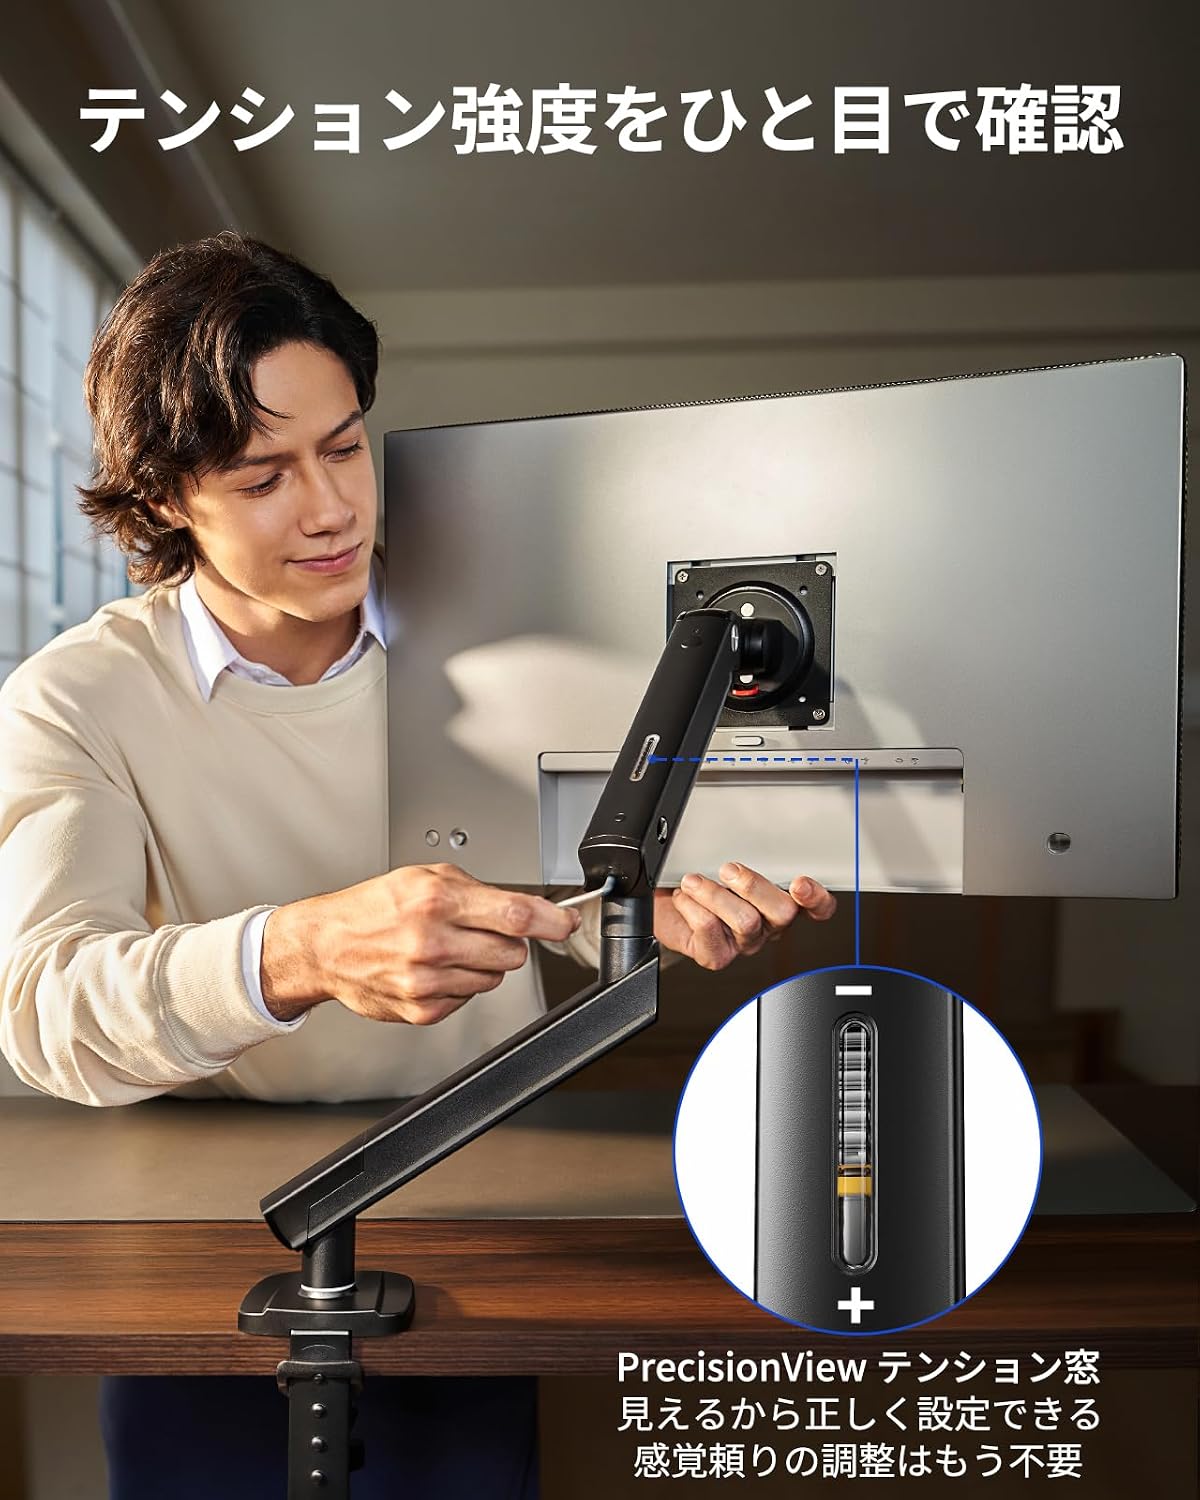
Image 4.1: The tension adjustment window allows for precise and visible tension control.
4.2 Adjusting Tension Steps
- Push the upper arm horizontally downwards to check the tension.
- Rotate the adjustment screw towards '+' to increase tension or '-' to decrease tension, adjusting the monitor's height.

Image 4.2: Step-by-step guide for adjusting the monitor arm tension.
4.3 Addressing Monitor Sagging
If your monitor sags or does not hold its position, it indicates that the tension needs to be increased. Use the provided Allen wrench to turn the tension screw towards the '+' direction. This will increase the tension, allowing the arm to firmly support your monitor.

Image 4.3: How to adjust tension if the monitor arm is sagging.
4.4 Cable Management
The monitor arm includes integrated cable clips to help organize and conceal cables, maintaining a tidy and professional workspace.
5. Troubleshooting
- Monitor Sags/Doesn't Hold Position: Increase the tension using the adjustment screw as described in Section 4.3. Ensure the monitor weight is within the 2-9kg range.
- Arm is Too Stiff/Hard to Move: Decrease the tension using the adjustment screw. Ensure the monitor is properly mounted, as the arm's movement may feel stiff without the monitor's weight.
- Monitor Wobbles: Ensure all mounting screws (VESA plate, clamp/grommet base) are securely tightened. Check that the desk surface is stable.
- Installation Issues: Refer to the detailed Japanese instruction manual included with the product. Verify desk thickness and VESA compatibility.
6. Specifications
| Feature | Specification |
|---|---|
| Model Number | HNDMA118 |
| Compatible Monitor Size | 13-32 inches |
| Load Capacity | 2-9 kg |
| VESA Compatibility | 75x75mm, 100x100mm |
| Mounting Type | Tabletop Mount (Clamp & Grommet) |
| Compatible Desk Thickness | 20-90mm |
| Material | Metal |
| Max Tilt Angle | 85° (up), 25° (down) |
| Rotation | 360° |
| Swivel | 90° (left/right) |
| Max Height | 42 cm |
| Max Extension | 47.5 cm |
| UPC | 840478869552 |
7. Warranty Information
This HUANUO Monitor Arm HNDMA118 comes with a 5-year manufacturer's warranty. Please retain your proof of purchase for warranty claims. For details regarding warranty coverage and procedures, refer to the official HUANUO website or contact customer support.
8. Customer Support
For further assistance, technical support, or inquiries regarding your HUANUO Monitor Arm HNDMA118, please visit the official HUANUO website or contact their customer service department. Contact information can typically be found on the product packaging or the brand's official website.


